The most flattering brow shape is almost never the one that's trending. It's the one that balances your face shape and follows the brows you already have, just a little tidier and a little more intentional. A soft lift in the right spot can make a round face look more sculpted, and a flatter line can make a long face look softer. Good brows do a lot of work quietly.
And they don't need to be dramatic to help. Most of the time it comes down to three points: where your brow starts, where it peaks and where it ends. Once you know those three points for your face, shaping and filling stop being guesswork.
This guide walks you through eyebrow shapes for your face shape step by step: how to figure out your face shape in a couple of minutes, the simple pencil mapping method, the best arch for oval, round, square, heart, long and diamond faces (with a quick table you can screenshot), how to shape at home without over-plucking, how to fill and set brows to fake a better shape, and when it's worth booking a pro.
A small honest admission before we start: I'm a big fan of Old Hollywood glamour, and I spent a while wishing for those thin, high, sculpted arches. My face simply doesn't suit them. Learning which shape actually flatters me was a much kinder project than fighting my own brows.
How To Find Your Face Shape in 2 Minutes
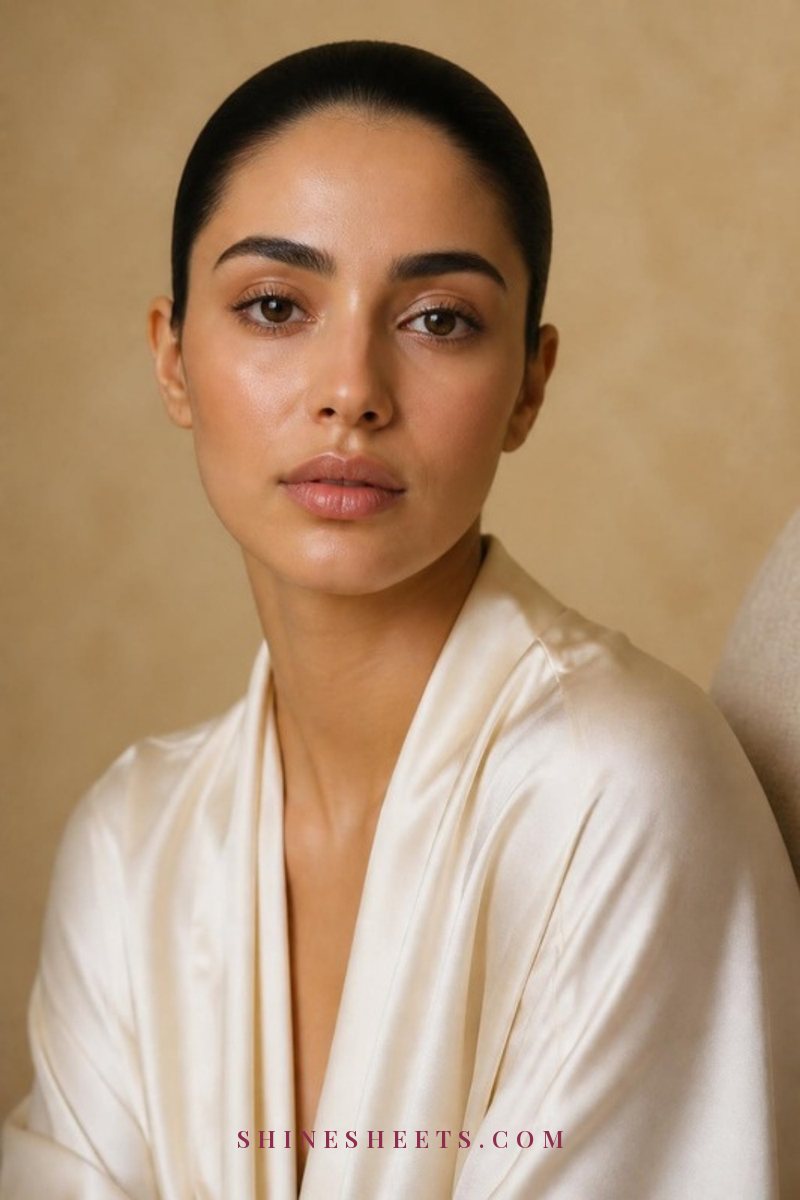
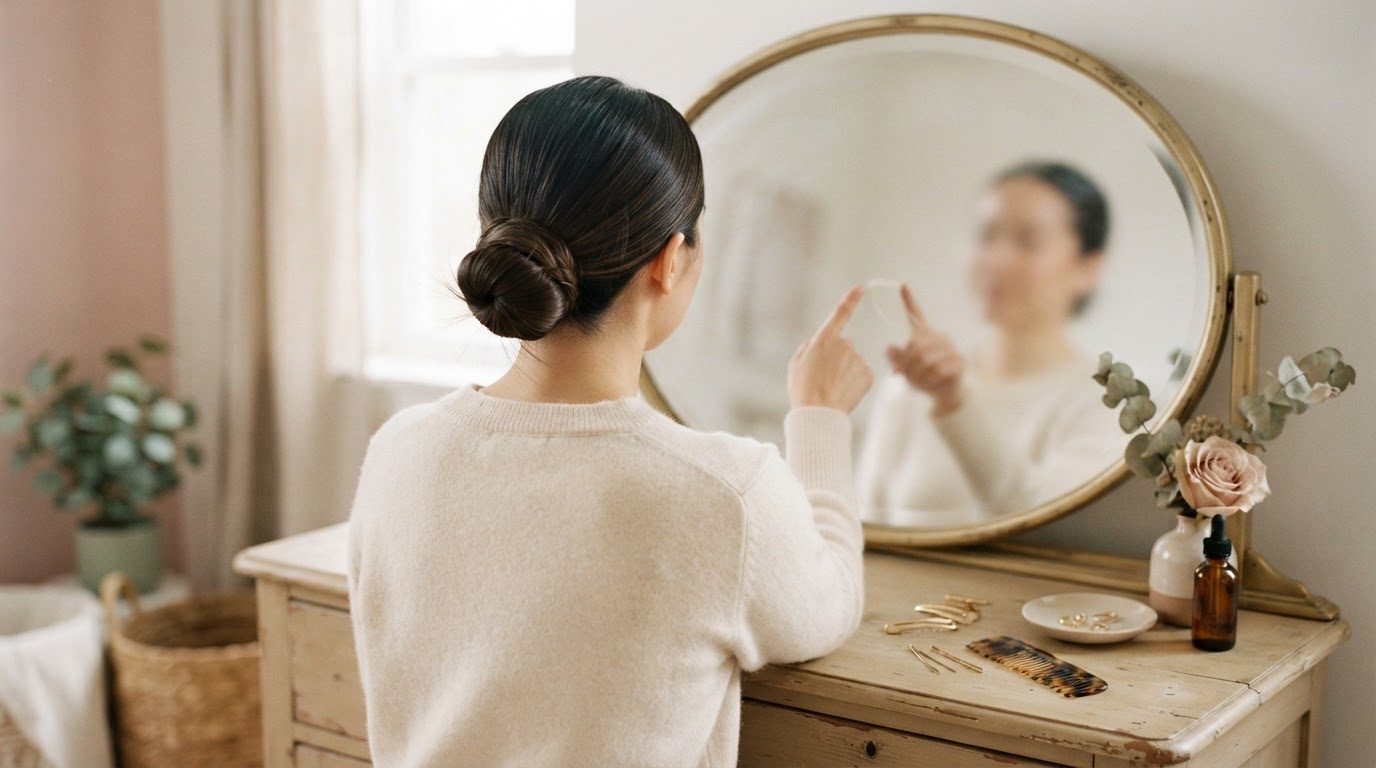
You don't need a measuring tape or an app. Pull your hair back completely (a headband or a claw clip works), stand in front of a mirror in good daylight and look at three things: the widest part of your face, the shape of your jawline and the length of your face compared to its width.
Here's the quick version of each face shape:
- Oval: your face is a little longer than it is wide, your forehead is slightly wider than your chin, and your jaw is softly rounded. Nothing is very sharp or very wide.
- Round: your face is about as wide as it is long, your cheeks are the widest part and your jawline is soft with no strong corners.
- Square: your forehead, cheekbones and jaw are roughly the same width, and your jaw has clear, angular corners.
- Heart: your forehead is the widest part, your cheekbones are high and your face narrows down to a smaller, sometimes pointed chin.
- Long (oblong): your face is clearly longer than it is wide, with forehead, cheeks and jaw at a similar width, like a stretched rectangle with soft corners.
- Diamond: your cheekbones are the widest point, with a narrower forehead and a narrower, defined chin.
A little trick if you're unsure: trace the outline of your face on the mirror with an old lipstick or a washable eyeliner, then step back and look at the shape. And please don't stress if you seem to be a mix of two. Most of us are. Pick the shape that feels closest and borrow tips from the neighbor. For a deeper walkthrough, my guide to different face shapes and how to tell which one is yours goes into more detail.
The Brow Mapping Method: Start, Arch and Tail
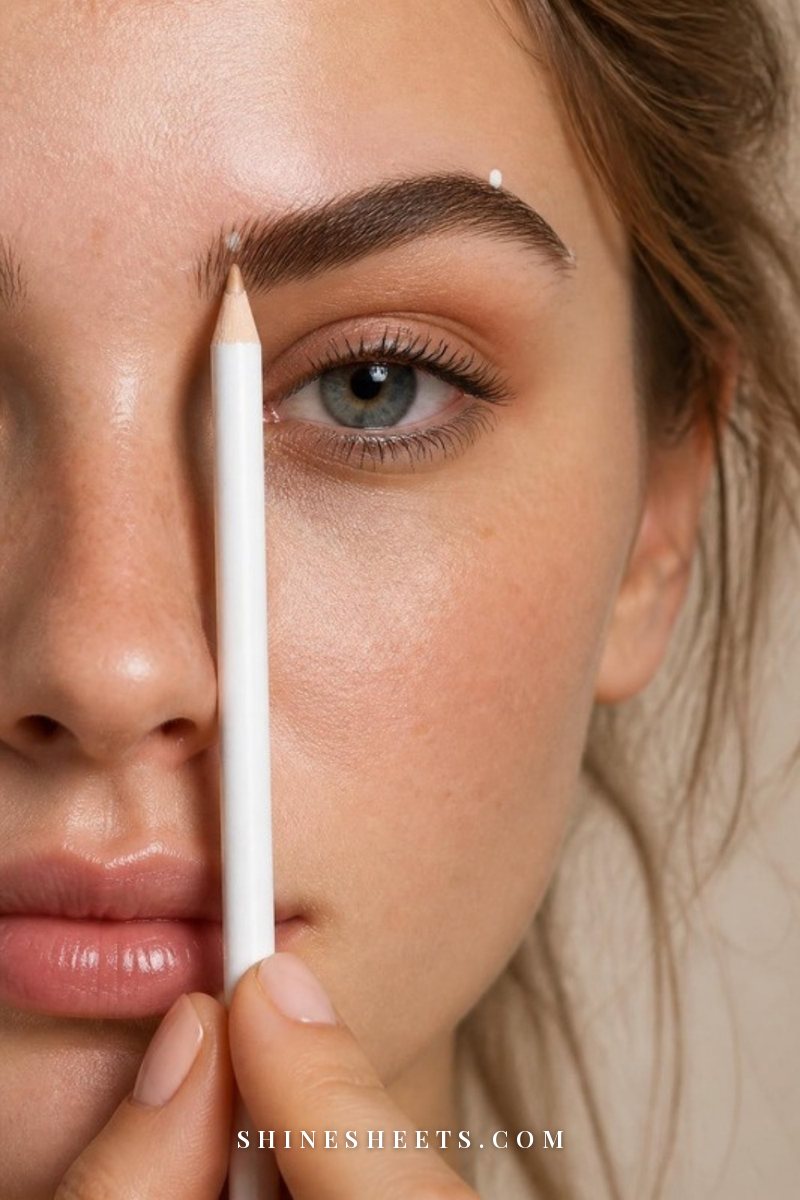
Brow mapping is the step that makes everything else easy. You only need a long, thin pencil (a makeup brush handle works too) and something to mark the points. I like a white brow mapping pencil because it shows up on every skin tone and wipes off in a second, but any light concealer pencil will do.
Look straight ahead into the mirror, relax your face and mark these three points on each side:
- The start: hold the pencil vertically against the side of your nostril, pointing straight up. Where it crosses your brow is where your brow should begin. Starting closer to the nose can make eyes look close-set and heavy; starting further out can make your face look wider.
- The arch: keep the pencil at the side of your nostril and tilt it so it passes through the outer edge of your iris (the colored part of your eye). Where it crosses your brow is your natural arch point. This is the point we'll adjust for each face shape.
- The tail: tilt the pencil further, from the side of your nostril past the outer corner of your eye. Where it meets the brow is where your tail should end. The tail should finish at the same height as the start or slightly higher, never lower, because a dropping tail reads as tired.
Connect the dots very lightly with the pencil along the top and the bottom of your brow, and you'll see your ideal outline. Anything well outside it is a stray. Anything inside it that looks sparse is a spot to fill.
One honest note: faces aren't symmetrical, and your brows are sisters, not twins. Map each side separately and aim for "similar", not identical.
Face Shape to Brow Shape: The Quick Table
Here's the cheat sheet for the whole guide. Screenshot it and keep it next to your brow tools.
| Face shape | Best brow shape | Arch placement | Avoid |
|---|---|---|---|
| Oval | Almost any; a soft natural arch is the easiest | Natural arch point, above the outer edge of the iris | Very high, dramatic arches that make the face look longer |
| Round | Soft angled arch with a lift | Slightly further out, around two-thirds of the way along the brow | Rounded, curved brows that echo the roundness |
| Square | Rounded, softly curved arch | Toward the outer third, with a gentle curve rather than a peak | Sharp angular peaks and very thin brows |
| Heart | Low, soft arch or rounded brow | Natural arch point, kept low and gentle | High, sharp arches and very heavy fronts |
| Long (oblong) | Flat or nearly straight brow | Very subtle lift toward the outer third | High arches that add even more length |
| Diamond | Soft curve with a gentle rounded arch | Natural arch point, softened at the peak | Straight, flat lines and sharp points |
The pattern behind it is simple. Angles soften curves, curves soften angles, flat lines shorten long faces and lifts add length to short, wide ones. If you remember that one rule, you can work out the rest on your own.
The Best Eyebrow Shape for Each Face Shape
Now for the details. For each shape you'll find the brow that flatters it, why it works and exactly how to build it with your mapping points.
Oval Face: Almost Any Shape Works
Oval faces are already balanced, which means your brows don't have to correct anything. You have the most freedom here, so the best shape is usually the one your brows already want to be.
- Go for: a soft, natural arch right at your mapped arch point, with a medium thickness that matches your natural growth.
- Why it works: it keeps the face's natural harmony instead of adding drama it doesn't need.
- Watch out for: very high, sharply peaked arches. On an oval face they can stretch the face and make you look permanently surprised.
- Try: a slightly straighter brow if you want a softer, younger look, or a slightly higher arch for evening glam. Both will suit you.
Round Face: A Soft Angled Arch
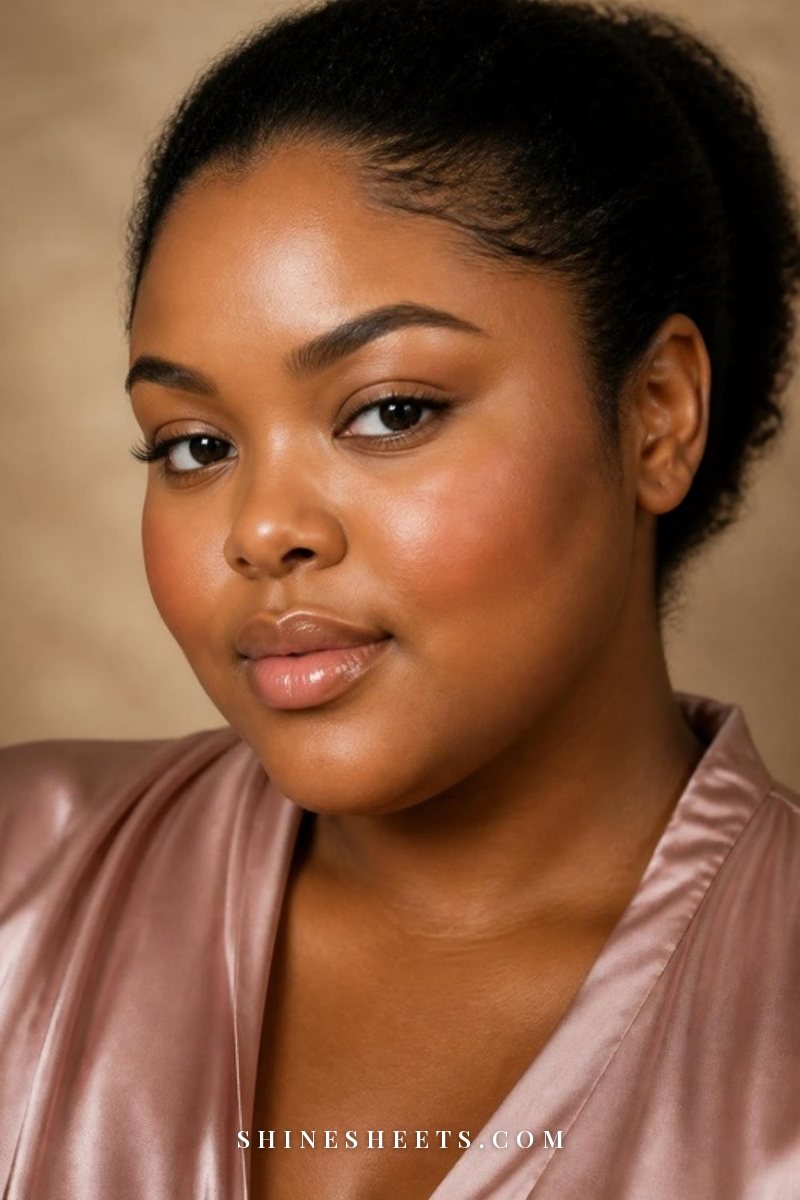
Round faces have soft curves everywhere, so the brow should bring in a little structure. A soft angled arch draws the eye upward and creates the illusion of length, which makes the whole face look a touch more sculpted.
- Go for: a brow that rises in a fairly straight line from the start to the arch, then tapers down to the tail. Think "soft angle", not a sharp triangle.
- Arch placement: nudge your arch slightly outward, roughly two-thirds of the way along the brow, and keep it a little higher than the start.
- Watch out for: very rounded, half-moon brows. They repeat the roundness of the face instead of balancing it.
- Bonus tip: a little contour under the cheekbones pairs beautifully with this brow. My contour guide for beginners shows exactly where to place it for a round face.
Square Face: A Rounded, Soft Arch
Square faces have a strong, beautiful jawline, and the brow's job is to soften it. A rounded arch adds curve to all those straight lines and makes the face look gentler.
- Go for: a medium to slightly fuller brow with a smooth, curved arch instead of a sharp peak.
- Arch placement: toward the outer third of the brow, with the curve spread out rather than concentrated in one point.
- Watch out for: very thin brows (they can make the jaw look heavier by comparison) and angular, sharp peaks that echo the jaw.
- Try: brushing the front hairs slightly upward with a little gel for a soft, open look.
Heart Face: A Low, Soft Arch
Heart faces are wider at the forehead and narrow at the chin. A low, soft arch keeps attention balanced instead of pulling it up toward the widest part of the face.
- Go for: a rounded or low-arched brow with a gentle, even curve and medium thickness.
- Arch placement: at your natural arch point, but keep the height modest. The arch should feel like a soft hill, not a mountain.
- Watch out for: high, sharp arches and very heavy, square fronts. Both make the forehead look wider.
- Try: keeping the front of the brow soft and slightly lighter than the middle, which softens the forehead.
Long Face: A Flat, Nearly Straight Brow
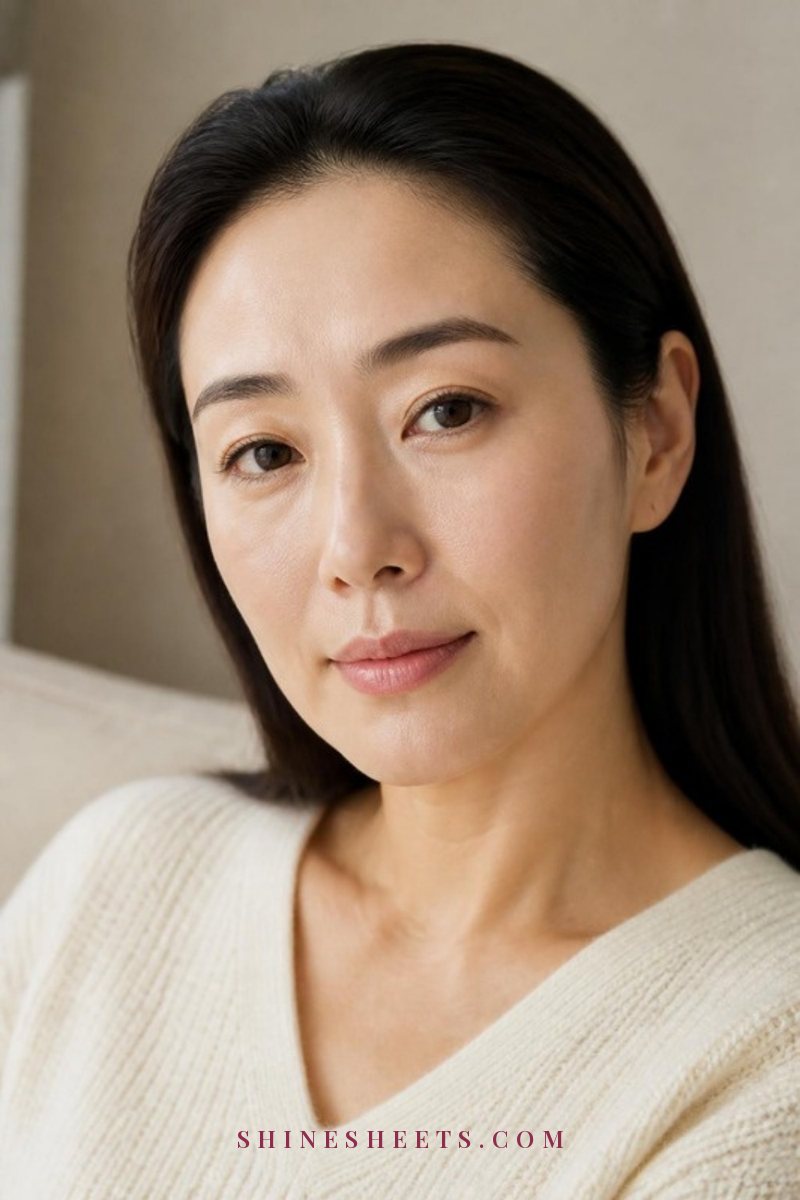
Long faces look beautiful with brows that run horizontally, because a straight line visually widens the face and makes it look shorter. This is where the soft, straight "Korean-style" brow really shines.
- Go for: a flat or almost flat brow, medium to full in thickness, with only the slightest lift toward the outer third.
- Arch placement: barely there. Keep your arch point just a hair higher than the start of the brow.
- Watch out for: high arches, which make a long face look even longer, and very short tails.
- Try: extending the tail a few millimeters past your mapped point (still angled slightly upward) to add width.
Diamond Face: A Soft, Curved Brow
Diamond faces have gorgeous, wide cheekbones with a narrower forehead and chin. A softly curved brow adds width at the top and softens the angles.
- Go for: a gentle curved arch with a rounded peak and medium thickness.
- Arch placement: at your natural arch point, softened so it curves rather than points.
- Watch out for: completely straight brows (they can make cheekbones look even wider) and sharp, pointed arches.
- Try: keeping the brows a touch fuller toward the front, which visually widens a narrower forehead.
Brow Thickness and Working With Your Natural Growth
Face shape tells you about the arch, but thickness is about your features as a whole. A simple rule: the bigger and bolder your features (full lips, large eyes, strong jaw), the more brow you can carry. Delicate features usually look best with a medium, softer brow.
Your natural growth pattern matters just as much. Before you change anything, brush your brows straight up with a clean spoolie and look closely:
- Where is the hair densest? That's the shape your brows naturally want, and the easiest one to keep.
- Where are the gaps? These are spots to fill with pencil strokes, not reasons to change the whole shape.
- Which way do the front hairs grow? If they grow upward, a brushed-up look will feel effortless. If they grow sideways, brush them gently up and out.
Working with your growth means less maintenance and a shape that looks like you on day one and day twenty. If your brows are on the sparse side, my guide to making thin eyebrows look full has gentle ways to encourage them, and if you love the brushed-up texture, the fluffy brows guide shows how to get it in a few minutes.
How To Shape Your Brows at Home Safely: 6 Steps
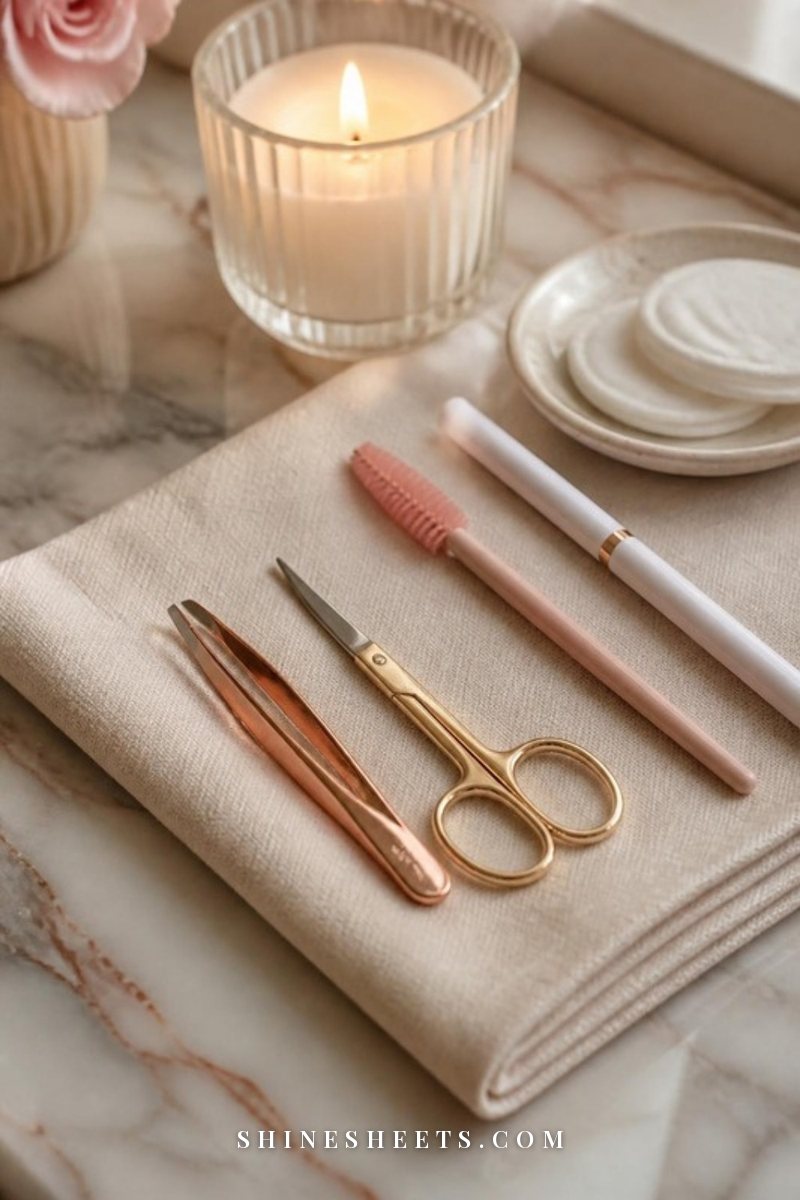
Home shaping is all about restraint. You're not creating a new brow, you're cleaning up the one you have. Give yourself good daylight, a clean face and about 15 minutes with no rush.
- Map first, always. Mark your start, arch and tail, then lightly outline the shape you want. Never tweeze without a map.
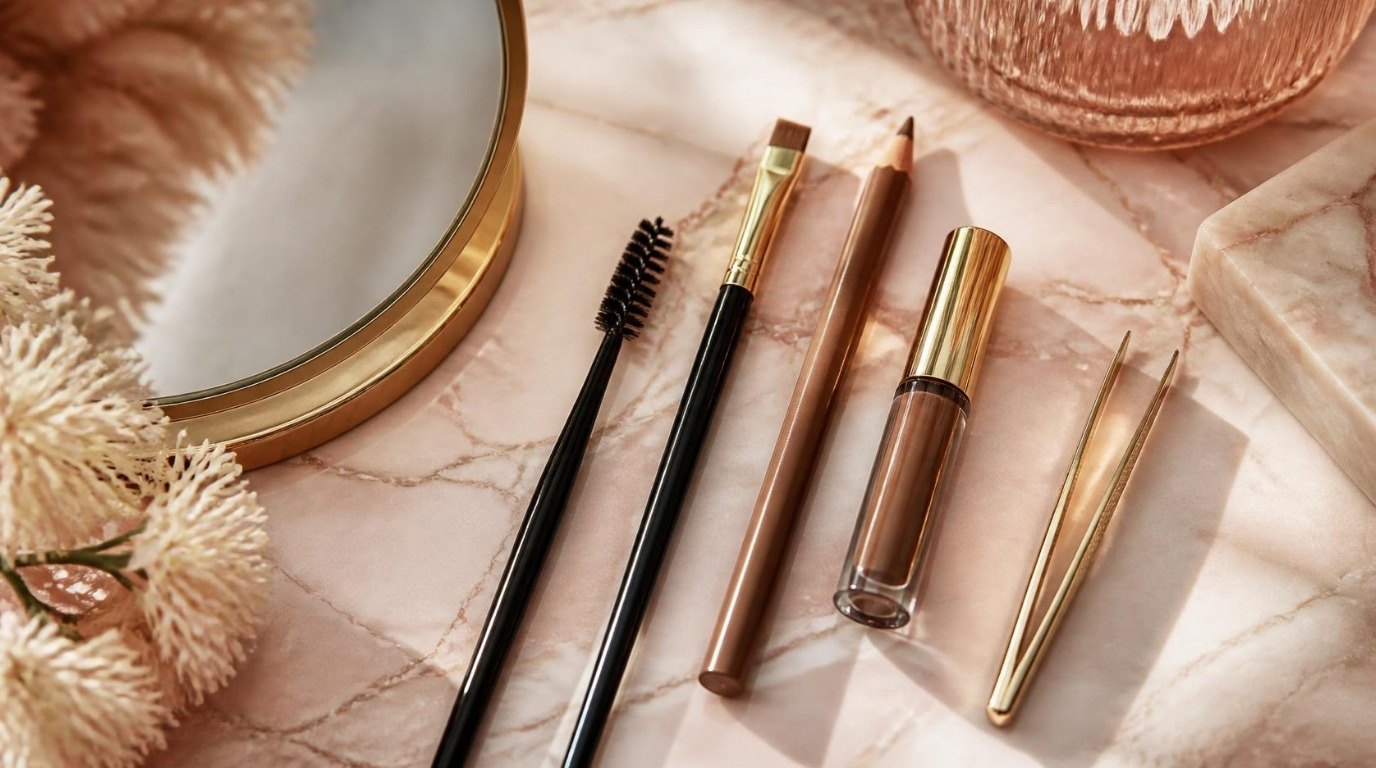
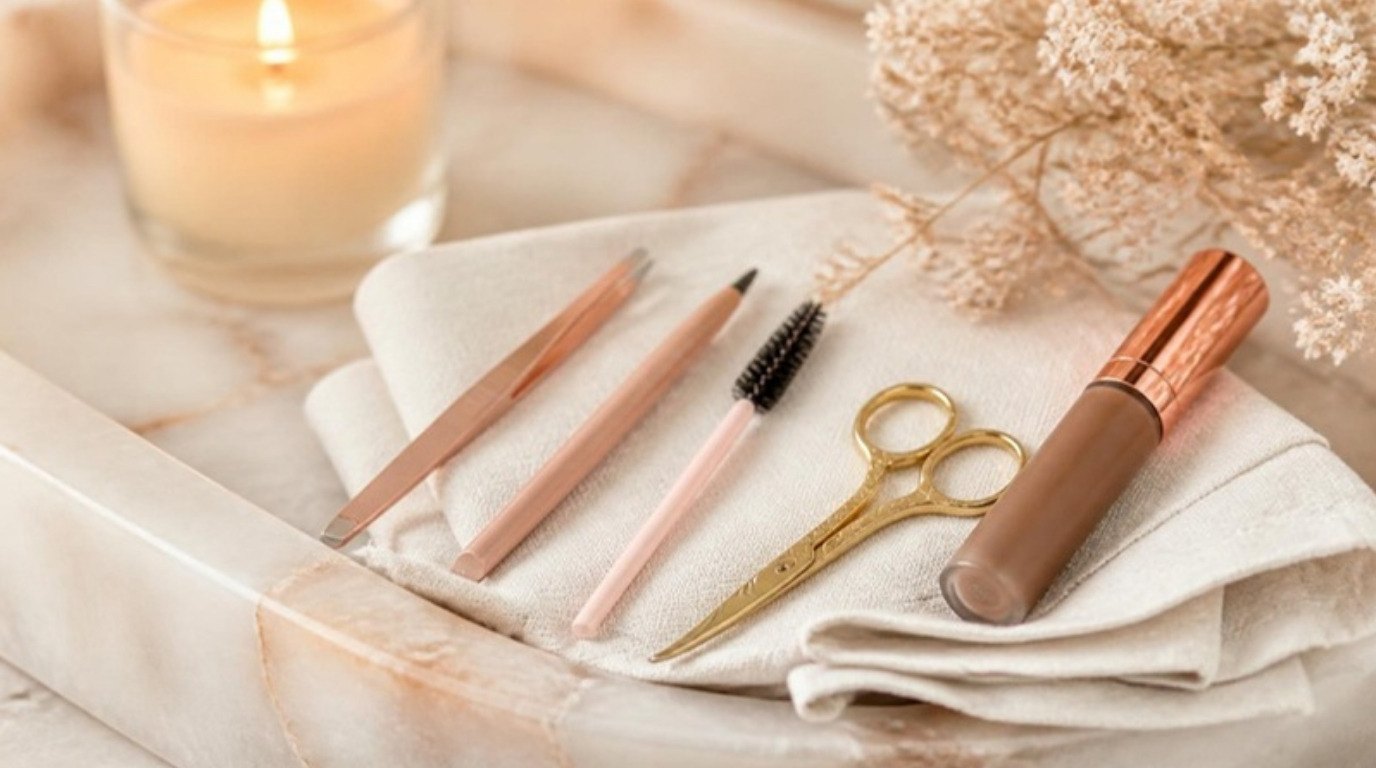
- Brush and trim before tweezing. Brush the hairs straight up and snip only the ones that extend well above the top line, using small curved eyebrow trimming scissors. Cut one hair at a time, and cut less than you think. Then brush them back down and check.
- Tweeze only strays below the brow. Hold the skin taut, grab one hair close to the root with slanted rose gold tweezers and pull in the direction of growth. Work on the hairs clearly outside your outline: under the brow, between the brows and stragglers past the tail.
- Never over-pluck the top. The top line defines your shape, and over-plucked hairs there may grow back slowly or not at all. If something on top looks messy, trim it or fill around it instead.
- Switch sides often. Do two or three hairs on the left, then two or three on the right, and step back from the mirror every minute or so. A magnifying close-up makes it far too easy to overdo it.
- Calm the skin afterwards. Wipe tweezers clean before and after, then smooth on a fragrance-free moisturizer or a little aloe gel. Skip heavy makeup on the area for a few hours.
A little safety note, because skin around the brows is delicate: avoid tweezing over broken, irritated or inflamed skin, and be extra gentle if you use retinol or exfoliating acids, since skin can be more sensitive there. If redness, bumps or swelling don't settle in a day or two, check in with a doctor or dermatologist. And if you've over-plucked, the kindest move is to put the tweezers away for a couple of months and let everything grow back before reshaping.
How To Fill and Set Your Brows To Fake the Shape
This is the secret nobody tells you: most of the "shape" you admire in a brow is made with makeup, not tweezers. Filling lets you lift a round face, flatten a long one or soften a square one without removing a single hair.
Here's a simple four-step routine that takes about three minutes:
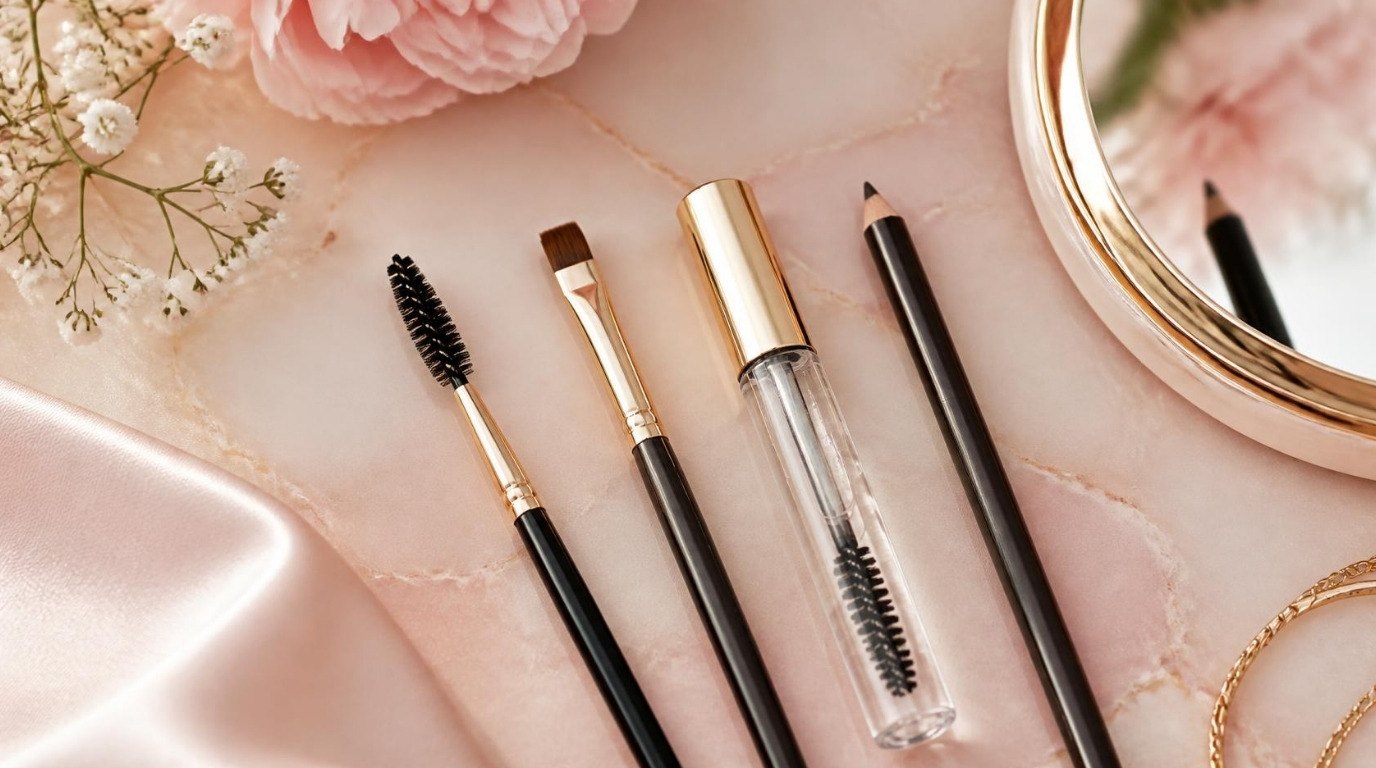
- Brush through. Use a clean spoolie to brush the hairs up and out so you can see the true shape and the gaps. A pack of disposable spoolie brushes is handy, because a fresh one every few days keeps things clean.
- Draw hair-like strokes. With an ultra-fine brow pencil one shade lighter than your hair (or matching it if you're very fair), draw tiny, light strokes in the direction of growth. Focus on gaps and on the area you're adjusting for your face shape: a little lift under the arch for round faces, extra length at the tail for long faces, a softer curve at the peak for square faces.
- Keep the front soft. Use the lightest strokes at the start of the brow and build more definition through the arch and tail. A solid, blocky front is the fastest way to make brows look drawn on.
- Set it. Comb a tinted brow gel through, brushing up at the front and following the shape you've mapped through the middle and tail. It adds subtle color, makes thin hairs look thicker and keeps everything in place all day.
If you'd like a full step-by-step with product types and shade tips, my guide to natural brows covers filling, shaping and setting in five minutes. And if you're building a whole quick routine around your brows, the everyday makeup routine for beginners shows where they fit.
When To See a Pro: Threading, Waxing and Lamination
Home shaping is perfect for maintenance, but sometimes a professional is the smarter, kinder choice. I'd book an appointment in these situations:
- You're starting from scratch. If your brows have grown out completely or you've never had them shaped, a pro can create a clean base shape for your face, and you simply maintain it at home.
- Threading: a cotton thread removes rows of hair quickly and precisely. It's a good option for sensitive skin because nothing hot or sticky touches it, and the lines can be very clean.
- Waxing: quick and long-lasting, but less suited to anyone using retinoids or strong exfoliants, as the skin can lift. Always mention your skincare routine at the appointment.
- Lamination: a treatment that sets brow hairs in a brushed-up direction for several weeks. It's lovely for unruly hairs or for a fuller look, but treat it as an occasional treat and give the hairs a break between sessions.
- Tinting: if your brows are very light or have a few gray hairs, a tint can add definition so you need less pencil every morning.
Whoever you see, bring your mapping knowledge with you. Ask for "a clean-up of my natural shape" and say clearly what you don't want (too thin, too high). A good brow artist will be happy to work with you rather than impose a trend.
5 Common Brow Shape Mistakes and Easy Fixes
- Arching too high: a very high peak can make you look surprised or stern. Fix it by filling slightly under the arch and letting the top hairs grow back.
- Starting the brow too far apart: overplucking between the brows widens the face. Fill the front with soft upward strokes back to your mapped start point.
- A tail that drops: a tail lower than the start can make you look tired. Draw the tail on a straight line toward the outer corner, ending level or slightly higher.
- Filling too dark: brows that are darker than your hair look heavy. Go one shade lighter, especially at the front.
- Copying someone else's brows: a shape that looks stunning on a friend may not suit your face. Map your own points and trust them.
Final Thoughts
Finding your most flattering brow shape isn't about changing your face. It's about framing it in a way that feels balanced and familiar, like a softer, more polished version of you. Map your three points, follow the shape your face loves, trim and tweeze with patience, and let your pencil and gel do the rest.
Give yourself a few weeks to settle into it. Brows grow, change and forgive more than we expect, and the best shape is always the one that looks like you on a slow, unhurried morning.