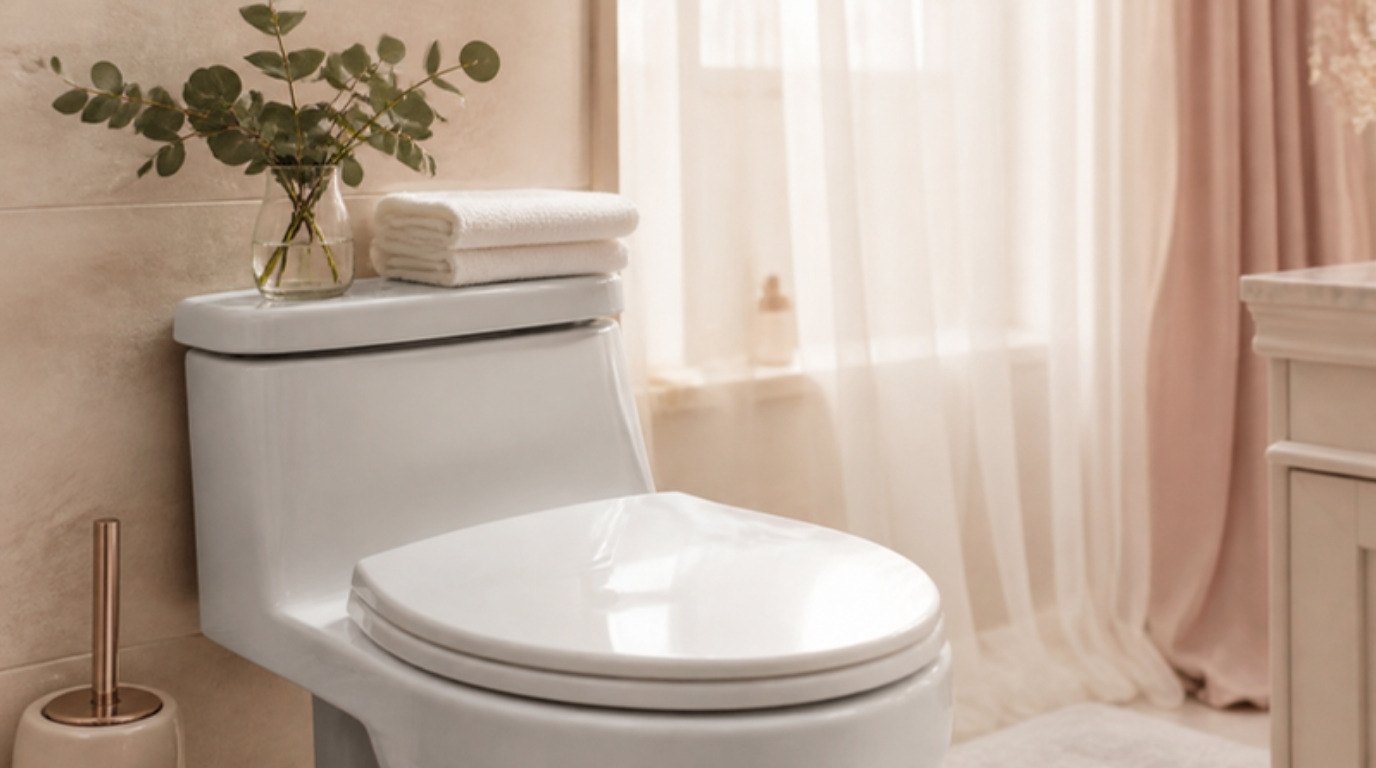
A toilet looks like the hardest job in the bathroom, but it's actually one of the quickest once you clean it in the right order. The secret is letting the cleaner do the work: put it in the bowl first, clean everything else while it sits, then scrub. Ten minutes, and most of that time you're not even touching the bowl.
The other secret is knowing what you're dealing with. A grey line at the waterline is usually hard water minerals, not dirt, and no amount of scrubbing with regular cleaner will move it. It needs an acid and a little patience, or a wet pumice stone used gently.
This guide covers how to clean a toilet from top to bottom: the supplies you need, safety basics, a six-step routine with dwell times, how to get rid of hard water rings, a "weekly 5-minute vs monthly deep clean" table, how to keep it fresh between cleans, and how to clean the toilet brush itself (the part almost everyone forgets). I'll be honest: it's not anyone's favorite chore, which is exactly why a fast, reliable routine matters.
What You Need
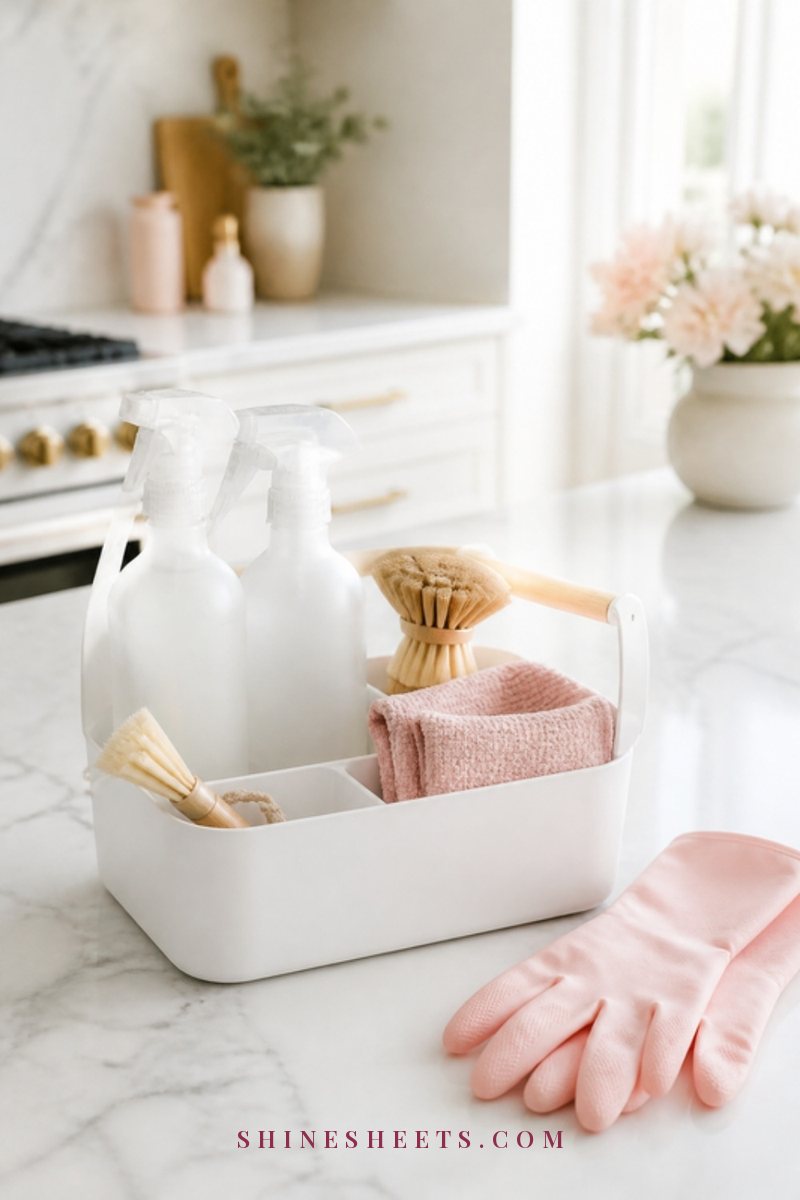
Keep these together in one caddy so the job is easy to start:
- Rubber gloves. A pair of rubber cleaning gloves kept only for the bathroom.
- A toilet bowl cleaner. A toilet bowl cleaner gel clings under the rim and down the sides, which gives it time to work. Follow the label for dwell time.
- A toilet brush. A toilet brush with a holder that has a lip or a rim-shaped head reaches under the rim more easily.
- An all-purpose bathroom spray or disinfectant. For the seat, lid, tank and base. Check the label for how long it needs to stay wet to disinfect (often 5–10 minutes).
- Microfiber cloths. A set of microfiber cloths in a color you use only for the toilet, so they never end up on the sink or counter.
- Paper towels. Handy for the base and hinges, where you'd rather throw the cloth away.
- An old toothbrush. For hinges, bolt caps and the edge where the toilet meets the floor.
- For hard water rings: citric acid or white vinegar, and a pumice stone for toilets.
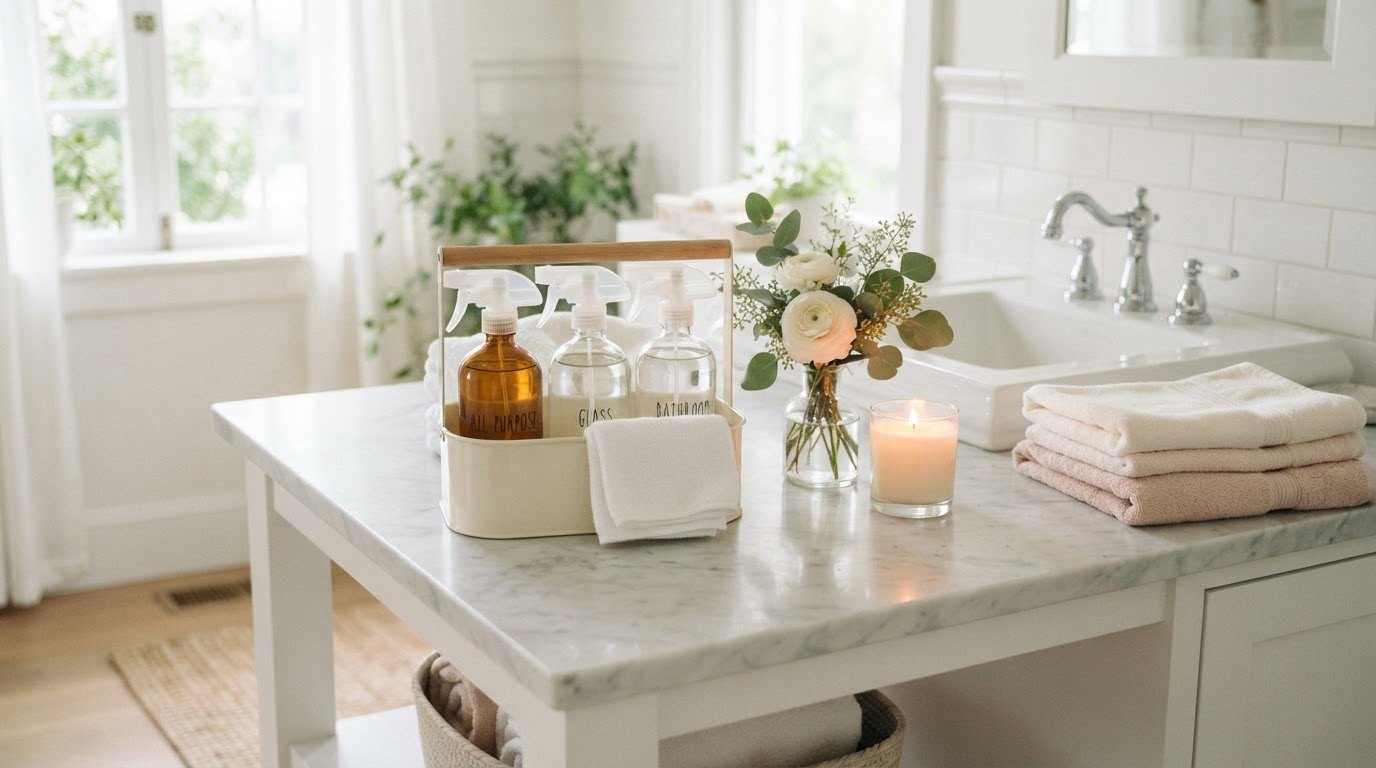
If your cleaning products are scattered all over the house, my guide on how to organize cleaning supplies shows how to set up a simple bathroom caddy.
Safety Basics Before You Start

A few rules keep this chore safe:
- Never mix bleach with vinegar, ammonia or other acids. Bleach plus acid releases chlorine gas, and bleach plus ammonia releases chloramine gas. Both are dangerous to breathe.
- Use one product at a time. If you switch products, flush and rinse in between, and wait a few minutes.
- Check what's already in the bowl. In-tank tablets and some bowl cleaners contain bleach or acids. If you use an in-tank tablet, check its label before adding anything else.
- Ventilate. Open a window or run the fan.
- Wear gloves. Cleaners can irritate skin, and you'll be touching germy surfaces.
- Follow the label. Dwell times, dilution and surfaces are all on the bottle. When in doubt, test on a small hidden spot.
- Store safely. Keep cleaners up high or locked, away from children and pets.
How Often To Clean Your Toilet
There's no single perfect schedule, but this rhythm works for most homes:
- Every day or two: a quick brush swish and a wipe of the seat and flush handle. About 30 seconds.
- Once a week: the full six-step routine below. About 5–10 minutes.
- Once a month: the deep clean, including taking the seat off, cleaning behind the toilet and treating any hard water ring.
Clean more often if several people share one bathroom, if someone in the house has been ill, or if you have very hard water (rings form faster). A guest bathroom that's barely used can usually go a little longer between full cleans, though a weekly swish still stops a ring from forming in standing water.
The easiest way to stay on track is to attach it to a habit you already have: the toilet on the day you change the towels, for example. Small and regular always beats big and rare.
How To Clean a Toilet: Step by Step
Work from cleanest to dirtiest and top to bottom, so you're never dripping dirt onto a surface you just wiped. The whole routine takes about 10 minutes for a regular clean.
Step 1: Apply Cleaner to the Bowl and Let It Sit
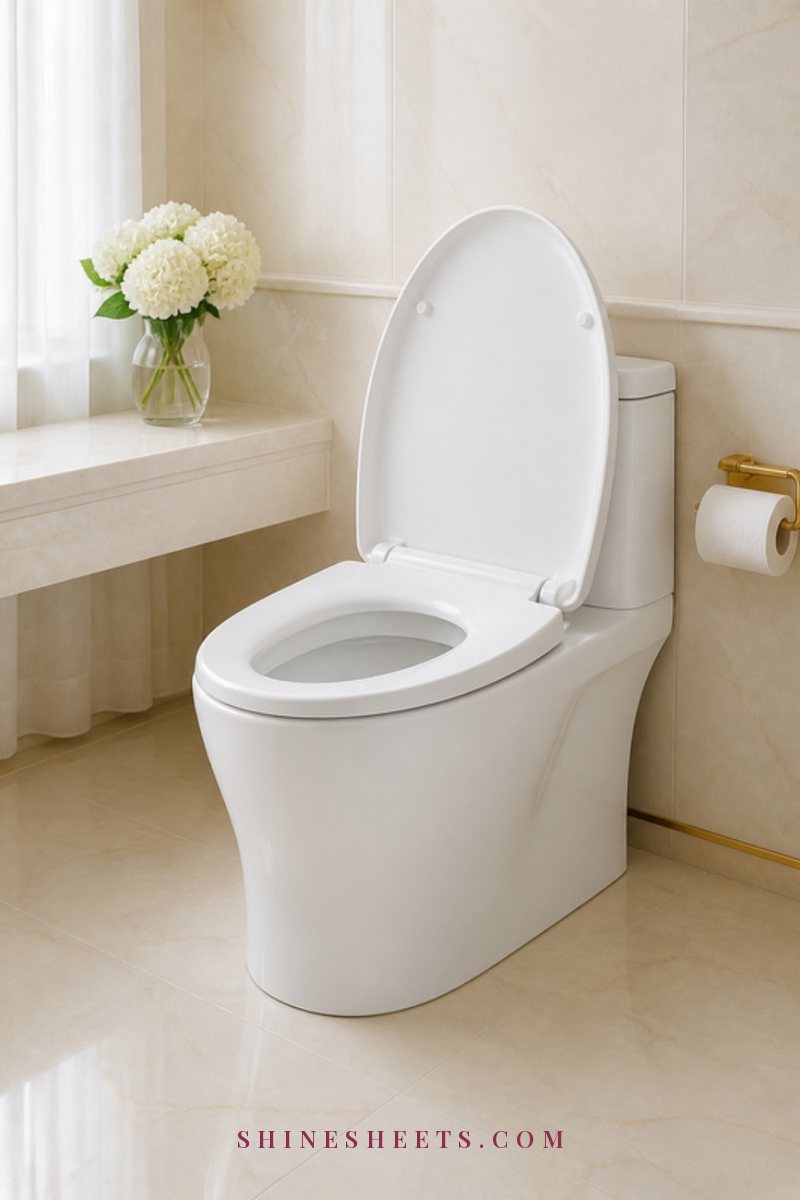
Lift the lid and seat. Squeeze the bowl cleaner gel under the rim all the way around, letting it run down the sides into the water. Close the lid and leave it for the time on the label, usually 5–10 minutes. This is the step that does most of the work for you.
Step 2: Wipe the Outside From Top to Bottom
While the bowl soaks, spray the tank lid, the tank, the flush handle and the outside of the lid. Let the spray sit for the time on its label if you want to disinfect, then wipe with a microfiber cloth from top to bottom. The flush handle is one of the most-touched spots in the whole bathroom, so give it a good wipe.
Step 3: Clean the Seat and Hinges
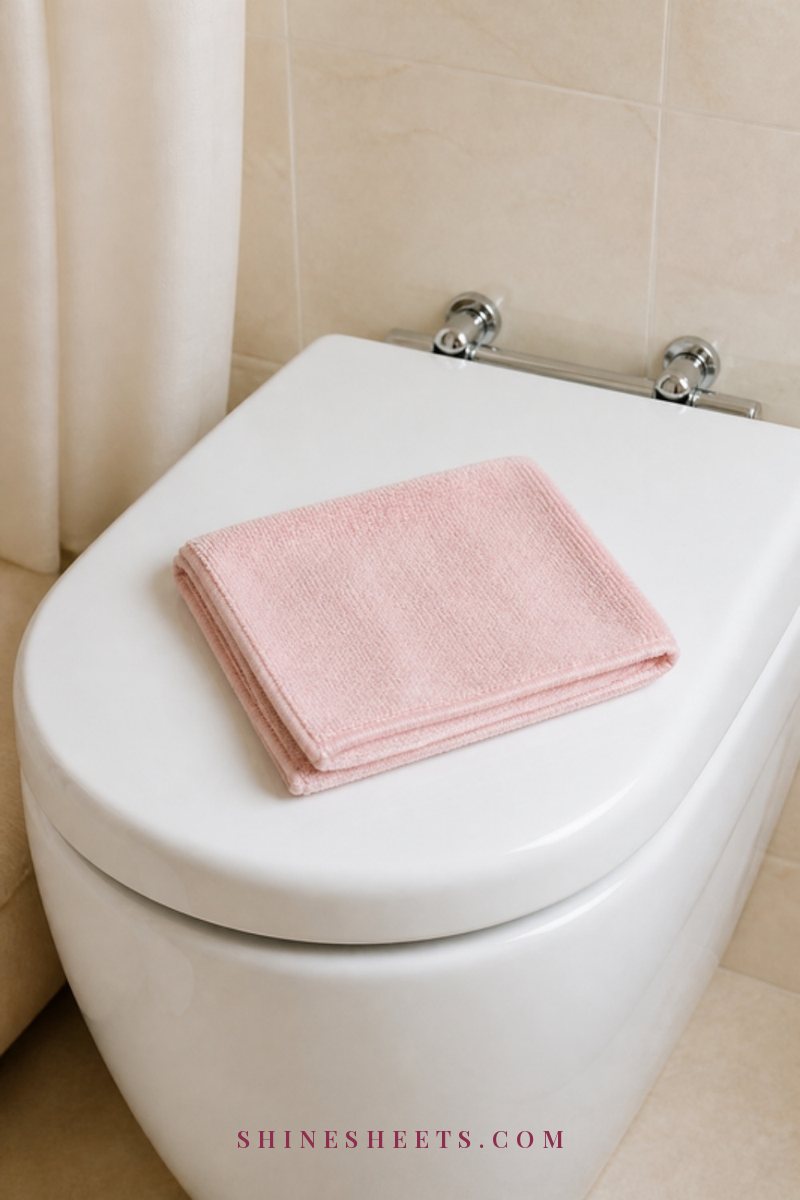
Spray the top of the seat, the underside of the seat and the rim of the bowl that the seat rests on. Let it sit, then wipe. For the hinges, use an old toothbrush to get into the gaps, then wipe with a paper towel. Many seats have a quick-release button or snap-off hinges: once a month, pop the seat off and clean underneath. It's where most of the hidden grime lives.
Step 4: Scrub the Bowl and Under the Rim
Now scrub. Start under the rim, angling the brush up so you reach the little holes where water comes out. Then work down the sides in circles, and finish at the drain opening, pushing the brush into it a few times. Flush while holding the brush in the bowl to rinse it.
Step 5: Clean the Base and the Floor Around It
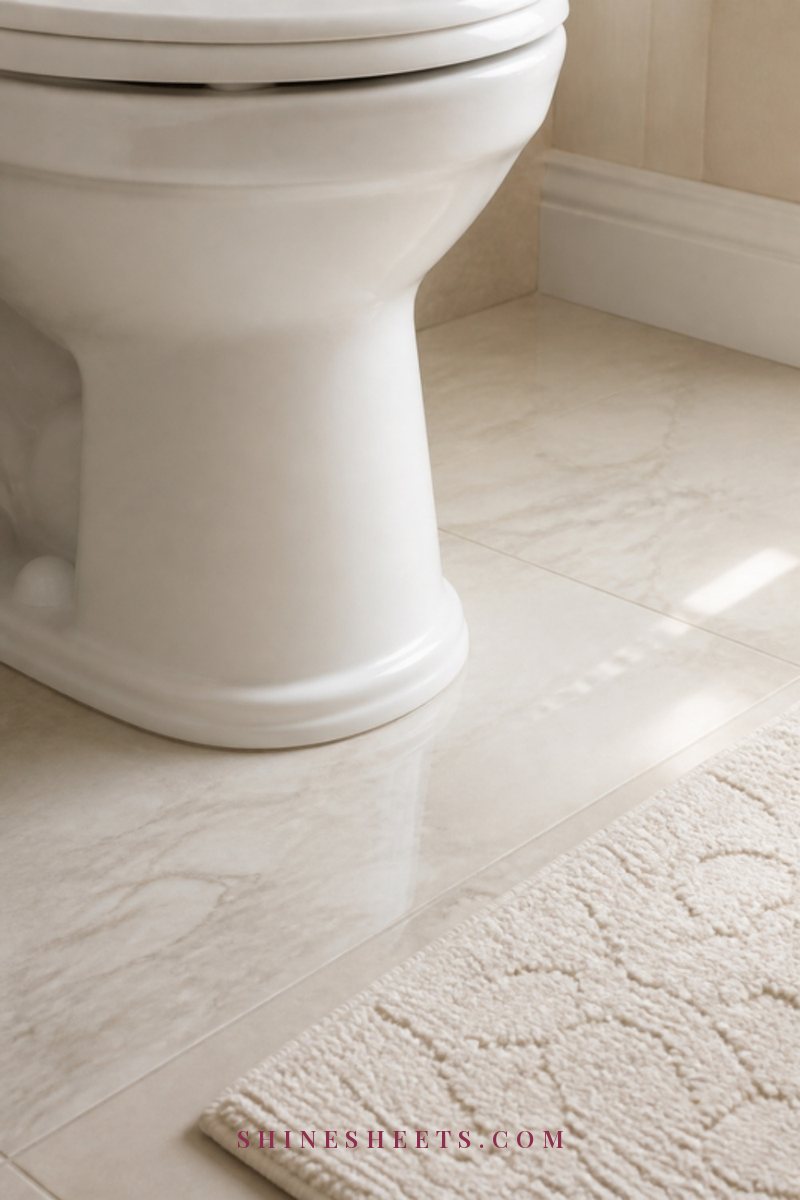
Spray the outside of the bowl, the base and the bolt caps. Use paper towels here, since this area collects dust, hair and splashes. Get the toothbrush into the edge where the toilet meets the floor and around the bolt caps. Then wipe the floor in a small circle around the toilet and the wall behind it, which often gets more splashes than you'd think.
Step 6: Flush, Rinse and Finish
Flush once more, let the brush drip dry between the seat and the bowl for a minute (more on that below), put the seat and lid down, take off your gloves and wash your hands. That's a clean toilet.
How To Get Rid of Hard Water Rings
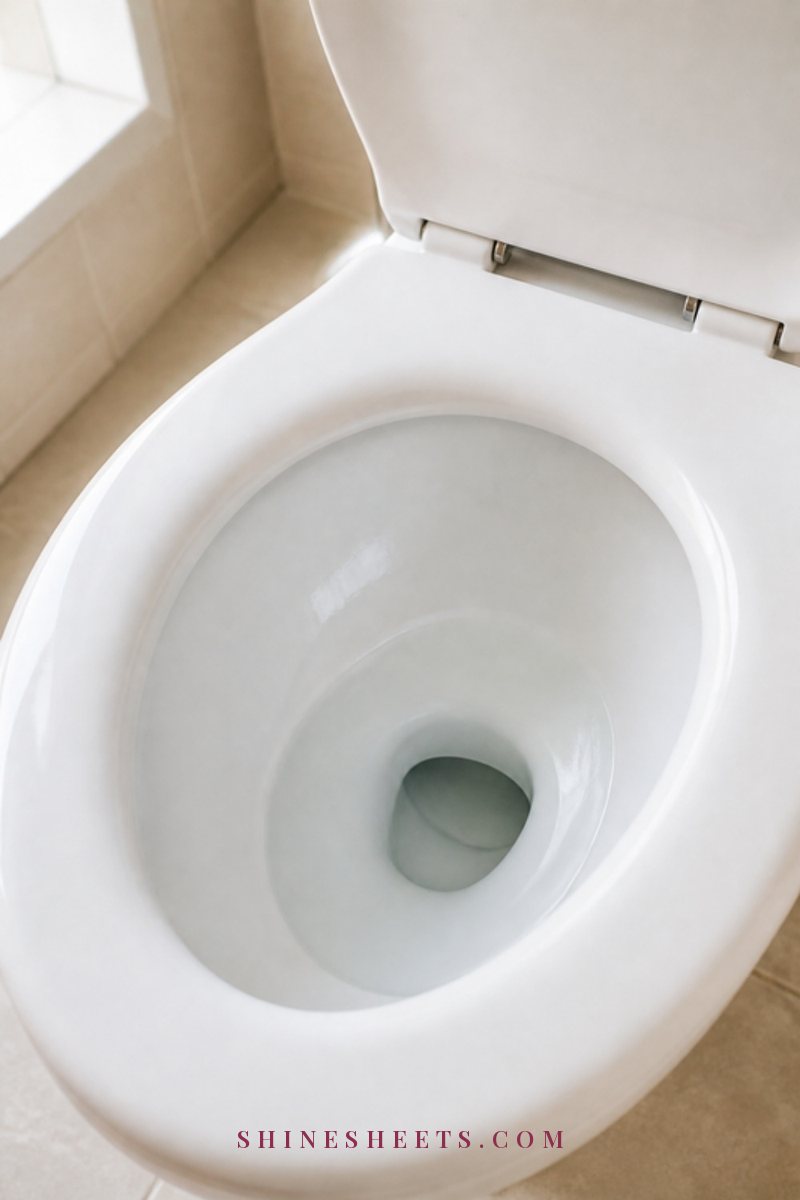
A ring at the waterline that won't scrub away is usually limescale: minerals left behind as water evaporates. They trap stains and look grey, brown or pinkish. Here's how to remove them, from gentlest to strongest. For the same problem on taps and shower glass, see my guide on how to remove hard water stains.
Method 1: Citric Acid or Vinegar Soak
Acids dissolve mineral build-up. This works best when the ring is exposed, so you can lower the water first:
- Make sure there's no bleach in the bowl (flush twice if you've used a bleach cleaner or tablet).
- Turn off the water valve behind the toilet and flush once to empty most of the bowl.
- Pour in about 2 cups of white vinegar, or sprinkle about 3–4 tablespoons of citric acid powder around the ring and add a cup of warm water.
- For a ring above the water, lay a few paper towels on it and soak them so they stay in contact.
- Leave it for at least 1 hour, or overnight for a thick ring.
- Scrub with the toilet brush, turn the water back on and flush.
Citric acid is usually stronger and has less smell than vinegar. Either way, never add bleach afterwards without flushing thoroughly first.
Method 2: A Wet Pumice Stone
A pumice stone can rub limescale away, but it must be used carefully:
- Use it on porcelain only. Never on plastic, painted, colored-coated surfaces, seats or chrome.
- Soak the stone in water for a few minutes and keep both the stone and the porcelain wet the entire time. A dry stone can scratch.
- Rub gently with light pressure, keeping the stone flat against the ring.
- Test a small spot first and check your toilet's care instructions if you have them.
The stone wears down to match the curve of the bowl, so it gets easier with each use.
For Stubborn Rings
Very old rings may need two or three acid soaks in a row before the pumice step, or a dedicated limescale remover made for toilets. Follow the label exactly, and don't combine products. Once it's gone, a quick weekly clean usually keeps it from coming back.
What Different Toilet Stains Mean
Not every mark is limescale. Knowing what you're looking at helps you choose the right fix:
- Grey, white or chalky ring at the waterline: limescale from hard water. Acid soak and wet pumice, as above.
- Brown or orange streaks: often iron or rust in the water supply, sometimes combined with limescale. An acid soak usually helps. A rust stain remover made for porcelain can also work; follow the label and never mix it with bleach.
- Pink or orange slimy ring: usually a common airborne bacteria that loves damp places, not a sign of a dirty home. Scrub it off with your regular bowl cleaner and clean weekly to stop it coming back.
- Black or dark green spots under the rim: often mold or mildew. Scrub with a bowl cleaner or disinfectant left for the full label time, and improve ventilation.
- Yellowing around the base or seat: usually splashes that have dried over time. A disinfectant spray left for its full dwell time, plus a toothbrush around the bolt caps, takes care of it.
If a stain keeps returning very quickly, or the porcelain itself looks cracked or rough, a plumber can tell you whether it's a water supply issue or worn glaze.
Weekly 5-Minute Clean vs Monthly Deep Clean
You don't need to deep clean every time. Here's how the two compare, so you can screenshot it and keep it handy.
| Weekly 5-minute clean | Monthly deep clean | |
|---|---|---|
| Time | About 5 minutes | 20–30 minutes (plus soak time) |
| Bowl | Gel under the rim, 5–10 minutes, scrub, flush | Gel, then a vinegar or citric acid soak for any ring |
| Under the rim | Quick scrub with the brush | Detailed scrub, check the rim holes |
| Seat and lid | Spray and wipe top and underside | Remove the seat, clean hinges and underneath |
| Tank | Wipe the lid and flush handle | Wipe the whole exterior, behind the tank and the pipes |
| Base and floor | Quick wipe of the base | Toothbrush around bolt caps, wipe the floor and wall |
| Hard water ring | Not needed | Soak and pumice if a ring has formed |
| Toilet brush | Drip dry before storing | Disinfect the brush and wash the holder |
If you'd like the whole bathroom done in the same short window, my guide on how to clean your bathroom fast fits this routine right in.
Monthly Deep Clean: The Extras
Once a month, add these to your usual routine:
- Take the seat off. Most modern seats unclip. Clean the hinge area and the top of the bowl underneath, then dry before reattaching.
- Wipe behind the toilet. The back of the bowl, the pipes and the wall behind collect dust and splashes.
- Clean the tank exterior fully. Including the sides and the top edge under the lid.
- Peek inside the tank. If you see stains or build-up, check your toilet's manual before cleaning inside, and avoid bleach tablets if the manufacturer advises against them, since they can wear rubber parts.
- Treat any ring. Use the acid soak and pumice method above.
- Clean the brush and holder. See the section below.
How To Keep Your Toilet Fresh Between Cleans
Small habits stretch the time between cleans:
- Close the lid before flushing. It reduces the spray that lands on nearby surfaces.
- Do a 30-second swish. A quick brush swish every couple of days stops rings from forming.
- Keep a cloth or wipe nearby. A quick wipe of the seat and handle takes seconds.
- Ventilate after showers. Less moisture means less mildew around the base.
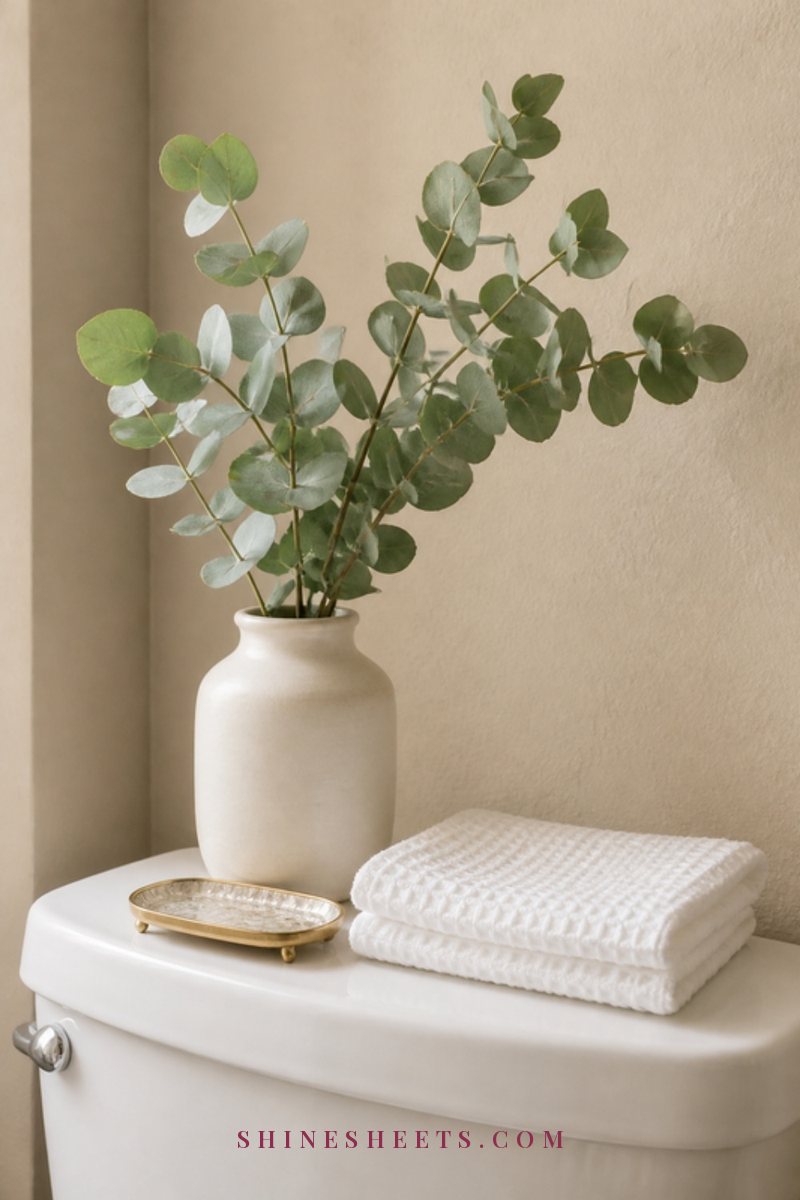
- Keep the area simple. Fewer things on the tank lid means easier wiping. A small vase of eucalyptus looks lovely and is easy to lift.
- Use gentle freshening. An open window, a reed diffuser on a shelf, or one of the simple swaps in my natural cleaning guide.
And for the bathroom as a whole, my guide on keeping your bathroom clean every day has a short daily reset that makes the weekly clean even quicker.
How To Clean the Toilet Brush Itself
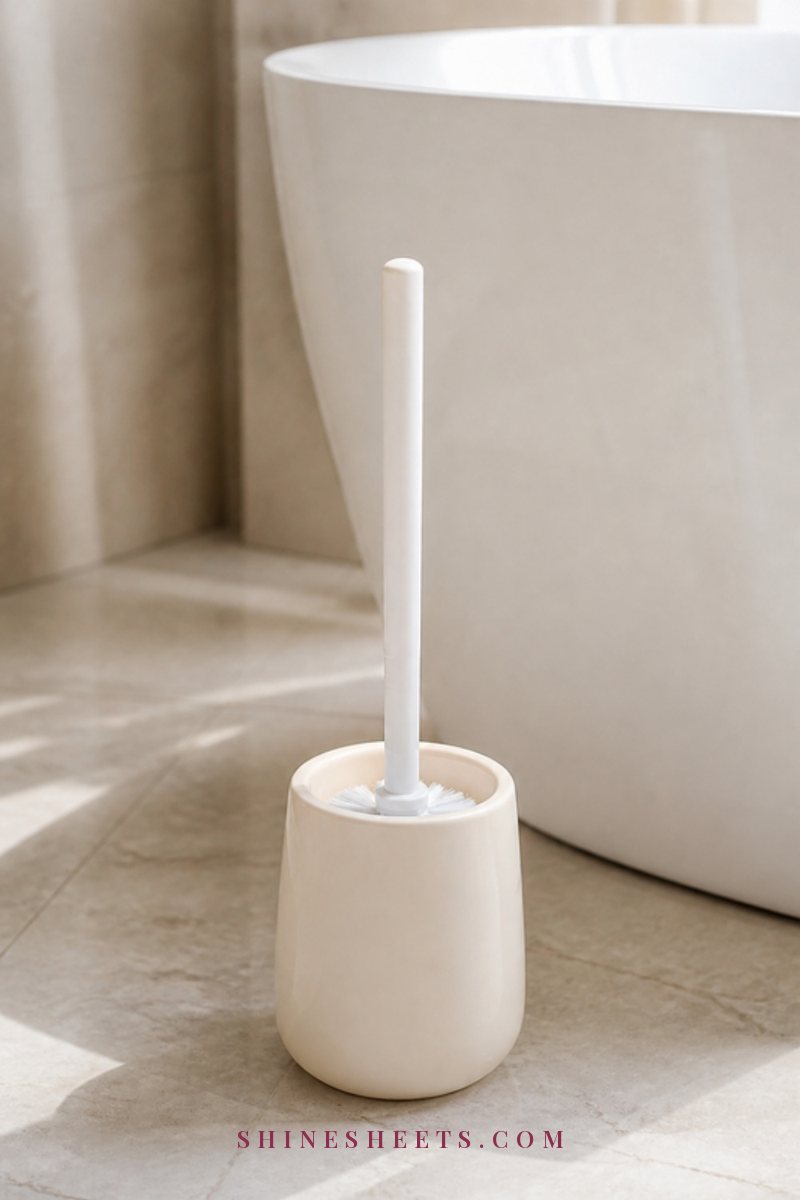
A toilet brush that goes straight back into its holder wet becomes a little puddle of germs and smell. Here's how to keep it clean:
- After every use: flush and rinse the brush in the clean flush water, then trap the handle between the seat and the bowl so the head hangs over the bowl and drips dry for a few minutes before you put it back.
- Once a month: fill the holder or a bucket with hot water and a disinfectant or a small amount of bleach, following the label dilution. Soak the brush head for about 10 minutes. Do not use vinegar or acids with bleach.
- Rinse and dry: rinse the brush in a flush, tip out the holder into the toilet, rinse it, and let both air-dry before reassembling.
- Replace it: when the bristles are flattened, discolored or splayed, usually every 6–12 months.
A holder with a removable inner cup is much easier to keep clean than a single solid piece.
A 2-Minute Clean for Busy Days
Some weeks the full routine just isn't happening, and that's fine. When guests are coming or you're short on time, this quick version keeps things fresh:
- Squeeze bowl cleaner under the rim and close the lid.
- Wipe the flush handle, lid and seat with a disinfecting wipe or a sprayed cloth.
- Give the base a quick wipe with a paper towel.
- Scrub the bowl, flush and let the brush drip dry.
It isn't a deep clean, but it covers the spots people notice and touch most. Do the full routine when the week calms down.
Common Toilet Cleaning Mistakes
- Mixing products. The most important one to avoid. One product, rinse, then the next.
- Scrubbing straight away. Cleaners need dwell time. Give them the full 5–10 minutes.
- Using the same cloth everywhere. Keep a separate cloth color for the toilet.
- Dry pumice. Always wet, always gentle, porcelain only.
- Abrasive powders on the seat. They can scratch plastic and wood finishes.
- Forgetting the base and floor. Often the real source of a lingering smell.
- Storing a wet brush. Let it drip dry first.
Final Thoughts
A clean toilet doesn't need scrubbing marathons or harsh fumes. It needs the right order, a little patience while the cleaner works, and a few minutes every week.
Put the gel in first, wipe from top to bottom, scrub, flush, and let the brush dry before it goes back. Do that once a week and save the ring removal for the monthly deep clean, and your bathroom will feel fresh and calm every time you walk in.