A greasy range hood filter is one of those kitchen jobs that hides in plain sight. You don't see it unless you look up, but you feel it: the fan sounds louder, cooking smells hang around longer, and a faint sticky film starts showing up on the cabinets nearby. The good news is that this is one of the most satisfying cleaning jobs in the whole house, because the before-and-after is so dramatic.
It took me far too long to realize that the filter is the part that does all the hard work. Every time you fry, sear or simmer, it catches the grease that would otherwise coat your cabinets, your walls and the fan motor. When it clogs, the whole hood stops doing its job.
This guide walks you through exactly how to clean a range hood filter: how to tell which type you have, how often to clean it, three cleaning methods with exact soaking times, the hood body and fan area, the safety basics and the mistakes that quietly ruin filters. There's also a quick table so you can match your filter to the right method in seconds.
Fill a large plastic basin or clear out your sink, put the kettle on, and let's get that grease gone.
Why Your Range Hood Filter Matters
A range hood pulls rising steam, smoke and tiny droplets of cooking oil away from your stovetop. The filter sits between those droplets and the fan, catching the grease before it reaches the motor or the ductwork. That's its whole job, and it does it quietly until it can't anymore.
Here's what happens when the filter fills up:
- Weaker suction. Grease narrows the tiny openings, so less air moves through. The fan works harder and sounds louder, but your kitchen still gets steamy.
- Lingering smells. Old grease holds onto odors. That stale fried-food smell that greets you the next morning often lives right in the filter.
- Sticky surfaces. Grease that the filter can't catch settles on cabinets, the backsplash and the top of the fridge. If your cabinet doors feel tacky, my guide on cleaning greasy kitchen cabinets without ruining the finish pairs perfectly with this one.
- Fire risk. A thick layer of grease is fuel. A clean filter is one of the simplest ways to keep a small stovetop flare-up from becoming something bigger.
None of this is meant to scare you. It's just a kind reminder that a twenty-minute job every few weeks protects your kitchen in a very real way.
How Often To Clean a Range Hood Filter
The honest answer depends on how you cook. A general rule I like:
- Every month if you cook most days, especially if you fry, stir-fry or sear meat often.
- Every 2 months if you cook a few times a week with moderate oil.
- Every 3 months if you mostly boil, steam, bake or reheat.
An easy test: run a fingertip over the filter. If it feels tacky or leaves a film on your skin, it's time. If you can see a yellow-brown coating or the holes look filled in, it's overdue (no judgment, most of us find it this way the first time).
Charcoal filters follow a different rhythm. They aren't cleaned at all, they're replaced, usually every 3 to 6 months. More on that just below.
If you like having reminders built in, add the filter to your monthly list. My daily, weekly and monthly cleaning schedule has a spot where it fits naturally.
Know Your Filter Type First
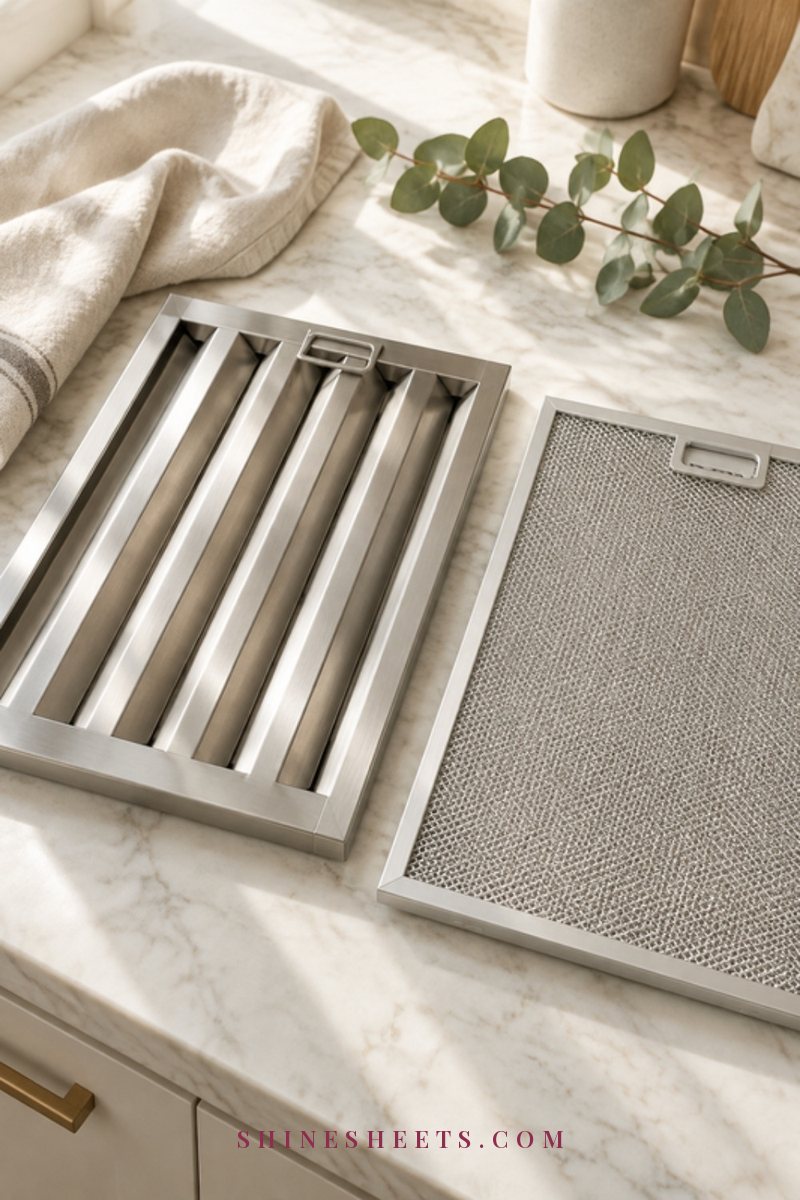
Before you grab a sponge, take thirty seconds to figure out which filter you have. The right method for one type can damage another.
Mesh Aluminum Filters
These are the most common in apartments and standard under-cabinet hoods. They look like several layers of fine, silver metal mesh in a thin frame, and they're light enough to lift with two fingers. Aluminum is soft, so it bends easily and it can darken or dull with harsh cleaners. Gentle soaking works best.
Baffle Stainless Steel Filters
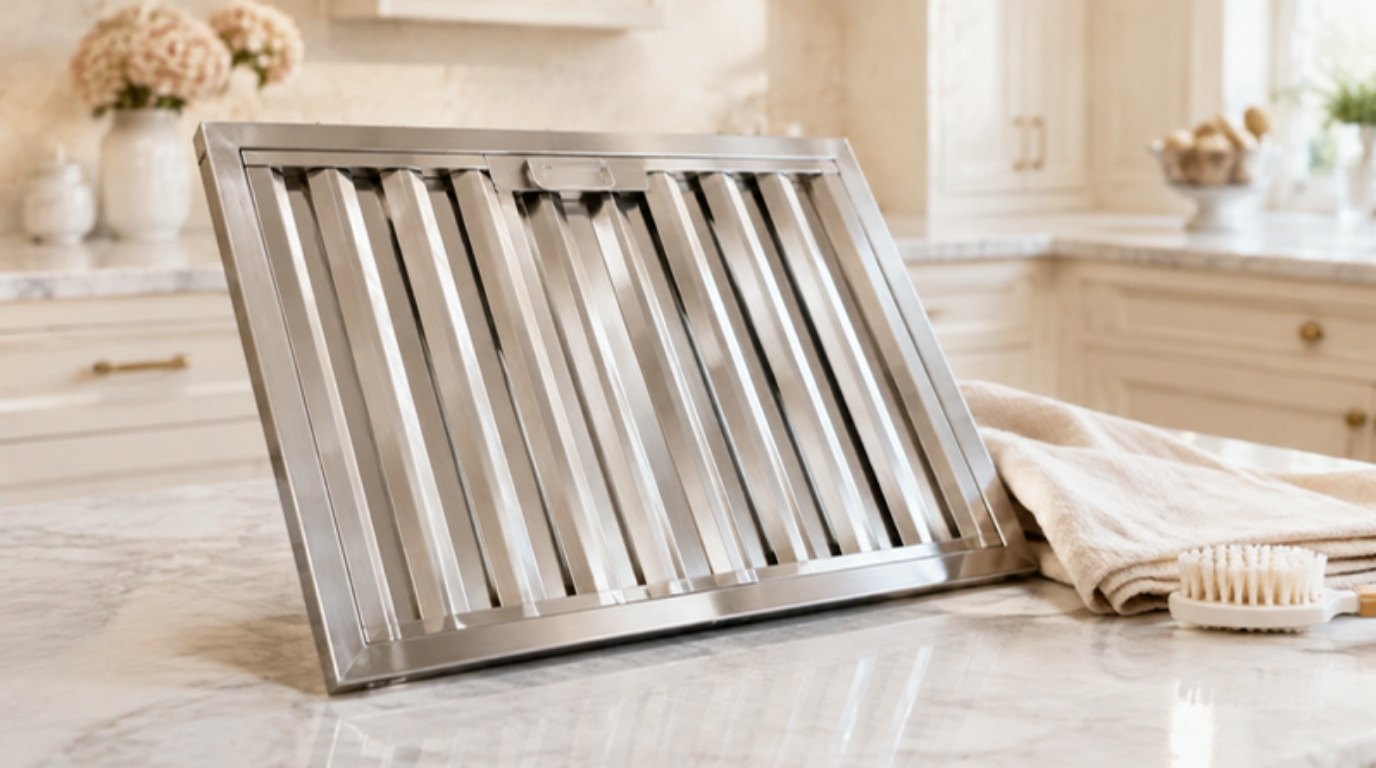
Baffle filters are heavier and made of angled, overlapping stainless steel panels, a bit like a row of shallow channels. You'll often find them on chimney-style or professional-look hoods. They're sturdy, they handle hot water and degreaser well, and many are dishwasher-safe.
Charcoal Filters (Replace, Don't Wash)
If your hood doesn't vent outside and instead blows air back into the room, it probably has a charcoal (carbon) filter, sometimes behind a metal grease filter. It looks like a dark pad or a black, granular panel. Charcoal absorbs odors, and once it's full, washing it doesn't bring it back; water actually ruins it. Check your hood's manual or the model number on the inside of the hood, then order a matching replacement charcoal filter and swap it every 3 to 6 months.
Range Hood Filter Guide at a Glance
Screenshot this table and keep it on your phone for the next time you're standing under the hood wondering what to do.
| Filter type | How to tell | Best cleaning method | How often |
|---|---|---|---|
| Mesh aluminum | Light, silver, several layers of fine mesh, bends easily | Hot water and degreasing dish soap soak, 15–20 minutes; short baking soda soak only if very greasy | Every 1–3 months |
| Baffle stainless steel | Heavier, angled overlapping steel panels, rigid | Boiling water and baking soda soak, dish soap soak or the dishwasher (if the manual allows) | Every 1–3 months |
| Charcoal (carbon) | Dark pad or black granular panel, often in non-vented hoods | Do not wash; replace with the matching model | Replace every 3–6 months |
| Combination (metal + charcoal) | Metal grease filter with a dark pad behind or attached | Clean the metal part as above; replace the charcoal part | Metal 1–3 months, charcoal 3–6 months |
What You'll Need
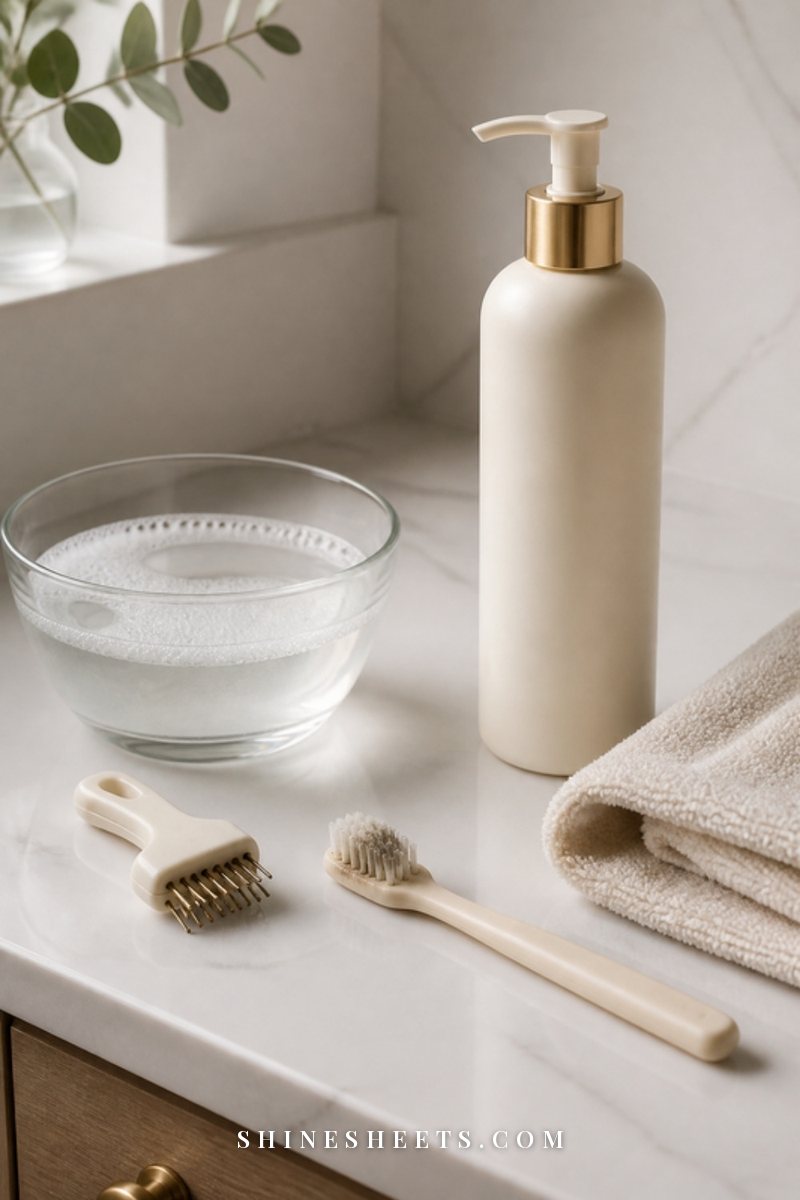
You don't need anything fancy. Most of this is probably already under your sink:
- A sink, a large basin or a deep baking pan big enough to lay the filter flat
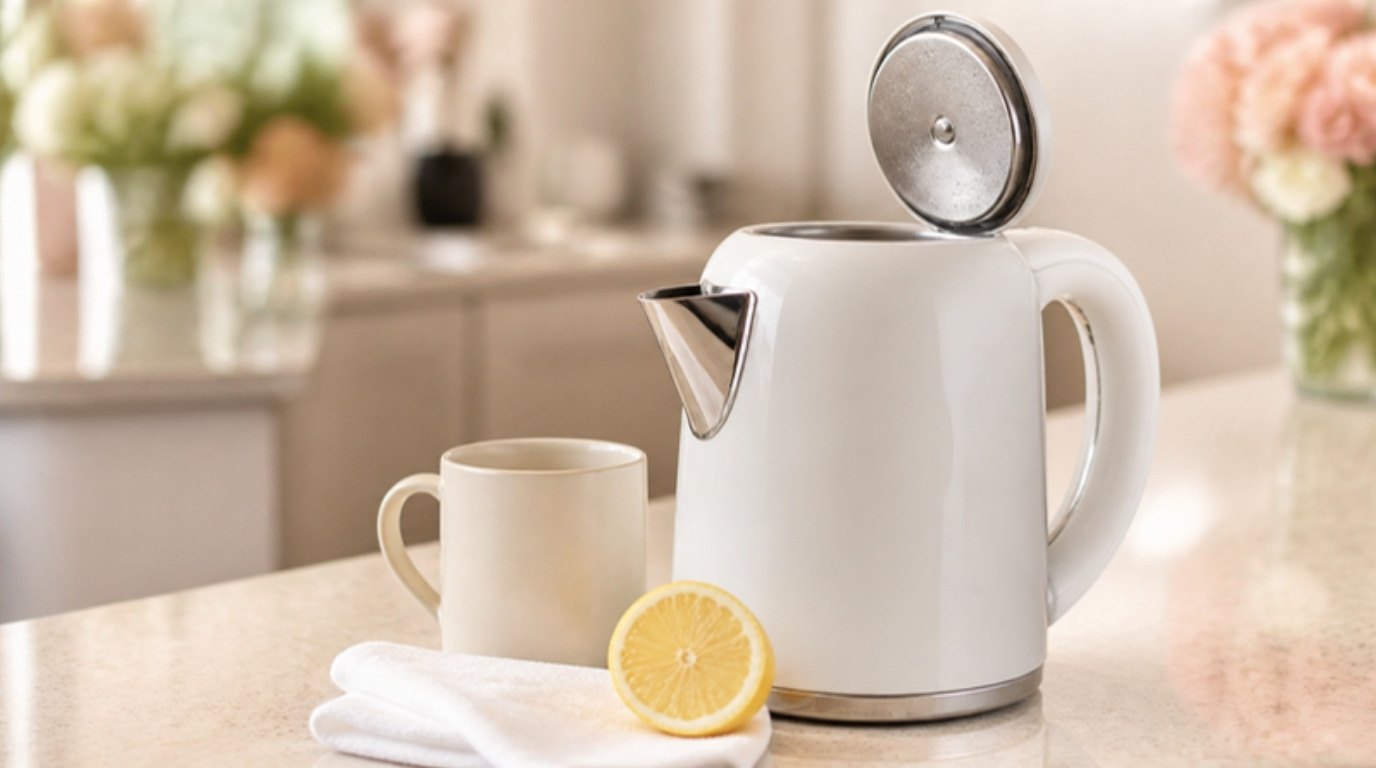
- A kettle or a large pot for hot or boiling water
- A degreasing dish soap (the kind made to cut through baked-on grease)
- Baking soda from the pantry (for the boiling water method)
- A soft-bristle scrub brush or an old soft toothbrush for the corners
- Heat-resistant rubber gloves, because the water will be hotter than you think
- A few soft microfiber cloths and a dry towel
How To Remove the Filter Safely
This part takes less than a minute, but a little care keeps your fingers and the filter in one piece.
- Turn everything off. Switch off the hood fan and light, and make sure the stovetop is off and cool. If your hood plugs in and the plug is easy to reach, unplug it.
- Look for the release. Most filters have a small tab, a spring latch or a ring pull on the front edge. Some simply slide sideways in a track.
- Support the filter with your other hand. Push or pull the tab, then let the filter tilt down into your palm instead of dropping. Baffle filters are heavier than they look.
- Watch for drips. Old grease can drip from the edges. Lay a towel on the stovetop first if your filter is very greasy.
- Note which way it went in. Many filters have arrows or a specific front side. Snap a quick photo if you're not sure.
3 Ways To Clean a Range Hood Filter
Pick one method based on your filter type and how greasy it is. You don't need all three; most of the time the dish soap soak does the job beautifully.
1. The Boiling Water and Baking Soda Soak
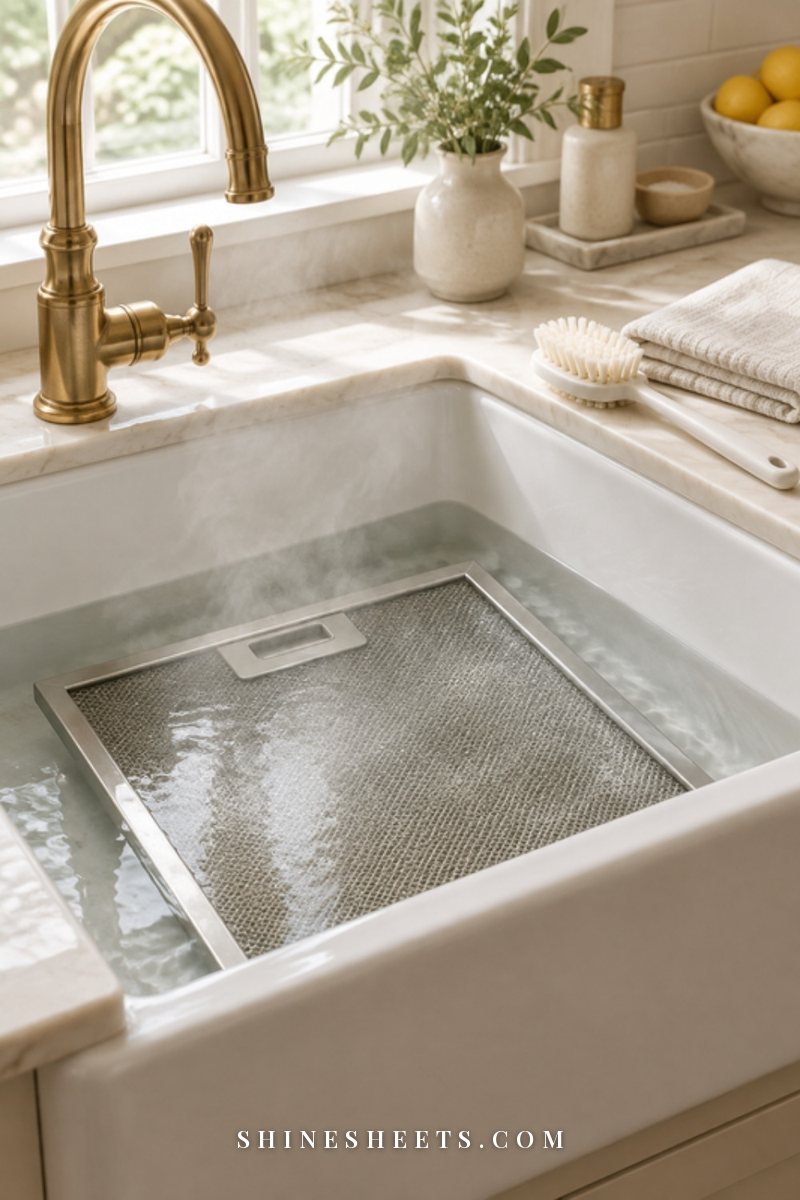
This is the heavy-duty option for thick, sticky buildup, and it works best on stainless steel baffle filters.
- Put the plug in the sink (or use your basin) and lay the filter flat inside.
- Boil a full kettle or a large pot of water. Carefully pour it over the filter until it's fully covered. Wear your gloves and pour slowly to avoid splashing.
- Sprinkle in about 1/2 cup of baking soda, a little at a time, so it doesn't foam over. Add a good squeeze of degreasing dish soap.
- Let it soak for 15–20 minutes for stainless steel. For aluminum mesh, keep it to 10 minutes at most, since baking soda can darken soft aluminum.
- Once the water is cool enough to touch with gloves, scrub gently with the soft brush, following the direction of the mesh or channels.
- If grease remains, drain, repeat with fresh water once, then move on to rinsing.
2. The Hot Water and Degreasing Dish Soap Soak
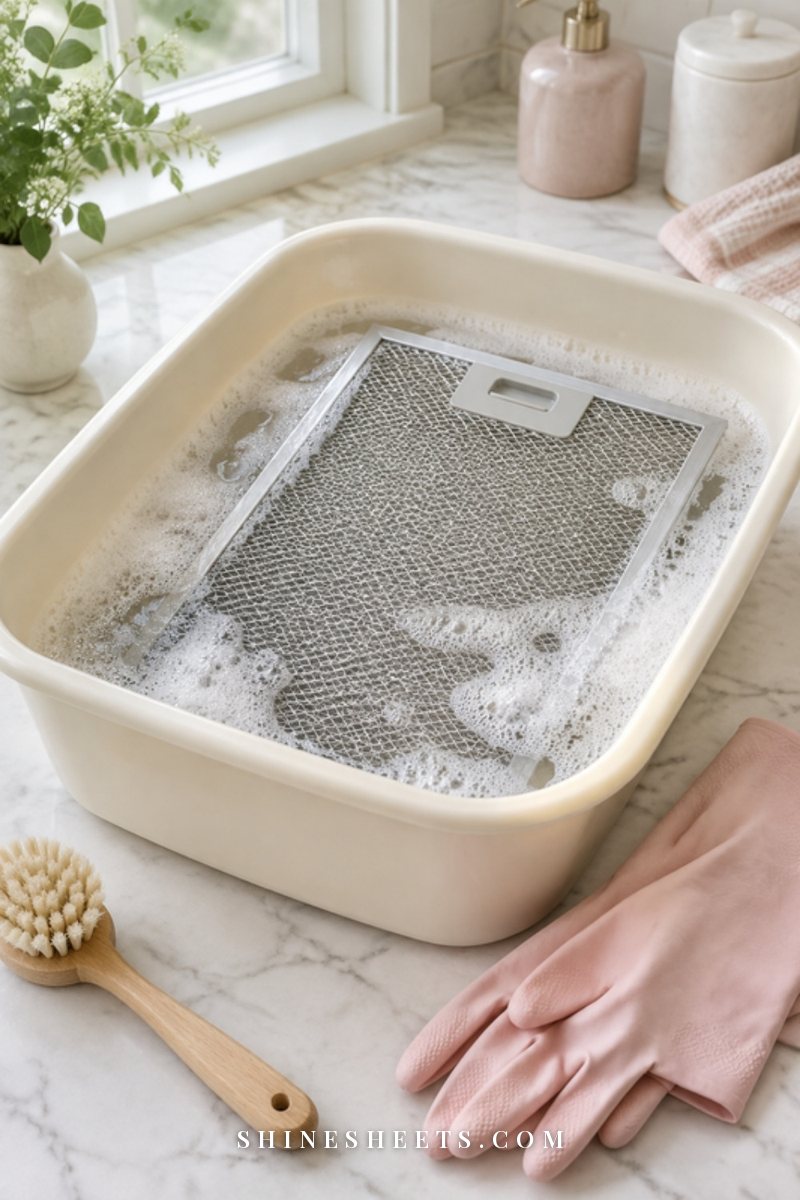
This is the gentle everyday method, and my first choice for aluminum mesh filters. It's also perfect for regular monthly cleaning when the buildup is light.
- Fill the sink or basin with the hottest tap water you can get, enough to cover the filter.
- Add about 2 tablespoons of degreasing dish soap and swish it around until it's sudsy.
- Lay the filter in and let it soak for 15–20 minutes. For heavy grease, give it up to 30 minutes and top it up with a little fresh hot water halfway through.
- Scrub gently with the soft brush on both sides. Use an old toothbrush for the frame edges, where grease loves to collect.
- Drain the cloudy water and rinse well.
3. The Dishwasher Method
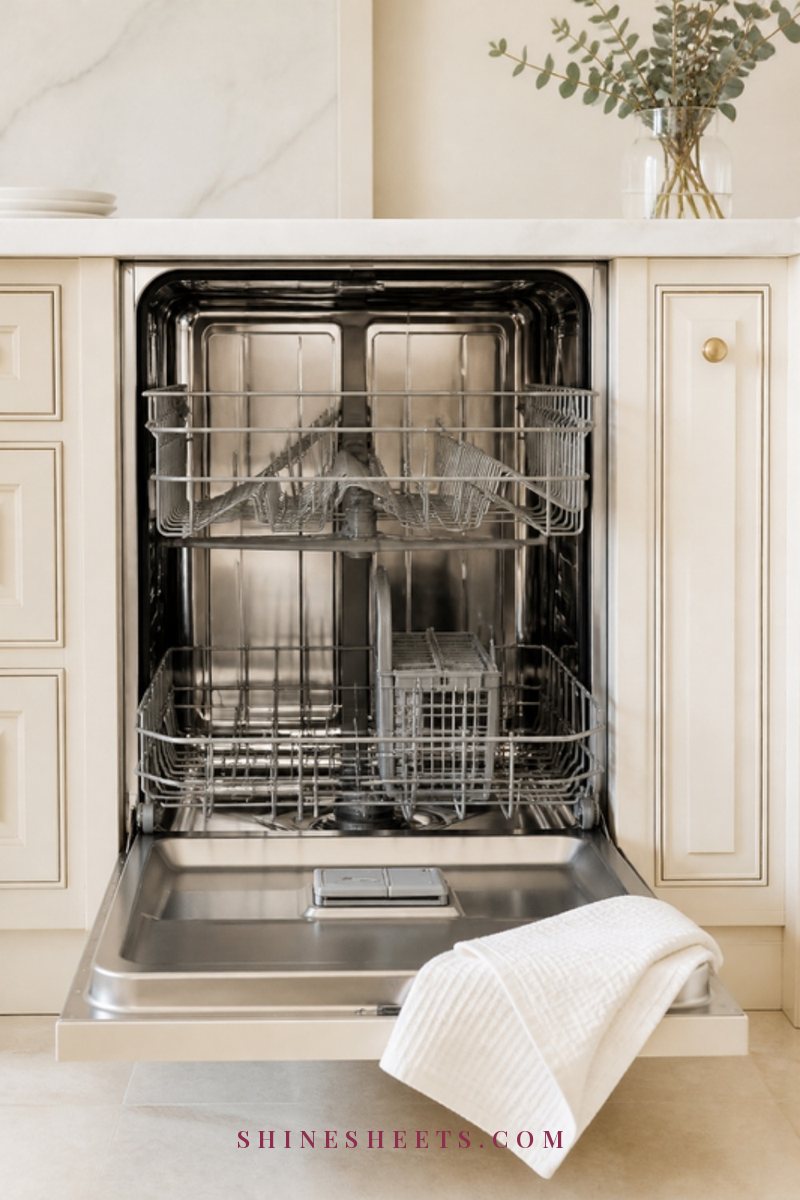
If your manual says the filter is dishwasher-safe (most stainless baffle filters are, some aluminum ones are), this is the easiest option of all.
- Scrape off any thick, gooey grease with a paper towel first so it doesn't end up on your dishes.
- Stand the filter upright in the bottom rack, with the dirtier side facing the spray arm.
- Run it on its own, or with other pots and pans, on a hot or heavy cycle.
- Skip the heated dry for aluminum filters and let them air-dry instead.
- Check it afterward; very greasy filters sometimes need a second run or a quick soap soak.
A small honest admission: aluminum filters can come out of the dishwasher slightly duller or darker. It doesn't affect how well they work, but if you care about the shine, stick with method two.
Rinse, Dry and Refit
Rinsing and drying are the steps people rush, and they matter more than you'd think.
- Rinse thoroughly under hot running water until no suds or cloudy streaks run off. Leftover soap attracts grease faster next time.
- Shake off the extra water over the sink, then pat with a dry towel.
- Air-dry completely, standing upright, for at least 1–2 hours. Mesh filters hold water between the layers longer than you'd expect.
- Refit it the same way it came out, matching any arrows, and click the latch until it feels secure.
Never put a damp filter back in. Moisture plus the next round of grease creates a sticky paste, and with electrical parts nearby, dry is always the safer choice.
Clean the Hood Body and Fan Area While the Filter Is Out
While the filter dries, use the opening to clean the parts you normally can't reach. It takes about ten extra minutes.
- Inside the hood: mix a few drops of degreasing dish soap with warm water in a bowl. Dip a microfiber cloth, wring it out well and wipe the inside surfaces. Rinse the cloth often.
- Around the fan: wipe only what you can reach easily without taking anything apart. Keep the cloth damp, never dripping, and stay away from wiring and the light socket.
- The light cover: if it's removable, wash it in the same soapy water and dry it fully before putting it back.
- The outside: for stainless steel, wipe in the direction of the grain and buff with a dry cloth. My guide to cleaning stainless steel appliances streak-free covers that finishing step in more detail. Keep a glass spray bottle of warm soapy water nearby for quick wipe-downs between deep cleans.
- The control buttons: wipe with a barely damp cloth, never spray directly on the panel.
If you're already on a roll, this is a natural moment to tackle the stove below too. My guide on how to clean your oven naturally uses a similar low-fume approach.
Safety Notes
Cleaning a filter is low-risk, but a few habits keep it that way:
- Power off first. Switch off the fan and light, and unplug the hood if the plug is accessible.
- Gloves for hot water. Boiling water and slippery metal are a tricky pair. Heat-resistant gloves protect your hands and help you grip.
- Never mix cleaners. Don't combine bleach with vinegar, ammonia or other products. Dish soap and hot water, or baking soda and hot water, are all you need here.
- Open a window. Even mild cleaners and hot steam feel better with fresh air moving through.
- Let the stovetop cool. Don't reach over hot burners to remove or refit the filter.
- Grease fires: if a pan ever catches fire, never pour water on it. Turn off the heat and slide a lid over the pan. This is exactly why keeping the filter clean matters.
5 Mistakes That Ruin Range Hood Filters
Most filter damage comes from trying too hard. Here are the five mistakes I'd avoid:
- Using a wire brush or steel wool. They scratch stainless steel and tear aluminum mesh. A soft-bristle brush plus a good soak does the work for you.
- Spraying oven cleaner on aluminum. Oven cleaner is very strong and can corrode or blacken aluminum filters. Keep it for the oven, if you use it at all, never the mesh.
- Bending the filter to force it out or in. A bent frame leaves gaps, and grease slips right past it into the fan.
- Washing a charcoal filter. Water fills the carbon and it stops absorbing odors. Replace it instead.
- Refitting it wet. Trapped moisture mixes with fresh grease and creates a sticky layer that clogs the filter faster.
When To Replace a Metal Filter Instead
Metal filters last for years, but not forever. Even with gentle care, a few signs tell you a replacement will serve you better than another soak:
- Holes or tears in the mesh. Grease slips straight through the gaps and coats the fan.
- A bent or warped frame that no longer sits flush, even after you carefully press it straight.
- Grease that won't budge after two full soaks, usually a sign it has hardened deep between the layers.
- Corrosion or flaking, often on aluminum filters that have met harsh cleaners in the past.
To find the right replacement, look for the model number on a sticker inside the hood (you'll usually spot it once the filter is out) and measure the filter's length, width and thickness. Matching both is the easiest way to get a filter that clicks in properly the first time. Replacement metal filters aren't expensive, and a well-fitting new one makes the hood quieter and stronger right away.
Keep Grease From Building Up Again
A few small habits stretch the time between deep cleans and keep your kitchen smelling fresh:
- Turn the hood on before you start cooking, not halfway through, and leave it running for 10–15 minutes after you finish.
- Use a lid or a splatter screen when frying to cut down on airborne oil.
- Wipe the outside of the hood weekly with a damp, soapy cloth so grease never gets the chance to bake on.
- Do a quick 10-minute soap soak every few weeks instead of waiting for a big scrub session.
- Add it to a bigger reset. The filter is a natural part of a seasonal kitchen deep clean; my top-to-bottom kitchen deep clean plan shows where it fits in.
Once it's routine, the whole job turns into a short soak while you put the kettle on for an evening tea, and that's my favorite kind of chore.
Final Thoughts
A clean range hood filter is a small thing that makes your whole kitchen feel lighter. The air clears faster, the cabinets stay less sticky and the fan finally sounds calm again.
Start with the gentlest method that fits your filter, give it time to soak, dry it completely and let the hot water do most of the work. Your kitchen will thank you every single time you turn on a burner.