A coffee maker can look spotless on the outside and still be quietly working against you on the inside. Mineral scale builds up in the water lines, old coffee oils cling to the basket and carafe, and the result is slower brewing, lukewarm cups and coffee that tastes a little bitter no matter which beans you buy.
The good news is that cleaning it takes very little effort once you know the order. A daily rinse, a weekly wash and a descale every month or two keep almost any machine running like new.
This guide walks you through how to clean a coffee maker with vinegar and without it, plus what to do for single-serve pod machines, espresso machines and a French press. You'll also find a simple schedule table so you know exactly what each machine needs and how often, with no guesswork.
Signs Your Coffee Maker Needs Cleaning

Your machine usually tells you it needs attention long before it stops working. Look for these signs:
- The brew takes longer than it used to. Scale narrows the water lines, so water moves through more slowly.
- Your coffee tastes bitter, flat or slightly sour. Old oils turn rancid and mix with every fresh pot.
- The coffee isn't as hot. A scaled heating element works harder and heats less efficiently.
- You see a white, chalky crust in the reservoir, around the spray head or on the warming plate.
- There's a brown film in the carafe or a musty smell when you open the lid.
- The machine sputters, gurgles or leaves water in the reservoir after a brew cycle.
- A "descale" or "clean" light is on (many newer machines count cycles for you).
If you notice even one of these, it's time for a proper clean. If you notice three, your machine has been patiently waiting for a while (no judgment at all, it happens in every kitchen).
Check Your Manual First
Before you pour anything into the reservoir, take two minutes to look up your machine's manual. I know, it's the least exciting step, but it's the one that protects your coffee maker and your warranty.
Some brands recommend white vinegar. Others specifically say not to use vinegar, because it can wear down certain seals or leave a smell in internal parts, and they ask you to use their own descaler or a citric acid solution instead. Many espresso machines and pod machines have a dedicated descaling mode that runs the solution through in a specific order.
If you've lost the paper booklet, search your model number on the brand's website. Most manuals are there, and the descaling page is usually short. Whatever the manual says wins over any general guide, including this one.
What You'll Need
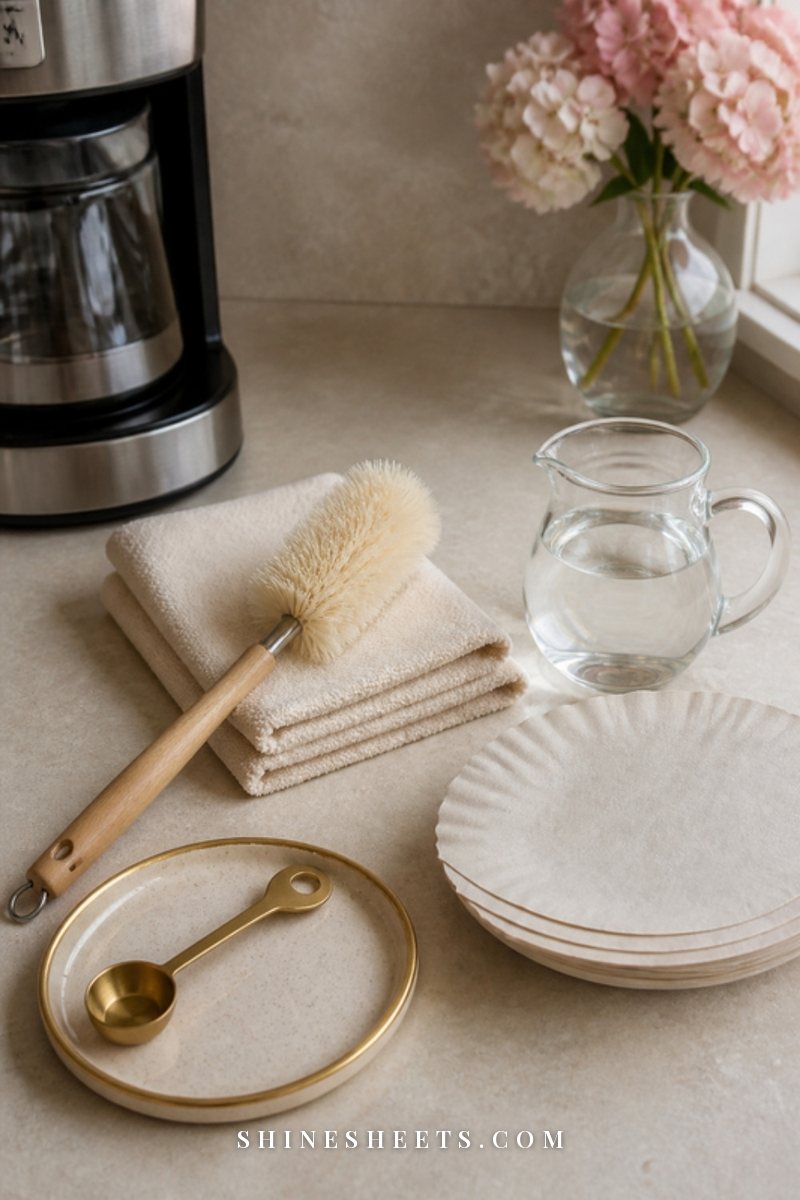
You don't need much, and most of it is probably already under your sink:
- A descaler. Plain white vinegar works for many drip machines. For anything that says no vinegar, use a liquid descaling solution made for coffee machines or a citric acid descaler powder.
- Mild dish soap and warm water for removable parts.
- A soft brush. A soft bottle brush set with a long brush for the carafe and a slim one for spouts and corners makes this job so much easier.
- A non-scratch sponge and a microfiber cloth for wiping.
- Paper filters (for drip machines) to catch any loosened scale during descaling.
- A toothpick or small brush for the tiny holes in the spray head.
How To Clean a Coffee Maker With Vinegar
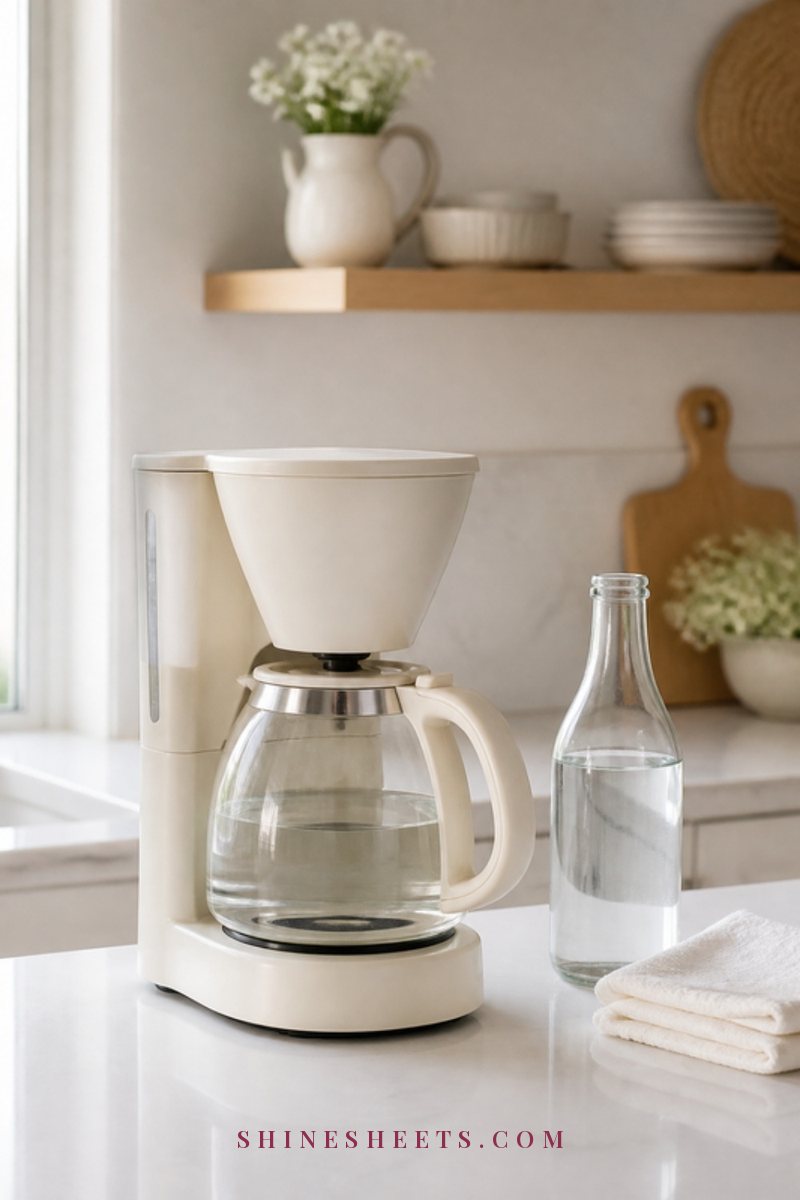
This method works for most standard drip coffee makers whose manual allows vinegar. Set aside about an hour and a half, though most of that time you can walk away.
- Empty and rinse. Throw out any old grounds and filters, rinse the carafe and the basket, and make sure the reservoir is empty.
- Mix the solution. Fill the reservoir with equal parts white vinegar and water. If your reservoir holds 12 cups, that's 6 cups of each. For a light, regular clean, a one-third vinegar to two-thirds water mix is usually enough.
- Add a paper filter to the empty basket. It catches flakes of scale that break loose.
- Brew half a cycle. Start the brew and switch the machine off when the carafe is about half full.
- Let it sit for 30–60 minutes. This pause gives the vinegar time to dissolve the mineral buildup inside the heating element and tubes. For a heavily scaled machine, an hour is better.
- Finish the cycle. Turn the machine back on and let the rest of the solution run through.
- Discard and rinse. Pour out the solution, throw away the filter and rinse the carafe.
- Run 2–3 cycles of fresh water. Fill the reservoir with clean water and brew a full cycle. Let the machine cool for a few minutes between cycles. Repeat until you can't smell any vinegar.
- Wipe everything down. Wipe the warming plate (once it's completely cool), the outside and the area under the lid with a damp cloth.
A little tip: sniff the carafe after the second rinse cycle. If you still smell vinegar, run a third. Nobody wants a hint of salad dressing in their morning latte.
If you love this kind of mineral-busting reset, the same idea works beautifully for your kettle, and I've written a full guide on how to descale a kettle that takes about the same amount of time.
How To Descale a Coffee Maker Without Vinegar
Maybe your manual says no vinegar, or maybe you simply can't stand the smell. Both options below are gentle, effective and easy to rinse.
With Citric Acid
Citric acid is what many commercial descalers are based on, and it has almost no smell. Dissolve about 1 tablespoon of citric acid powder in roughly 1 liter (about 4 cups) of warm water, or follow the amount on the package. Pour it into the reservoir and use the same half-cycle method as above: brew halfway, pause for 20–30 minutes, finish the cycle, then run 2–3 cycles of fresh water.
Citric acid tends to work a little faster than vinegar, so you can usually skip the full hour of waiting.
With a Store-Bought Descaling Solution
This is the easiest option, and the one many manufacturers recommend. Follow the label exactly, since concentrations vary. Some solutions go in undiluted, others need to be mixed with a specific amount of water. If your machine has a descaling program, start that program and let the machine guide you through the steps.
Whatever you use, never mix two different descalers, and never add bleach to a coffee maker. Bleach is hard to rinse out completely, and mixing it with acidic cleaners like vinegar can release harmful fumes.
How To Clean the Carafe and Filter Basket
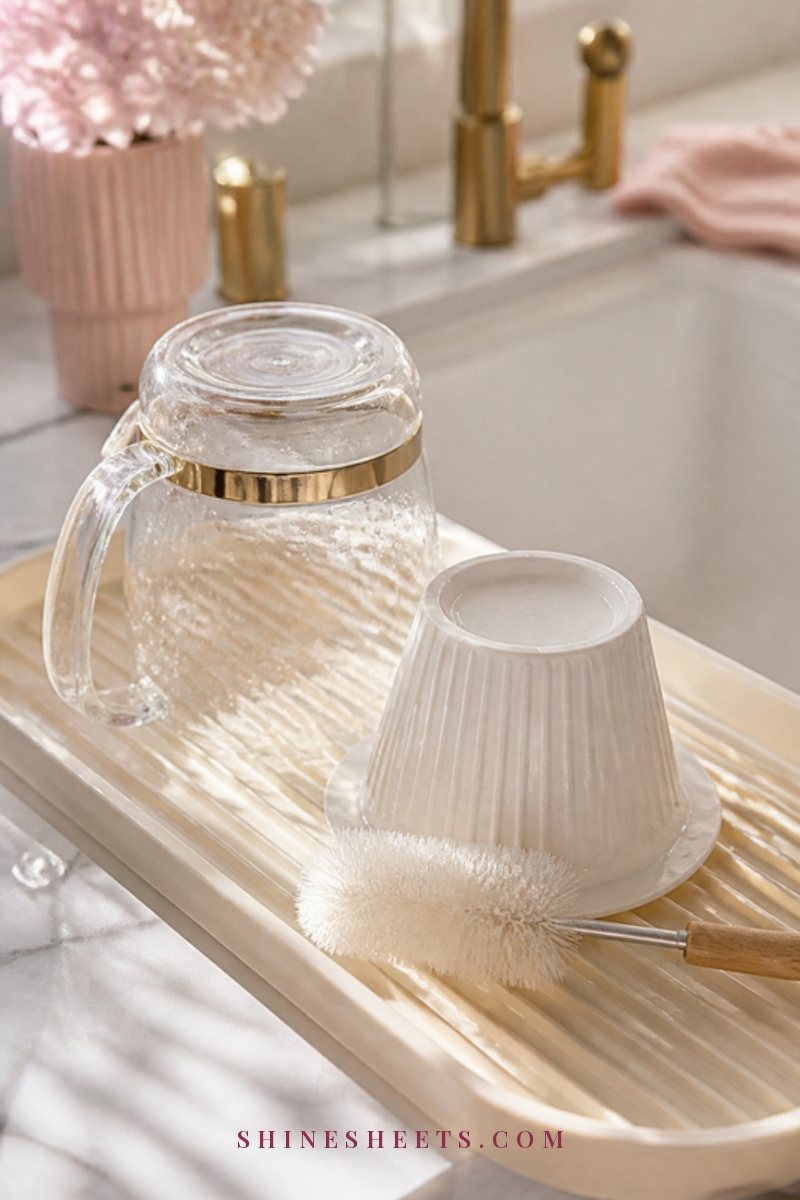
Descaling takes care of the inside. The carafe and basket need their own regular wash, because this is where coffee oils build up most.
- Daily: Empty the carafe, rinse it with hot water and let it air dry. Rinse the filter basket too.
- Weekly: Wash both in warm water with a few drops of dish soap. Use a long, soft brush for the carafe and a small brush for the basket's drip valve and corners. Rinse well.
- For a stubborn brown film: Fill the carafe with warm water and a little dish soap, let it soak for 15–20 minutes, then scrub gently with a soft brush. Skip steel wool or gritty powders, since they can scratch glass and make stains cling even more.
- Dishwasher: Many carafes and baskets are top-rack dishwasher safe, but not all. Check the manual, especially for thermal carafes, which usually need handwashing.
If you use a permanent mesh filter, wash it with soap after each use (or at least daily) and hold it up to the light. If the tiny holes look clogged, soak it in warm soapy water for 10 minutes and brush gently. Many people love a reusable coffee filter basket because it cuts down on paper waste, but it only stays fresh if it gets rinsed right away.
Don't forget the spray head (the part above the basket where water drips out). Wipe it with a damp cloth and gently clear any clogged holes with a toothpick.
How To Clean a Single-Serve Pod Machine
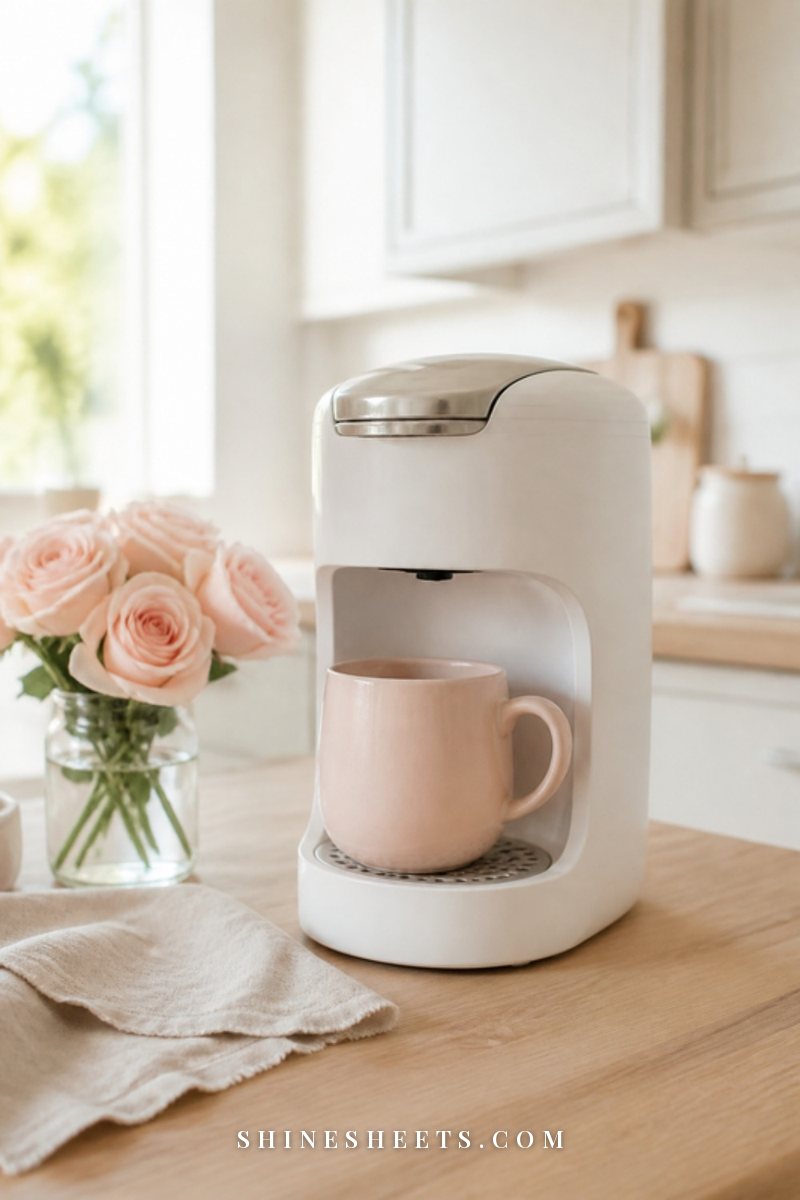
Pod machines are convenient, but they have two areas that need extra care: the water tank and the needles that pierce the pods.
- Wash the removable parts weekly. Take out the water tank, lid, drip tray and pod holder (if removable). Wash them in warm soapy water, rinse and dry. Some are dishwasher safe, so check your manual.
- Clean the needles every month or two. Unplug the machine first. Many brands include a small maintenance tool for clearing coffee grounds from the entrance and exit needles; otherwise, the manual usually shows how to use a straightened paper clip gently. Never poke while the machine is plugged in or hot.
- Descale every 3–6 months, or when the descale light comes on. Use the descaler the manufacturer recommends, and run the machine's descaling mode if it has one. Afterward, run at least 12 ounces of fresh water through several times (most manuals give an exact number of rinse brews).
- Run a cleaning cycle with a plain water brew (no pod) every week or so to flush out leftover coffee.
Tip: empty the water tank if you're going away for a few days. Standing water is the fastest way to a stale-tasting first cup.
How To Clean an Espresso Machine

Espresso machines vary so much that the manual really is your best friend here. Still, a few habits apply to most home machines:
- After every use: Knock out the puck, rinse the portafilter and basket, and run a short flush of water through the group head. Wipe the steam wand immediately with a damp cloth and purge it for 1–2 seconds so milk doesn't dry inside.
- Daily or weekly: Wash the portafilter basket, drip tray and water tank in warm soapy water. Wipe the shower screen with a damp cloth.
- Backflushing: Only do this if your manual says your machine is designed for it (it needs a specific valve and a blind basket). Backflushing a machine that isn't built for it can damage it.
- Descaling: Use the descaler your manufacturer recommends and follow the descaling program, often every 1–3 months depending on your water. Many espresso makers say no vinegar, so double-check.
- Bean-to-cup machines: Remove and rinse the brew unit weekly if it's removable, and use the cleaning tablets the manufacturer specifies.
How To Clean a French Press and Pour-Over

These simpler brewers have no hidden water lines, which makes cleaning quick.
French press: Scoop out the grounds into the trash or compost (not down the sink, since they can clog drains). Rinse the glass and plunger. Once a week, unscrew the mesh filter, plate and spiral, wash each part in warm soapy water with a small brush and let everything dry before putting it back together. A tiny bit of trapped coffee in the mesh is what causes that bitter edge.
Pour-over dripper: Rinse right after use. Wash with soap weekly. If a ceramic dripper has brown stains, a 15-minute soak in warm soapy water usually lifts them.
Gooseneck kettles: If you use one with your pour-over, it will scale up too, especially with hard water.
Daily Habits That Keep It Clean
The secret to a coffee maker that rarely needs a deep clean is a few tiny habits that take less than two minutes:
- Empty the grounds right after brewing. Damp grounds left in the basket for hours are a perfect home for mold.
- Rinse the carafe instead of letting the last half cup sit on the warming plate all day.
- Leave the lid open after your last brew so the reservoir and basket can air dry.
- Don't leave water sitting in the reservoir for days. Fill it fresh each morning.
- Wipe up drips on the warming plate and base as soon as the machine cools.
These habits also make your coffee station look lovely. If you're dreaming of a little setup that feels like a café at home, my coffee corner ideas have plenty of simple ways to style it (and a tidy corner makes it so much easier to remember the daily rinse).
How Often To Clean Your Coffee Maker
Here's the schedule table to keep near your machine (screenshot it, or tape a copy inside a cabinet door). It's the simplest way to know what each type needs without thinking about it every morning.
| Machine type | Quick clean | Deep wash | Descale |
|---|---|---|---|
| Drip coffee maker | Empty grounds, rinse carafe and basket daily | Carafe, basket and lid in soapy water weekly | Every 1–3 months (monthly with hard water) |
| Single-serve pod machine | Empty drip tray, wipe pod holder daily | Tank, tray and holder weekly; needles every 1–2 months | Every 3–6 months or when the light comes on |
| Espresso machine | Rinse portafilter, flush group head, purge steam wand after each use | Basket, tray and tank weekly; backflush only if designed for it | Every 1–3 months with the recommended descaler |
| Bean-to-cup machine | Empty grounds container and tray daily | Rinse brew unit weekly (if removable) | Follow the machine's descaling alert |
| French press | Discard grounds, rinse after each use | Take apart the filter and wash weekly | Not needed (descale your kettle instead) |
| Pour-over dripper | Rinse after each use | Soap wash weekly | Not needed |
If you like having all your home tasks in one place, add the descaling reminder to your cleaning schedule once a month. It takes a job you'd otherwise forget and makes it automatic.
Why Filtered Water Makes a Difference
Most of the white crust inside a coffee maker comes from minerals in tap water, mainly calcium and magnesium. If you live in a hard water area, your machine will scale up faster, and you'll often see the same chalky residue on your faucets and shower glass.
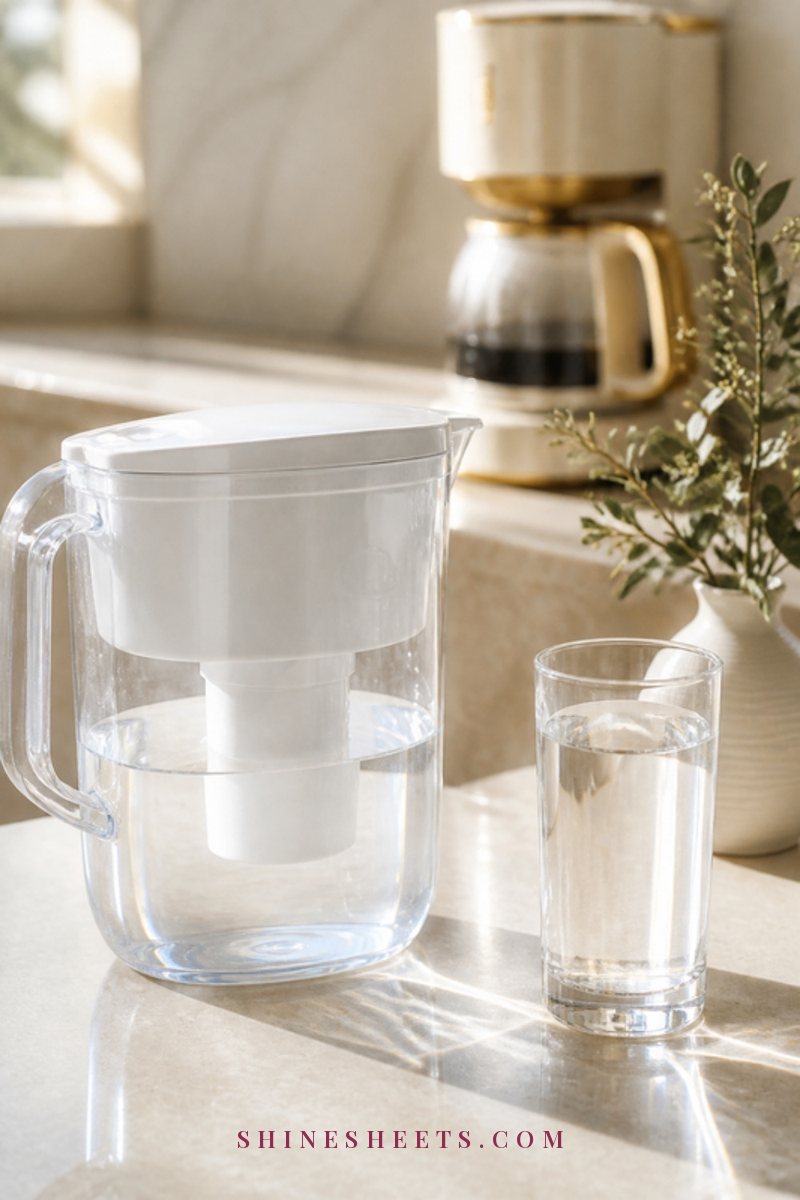
Using filtered water does two lovely things at once. It slows scale buildup, so you descale less often, and it often makes coffee taste cleaner. A simple option is a white water filter pitcher kept in the fridge or next to the machine. Remember to change the filter cartridge as often as the package says, because an old filter doesn't do much.
One small note: some espresso machine manuals advise against fully demineralized or distilled water, because a little mineral content helps the machine sense water levels and helps flavor. Check what yours recommends.
If hard water is leaving its mark all over your kitchen and bathroom too, my guide on how to remove hard water stains covers faucets, glass and tiles.
Common Coffee Maker Cleaning Mistakes
A few small slip-ups can undo all your good work, or even shorten your machine's life:
- Skipping the rinse cycles. One rinse is rarely enough. Two to three fresh water cycles are what keep your next pot from tasting like vinegar or descaler.
- Using vinegar when the manual says not to. It can void the warranty and wear down seals in some machines.
- Using too strong a solution "just to be safe." Stronger isn't better. Follow the ratio or the label.
- Submerging the base. The base holds electrical parts. Wipe it with a damp cloth only, with the machine unplugged.
- Scrubbing with abrasive pads. They scratch glass carafes and plastic tanks, and scratches hold onto stains and oils.
- Cleaning a hot warming plate. Always let it cool completely first.
- Forgetting the reservoir lid and spray head. These hidden spots collect moisture and coffee residue.
A Few Safety Notes
Coffee makers combine water, heat and electricity, so a little care goes a long way:
- Always unplug the machine before wiping the base, cleaning needles or reaching into any internal area.
- Let the warming plate and any steam parts cool fully before touching them.
- Never mix bleach with vinegar or ammonia, and don't use bleach inside a coffee maker at all.
- Open a window or turn on your range hood while descaling with vinegar if the smell bothers you.
- If your machine leaks, trips a breaker or smells like burning plastic, stop using it and contact the manufacturer.
When you're in a cleaning mood, it's lovely to keep the momentum going around the rest of the room. My guide on how to deep clean your kitchen walks you through the whole space, from the fridge to the backsplash, in a sensible order.
And because coffee is such a personal little ritual, let me add a small admission: coffee sometimes perks me up and sometimes makes me a bit jittery, so I tend to enjoy one good cup rather than three mediocre ones. A clean machine makes that one cup taste the way it should.
Final Thoughts
Cleaning your coffee maker isn't a big project. It's a few small habits and one easy reset every month or two. Empty the grounds, rinse the carafe, leave the lid open, and descale on a schedule that suits your water and your machine.
Your reward is coffee that tastes fresh, brews quickly and stays properly hot, plus a machine that lasts years longer. Pick a quiet morning this week, start the first half cycle and let the machine do most of the work while you enjoy your tea.