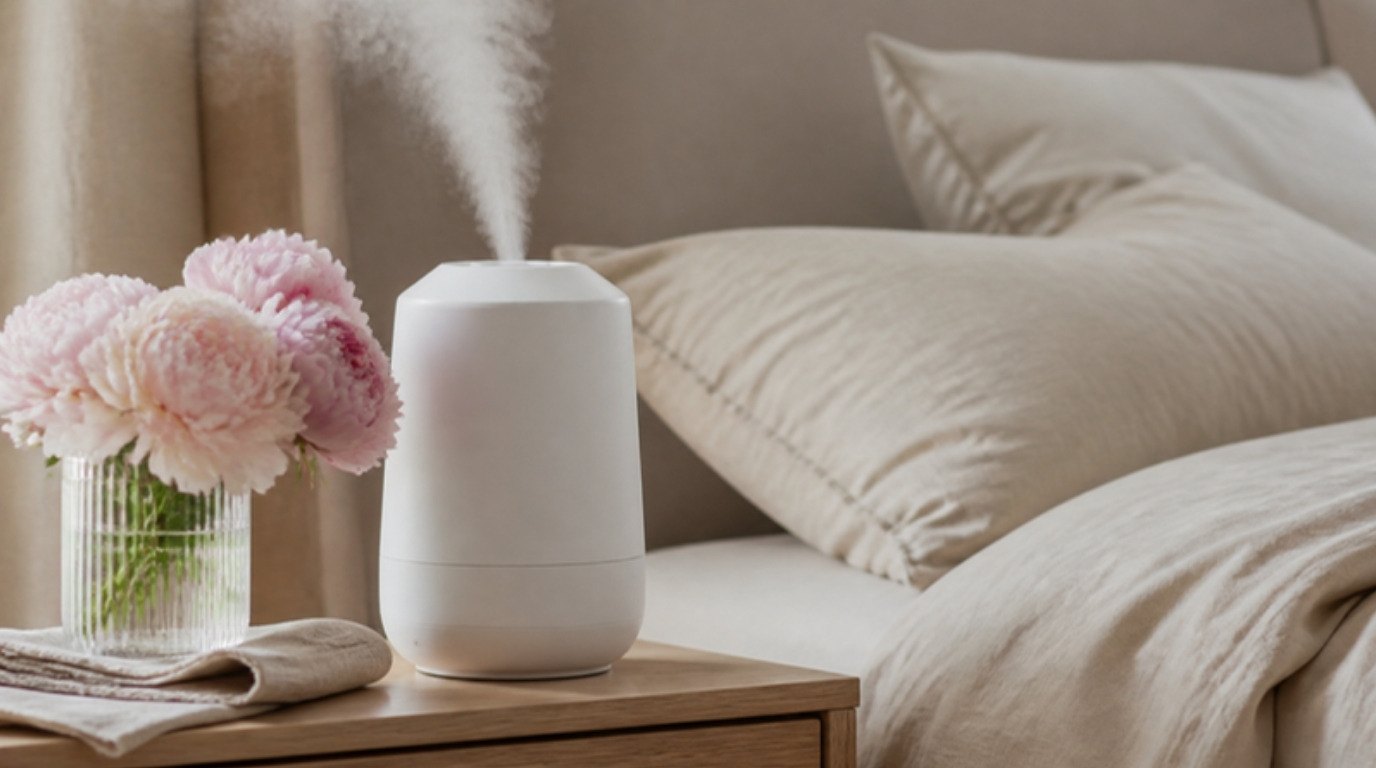
A humidifier can make winter feel so much softer: less static, less tightness in your skin, fewer mornings waking up with a dry throat. But it only helps when the water inside it is clean. Standing water, warmth and minerals are exactly what mold, bacteria and scale love, and a neglected humidifier can end up putting those into the air you breathe.
The reassuring part is that keeping it clean is simple once you have a rhythm. A one-minute daily habit, a 30-minute weekly descale and a proper disinfecting every couple of weeks or as your manual suggests will keep most humidifiers fresh all season. I'll admit it took me a while to accept that "refill and forget" is not a cleaning routine.
In this guide, I'll show you how to clean a humidifier and how often: the daily routine, weekly descaling with white vinegar, safe disinfecting, how to clean each type (cool mist, warm mist, ultrasonic and evaporative), how to reach the tricky parts, signs it needs attention and how to store it at the end of the season. You'll also find a cleaning schedule table you can screenshot and stick to.
Why Cleaning Your Humidifier Matters

Humidifiers hold water at room temperature or warmer, often for hours or days. Without regular cleaning, three things build up:
- Mineral scale: the chalky white crust from tap water minerals like calcium and magnesium. It clogs parts, makes the humidifier work harder and gives bacteria rough surfaces to cling to.
- Biofilm: a slippery, sometimes pink or orange film that forms when bacteria settle on wet surfaces.
- Mold: black, green or gray spots, usually in corners, seals and around the tank cap.
When the humidifier runs, it can release tiny droplets or particles from whatever is in the water. That's why health and safety guidance consistently recommends emptying, cleaning and drying humidifiers often, and following the manufacturer's instructions. If anyone in your home has asthma, allergies or a weakened immune system, a clean humidifier matters even more, and it's worth asking their doctor whether a humidifier is a good idea at all.
There's also a softer reason: a clean humidifier simply smells better. A faint musty or sour smell in a bedroom is often the humidifier asking for attention. If you're curious about how humidity helps skin and hair in the first place, my guide on humidifier benefits for skin and hair explains the ideal humidity levels.
Before You Start: Safety First
A few rules apply to every humidifier, every time you clean it:
- Always unplug it first and let warm mist models cool completely (at least 30 minutes) before handling.
- Read the manufacturer's manual. It tells you which parts can get wet, which cleaners are safe and whether any parts are dishwasher-safe. When in doubt, the manual wins over any general advice, including mine.
- Never get the motor base or electrical parts wet. Wipe them with a barely damp cloth only.
- Never mix cleaners. Bleach mixed with vinegar or ammonia releases harmful gases. If you descale with vinegar and then disinfect with bleach, rinse thoroughly with plain water in between, and never use them at the same time.
- Work in a ventilated room, and keep cleaning solutions away from children and pets.
- Rinse very well after any cleaner, so nothing ends up in the mist.
If you're interested in what's safe to combine around the home in general, my guide to natural cleaning and the combos never to mix is a handy reference.
Humidifier Cleaning Schedule
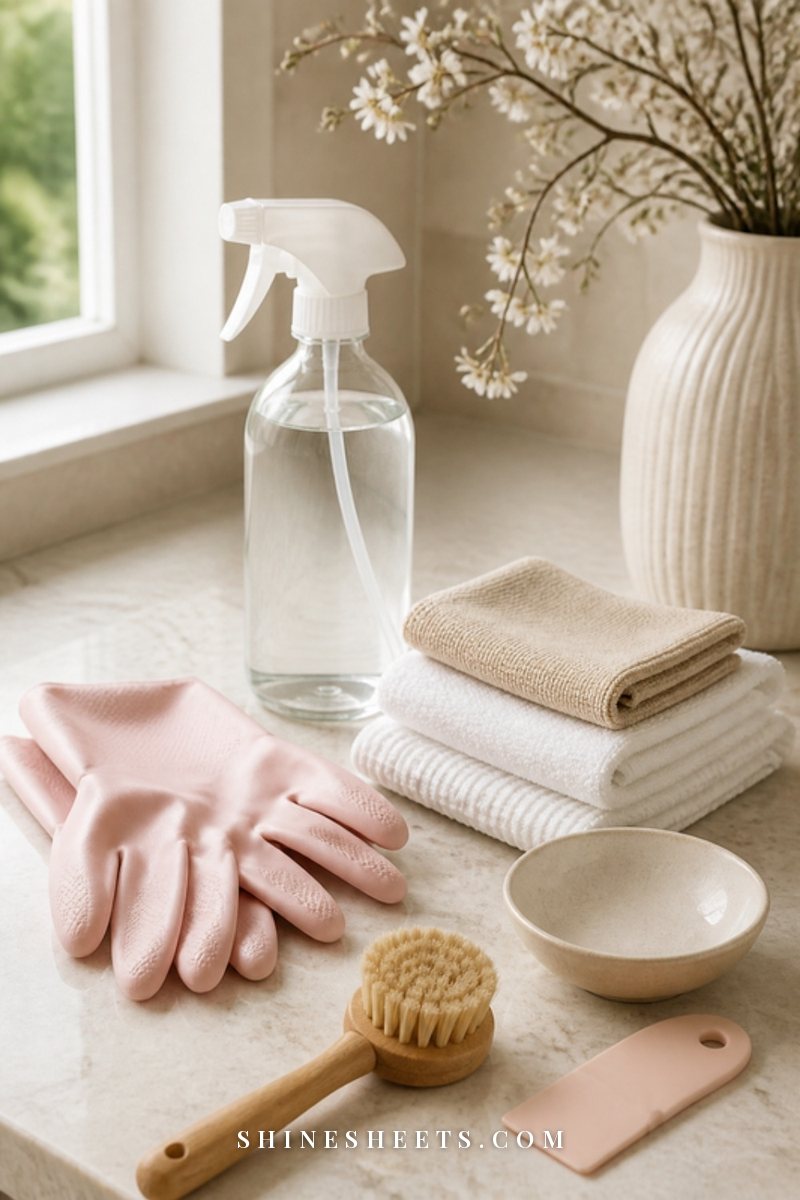
This table is the heart of the routine. It shows each task, how often to do it, what you'll need and how long it takes, so the whole job feels manageable. Screenshot it, or add it to your household rhythm.
| Task | How often | What to use | Time |
|---|---|---|---|
| Empty, rinse, dry and refill | Daily | Fresh water (distilled if possible), clean towel | 2–3 minutes |
| Wipe the outside and base | Every 2–3 days | Dry or barely damp microfiber cloth | 1 minute |
| Descale tank and base | Weekly (or as the manual says) | Undiluted white vinegar, soft brush | 20–30 minutes soak, 5 minutes rinse |
| Disinfect tank | Every 1–2 weeks, if the manual allows | Diluted bleach or 3% hydrogen peroxide (never both) | 20 minutes soak, thorough rinse |
| Clean the ultrasonic disc or heating element | Weekly | Vinegar on a soft brush or cotton swab | 5 minutes |
| Rinse or check the wick filter | Weekly | Cool water only (no soap unless the manual allows) | 2 minutes |
| Replace the wick or filter | Every 1–3 months, per the manual | Correct replacement filter | 2 minutes |
| Deep clean and dry for storage | End of season | Vinegar, disinfectant if allowed, towels | 1 hour plus drying |
To fit it into the rest of your home routine, my cleaning schedule for daily, weekly and monthly tasks has a natural spot for the weekly descale.
Daily Routine: Empty, Rinse, Dry, Refill
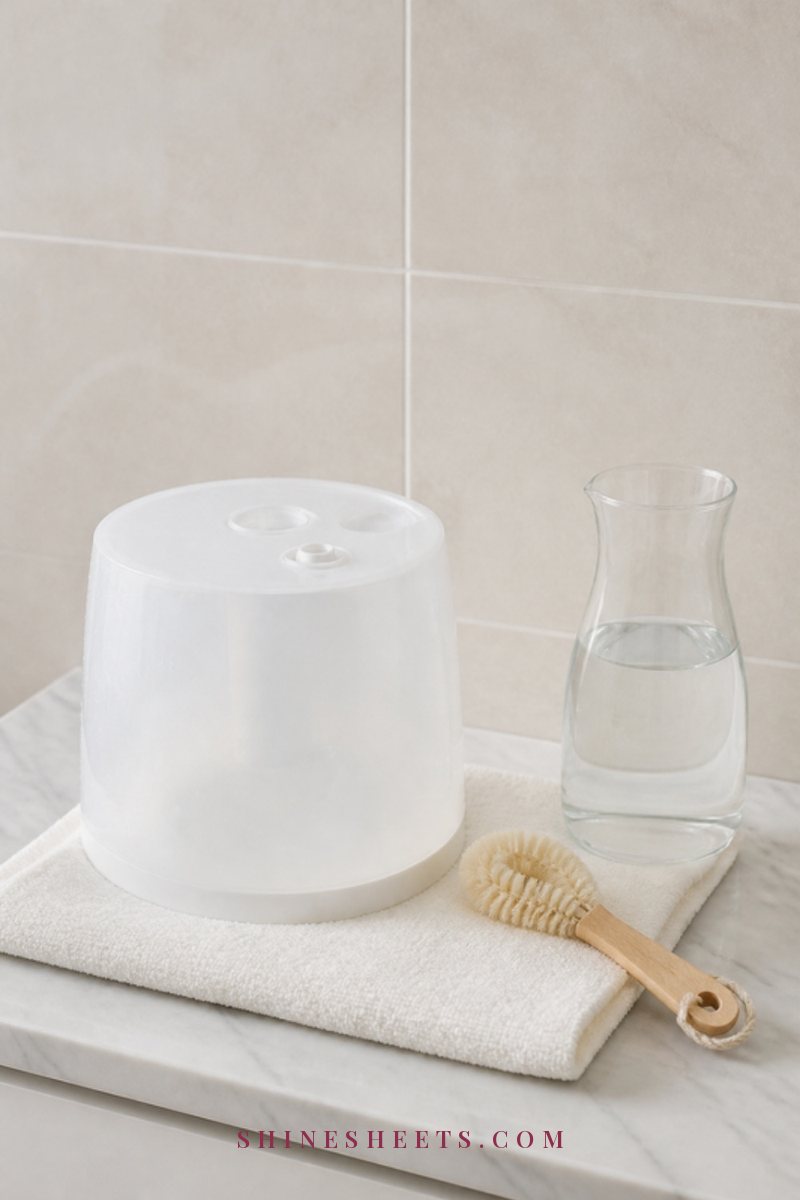
This tiny habit does more than anything else to keep a humidifier clean. Standing water is the main problem, so don't top up old water. Replace it.
- Unplug the humidifier.
- Empty the tank and base completely into the sink.
- Rinse both with clean water, swishing it around for a few seconds.
- Dry with a clean towel or let them air dry upside down for a few minutes. A soft microfiber cloth is perfect for wiping the inside of the base without leaving lint.
- Refill with fresh water just before you turn it back on.
About water: distilled or demineralized water is the best choice for most humidifiers, especially ultrasonic ones. Tap water contains minerals that leave scale in the tank and can turn into a fine "white dust" on furniture. Distilled water reduces both. If you use tap water, plan on descaling more often. Always check what your manual recommends, since some evaporative models are designed to work with tap water.
If you're away for a day or more, empty and dry the humidifier before you leave instead of letting water sit.
Weekly Descaling With White Vinegar
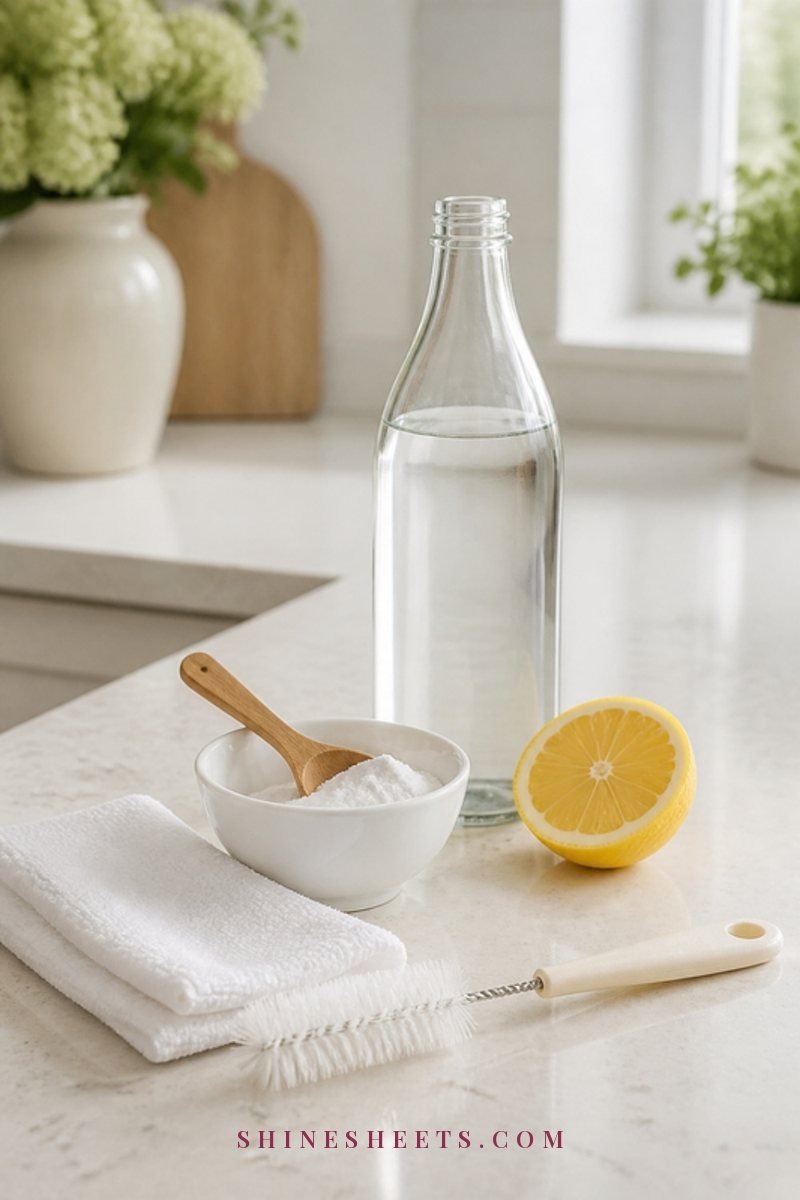
Descaling removes the mineral crust that daily rinsing can't. Most manufacturers recommend plain white vinegar for this step, but check your manual first.
- Unplug and empty the humidifier.
- Fill the tank partway with undiluted white vinegar (about 1–2 cups, or enough to cover any scale) and swish it around. Some manuals suggest a mix of vinegar and water; follow yours.
- Pour some vinegar into the base or reservoir, making sure it doesn't reach the motor or any electrical parts.
- Let it soak for 20–30 minutes. Heavy scale may need up to an hour.
- Scrub gently with a soft brush, paying attention to corners and the area around the water outlet.
- Pour out the vinegar and rinse thoroughly with clean water, three or four times, until the vinegar smell is gone.
- Dry with a towel and let the parts air dry before reassembling.
Some people prefer humidifier cleaning tablets instead of vinegar. If you go that route, choose ones made for humidifiers, check that your model is compatible, and follow the package directions on dose and soak time. If you descale your kettle, the same idea applies, and my guide on how to descale a kettle covers it.
How To Disinfect a Humidifier
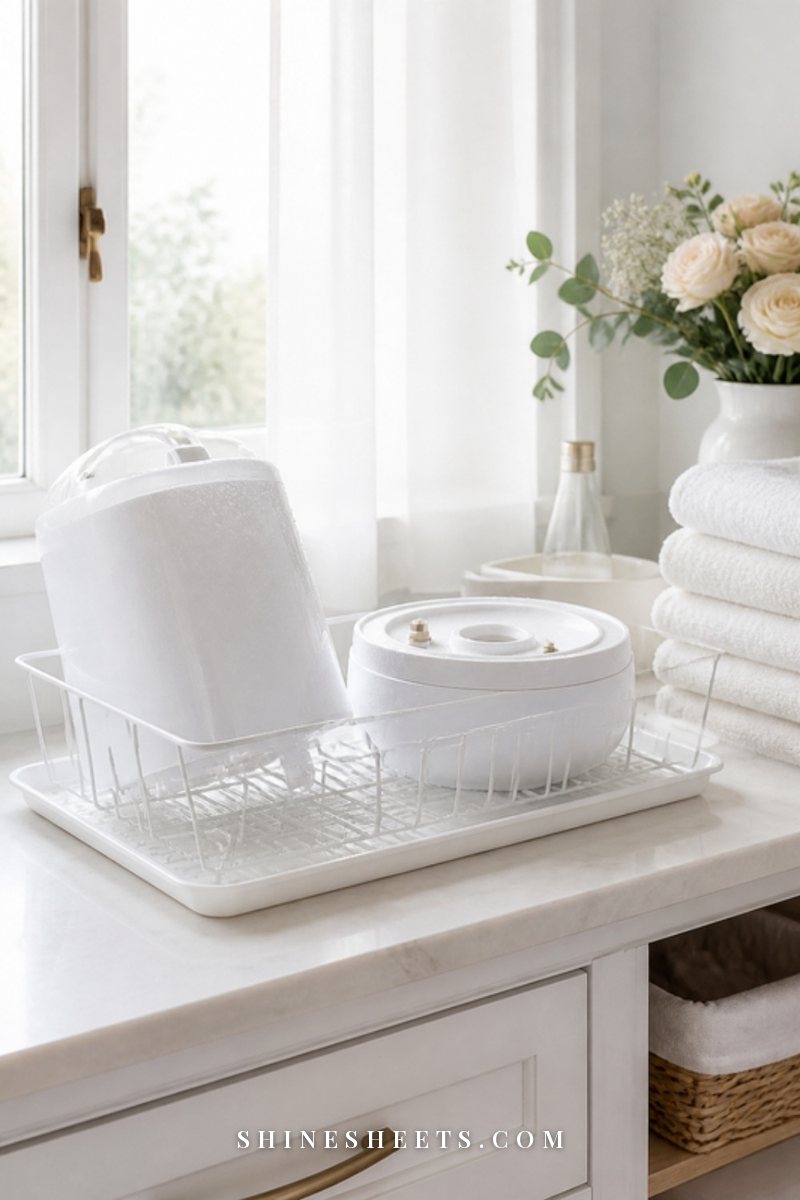
Descaling removes minerals, but it doesn't reliably disinfect. Every week or two, or whenever you see a film or smell something off, disinfect the tank, but only with a method your manual allows. Many manuals list one of these:
- Diluted bleach: a common guideline is about 1 teaspoon of regular unscented household bleach per gallon of water. Fill the tank, let it stand for 20 minutes, swish, then empty and rinse several times until there's no bleach smell.
- 3% hydrogen peroxide: pour enough into the tank to coat the inside, swish, let it sit for about 20–30 minutes, then empty and rinse thoroughly.
Important reminders:
- Use only one disinfectant at a time. Never combine bleach with vinegar, ammonia or any other cleaner.
- If you've just descaled with vinegar, rinse the tank thoroughly with water before adding bleach.
- Never run the humidifier with any cleaner inside it.
- Don't add essential oils, fragrance or disinfectant to the water unless your humidifier is specifically designed for it. They can damage plastic parts and aren't meant to be breathed in as mist.
After disinfecting, let all the parts air dry fully before refilling with fresh water.
How To Clean Each Type of Humidifier
The daily, weekly and disinfecting steps apply to almost every model, but each type has its own sensitive parts. Here's what to know.
Cool Mist Humidifiers
"Cool mist" usually means either ultrasonic or evaporative technology (more on both below). Most have a removable tank and a base with a small reservoir. Clean the tank and reservoir as described above, and check the tank cap and its seal, since mold loves the rubber gasket. Remove the gasket if your manual allows, soak it in vinegar for 10 minutes and scrub gently.
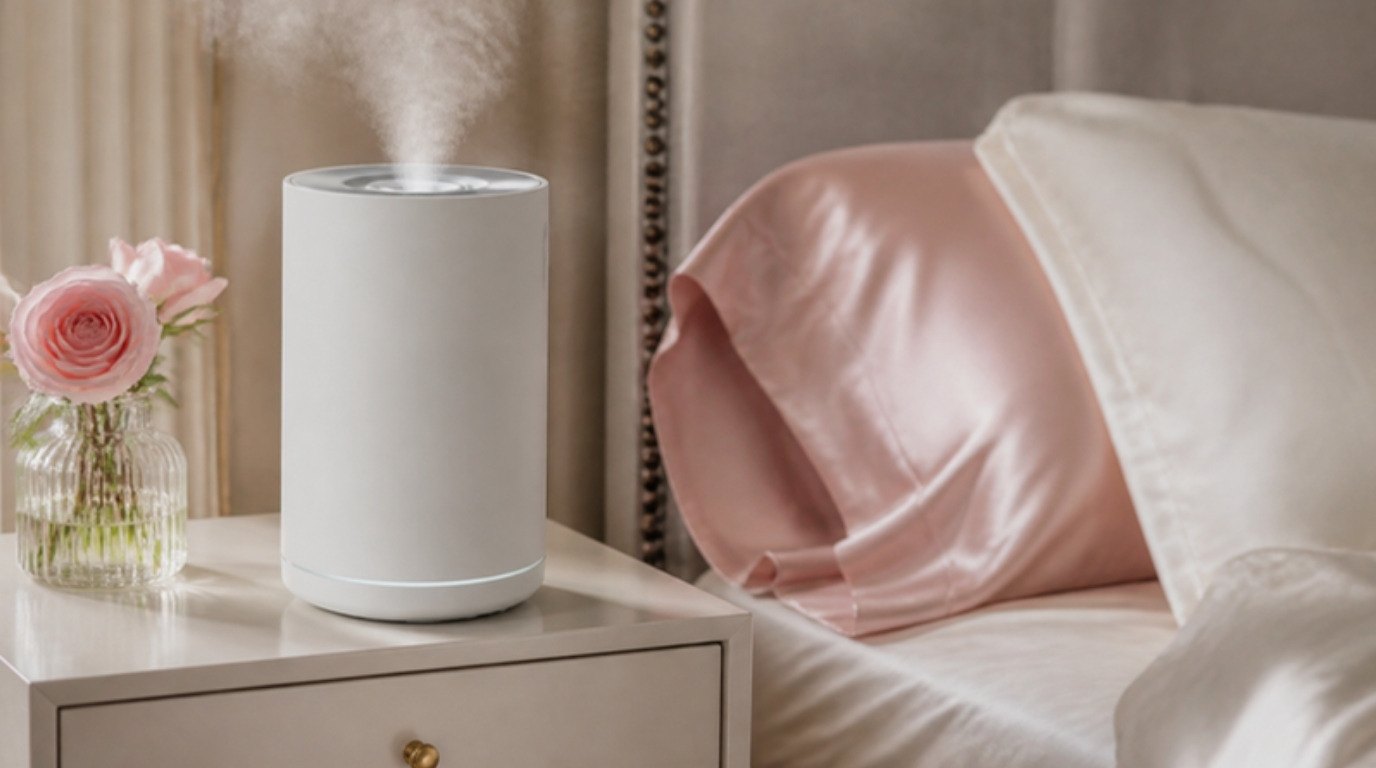
If you're shopping for a new one, a simple white cool mist humidifier with a wide-opening tank is a sweet pick for bedrooms. Look for a top-fill design or an opening wide enough for your hand, few hidden corners, an auto shut-off and clear cleaning instructions in the manual.
Warm Mist Humidifiers
Warm mist models boil water to create steam, which means scale builds up quickly on the heating element.
- Let the unit cool completely before cleaning.
- Descale the heating chamber with vinegar as the manual directs, usually by pouring vinegar into the chamber and letting it soak for 20–30 minutes.
- Gently scrub scale from the heating element with a soft brush. Never use metal tools.
- Rinse well and dry thoroughly before using again.
Keep warm mist humidifiers out of reach of children and pets, since the steam and hot water can cause burns.
Ultrasonic Humidifiers
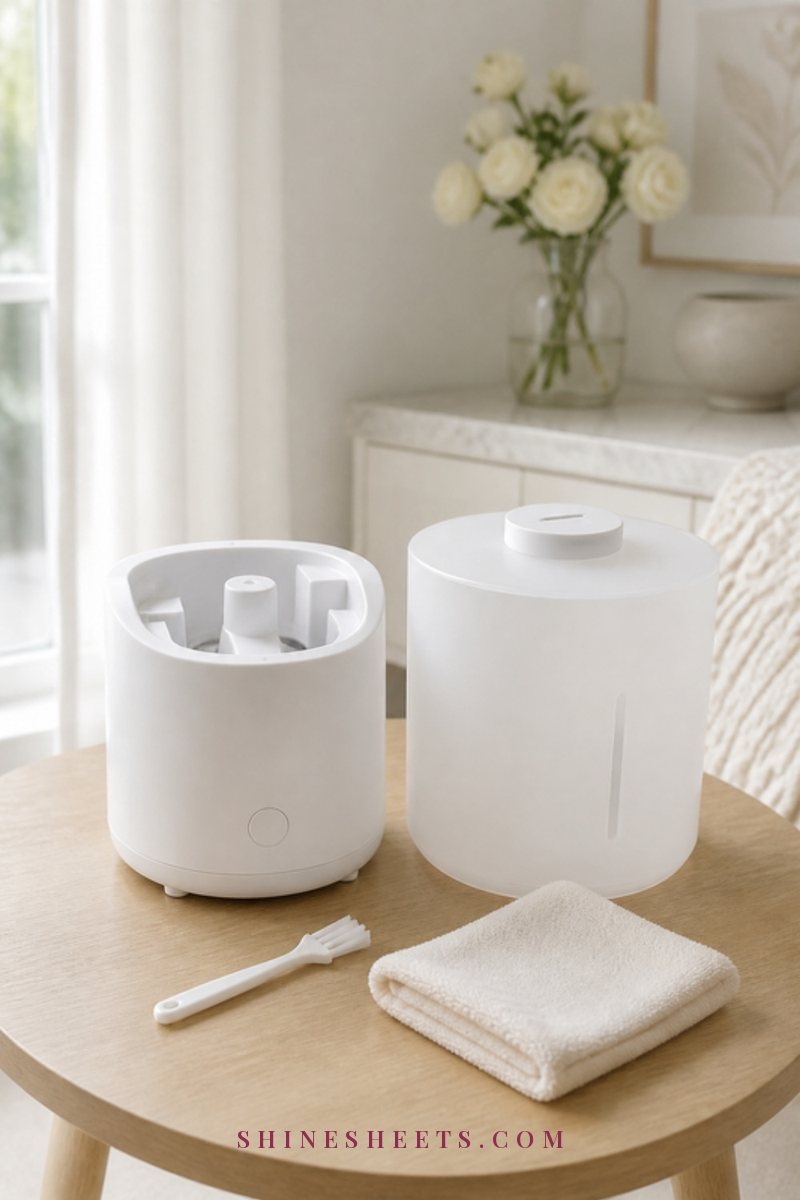
Ultrasonic humidifiers use a small vibrating disc (the transducer) to create a fine mist. They're quiet and popular, but they're the type most likely to release minerals as white dust, which is why distilled water is especially helpful.
- Clean the transducer weekly with a soft brush or cotton swab dipped in vinegar. Rub gently in circles for about 30 seconds.
- Never scrape the disc with anything hard, which can damage it.
- Rinse with a damp cloth or as the manual directs, and dry.
- Check any small filters or mineral cartridges and replace them on schedule.
Evaporative Humidifiers and Wick Filters
Evaporative models blow air through a wet wick filter. The wick does a lot of work and gets scale and discoloration over time.
- Rinse the wick weekly in cool water only, unless your manual says otherwise. Many manuals advise against soap or vinegar on wicks, since it can damage them.
- Let the wick dry before reusing if you're pausing the humidifier.
- Replace the wick when it's stiff, crusty, discolored or smells, typically every 1–3 months. Buy the correct replacement wick filter for your exact model number.
- Clean the tank and base as usual.
Cleaning Hard-To-Reach Parts
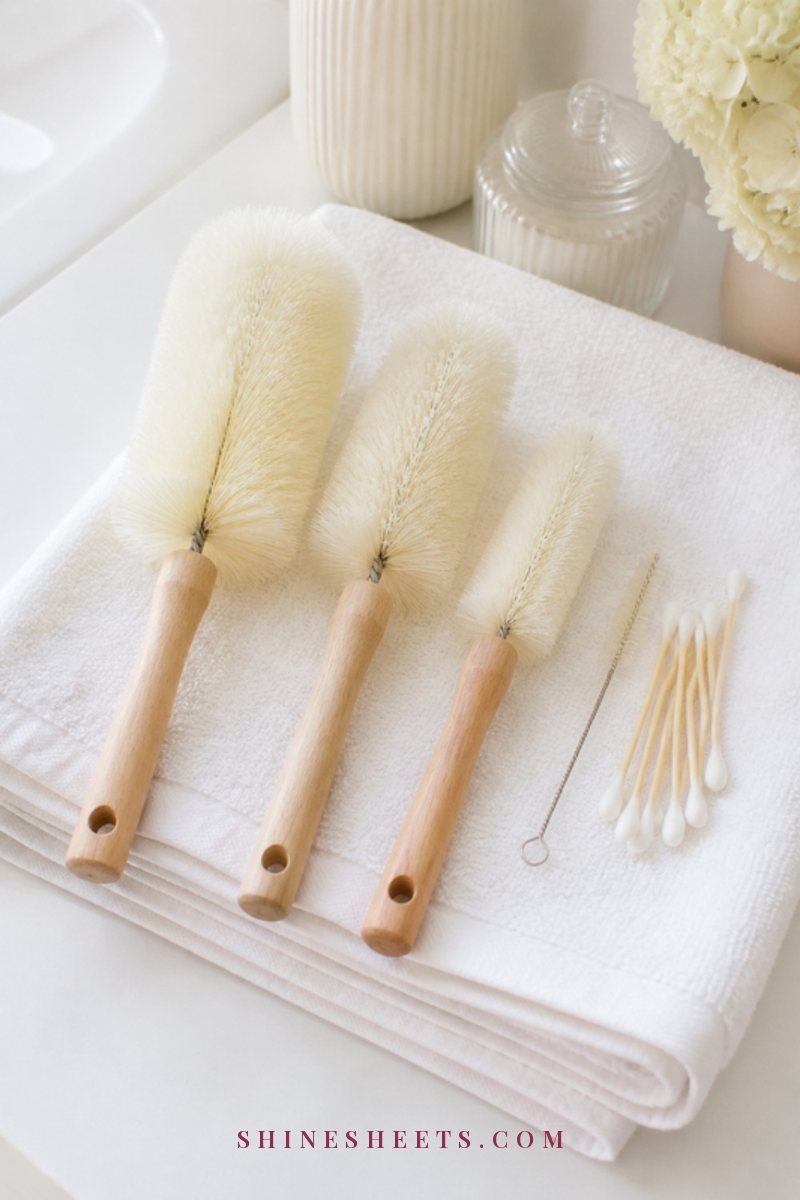
Narrow tank openings, mist nozzles and corners are where biofilm hides. A soft bottle brush set in a few sizes reaches places a cloth never will. Look for soft nylon or silicone bristles, a long handle and a small detail brush for tight spots.
- Tank interior: use the long brush to scrub the walls and bottom during the vinegar soak.
- Mist nozzle and chimney: remove it if possible, soak in vinegar for 10 minutes and clean inside with a small brush or cotton swab.
- Tank cap and seal: a small detail brush or old toothbrush reaches the threads.
- Corners of the base: a cotton swab dipped in vinegar works well.
- Vents and outside: wipe with a dry or barely damp cloth. Never spray water into vents or onto the control panel.
Rinse every part well after brushing, then let everything dry completely before putting the humidifier back together.
Habits That Keep Your Humidifier Cleaner Between Washes
Cleaning is easier when less grime builds up in the first place. These small habits make a noticeable difference over a whole season:
- Place it on a flat, water-safe surface at least a few feet from the bed, walls, curtains and wooden furniture. A small tray or coaster underneath protects wood from drips.
- Keep humidity in a comfortable range. Many guidelines suggest roughly 30–50% indoor humidity. Above that, condensation on windows and walls can encourage mold in the room itself. A small hygrometer helps you see where you are.
- Don't run it nonstop if your room is already comfortable. Using it in the evening and overnight is often enough.
- Wash your hands before refilling, and fill it from a clean jug or straight from the tap rather than a glass that's been sitting out.
- Keep it out of direct sunlight, which warms the water and speeds up growth in the tank.
- Turn it off and empty it if you notice condensation forming on windows or the walls around it.
None of these replace the daily rinse and weekly descale, but together they mean each clean is quicker, and the water stays fresher between them.
Signs Your Humidifier Needs Cleaning
Even with a routine, watch for these signs that it's time to clean (or clean more often):
- A musty, sour or "pond" smell when it runs.
- Pink, orange or slimy film in the tank or base.
- Black, green or gray spots, especially around the cap, seals or corners.
- White crust on the tank, heating element or ultrasonic disc.
- Fine white dust settling on furniture near the humidifier.
- Less mist output than usual or louder operation.
- A discolored, crusty or stiff wick filter.
If there's visible mold that won't come off with the steps above, or if the plastic is cracked or stained deep inside, it's safest to replace the humidifier. And if your room smells musty even after cleaning, my guide on how to get rid of musty smells at home walks through other likely causes room by room.
End-of-Season Cleaning and Storage

When the heating goes off and the air gets softer, give your humidifier a final deep clean before you put it away. Storing it with any moisture inside is how mold starts over the summer.
- Unplug and take it apart as far as the manual allows.
- Descale all water-contact parts with vinegar and a soft brush.
- Rinse thoroughly, then disinfect if your manual allows. Rinse again.
- Throw away the wick or filter, rather than storing a used one, and make a note to buy a new one before next season.
- Dry every part completely, for at least 24 hours, with all openings uncapped.
- Store it in its box or a breathable cotton bag in a dry, cool place, not in a damp basement.
When you bring it out again next season, give it a quick rinse and a vinegar wipe before the first use.
Final Thoughts
A humidifier is meant to make your home feel softer and your skin more comfortable, and a little regular care is what lets it do that. Fresh water every day, a weekly descale and a careful disinfecting as your manual allows are really all it takes.
Once the routine becomes automatic, you get all the gentle comfort of moist winter air without the worry, and that's a lovely trade for a few minutes a week.