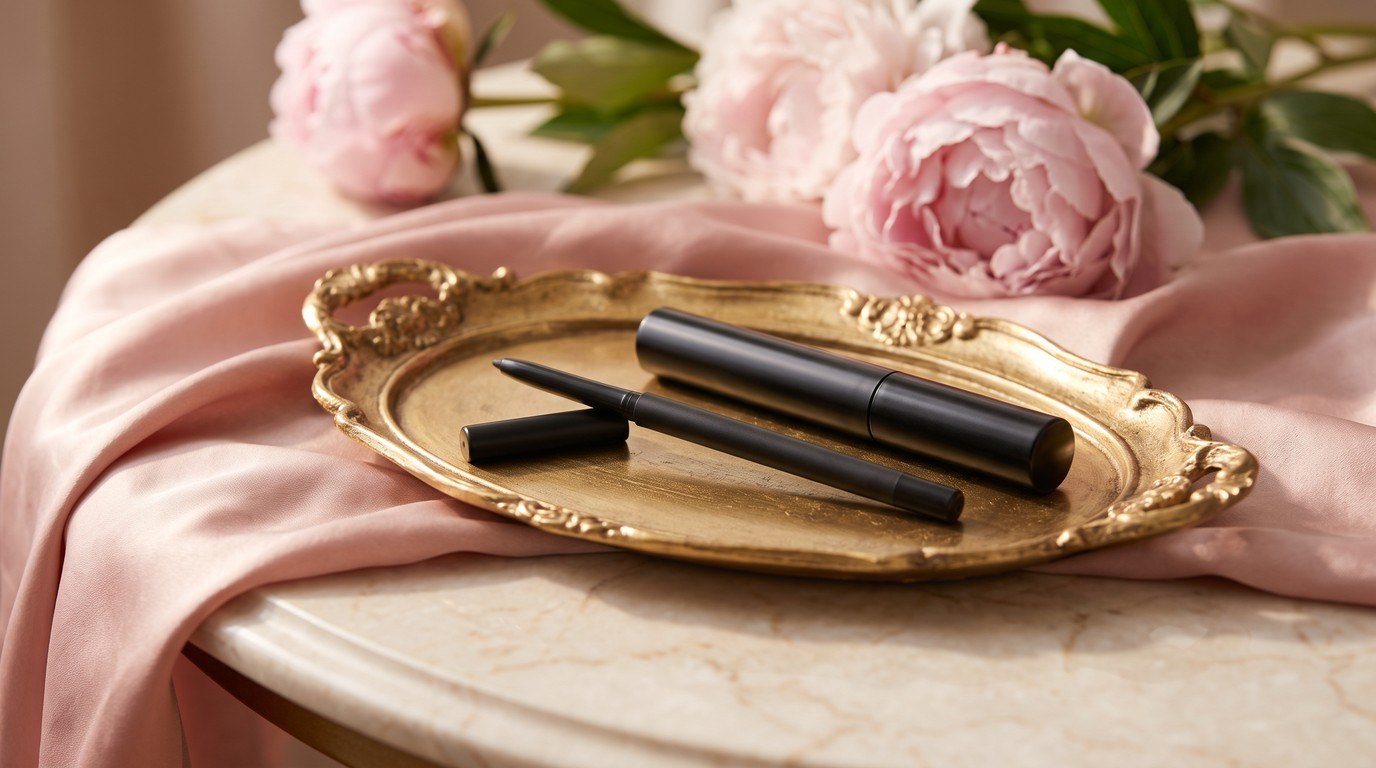
Tightlining is the quietest trick in eye makeup. You line the upper waterline, the thin strip of skin right under your top lashes, and suddenly your lashes look thicker and darker at the root, without a single visible line on your lid. Nobody can tell you're wearing liner. They just notice that your eyes look more awake.
It's also one of those techniques that sounds scarier than it is. The waterline is sensitive, so the whole thing is about going slowly, keeping everything clean and choosing the right formula. Once you get the feel for it (usually after three or four tries), it takes about a minute per eye.
This guide walks you through tightlining step by step: what it is, who it suits, the eye safety basics, a liner comparison table, the best shades, six gentle steps, common mistakes and how to take it all off kindly. If you want a simple starting tool, a waterproof gel eyeliner pencil is the one thing you really need.
And a small permission before we begin: tightlining is completely optional. If your eyes are sensitive or you simply don't enjoy it, your makeup is still lovely without it.
What Is Tightlining?
Tightlining means placing liner along your upper waterline and into the very roots of your upper lashes, from underneath. Classic eyeliner sits on top of the lid, above the lashes. Tightlining sits below them, so it fills the tiny gaps between each lash and makes the lash line look solid and dense.
Think of it as an invisible eyeliner. When you look straight ahead, you can't see a line at all. You only see lashes that look like they've doubled.
It works on its own for a "no-makeup" makeup look, and it also works under a classic line or a wing to get rid of that little strip of skin that can peek through between the liner and the lashes. If you'd like a refresher on the visible styles, my guide on how to apply eyeliner and the different eyeliner styles covers them all.
Why Tightlining Makes Lashes Look Fuller
The base of your upper lashes is usually lighter than the tips, and the skin between lashes shows through. When that space is filled with a dark color, your eye reads the lash line as thicker. It's a small optical trick, and it works because it's subtle.
A few things happen at once:
- The lash line looks denser. The gaps disappear, so even fine or sparse lashes look fuller.
- The eye shape stays open. Because there's no line on the lid, you don't lose any visible lid space.
- Mascara looks better. Lashes coated with mascara look like they grow from a dark, defined base instead of from bare skin.
- It reads as natural. People see "nice lashes," not "makeup."
It won't make your lashes grow, of course. It just helps the ones you have show up.
Who Tightlining Suits Best
Almost anyone can tightline, but it's especially helpful in a few situations:
- Hooded eyes. When the lid folds over, a classic liner can disappear or smudge into the crease. Tightlining sits under the lashes, where the fold can't hide it. My makeup tips for hooded eyes pair nicely with it.
- Monolid eyes. If your lid has little or no crease, a thick line can take over the whole lid. Tightlining adds definition while keeping the lid clean and open.
- Minimal makeup lovers. If you like skin, brows, a little blush and that's it, tightlining gives your eyes structure without looking "done."
- Glasses wearers. Frames can make eyes look smaller or less defined. A dark lash line helps your eyes hold their own behind the lenses.
- Short or straight lashes. A dark root makes them look longer once you add mascara.
Who should skip it? Anyone with irritated, red, itchy or infected eyes, anyone recovering from eye surgery, and anyone who just finds it uncomfortable. That's a perfectly good reason too.
Eye Safety First

Your waterline sits right next to the tiny oil glands that keep your eyes comfortable, so a little care goes a long way. These are the habits I'd never skip:
- Wash your hands first. Soap and warm water for about 20 seconds, then dry them on a clean towel.
- Sharpen before every use. A freshly sharpened pencil gives you a clean surface and a softer, rounder tip. A capped pencil sharpener keeps the blades clean in your bag. Wipe the sharpener now and then too.
- Never share eye products. Not with your sister, not with your best friend, not at a party. Eye pencils can pass on bacteria.
- Replace pencils regularly. If it's dried out, smells strange or you had an eye infection while using it, toss it. Many people replace eye pencils roughly once a year, and sooner if they use them daily. Check the little open-jar symbol on the packaging for its own guidance.
- Skip it when your eyes aren't happy. Irritated, infected or very watery eyes need a break from makeup, not more of it.
- Contact lens wearers: lenses in first. Put your lenses in before any eye makeup, choose formulas labeled ophthalmologist-tested or suitable for sensitive eyes, and stop right away if your lenses start to feel gritty.
- Stop if it stings. A tiny bit of watering the first few times is normal. Burning, stinging or eyes that keep streaming are a sign to remove it and skip tightlining for now.
If irritation keeps coming back, or you notice redness, swelling or a bump along the lash line that doesn't settle, please check in with an eye doctor. It's always better to ask.
Tightlining Liner Comparison Table

The formula matters more than the brand. You want something that glides without tugging, sets quickly and doesn't melt into the eye. Here's how the main types compare for this specific job:
| Liner type | Staying power on the waterline | Sensitivity level | Best for |
|---|---|---|---|
| Waterproof gel pencil | High – sets in about 30 seconds and holds for most of the day | Gentle if the tip is soft and freshly sharpened | Beginners, everyday wear, watery eyes |
| Regular (non-waterproof) gel pencil | Medium – may fade by the afternoon | Gentle, easier to remove | Very sensitive eyes, short wear |
| Classic kohl pencil | Low – soft and smudgy, can travel | Medium – smudged pigment can get into the eye | Lower lash line, smoky looks rather than tightlining |
| Gel pot with a fine brush | High once set | Medium – the brush must be cleaned after every use | Experienced hands, precise lash-root filling |
| Liquid liner | Not designed for the waterline | Higher – can flake into the eye | Skip for tightlining; keep it for the lid |
If you only buy one thing, make it a waterproof gel pencil with a soft but not creamy tip. Swipe it on the back of your hand first: it should glide in one pass and stop smudging after about 30 seconds.
Best Shades for Tightlining
You don't need a rainbow. Three shades cover nearly every look:
- Black. The most dramatic lash-thickening effect. Lovely with black mascara and for evening makeup. It also has a little Old Hollywood quality that I can't resist.
- Soft brown. Gentler and more natural, especially for fair skin, light lashes or daytime. A great choice if black feels harsh on you.
- Deep plum. A quiet way to make green and hazel eyes pop. It reads almost black from a distance, with a softer edge up close.
Pick the shade that's closest to your natural lash color or one step darker. Brighter colors (white, blue, gold) are fun on the lower waterline, but they don't create the lash-thickening effect you're after here.
How To Tightline: 6 Gentle Steps
Do this in good daylight if you can, with your elbow resting on the table so your hand stays steady. Start with clean, dry eyes (no eyeshadow primer or eye cream on the waterline), and give yourself extra time for the first few attempts.
1. Pick a Waterproof Gel Pencil
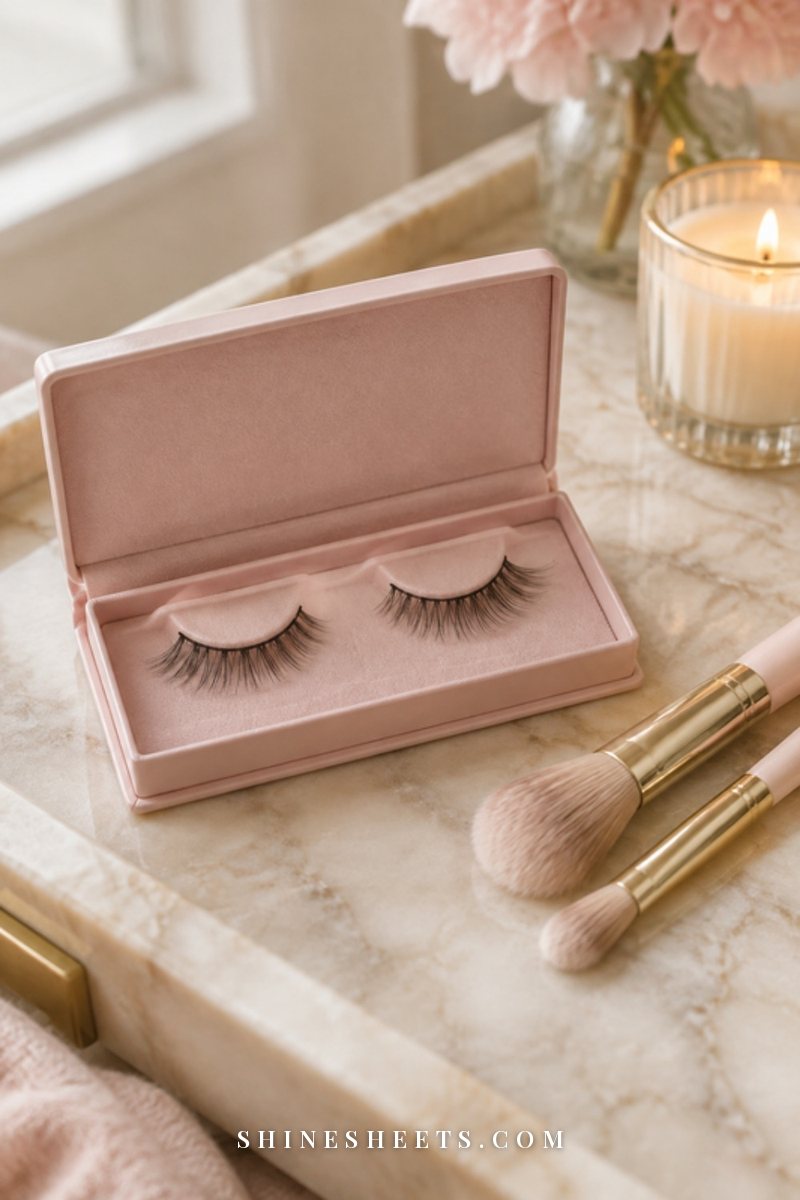
Start with the right tool and half the work is done. Choose a waterproof gel pencil in black, soft brown or deep plum, and sharpen it right before you begin. Then gently round the tip by drawing a short line on the back of your hand. A tip that's too pointy feels scratchy. A slightly rounded one glides.
If your pencil feels stiff, warm the tip between your fingers for a few seconds. Never heat it with a lighter (it's a common internet tip, and it's not a kind one for your eyes).
2. Gently Lift the Lid With One Finger
Place one clean fingertip on your upper lid, right at the lash line, and lift very gently upward and slightly outward toward your brow. You only need a few millimeters, just enough to see the underside of your lash roots and the waterline.
No pulling or stretching the skin sideways. If your lid feels tight or your eye starts to water, you're lifting too much. Lighter is better.
3. Look Down Into a Mirror
Set a mirror flat on the table or hold a small one below your chin, then look down into it. When you look down, the upper waterline naturally tilts toward you and your eye feels less "in the way."
Keep your face relaxed and your mouth closed (the "mascara mouth" is real, but it doesn't help here). Breathe normally. A tense face makes for a shaky hand.
4. Wiggle the Pencil Into the Lash Roots in Small Sections
Hold the pencil almost flat, pointing up toward your lashes, and touch the tip to the waterline under the outer third of your lashes. Then wiggle it gently side to side, pushing the color in between the lash roots. Work in small sections of about half a centimeter: outer third, middle, inner third.
You don't need to go all the way into the inner corner. Stopping just before it looks softer and is more comfortable. Use the lightest pressure you can. The pencil should glide, never drag. If you blink, that's fine. Let your eye rest for a moment, then carry on.
5. Fill Gaps From Below
Let go of your lid, look straight ahead into the mirror and check for gaps. Any spots where skin shows between lashes? Lift the lid again and press the tip into just those spots with tiny dabs, almost like dots, rather than a long line.
Wait about 30 seconds with your eye gently open (or look down while you do the other eye) so the gel can set. Waterproof formulas lock in once they've dried, which is what keeps them from transferring to your lower lid.
6. Finish With Mascara
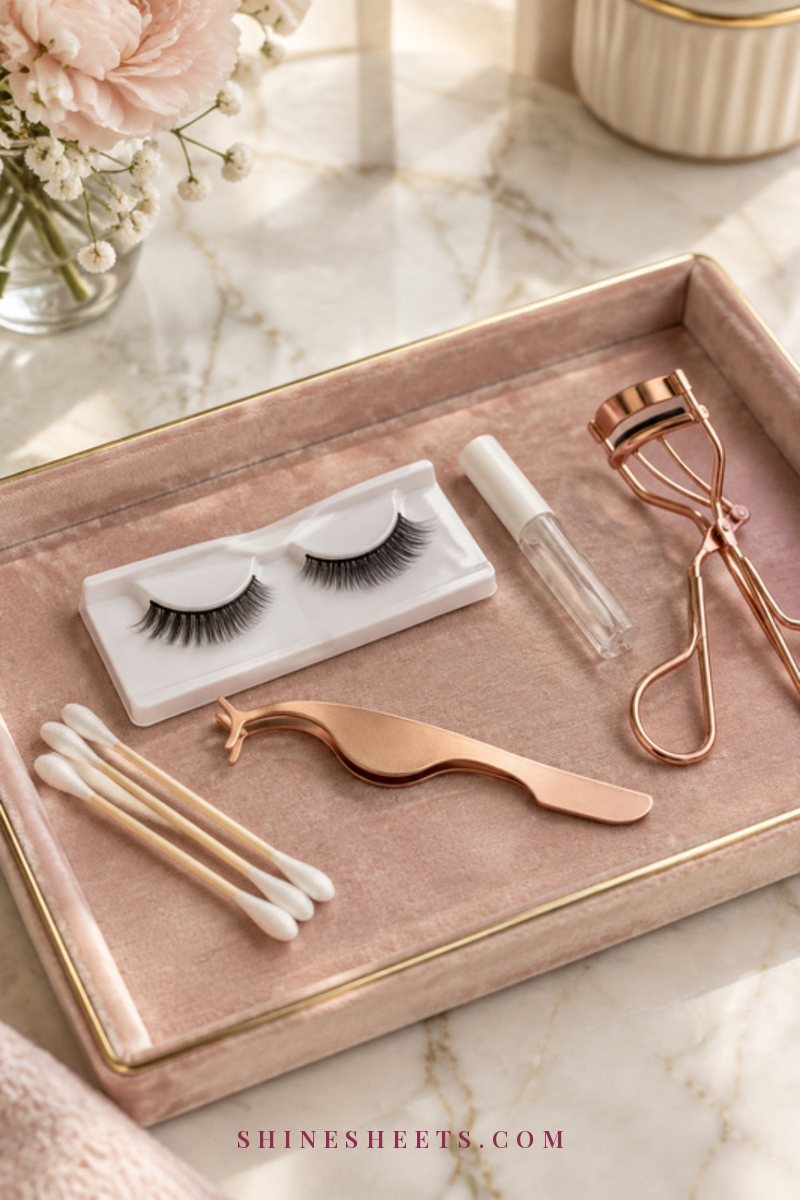
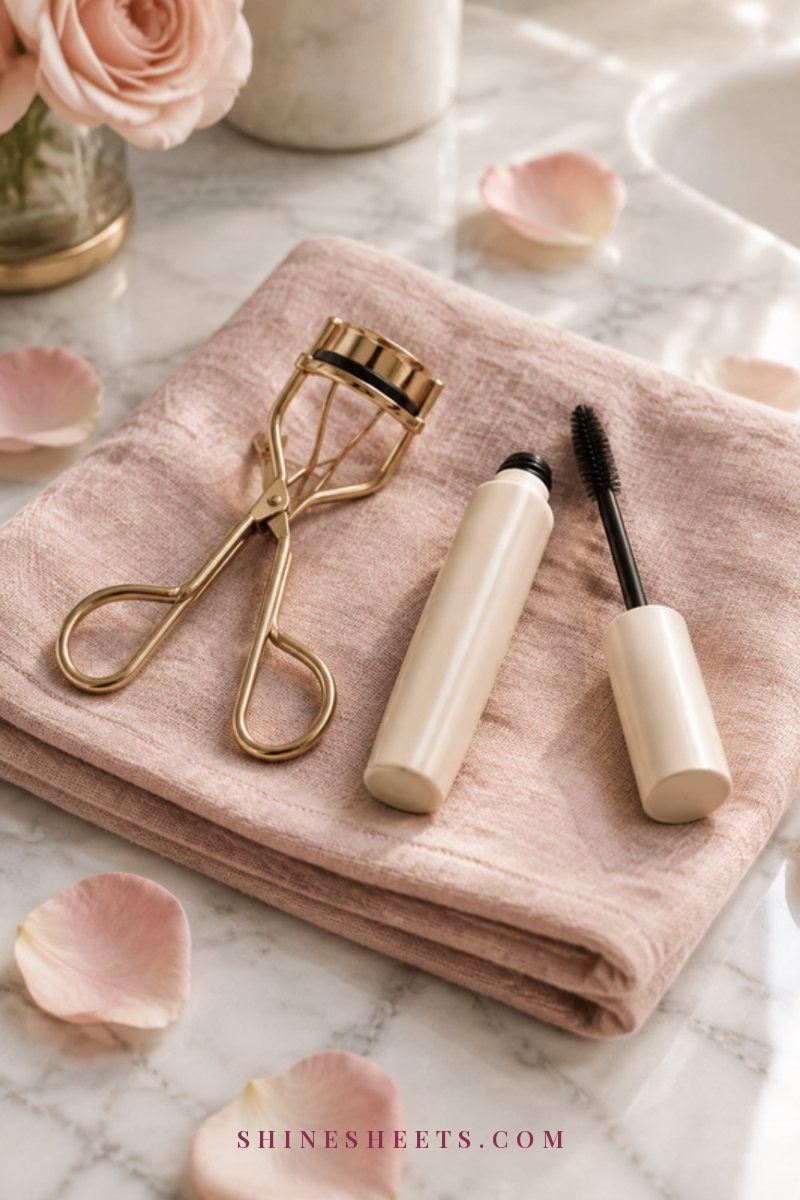
Curl your lashes first, then add mascara. A gold-accent lash curler pressed gently at the root for about five seconds gives the lashes a lift, so they show off that newly dark base. Then wiggle your mascara wand at the roots and pull it up through the tips.
A classic black lengthening mascara works beautifully here because it separates lashes without clumping, so the tightlined roots stay visible. For more wand tricks, my mascara tips for longer, fuller lashes go into the details.
That's it. Look straight ahead, and you'll see fuller lashes with no visible liner at all.
Common Tightlining Mistakes To Avoid

Almost everyone makes these at the beginning. None of them are a big deal, and they're all easy to fix:
- Pressing too hard. Heavy pressure makes eyes water, which smudges the liner and makes the whole thing uncomfortable. Use a feather-light touch and build color with a second pass instead.
- Using a smudgy, creamy formula. Super-soft kohl pencils are made to smudge. On the waterline they melt, travel to the lower lid and can end up in the eye. Stick with waterproof gel.
- Lining over lash extensions. Liner on the waterline can build up around extension bonds and make them harder to clean. If you wear extensions, skip tightlining or ask your lash artist what's safe for your set. My lash extensions aftercare guide has more on keeping them clean.
- Working with a blunt or old pencil. A worn tip is harder to control and carries whatever was on its surface. Sharpen every time.
- Applying over eye cream or primer. Anything slippery on the lash line makes the liner slide. Keep eye cream on the orbital bone, not right up to the lashes.
- Going into the inner corner. It's the most sensitive part of the eye and rarely adds much to the look.
- Rushing. Five extra seconds per section saves you a lot of watering and redoing.
If your liner keeps transferring to your lower lid by lunchtime, try blotting the lower lash line with a clean cotton bud after the liner has set, and check that you're using a waterproof formula.
Tightlining for Different Eye Shapes
The steps are the same for everyone, but small adjustments help:
- Hooded eyes: tightline the full upper lash line and skip a visible line, or keep it very thin at the outer corner. The fold won't touch the waterline, so it won't transfer.
- Monolids: tightline, then add a thin line right at the lash base on the lid if you want more definition. My guide to monolid makeup has more ideas.
- Round eyes: concentrate the color on the outer two thirds for a slightly longer, lifted shape.
- Small or close-set eyes: tightline the outer half only and keep the inner corners bare and bright so the eyes look more open.
How To Remove Tightliner Gently

Waterproof liner is made to stay, so removing it with plain water and rubbing never works (and the rubbing is hard on delicate skin). Here's the gentle way:
- Soak a cotton pad with an eye-safe remover. A micellar water for sensitive eyes or a bi-phase eye makeup remover both work well on waterproof formulas.
- Close your eye and hold the pad over the lashes for about 20 seconds so the formula can soften.
- Gently sweep down and outward, along the lashes. No scrubbing sideways.
- For any leftover liner at the lash roots, use a cotton bud dampened with remover and roll it softly along the lash line while looking up.
- Rinse your face with lukewarm water or follow with your usual cleanser so no remover sits on the lids overnight.
Keeping cotton pads in a white jar right next to your remover makes the step feel less like a chore. Never sleep in tightliner. Liner left on the waterline overnight can sit against the oil glands and irritate them.
If it stings when you remove it, or your eyes water a lot during the day, that's your sign to take a break. Try again in a few days with a different formula, or simply leave it out of your routine. Your eyes come first.
How To Make Tightliner Last All Day
A few small habits help your liner stay put from morning coffee to evening tea:
- Start with a clean, oil-free lash line. Gently wipe it with a dry cotton bud before you begin.
- Let it set. Give the gel its 30 seconds before you blink a lot or apply mascara.
- Layer, don't press. Two light passes stay better than one heavy one.
- Use waterproof mascara on humid or teary days. It helps the whole lash line hold together.
- Don't touch your eyes. Easier said than done, I know, but rubbing is the number one reason liner travels.
Once you've got it down, tightlining fits into almost any look. It's a lovely first step in simple eye makeup for beginners, and it pairs with almost every trick for making eyes look bigger and brighter.
Final Thoughts
Tightlining is less about skill and more about patience. A clean pencil, a light hand, a mirror below your chin and a few slow sections are all it takes to make your lashes look fuller without anyone noticing a line.
Be gentle with yourself and with your eyes while you practice. Some mornings it will take two tries, and some mornings you'll skip it completely, and both are perfectly fine. Your lashes, your eyes and your routine get to feel comfortable first and beautiful second.