Retinol doesn't have to sting to work. If your skin turns pink, tight or flaky every time you try it, the problem usually isn't you or even the retinol itself. It's how fast the active reaches your skin, and a simple layering trick can slow that down.
That trick has a slightly silly name and a very sensible idea behind it. You tuck your retinol between two thin layers of moisturizer, so your skin gets a gentler, more cushioned dose while it learns to tolerate the ingredient. It took me a while to stop thinking of moisturizer as the "boring" step and start seeing it as the thing that makes the exciting step possible.
This guide is all about the retinol sandwich: what it is, why buffering can calm the classic stinging and peeling, the exact five steps, how much of each layer to use, where to skip retinol completely, who this method suits and when you can stop sandwiching. If you are brand new to retinoids and want a full start plan, my guide to using retinol for beginners covers the bigger picture. Here we stay focused on the sandwich method only.
Everything below is gentle, barrier-first and realistic. No miracle promises, just a calmer way to let a well-studied ingredient into your routine.
What Is the Retinol Sandwich?
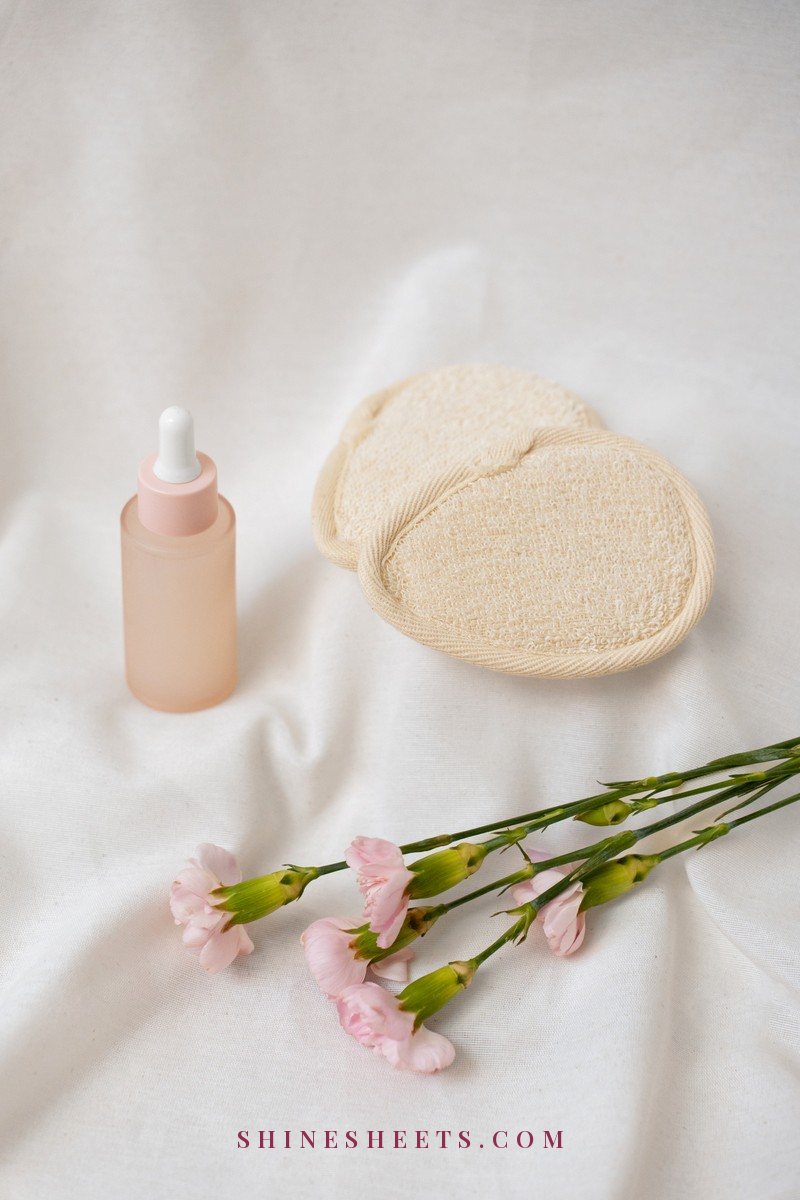
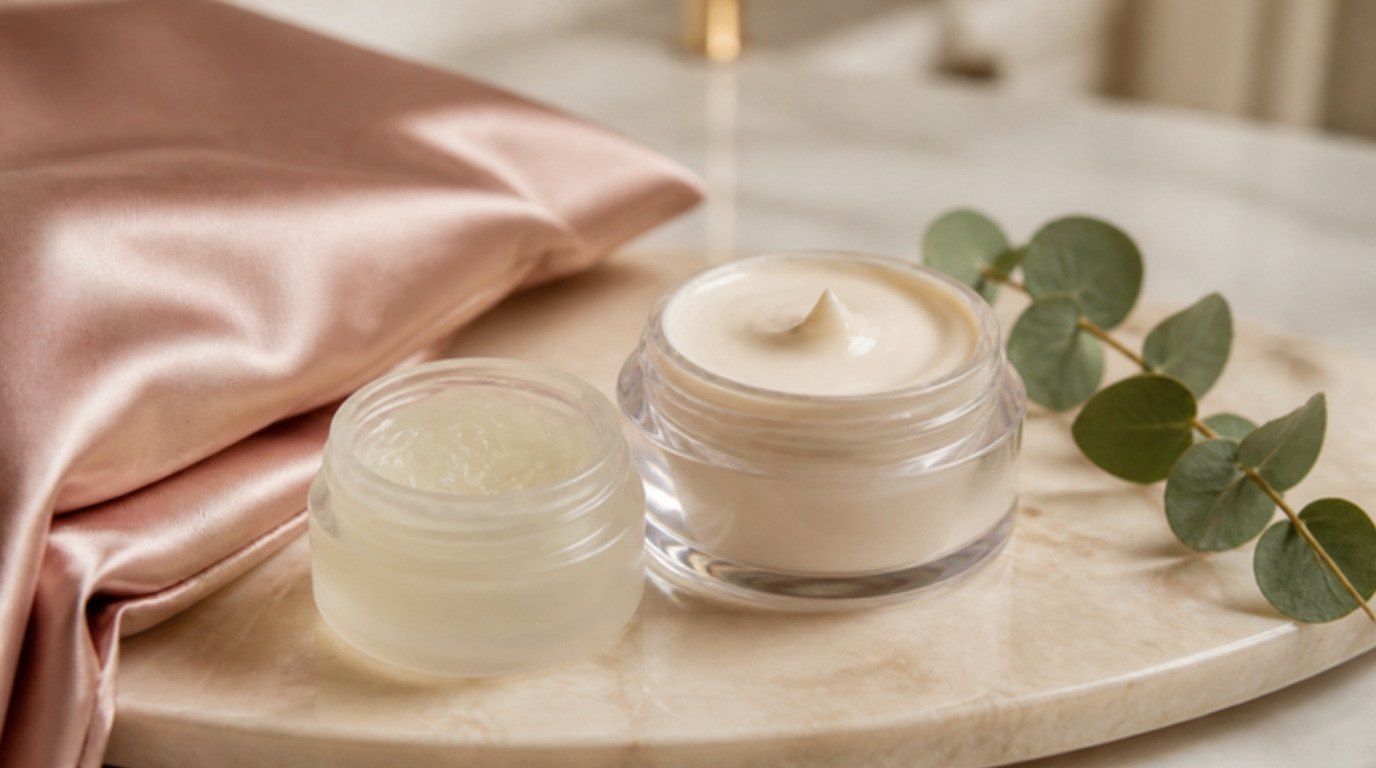
The retinol sandwich (also called buffering) is a way of layering your evening routine so retinol sits between two layers of moisturizer instead of going straight onto bare skin. The order is simple:
- Bottom layer: a thin layer of moisturizer on clean, completely dry skin.
- Filling: a pea-size amount of retinol spread over the whole face.
- Top layer: another layer of moisturizer to seal and soothe.
That's it. No special products, no extra steps you need to buy into. You can use the moisturizer you already have, as long as it is fragrance-free and kind to your skin.
A small honest note: "buffering" sounds very scientific, and it isn't magic. The bottom layer of moisturizer acts like a soft screen, so the retinol spreads more evenly and reaches your skin a little more gradually. The top layer adds comfort and helps hold water in your skin overnight, which matters because retinol can make skin feel drier while it adjusts.
Why Buffering Can Reduce Stinging and Flaking
When people start retinol, they often go through an adjustment period sometimes called "retinization." Skin may feel warm, look a bit pink, get tight around the mouth or peel in little flakes along the nose and chin. It is common, it usually settles within a few weeks, and it is also the number one reason people give up.
Buffering can help in three small but real ways:
- It slows things down. The bottom layer means the retinol doesn't land on skin in one concentrated hit.
- It spreads the product more evenly. A pea-size dot glides further over moisturized skin, so you are less likely to end up with one patch that gets too much.
- It supports your barrier while it adjusts. Moisturizer on top helps reduce water loss overnight, which is exactly when retinol dryness tends to show up.
If your barrier already feels fragile (stinging with plain water, redness after cleansing, a "raw" feel), I'd pause actives completely and focus on recovery first. My guide on restoring your skin barrier walks through that calmly, and the retinol sandwich makes much more sense once your skin feels comfortable again.
The Honest Trade-Off
Here is the part people don't always mention: buffering may slightly soften your results, or make them take a little longer to show. Less retinol reaching your skin at once means less irritation, but also a gentler effect.
For sensitive skin, I think that trade is completely worth it. A retinol you can use three nights a week for months will do more for you than a stronger routine you abandon after ten days because your face hurts. Consistency beats intensity, every single time.
How To Do the Retinol Sandwich in 5 Steps

Do this in the evening only, two or three nights a week to start. On the other nights, keep your routine plain: cleanse, moisturize, sleep.
1. Cleanse Gently
Start with a mild, non-foaming or low-foaming cleanser and lukewarm water. You want clean skin, not squeaky skin. A gentle cream cleanser is a good pick here, because it removes sunscreen and the day without stripping the oils your barrier needs.
Massage for about 30 to 60 seconds, rinse well, and pat (don't rub) your face with a soft towel. If you wear heavier makeup, remove it first with a balm or micellar water, then cleanse.
A small tip I love: slip on a soft white cotton headband before you start, so your hairline stays out of the way and you don't accidentally sweep retinol into your hair or onto your pillow edges.
2. Wait Until Your Skin Is Fully Dry
This step feels like nothing, and it matters more than almost anything else. Damp skin can help some products absorb faster, and with retinol, faster is exactly what you don't want when your skin is sensitive.
Wait 10 to 20 minutes after washing. Brush your teeth, make your evening tea, tidy the bathroom counter. Your skin should feel completely dry to the touch, including around the nose and under the jaw, where water likes to linger.
3. Apply a Thin Layer of Moisturizer
Take about half your usual amount of moisturizer, roughly the size of a small pea to a chickpea, and press it lightly over your face. Thin is the goal. You are building a soft base, not a thick mask.
A fragrance-free ceramide barrier moisturizer works beautifully here. Ceramides are part of your skin's own barrier, so they are a natural partner for retinol nights. If you want to understand why they help so much, my guide to ceramides explains it simply.
Let this layer settle for one to two minutes before the next step.
4. Add a Pea-Size Amount of Retinol
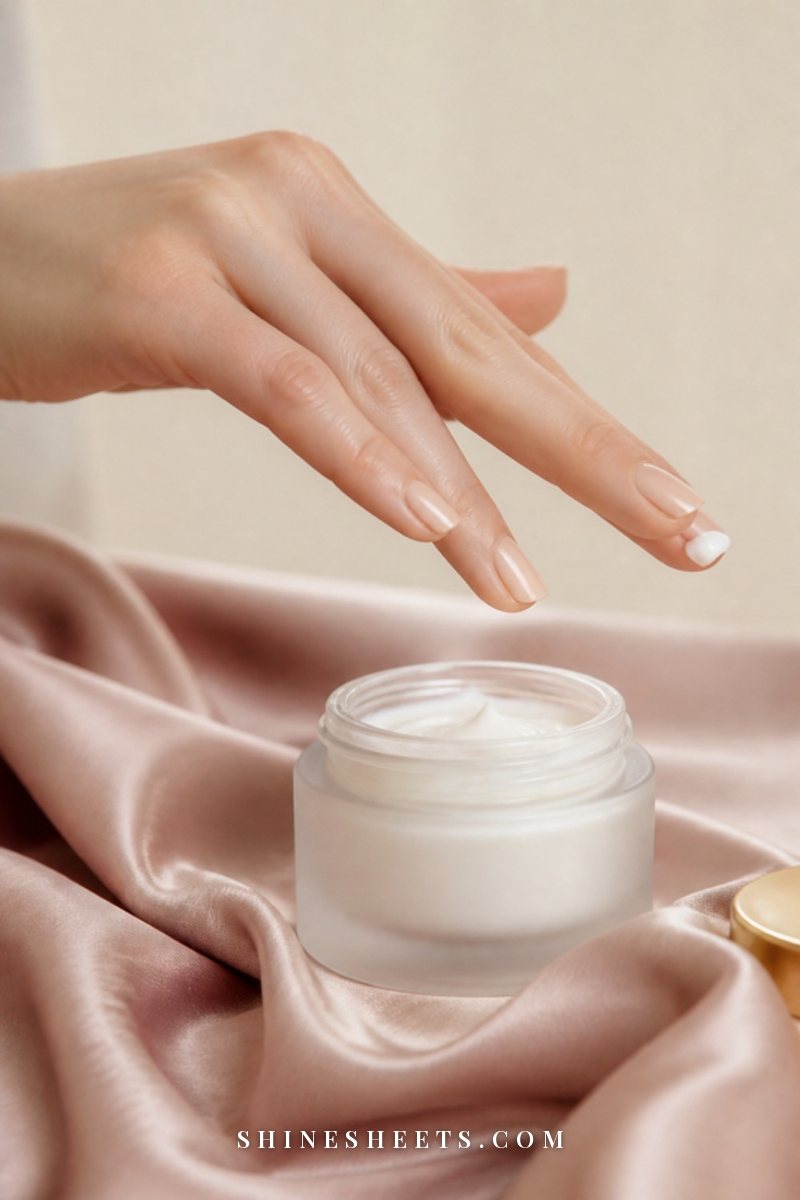
One pea-size amount covers the whole face. I know it looks like too little. It isn't. Using more doesn't speed up results, it only speeds up irritation.
Dot the retinol on your forehead, both cheeks and chin, then spread it gently outward with your fingertips. Keep away from the buffer zones (more on those below). For a first retinoid, I'd choose a gentle low-strength retinol serum in an opaque or pump bottle, since retinol breaks down with light and air.
If you are curious whether retinal (retinaldehyde) might suit you instead, my guide to retinal vs retinol compares the two. Retinal tends to work a little faster, which is exactly why sensitive skin often likes it sandwiched.
5. Seal With Moisturizer on Top
Wait another one to two minutes, then apply your second layer of moisturizer. This one can be your normal amount. Pay extra attention to the areas that usually get dry first: around the mouth, the sides of the nose and the chin.
Then you're done. No extra serums, no exfoliating toner, no "just one more" product. Simple nights are where retinol does its best work.
The Retinol Sandwich Layer Table
Screenshot this one for the bathroom. It is the whole method in one place:
| Layer | Product type | Amount | Why it's there |
|---|---|---|---|
| Prep | Gentle cream or gel cleanser | A dime-size amount, 30–60 seconds | Clean skin without stripping the barrier |
| Pause | Nothing at all | Wait 10–20 minutes | Fully dry skin slows how fast retinol absorbs |
| Bottom slice | Fragrance-free moisturizer (ceramides, glycerin) | About half your usual amount, a thin layer | Creates a soft buffer and helps retinol spread evenly |
| Filling | Retinol or retinal serum or cream | One pea-size amount for the whole face | The active that works on texture and tone over time |
| Top slice | Same moisturizer or a slightly richer cream | Your normal amount | Seals in water, adds comfort overnight |
| Spot care | Plain balm or petrolatum-style ointment | A thin dab | Protects corners of the nose, eyes and lips |
If your skin is very reactive, you can also try the "short contact" version on your gentlest nights: same layering, but keep your frequency at twice a week until you have had three or four calm weeks in a row.
Buffer Zones: Where To Skip Retinol
Some areas of the face have thinner skin or collect product in folds, and they are usually the first to get irritated. Skip retinol completely in these spots:
- The corners of your nose. Product pools in the creases and turns them red and flaky fast.
- Around your eyes. Stay at least a finger-width away from the lash line and the inner corners. Retinol travels a little as you sleep.
- Around your lips. The corners of the mouth and the lip line crack easily with retinoids.
Before you apply retinol, dab a thin layer of a plain balm or ointment on these three zones. It acts like a little fence, so even if retinol migrates overnight, it can't settle into the most delicate skin. If you want to treat the under-eye area later, look for a product made for eyes and introduce it separately, once your face is comfortable.
Who the Retinol Sandwich Suits
Buffering isn't only for "problem" skin. It is a smart choice for anyone whose skin needs a softer landing:
- Sensitive skin. If new products often sting or leave you pink, sandwiching is the kindest way to start. (My own combination, sensitive skin with a shiny T-zone is exactly the type that tends to get tight cheeks and an oily forehead at the same time, so a cushioned approach makes a lot of sense.)
- Dry skin. Two moisturizer layers mean retinol nights don't leave you feeling parched by morning.
- First-time retinoid users. Even resilient skin can react to a first retinoid. Sandwiching gives you a forgiving start.
- Retinal users. Retinal is often stronger and faster-acting than retinol, so many people with sensitive skin buffer it at first.
- Anyone switching to a stronger formula. Moving up a percentage? Go back to sandwiching for a few weeks, then reassess.
- Cold, dry seasons. Indoor heating dries skin out. Plenty of people sandwich only during the driest months.
Oily or very resilient skin may not need it at all, and that's fine too. You can also mix and match: sandwich on the cheeks, apply directly on the forehead, if that's where your skin is happiest.
When To Stop Sandwiching
The retinol sandwich is a training-wheels method for many people, not a forever rule. Here's how to know when you can loosen it:
- You have used retinol two or three nights a week for at least four to six weeks with no stinging, burning or peeling.
- Your skin feels comfortable the morning after, without tightness around the mouth or nose.
- You can increase your frequency (for example from three to four nights) and your skin stays calm.
When those boxes are ticked, try removing the bottom moisturizer layer first, while keeping the top one. Watch your skin for two weeks. If it stays happy, great. If it gets pink or flaky again, go straight back to sandwiching. There is no failing here, only adjusting.
And if you would rather never stop? That's completely allowed. Plenty of people with sensitive skin buffer forever and still see gradual improvement in texture and tone.
What Not To Pair It With the Same Night
Retinol nights should be calm nights. Even with a sandwich, layering several strong actives together can overwhelm sensitive skin. On the nights you use retinol, skip:
- Strong exfoliating acids such as glycolic, lactic or salicylic acid toners, peels or pads.
- Physical scrubs and grainy exfoliants.
- Benzoyl peroxide spot treatments on the same areas, unless a dermatologist has told you otherwise.
- Brand-new products. Never introduce two new things in the same week. If your skin reacts, you won't know which one caused it.
The easiest way to organize this is to give each active its own night. Skin cycling is basically that idea with a little structure: an exfoliation night, a retinoid night, then recovery nights. If you like having a simple rhythm, my guide to skin cycling shows how the retinol sandwich fits right into it.
Your Morning After: Sunscreen Every Day
Retinoids can make skin more sensitive to the sun, and the whole point of retinol (smoother texture, more even tone) is undone quickly by daily UV exposure. Sunscreen isn't an optional extra on a retinol routine. It's part of the routine.
Every morning, cleanse lightly or simply rinse with water, apply a light moisturizer, then finish with a broad-spectrum SPF 50 face sunscreen. Use enough to cover your whole face and neck, and reapply if you are outdoors for long stretches. Cloudy days and winter mornings count too.
A small habit that helps: keep your sunscreen right next to your toothbrush. If you see it, you'll use it.
Safety Notes: Patch Test, Pregnancy and When To See a Dermatologist
A few gentle but important notes before you start:
- Patch test first. Apply a small amount of your retinol (sandwiched) behind the ear or along the jawline for three to five evenings. If you see swelling, hives, strong burning or a rash, stop and don't use it on your face.
- Pregnant, trying to conceive or breastfeeding? Please ask your doctor before using any retinoid, including over-the-counter retinol. Many doctors recommend avoiding retinoids during this time, and it is always worth having that conversation first.
- Prescription retinoids. If you use a prescription retinoid (such as tretinoin), follow your dermatologist's instructions about buffering, frequency and amount, since these products are stronger.
- Persistent irritation. Some redness and flaking in the first weeks is common. Irritation that keeps getting worse, lasts beyond a few weeks, or comes with pain, swelling or cracking skin deserves a visit to a dermatologist.
- Existing skin conditions. If you have rosacea, eczema or very reactive skin, a dermatologist can help you decide whether a retinoid is right for you and which one.
None of this is meant to scare you. Retinol is one of the most researched skincare ingredients there is. It simply deserves a little respect, especially at the start.
7 Common Retinol Sandwich Mistakes
Even a simple method has a few easy-to-make slip-ups. Here are the ones that tend to cause the most trouble:
- Applying retinol on damp skin. Wait the full 10 to 20 minutes. It is the cheapest irritation insurance you'll ever find.
- Making the bottom layer too thick. A heavy base can make the retinol pill or ball up. Thin is better.
- Using more than a pea-size amount. More product equals more irritation, not faster results.
- Starting every night. Two or three nights a week is plenty in the first month.
- Forgetting the buffer zones. Nose corners, eyes and lips need protection, not retinol.
- Pairing it with exfoliating acids. Keep strong acids on separate nights, or pause them while you adjust.
- Skipping sunscreen. Retinol plus unprotected sun is a recipe for irritation and uneven tone.
If you recognize yourself in a few of these, don't worry. Fixing even one or two often makes a noticeable difference within a couple of weeks.
A Gentle Four-Week Start Rhythm
If you like a little structure, here's an easy way to begin with the sandwich method. Adjust it to your skin, not the other way around:
- Week 1: Patch test for three to five evenings, then one sandwiched retinol night on your face.
- Week 2: Two sandwiched retinol nights, with at least two plain nights in between.
- Week 3: Two or three sandwiched nights if your skin feels calm.
- Week 4: Three sandwiched nights, and keep going only if you have no stinging or peeling.
On your non-retinol nights, keep it boring in the best way: gentle cleanser, moisturizer, maybe a soothing balm on dry spots. I like to finish my evening skincare, then make a cup of tea and journal for a few minutes, which conveniently gives the moisturizer time to settle before I lie down on my pillow.
Final Thoughts
The retinol sandwich is one of those small, unglamorous skincare tricks that makes a real difference. Two thin layers of moisturizer, one pea-size amount of retinol, fully dry skin and a little patience. That's the whole secret.
Your skin doesn't need to prove how tough it is. It needs a routine that respects how it actually feels. Go slowly, protect it with sunscreen every morning, and let the results build quietly over the weeks. Gentle and consistent will always be your best formula.