Self tanner almost never fades evenly, and that's not a sign you applied it badly. It fades the way your skin renews: faster where you wash, rub and move a lot, slower where skin is dry and thick. That's why a lovely glow can turn into orange palms, patchy ankles and a stubborn line on your wrist within a few days.
The good news is that removing it doesn't require scrubbing yourself raw. Self tanner only colors the very top layer of your skin, so the secret is to soften that layer first, then lift it gently and patiently. Warm water, a good mitt, a little oil and the right order of steps do most of the work.
This guide covers how to remove self tanner gently and evenly: why tan goes patchy in the first place, a step-by-step removal plan, the focus areas that need extra care, a quick problem, fix and time table, how to fix streaks without starting over, how to treat your face, what never to try, and how to care for your skin afterward so your next tan looks better than the last.
Why Self Tanner Fades Patchy
Most self tanners work with an ingredient called DHA, which reacts with the outermost layer of skin cells to create a temporary brown color. As those cells naturally shed, the color goes with them. The patchiness comes from the fact that different areas shed at different speeds:
- Dry spots grab more color. Elbows, knees, ankles and knuckles are drier and rougher, so they soak up extra tanner and then flake off unevenly.
- Hands fade fastest. You wash your hands many times a day, so the palms and the sides of your fingers lose color first, while knuckles often stay dark.
- Feet and ankles are tricky. Thick skin on the heels and creases around the ankles hold color in lines.
- Friction rubs it away. Bra straps, waistbands, bag straps and even your favorite leggings can wear tan off in stripes.
- Moisturizer gaps show up later. Areas you forgot to moisturize between tans tend to flake first.
Knowing this makes the removal plan make sense: soften, lift, focus on the dry spots, then moisturize.
What You'll Need
You probably have most of this already. Gather it before you step into the shower so you don't have to drip across the bathroom:
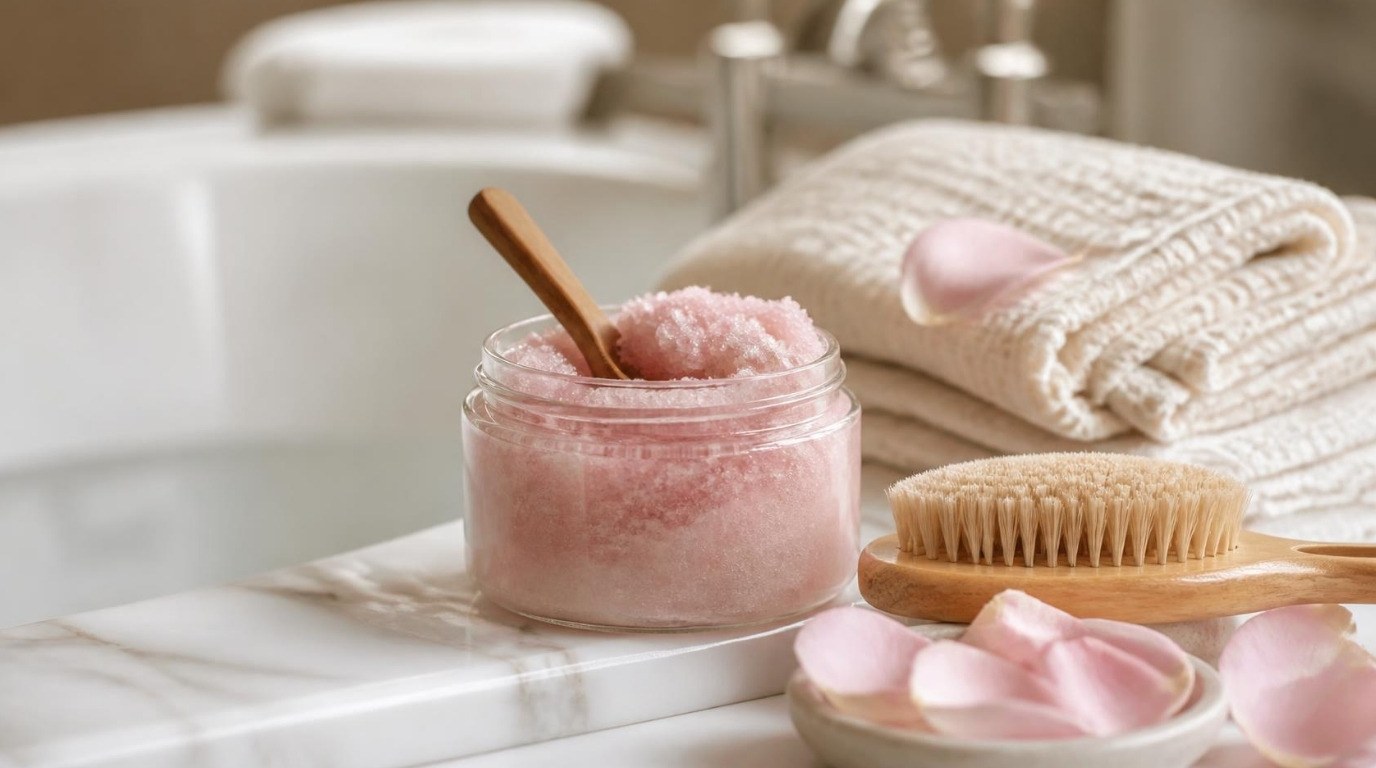
- An exfoliating mitt (the textured kind made for removing tan)
- A tan remover or eraser product, if you'd like one
- A body oil, or any simple oil you'd use on your body
- A gentle body scrub with fine grains
- A soft towel you don't mind getting a little tinted
- A rich body lotion for afterward
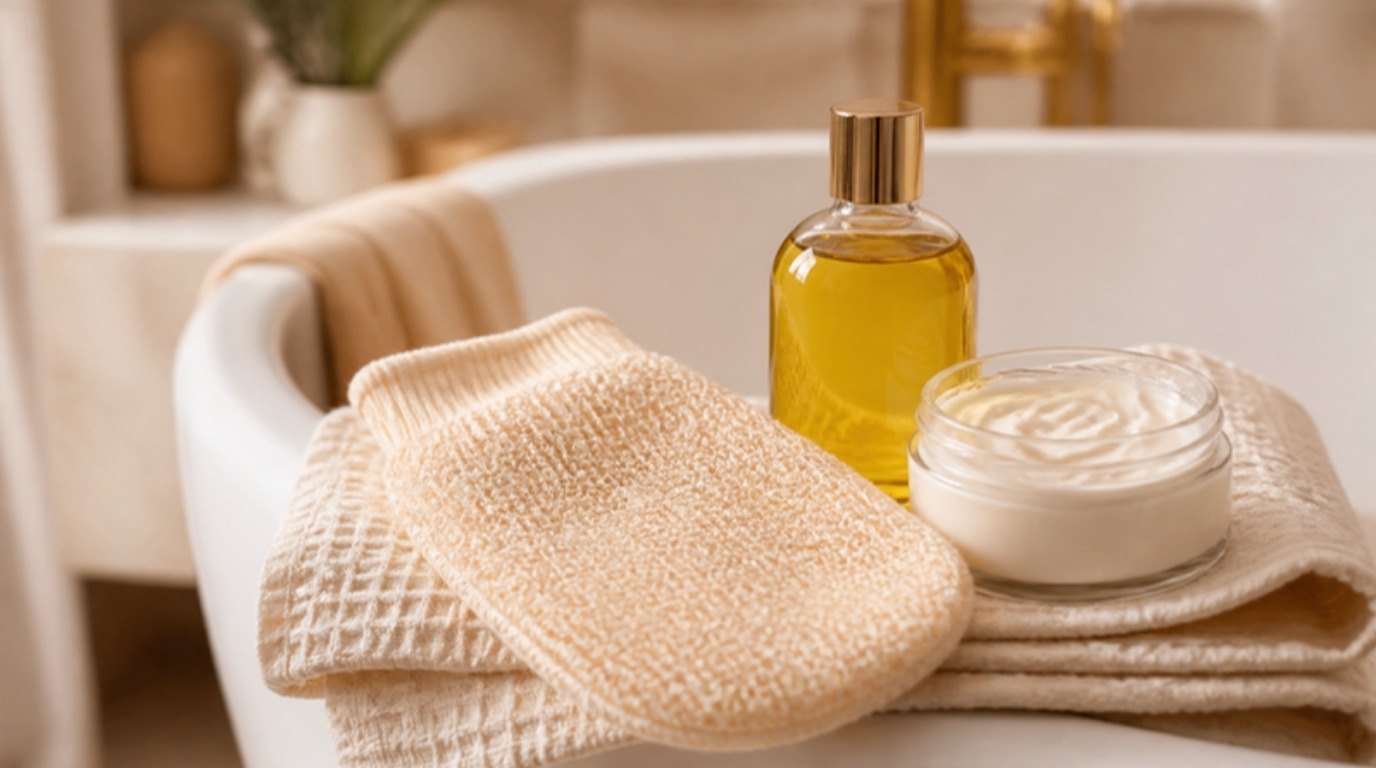
The single most useful tool is the mitt. I'd choose an exfoliating mitt made for tan removal, which is firmer than a washcloth but gentler than a stiff brush. Look for one that fits snugly so you can control the pressure.
The Gentle Removal Plan, Step by Step
This plan takes about 30 to 40 minutes in total, and you'll get the most even result if you do it in this order. If you only have a few minutes, do steps 1 and 2 and come back to the rest another day.
Step 1: Soften Your Skin in a Warm Shower or Bath (10 Minutes)

Warm water is your best friend here. Spend about 10 minutes in a warm (not hot) bath or shower before you touch the mitt. The water softens the top layer of skin so the tinted cells lift away easily instead of clinging on.
A bath is ideal because it reaches everything at once. If you're showering, let the water run over your arms, legs and feet for the full ten minutes. Hot water dries skin out and can make it sensitive, so keep it comfortably warm.
Step 2: Exfoliate With a Mitt in Small Circles
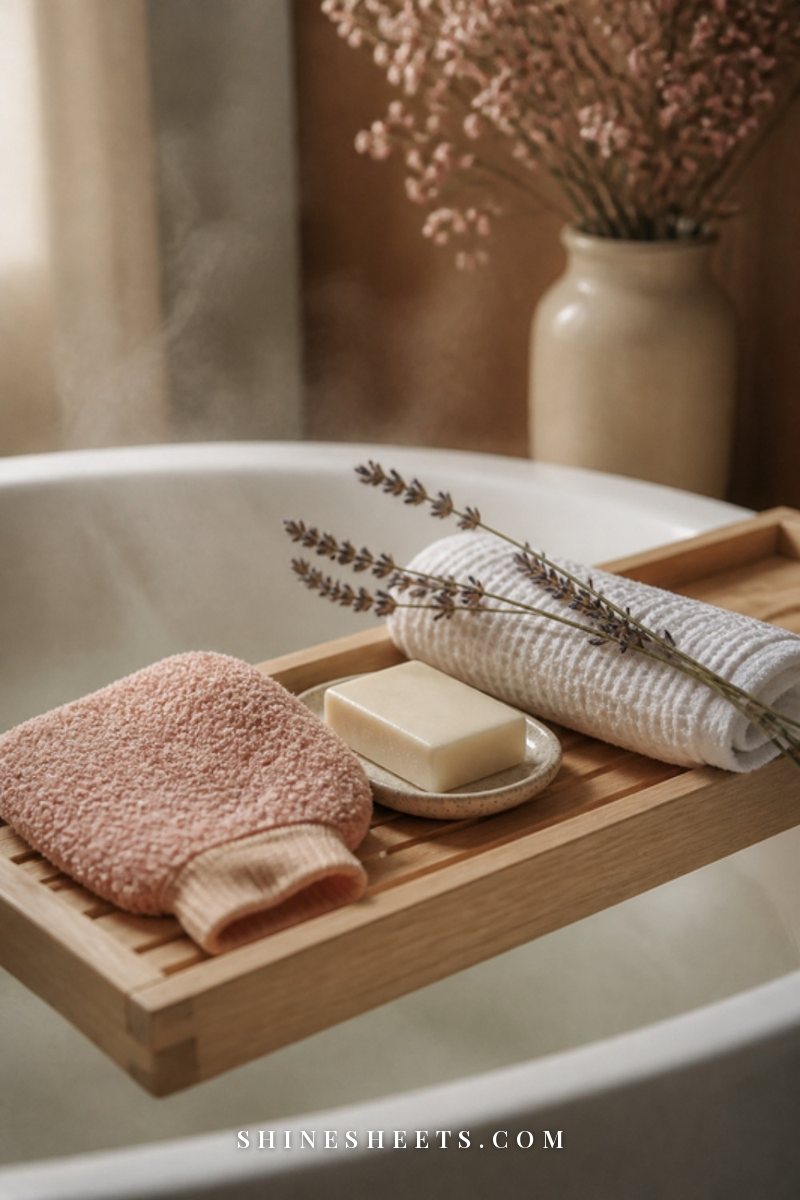
Put on your mitt, wet it and work in small, gentle circles, one area at a time. Start with larger areas like the legs and arms, then move to the details. Light-to-medium pressure is enough: you should see the color loosening, not feel any stinging.
If you'd like a little extra help, add a dab of a gentle body scrub with fine grains to the mitt for the drier areas. Rinse often so you can see your progress. Expect the water to look a little tinted; that's the tan leaving.
For more on doing this kindly and regularly, my guide on how to exfoliate your body covers pressure, frequency and which tools suit sensitive skin.
Step 3: Use a Tan Remover (and Follow the Label)
Tan removers and erasers are made to break down the color so it lifts more easily with a mitt. They're especially helpful if your tan is very dark or several days old. A popular self tan eraser is a good pick if you remove tan often.
The most important part: follow the label. Most are applied to dry skin, left on for a set number of minutes (often around 5 to 10), then massaged off with a mitt in the shower. Leaving one on longer than directed won't work faster; it's more likely to irritate your skin.
Before using any new remover all over, do a patch test: apply a small amount to the inside of your arm, follow the instructions, and wait 24 hours to make sure your skin is happy.
Step 4: Try the Oil Method for Stubborn Patches
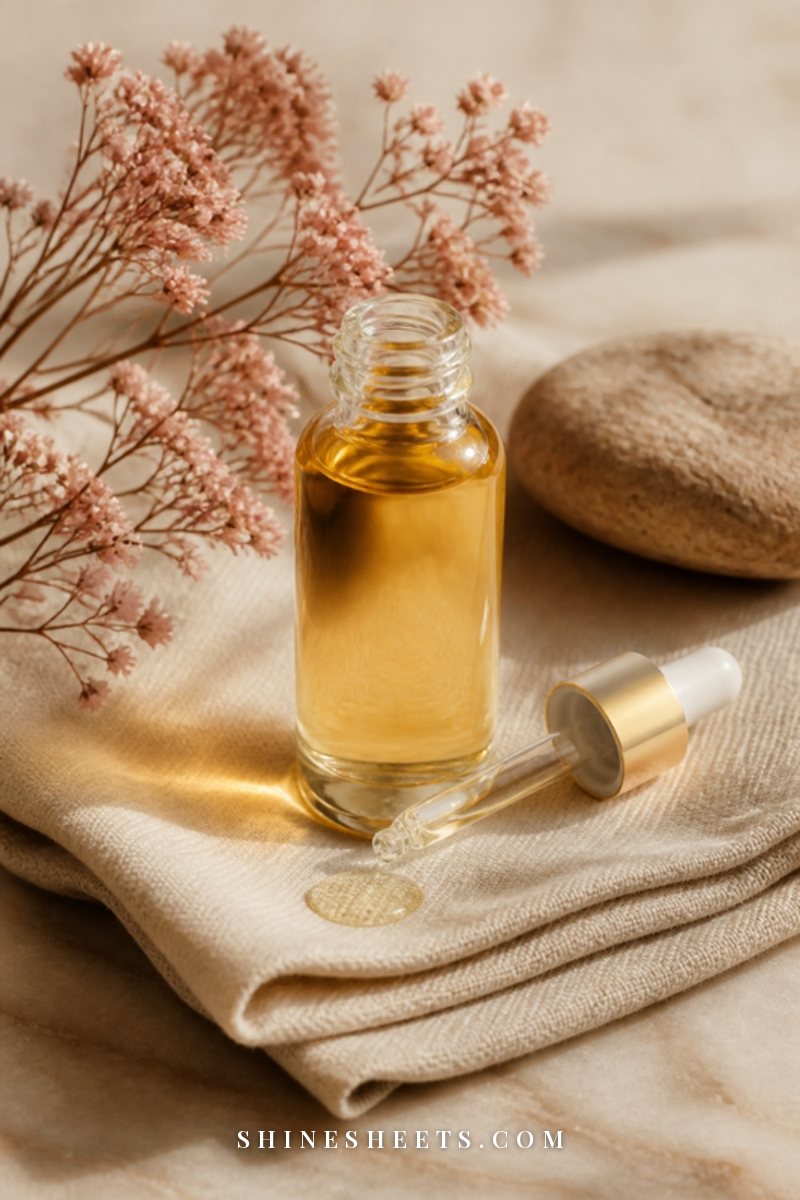
For a gentle, low-fuss option, oil works beautifully. It softens the tinted layer and loosens the grip of the color, especially on knees, ankles and knuckles.
- On dry skin, massage a generous layer of a lightweight body oil into the patchy areas.
- Leave it on for 10 to 15 minutes. Use the time to put on a robe and make a cup of tea.
- Step into a warm shower and let the water run over the area for a minute or two.
- Work the area with your mitt in small circles, then rinse.
- Wash gently with a mild body wash to remove the extra oil, and be careful in the shower, as oily feet can be slippery.
If you're new to oils, my sister article on how to use body oil explains when and how to apply it for soft, comfortable skin.
Focus Areas: Hands, Knuckles, Ankles, Elbows and Knees
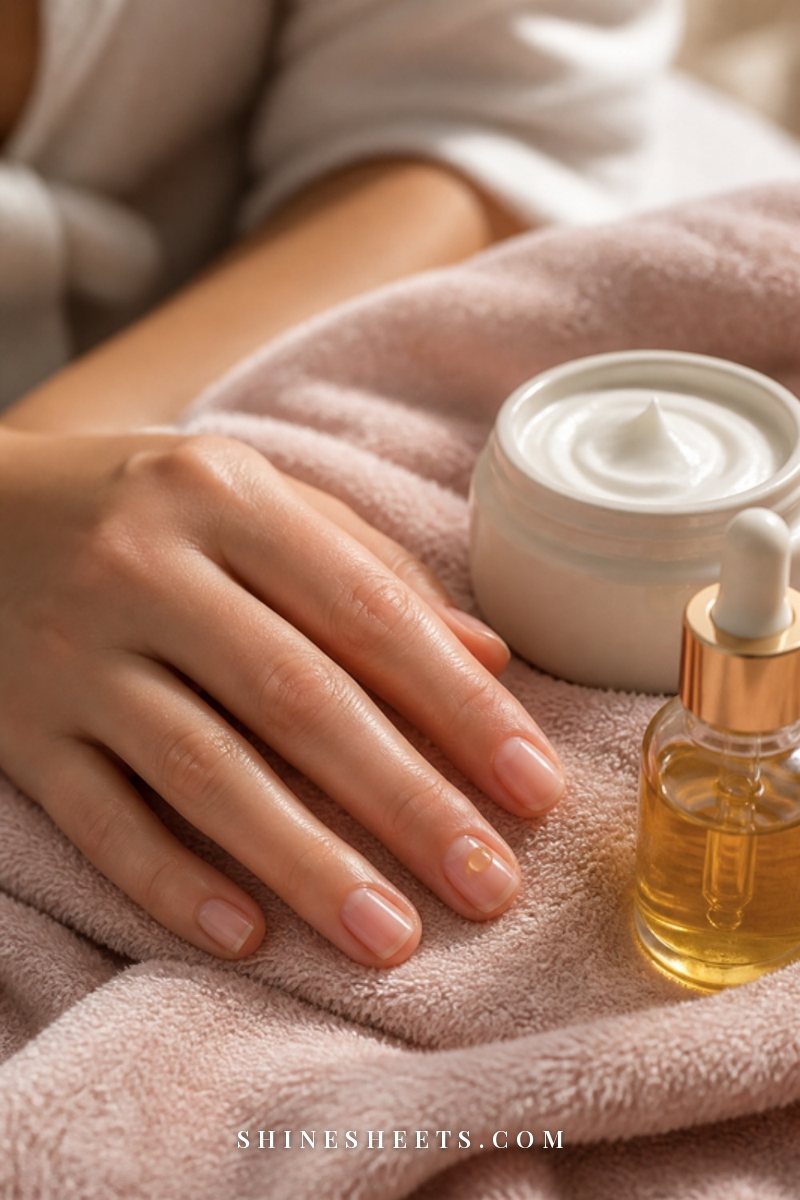
These spots are where tan looks most uneven, so they deserve a little extra patience:
- Hands and knuckles: Soak your hands in warm water for 3 to 5 minutes, then use the mitt or a soft nail brush over the knuckles and between the fingers. Palms usually only need a quick wash; they rarely hold much color.
- Ankles and heels: After soaking, use small circles over the ankle bone and along the sides of the foot. A bit of oil left on for 10 minutes first helps a lot.
- Elbows and knees: These are naturally dry, so pair the mitt with oil. Bend the joint while you work to stretch the skin and reach the creases.
- Wrists and inner arms: Skin here is thinner, so use your lightest pressure.
If your elbows and knees tend to be dry all year, my guide to dry elbows and knees has a simple routine that also helps your next tan sit more evenly.
Problem, Fix and Time: A Quick Reference Table
Here's the part I'd screenshot: the most common tan problems, the gentlest fix for each and roughly how long it takes.
| Problem | Gentle fix | Time |
|---|---|---|
| Streaks on legs or arms | Warm shower, then mitt only along the streak edges; or blend with a little tanner (see below) | 10–15 minutes |
| Orange palms | Wash with warm water and a mild soap, then rub with a damp mitt; repeat after a few hours | 5 minutes, repeated |
| Dark knuckles | 3–5 minute warm soak, oil for 10 minutes, then mitt in small circles | 15–20 minutes |
| Patchy ankles and feet | Oil method, then mitt; finish with rich lotion | 20–25 minutes |
| Dark elbows and knees | Oil left on for 10–15 minutes, warm shower, mitt with the joint bent | 20 minutes |
| A line at the wrist or ankle | Mitt along the line only, with a dab of body scrub | 5 minutes |
| Too dark overall | Full plan: 10-minute soak, tan remover per label, mitt; repeat the next day if needed | 30–40 minutes, 1–2 days |
| Uneven fading after a week | Full body mitt after a warm shower, then lotion | 20 minutes |
A good rule of thumb: never do more than one full removal session per day. If the tan is still there, it'll come off much more easily tomorrow, once your skin has had a rest.
How Long Does Self Tanner Take To Fade on Its Own?
If you're not in a hurry, time is the gentlest remover of all. Most self tanners fade in about 5 to 10 days, depending on how dark the formula is, how often you shower and how dry your skin is. Gradual tanning lotions fade a little sooner; darker mousses and overnight formulas tend to last longer.
A few things speed up natural fading without any scrubbing at all:
- Swimming and long baths. Chlorinated pools and warm soaks both help the tinted layer loosen.
- Your usual body wash and a soft washcloth. Gentle daily friction helps the color fade evenly instead of in flakes.
- Consistent moisturizing. It sounds backward, but hydrated skin sheds more evenly, so the tan fades smoothly instead of peeling off in patches.
Sometimes the kindest choice is a mix: a quick touch-up on the hands and ankles today, and letting the rest fade on its own over the week.
A Two-Day Plan for a Very Dark or Uneven Tan
If your tan came out much darker than you hoped, or it's patchy all over, splitting the work across two days is easier on your skin than one long session.
- Day 1, evening: Oil the darkest areas for 15 minutes, take a 10-minute warm bath, mitt everything in small circles with light pressure, then moisturize generously. Stop as soon as skin feels warm or tender.
- Day 2, evening: Use a tan remover according to its label, followed by a warm shower and a lighter mitt session focused only on what's still uneven. Moisturize again.
- Day 3: Rest. No scrubbing, just lotion. If you'd like to re-tan, this is the earliest day I'd consider it.
Most tans look dramatically better after the first evening. The second session is mostly for tidying up the details, so it should feel easy, not like a battle.
How To Fix Streaks Without Removing Everything
Sometimes you love most of your tan and only want to fix one streak. You don't need to start over.
- Exfoliate just the line. After a warm shower, use the mitt only along the darker edge of the streak, in short strokes. Stop once it softens.
- Blend with a little tan. If the streak is lighter than the area around it, put a very small amount of self tanner on an application mitt and buff it into the lighter patch with circular motions, feathering out at the edges.
- Go lighter, not darker. It's easier to add a touch more later than to take it away, so use less product than you think you need.
If you'd like to get your application smoother from the start, my self tanner for beginners guide walks through prep, application and the little tricks that prevent streaks.
How To Remove Self Tanner From Your Face
Facial skin is thinner and more sensitive than skin on your body, so skip the mitt and the body scrub here. Instead:
- Wash with a gentle cleanser and lukewarm water.
- Use a soft, damp washcloth in light circles for about 30 seconds, avoiding the eye area.
- If your skin tolerates it well, a mild exfoliating toner you already use can help the tan fade over a few days. Don't add a new strong acid just for this.
- Finish with a simple moisturizer.
Expect the face to take a few days to fade completely. With combination, sensitive skin like mine, patience works much better than force: pushing harder usually ends with redness and dry patches around the nose, which look worse than a bit of leftover tan.
What Not To Do: 6 Mistakes To Skip
The internet is full of "hacks" for removing tan quickly. Most of them are harsh on your skin. Please skip these:
- Lemon juice. It's acidic, can sting and irritate, and may make skin more sensitive to the sun.
- Harsh, chunky scrubs. Rough grains can cause tiny scratches and redness, especially on legs you've recently shaved.
- Bleach or household cleaners. Never put these on your skin. They can cause real chemical burns.
- Toothpaste. It isn't made for skin and can leave it irritated and dry.
- Scrubbing until skin is raw or pink. If skin feels hot, tight or stings, stop for the day.
- Removing tan right after shaving or waxing. Give your skin at least 24 hours to settle first.
If your skin becomes red, swollen, itchy or develops a rash after any product or exfoliation, stop and see a dermatologist or doctor, especially if it doesn't calm down within a day or two.
Aftercare: Moisturize and Wait 24 Hours
Exfoliation leaves skin softer but also a little thirsty, so aftercare is part of the process, not an extra.
- Moisturize right away. Pat skin dry and apply a rich body lotion within a few minutes, while it's still slightly damp. Pay extra attention to the areas you worked on most.
- Wait 24 hours before re-tanning. Your skin needs time to settle and rebalance. Tanning straight after removal can lead to uneven color and irritation.
- Be gentle for a day. Skip scrubs, strong acids and very hot showers until tomorrow.
- Don't forget sunscreen. Self tanner doesn't protect you from the sun, and freshly exfoliated skin deserves care outdoors.
To keep skin smooth between tans, my simple body care routine covers the daily and weekly steps that make the biggest difference.
How To Prevent a Patchy Tan Next Time
A few small habits make your next tan fade much more evenly:
- Exfoliate the day before tanning, not the same day, so skin is smooth but calm.
- Moisturize dry spots lightly before applying: a thin layer on elbows, knees, ankles and knuckles keeps them from grabbing too much color.
- Use a mitt for application, and use what's left on it (not fresh product) for hands and feet.
- Moisturize every day while your tan lasts. Hydrated skin sheds more evenly.
- Gently exfoliate every 3 to 4 days with light pressure to help the tan fade in an even, gradual way.
Final Thoughts
A patchy tan is one of those small things that can feel bigger than it is, especially when it's on your hands for everyone to see. But it's temporary, and it comes off best with warmth, patience and kindness to your skin, not force.
Soak, lift, moisturize, and give yourself a day before trying again. Your skin will thank you, and your next glow will start from a softer, smoother place.