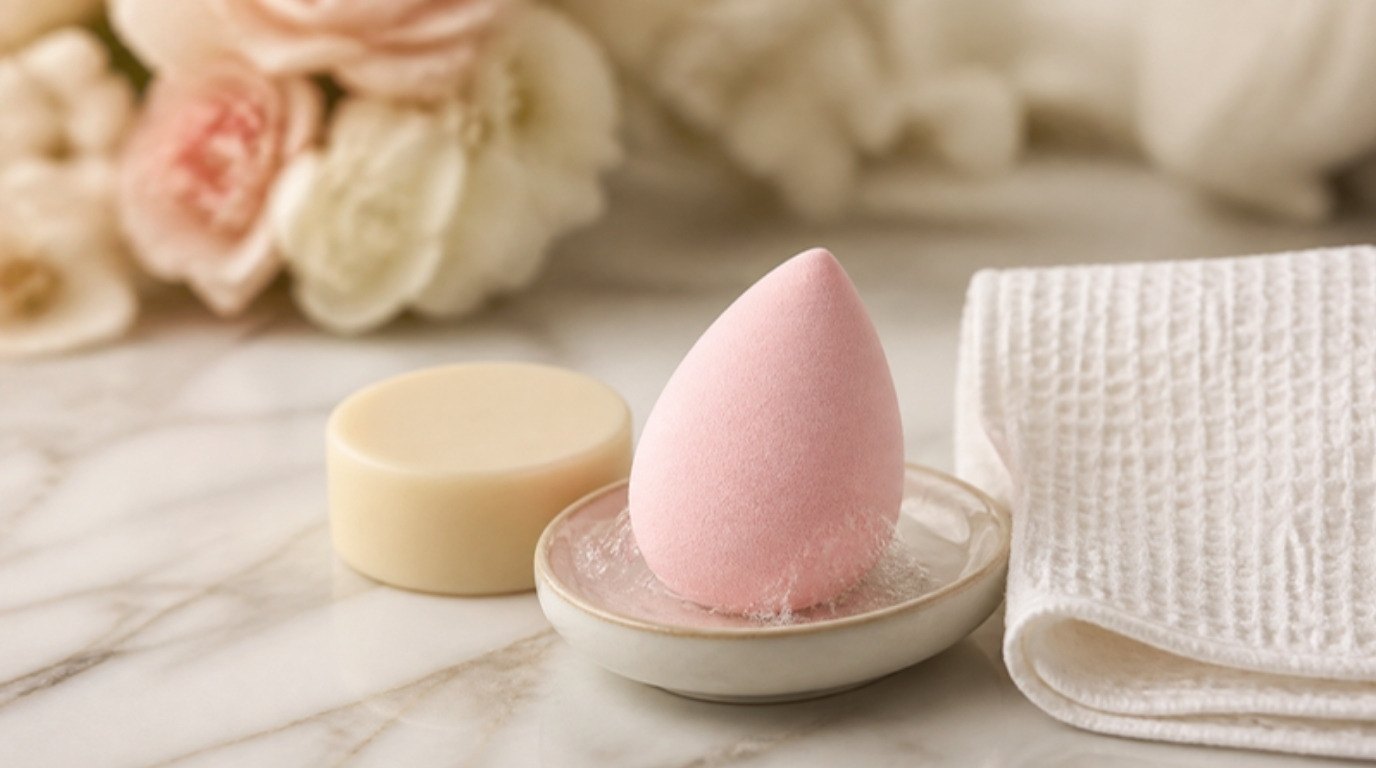
A makeup sponge is only as good as it is clean. That soft, bouncy blender that gives you a skin-like finish is also a little reservoir of water, foundation, oils and whatever was on your face that morning. Left to sit damp in a drawer, it can turn from your best tool into the reason your base looks patchy and your skin keeps acting up.
The good news is that keeping it fresh takes a lot less effort than most people think. A two-minute rinse after use and one proper deep clean a week cover almost everything. My combination, sensitive skin (hello, shiny T-zone) is quick to complain about anything less than clean, so this is one habit I really don't skip.
In this guide you'll learn how to clean a makeup sponge the gentle way: why it matters, how often to wash it, the daily quick clean, three deep-clean methods, why I'd skip the microwave trend, how to dry and store it properly, extra care for sensitive skin, a simple sponge care schedule and exactly when it's time to replace it.
Why Cleaning Your Makeup Sponge Matters

Makeup sponges are designed to be used damp, and damp, porous materials that touch skin every day are a cozy home for bacteria, yeast and mold if they're not cleaned and dried properly. Here's what a dirty sponge can lead to:
- Breakouts and irritation. Old product, oil and bacteria get pressed right back into your pores every time you bounce the sponge across your face.
- Streaky, patchy application. Dried foundation stiffens the surface, so the sponge drags product around instead of melting it into skin.
- Wasted product. A sponge clogged with old makeup absorbs more of your new foundation, so you use more for the same coverage.
- Funky smells and dark spots. A sour smell or tiny dark dots inside the sponge are signs of mold, and that sponge belongs in the trash.
If your skin has been more reactive lately and you can't figure out why, your tools are one of the first things worth checking. The same goes for brushes, and my guide on how to deep clean even the dirtiest makeup brushes pairs perfectly with this one.
What You Need
You don't need a special kit, but a few small things make the job faster and kinder to the sponge:
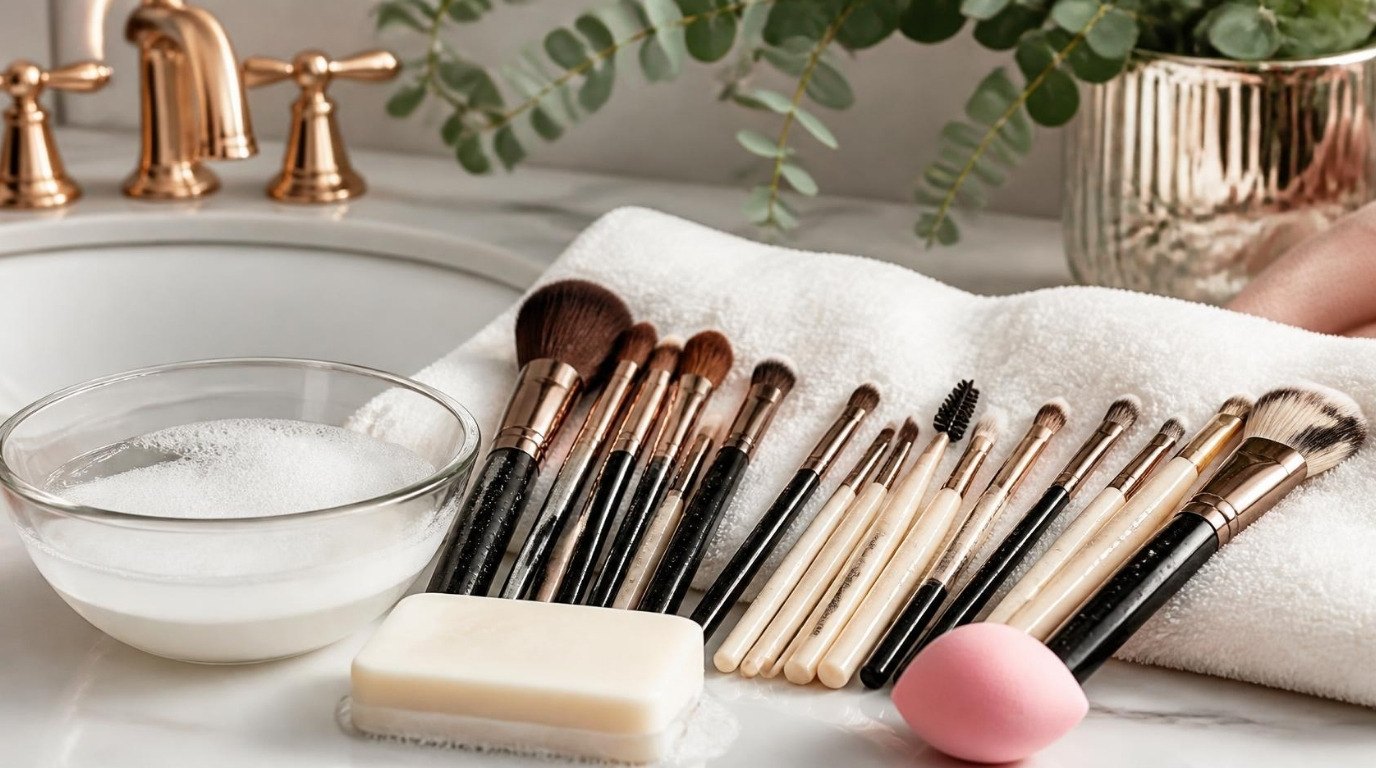
- A gentle cleanser. An unscented liquid soap, a mild facial cleanser or a dedicated brush cleaning shampoo all work. Skip harsh dish soaps with strong fragrance if your skin is sensitive.
- A solid sponge cleanser (optional) for quick, low-mess scrubbing, especially useful for long-wear foundation.
- A silicone cleaning mat (optional) with little ridges that help work cleanser into the sponge.
- A clean towel for blotting.
- Somewhere airy to dry it, ideally an open holder that keeps it upright.
How Often To Clean a Makeup Sponge
Here's the short answer most dermatologists and makeup artists agree on: a quick rinse after every use, and a thorough deep clean at least once a week. If you wear makeup daily, use your sponge with cream or liquid products, or have acne-prone or sensitive skin, a deep clean two or three times a week is even better.
If that sounds like a lot, here's my honest shortcut: keep two sponges in rotation. Use one while the other is clean and drying. That way you always have a fresh, fully dry sponge ready, and you never have to skip a wash because you need it in the morning.
The Daily Quick Clean
This takes about two minutes and keeps foundation from drying deep inside the sponge, which makes your weekly deep clean so much easier.
- Rinse right after use. Hold the sponge under lukewarm running water and squeeze it a few times until most of the color runs out.
- Add a drop of cleanser. Massage a pea-sized amount of gentle soap into the stained areas with your fingertips.
- Squeeze, don't twist. Press and release the sponge under the water until it runs mostly clear. Twisting or wringing can tear the foam.
- Blot. Press it inside a clean towel to remove as much water as possible.
- Air dry upright in an open, ventilated spot (more on that below).
It won't look brand new after a quick clean, and that's fine. The goal is to stop product from hardening, not to remove every stain every day.
How To Deep Clean a Makeup Sponge
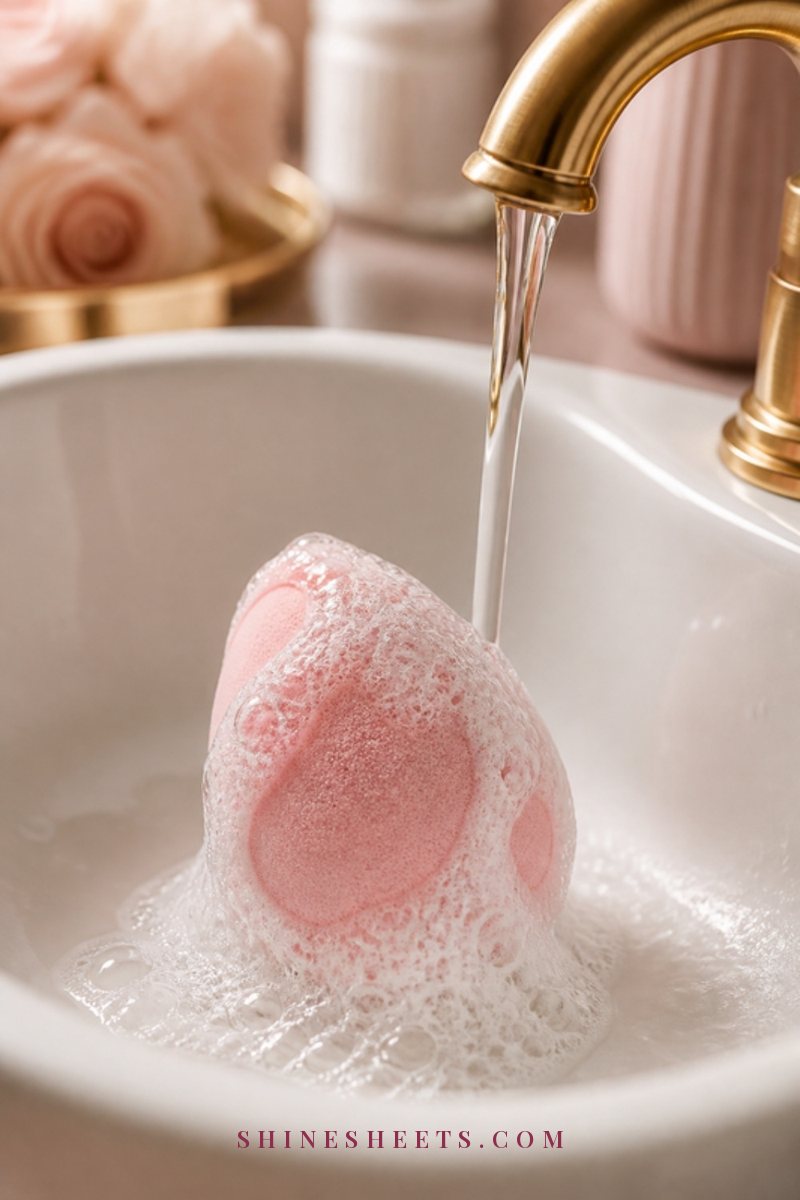
Once a week (or more often, as above), give your sponge a full deep clean. Pick the method that suits the products you wear. All three take about five to ten minutes.
Method 1: Gentle Soap and Squeeze
This is the everyday classic and works well for most liquid and cream products.
- Soak the sponge in lukewarm water until it fully expands.
- Apply a generous drop of gentle soap or brush shampoo directly to the stained areas.
- Massage the soap into the sponge with your fingertips, or rub it in gentle circles against your palm or a silicone mat for about 30 seconds.
- Rinse under running water, squeezing repeatedly.
- Repeat steps two to four until the water runs clear. Very stained sponges may need three or four rounds.
- Do a final rinse with no soap at all, since leftover cleanser can irritate sensitive skin.
Method 2: Cleansing Balm or Oil for Stubborn Foundation
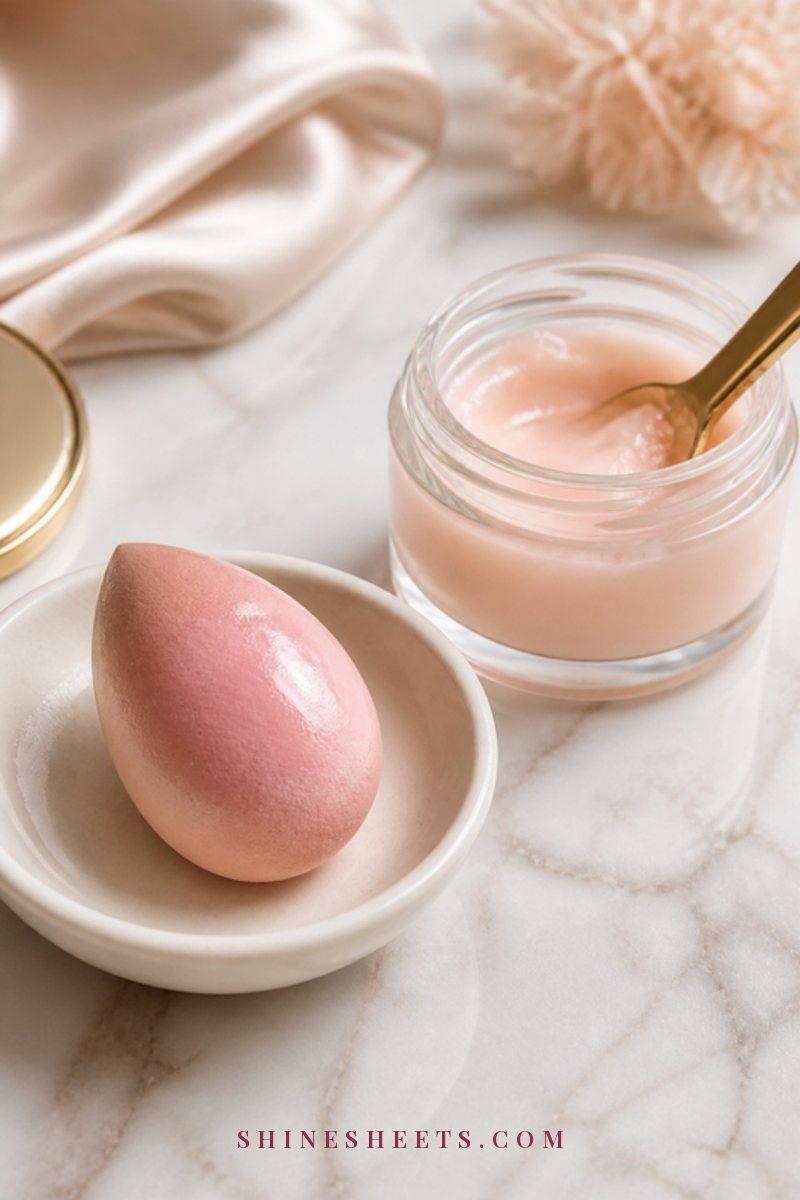
Long-wear and waterproof foundations, concealers and tinted sunscreens are designed to resist water, so soap alone sometimes struggles. Oil breaks them down far more easily, the same way it melts makeup off your face.
- Start with a dry or only slightly damp sponge.
- Work a small scoop of cleansing balm or a few drops of cleansing oil into the stained areas with your fingertips. Massage for about a minute.
- Let it sit for two to three minutes to dissolve the pigment.
- Wet the sponge and squeeze. The oil will turn milky as it emulsifies.
- Follow with Method 1 to remove the oil completely. This step matters: leftover oil can leave a film that affects your next application.
This is my go-to suggestion for anyone who's been wondering why their sponge still looks orange after washing. If you love long-wear formulas, my guide on how to apply foundation also has tips for getting a smooth finish with a sponge.
Method 3: Solid Cleanser and a Silicone Mat
Solid sponge cleansers look like a little puck of soap in a tin. They're tidy, travel-friendly and great for a fast deep clean.
- Wet the sponge and the surface of the solid cleanser.
- Rub the sponge in circles over the cleanser until it lathers.
- Move to a silicone mat or your palm and keep massaging to push the lather into the sponge.
- Rinse and squeeze until the water runs clear.
- Rinse the cleanser surface too, so it doesn't hold onto pigment for next time.
What About the Microwave Method?
You've probably seen people "sanitize" a sponge by soaking it in soapy water and microwaving it. I'd skip this one. Brands of popular blending sponges generally advise against it, and there are real risks: the water can superheat and splatter, the sponge can melt or scorch and anything that dries out completely in a microwave can become a fire hazard. It can also break down the foam faster, so your sponge loses its bounce.
Thorough washing with soap, rinsing until the water is clear and drying completely in open air is enough for a personal makeup sponge. If a sponge smells bad or has dark spots even after cleaning, no amount of heat will make it worth keeping. Replace it.
How To Dry a Makeup Sponge Properly

Drying is the step most people get wrong, and it's the one that matters most for avoiding mold. A sponge that stays damp for hours in a closed space is exactly where problems start.
- Squeeze out as much water as you can. Press it inside a clean towel, flip and press again.
- Dry it upright and in open air. A makeup sponge drying holder keeps it standing on its narrow end so air can reach every side. A clean, open shelf or a small cup on its side works too.
- Choose a ventilated spot. A steamy bathroom right after a shower is not ideal. A bedroom vanity or a windowsill with good airflow is better.
- Never put it away damp. No closed cases, makeup bags or drawers until it's completely dry. This usually takes several hours to overnight.
- Don't use direct heat. Hairdryers, radiators and very hot sun can warp the foam and make it crumble.
The easiest rhythm: wash in the evening and let it dry overnight, so it's ready for the morning.
The Sponge Care Schedule
Here's everything in one place. Screenshot this and keep it with your makeup.
| When | What to do | Time needed | Why |
|---|---|---|---|
| After every use | Rinse, squeeze with a drop of soap, blot, air dry upright | 2 minutes | Stops foundation from drying deep inside the foam |
| Once a week (2–3 times if daily wear or acne-prone) | Full deep clean with soap, balm or solid cleanser, then dry overnight | 5–10 minutes plus drying | Removes buildup, oil and bacteria |
| Every week | Wipe the drying holder or storage case with soapy water | 1 minute | Keeps a clean sponge from sitting on a dirty surface |
| Every month | Check for tears, stiffness, permanent stains, smell | 30 seconds | Catches early signs it's wearing out |
| Every 1–3 months | Replace the sponge | – | Foam breaks down and holds bacteria even when washed |
| Immediately | Replace if it smells sour, has dark spots or you had a skin or eye infection | – | Mold and bacteria can't be fully washed out |
When To Replace Your Makeup Sponge
Even with perfect care, makeup sponges are not forever. Most brands and makeup artists suggest replacing yours every one to three months, depending on how often you use it and how well it's kept. Watch for these signs that it's time:
- Tears, nicks or pieces flaking off the surface.
- It no longer expands fully when wet, or it feels stiff and dense.
- Stains that don't fade at all after a deep clean (light staining is normal).
- A sour, musty or "off" smell, even right after washing.
- Any dark spots inside or outside, which can be mold.
- You've had a breakout flare, a skin infection or an eye infection while using it.
Buying a makeup sponge set makes it easy to swap in a fresh one without thinking twice. For a bigger picture of how long all your makeup and tools last, my guide on how often to replace your makeup and makeup tools has a full timeline.
A quick safety note: if you notice persistent irritation, rashes or eye redness, stop using the sponge and the products you used with it, and check in with a doctor or dermatologist. And please don't share sponges, even with close friends. Bacteria travel easily from one face to another.
How To Store Your Makeup Sponge
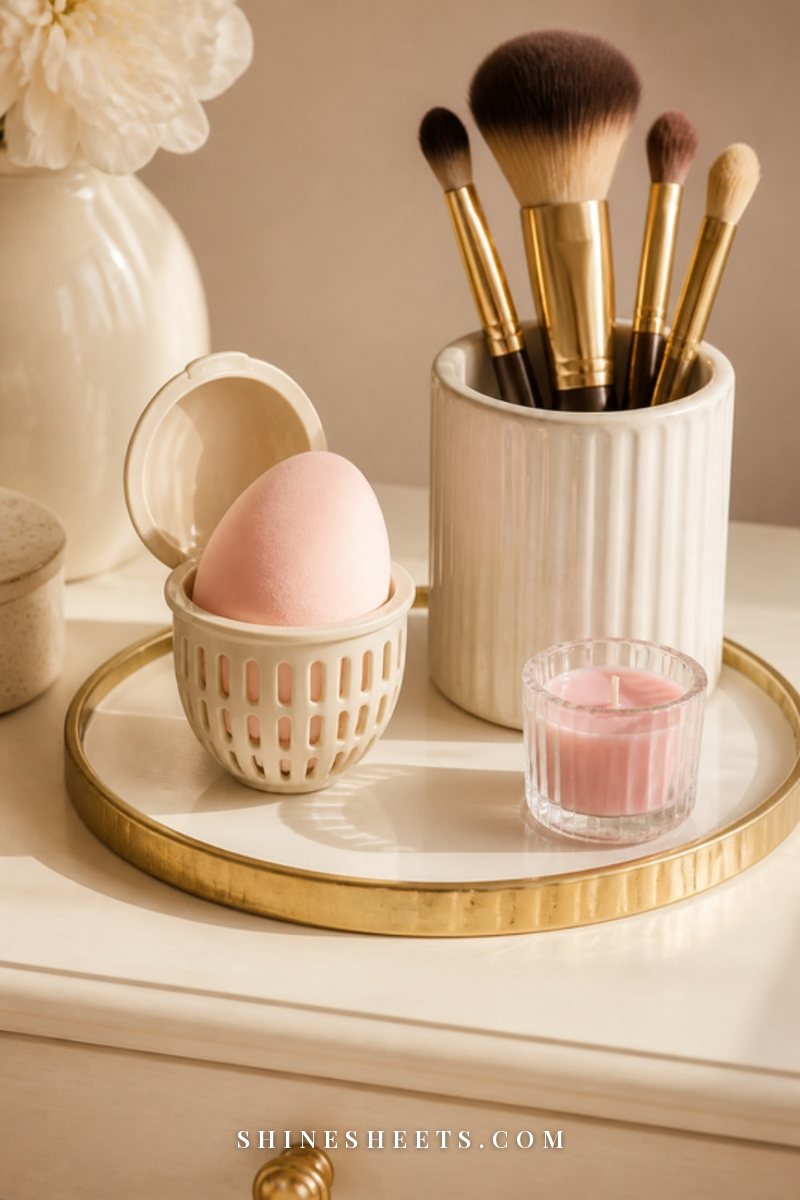
Once your sponge is fully dry, where you keep it matters almost as much as how you clean it.
- Keep it out in the open on a clean tray or holder on your vanity rather than loose in a makeup bag with open powders and lipsticks.
- Use a ventilated case for travel, one with holes or mesh, and only once the sponge is completely dry.
- Keep it away from the toilet and sink splash zone. A bedroom vanity or a shelf away from the sink is ideal.
- Store clean and used sponges separately if you rotate two, so the fresh one stays fresh.
Can You Put a Makeup Sponge in the Washing Machine?
It's tempting, especially if you have a handful of sponges to clean at once. Some people put them in a mesh laundry bag with a gentle cycle, and it can work in a pinch. That said, I'd keep it as an occasional shortcut rather than your main method.
A washing machine doesn't target the dense foundation stains the way your fingertips do, and the spin cycle and agitation can tear the foam or make it lose its shape faster. Laundry detergents are also often heavily fragranced, which isn't ideal for something that touches your face every day. If you do try it, use a mesh bag, cold water, a gentle cycle and a fragrance-free detergent, skip fabric softener completely and never put sponges in the dryer. Then give each one a plain-water rinse and air dry it upright as usual.
How To Tell Your Sponge Is Really Clean
A sponge can look a little stained and still be perfectly clean, or look fine and still hold leftover soap. Here's a quick three-point check after a deep clean:
- The squeeze test: squeeze it under running water. If the water runs completely clear with no color and no bubbles, you're done.
- The smell test: a clean sponge smells like nothing, or very faintly of your soap. Anything sour or musty means it needs another wash or, more likely, replacing.
- The bounce test: once dry, it should spring back quickly when you press it. A slow, flat sponge is either still damp inside or wearing out.
Faint beige staining that remains after the water runs clear is normal, especially on lighter sponges. It's the color soaking into the foam, not dirt. If it bothers you, a darker sponge in a soft blush or mauve shows stains much less.
Sponge Care for Sensitive and Acne-Prone Skin
If your skin reacts easily, a few extra habits go a long way:
- Deep clean more often, ideally every two or three uses rather than once a week.
- Choose fragrance-free cleansers and always finish with a plain-water rinse, so no soap residue touches your face.
- Keep one sponge for base and a separate one for cream blush or contour, so you're not moving extra product and oil around.
- Wash your face and hands before makeup. A clean sponge on unwashed skin won't help much.
- Replace sooner, closer to the one-month mark, especially during a breakout.
Gentle tools are just one piece of the puzzle. If your skin is easily irritated, my sensitive skin routine covers the products and habits that help calm it from the start.
Cleaning a Makeup Sponge While Traveling
Travel is when sponge hygiene usually slips: it gets tossed damp into a makeup bag and spends three days in the dark. A few small swaps help:
- Pack two sponges so one can dry while you use the other.
- Bring a travel-size gentle cleanser or a small solid cleanser in its tin.
- Rinse and squeeze in the evening, then leave it upright on a clean tissue by the hotel window overnight.
- Only pack it in a ventilated case once it's completely dry, and give it a full deep clean as soon as you get home.
Common Sponge Cleaning Mistakes
A few habits can quietly undo your good work. Watch out for these:
- Wringing or twisting. It stretches and tears the foam. Always squeeze and press instead.
- Using very hot water. Lukewarm is enough and is kinder to the material.
- Skipping the final plain rinse. Leftover soap can cause streaks and irritate sensitive skin.
- Drying it in a closed case. This is the number one cause of moldy sponges.
- Keeping it "until it falls apart." By the time it's crumbling, it's been past its best for weeks.
- Using harsh chemicals. Bleach, alcohol soaks and strong disinfectants can damage the foam and irritate your skin. Gentle soap and good drying are enough.
Final Thoughts
A clean makeup sponge gives you a smoother, more even base, wastes less product and is so much kinder to your skin. Rinse it after each use, give it a proper deep clean every week, let it dry upright in fresh air and replace it every few months.
It's a tiny ritual, but it's one of those small acts of care that shows up on your skin every single morning.