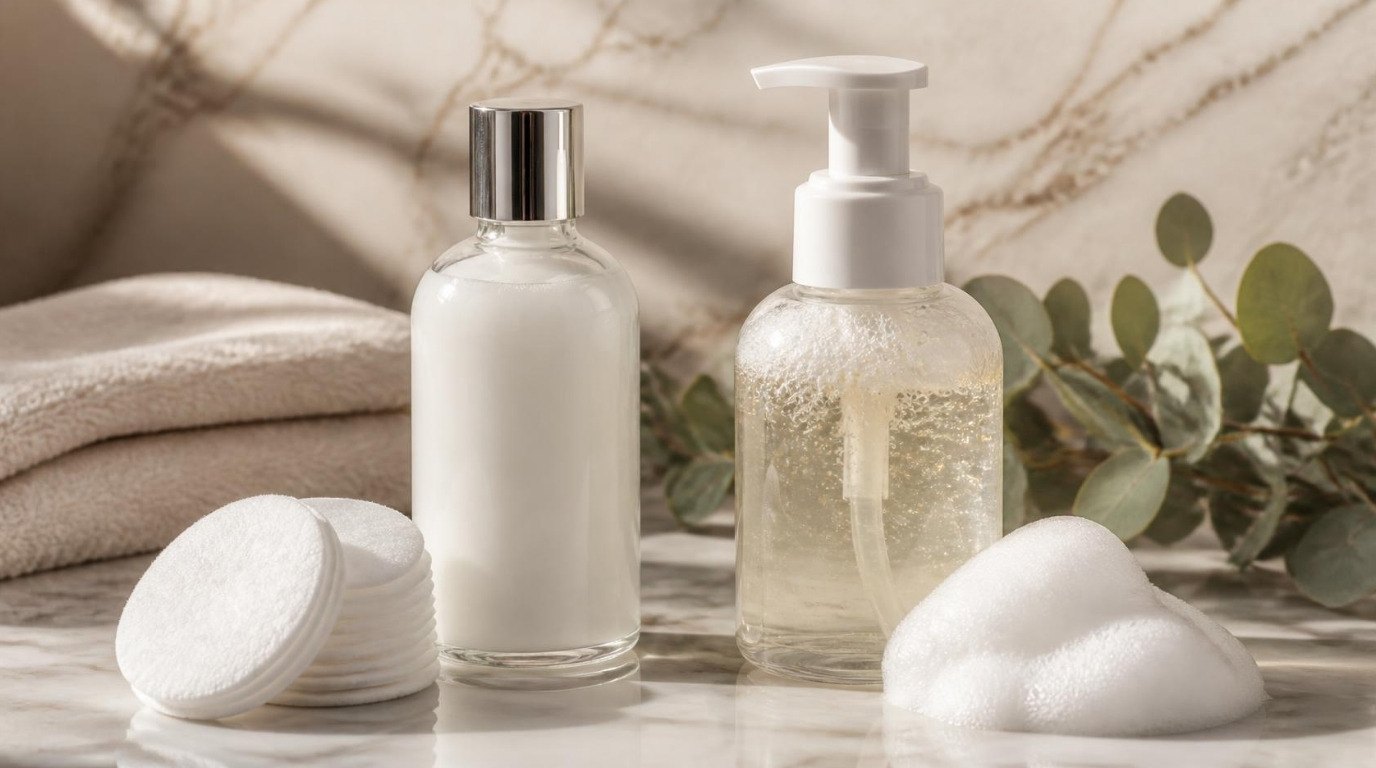
Washing your face seems like the one skincare step nobody needs to learn. But the way you cleanse decides how well everything after it works. Rush it, and you leave sunscreen and oil behind along your jaw and hairline. Overdo it, and you strip your skin so it feels tight and starts overproducing oil to compensate. Get it right, and your serums and moisturizer have a calm, clean base to work on.
The good news: doing it properly takes about two minutes and no special tools. It's mostly about water temperature, timing, a gentle hand and a few spots most of us skip.
This guide walks you through how to wash your face properly, step by step: how to prep, how to choose a cleanser for your skin type (with a quick table), how long to massage, how to rinse and dry, how morning and evening cleansing differ, when to double cleanse, how often to wash and the common mistakes that quietly irritate skin.
Think of it as the foundation of your whole routine. Small changes here make a surprisingly big difference.
Why the Way You Wash Your Face Matters

Your skin has a protective outer layer, often called the skin barrier, made of skin cells and natural oils. It keeps moisture in and irritants out. A good cleanse removes what you don't want (sunscreen, makeup, sweat, excess oil, pollution) while leaving that barrier intact.
When cleansing is too harsh, too hot or too frequent, the barrier gets stressed. You might notice tightness, flaking, redness or a shiny face by lunchtime. When cleansing is too quick or too gentle for what's on your skin, residue builds up, which can contribute to clogged pores and dullness.
I have combination, sensitive skin with a shiny T-zone, and for a long time I thought the answer was washing harder. It took me a while to understand that a softer, slower cleanse actually made my T-zone calmer, not oilier.
How To Wash Your Face: Step by Step
Here's the full routine, start to finish. Once it becomes a habit, you won't need to think about it.
1. Pull Your Hair Back
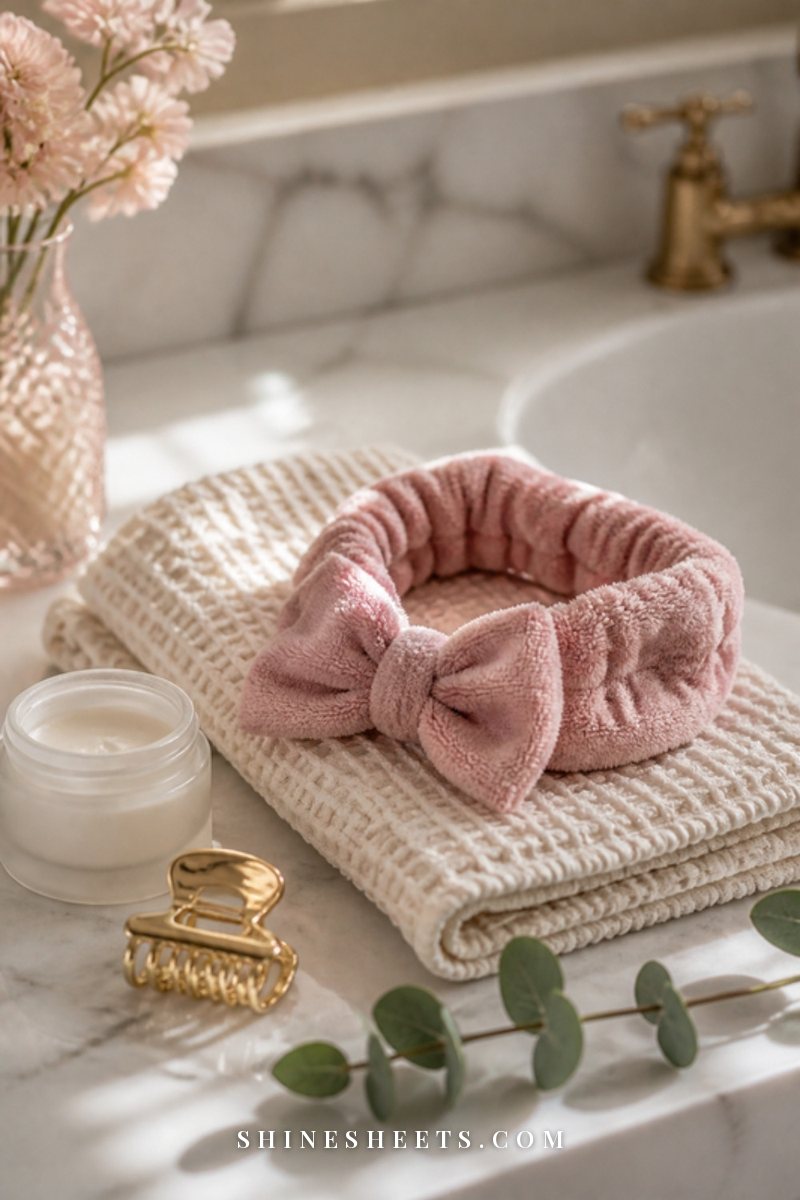
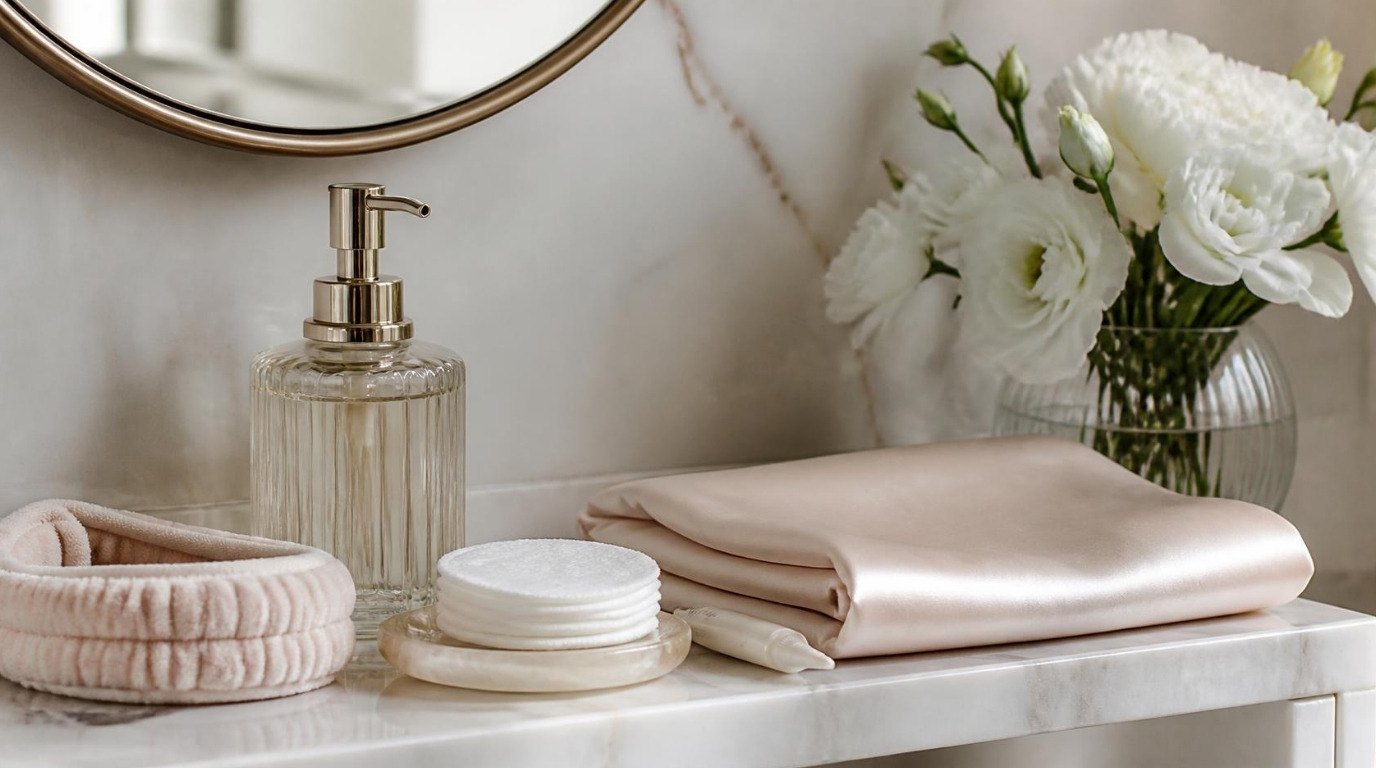
Hair along your forehead and temples gets in the way of a thorough cleanse, and it soaks up cleanser and water. A soft terry spa headband or a claw clip keeps everything away from your face so you can reach your hairline properly. It's a small step, but it's the reason the edges of your face finally get cleaned.
2. Wash Your Hands First
Your hands touch everything: phones, door handles, keyboards. Washing them with soap for about 20 seconds before you touch your face means you're cleaning your skin, not adding to it. Rinse and dry them well so you start with clean hands.
3. Use Lukewarm Water
Hot water feels lovely, especially in winter, but it pulls natural oils out of your skin and can leave it tight, red or itchy. Cold water doesn't dissolve oil and sunscreen very well. Lukewarm is the sweet spot: comfortable on the inside of your wrist, neither warm nor cool.
Splash your face two or three times to wet it before applying cleanser. Most cleansers lather and spread more easily on damp skin.
4. Choose a Cleanser for Your Skin Type
Your cleanser should leave your skin feeling clean and comfortable, never squeaky or tight. Squeaky-clean is a sign it's too strong. Very broadly:
- Oily or acne-prone skin: a gentle gel or gentle foaming cleanser that lifts oil without stripping.
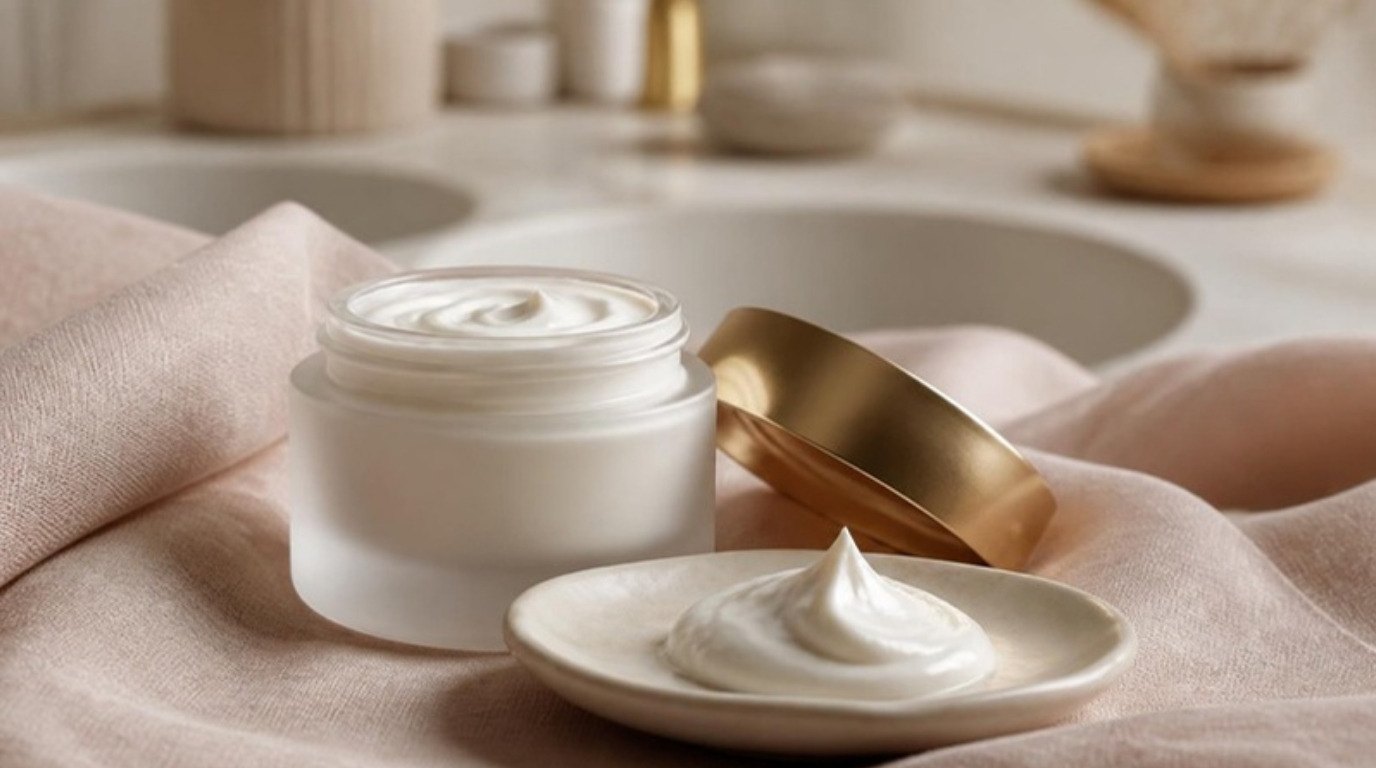
- Dry or mature skin: a hydrating cream cleanser or milk that cleans while leaving moisture behind.
- Combination skin: a gentle gel or low-foam cleanser that balances both.
- Sensitive skin: fragrance-free and as simple as possible.
There's more detail in the table further down, and if you're torn between textures, my guide on cleansing milk or face wash breaks down which one suits you.
5. Use the Right Amount
More cleanser doesn't mean cleaner skin, it just means more to rinse off. A good guide:
- Gel or foam: a pump or a blob about the size of a hazelnut.
- Cream or milk: one to two pumps.
- Cleansing balm: a scoop about the size of an almond.
Warm the cleanser between your fingertips for a few seconds before it goes on your face. It spreads more evenly and you'll need less pulling.
6. Massage for 60 Seconds
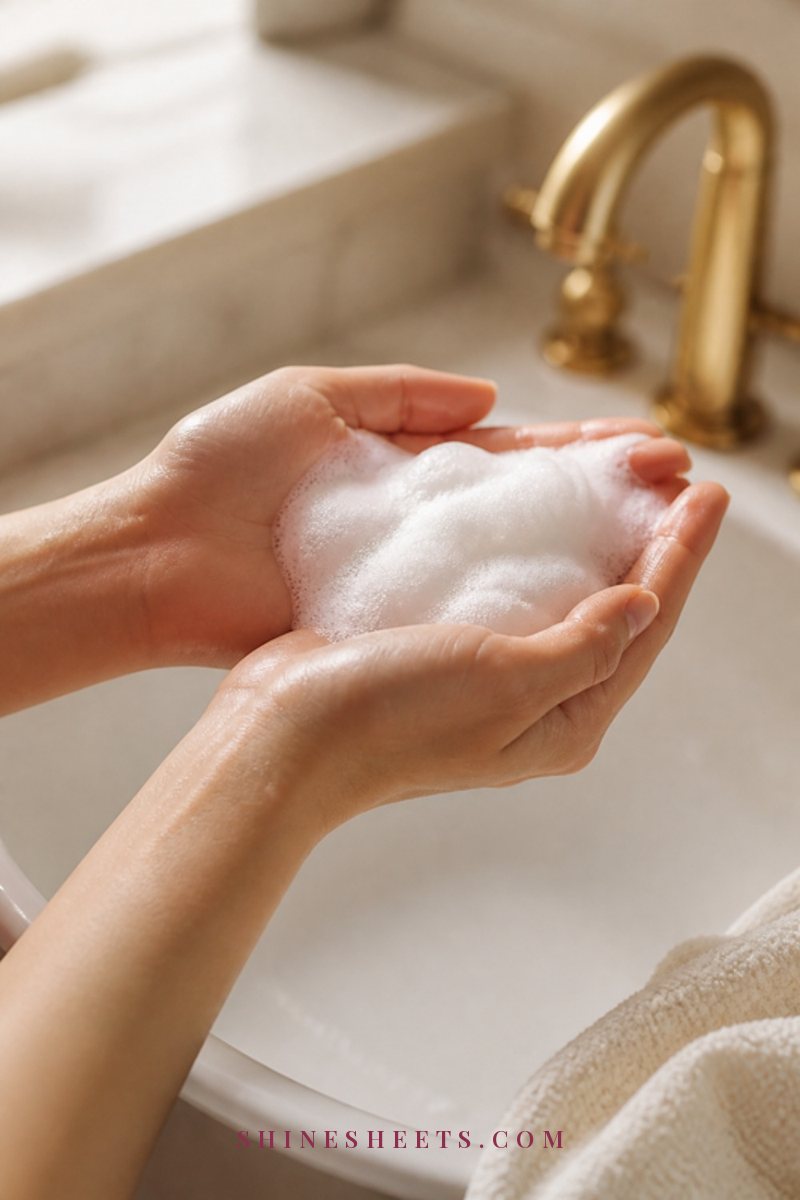
This is the step almost everyone rushes. Most of us cleanse for about 10–15 seconds, which isn't long enough for the cleanser to dissolve sunscreen, oil and makeup. Aim for a full 60 seconds of gentle massage.
Use your fingertips (not your palms) in small, light circles. Start at your chin, move up along the jaw to your cheeks, around the nose (the sides of your nostrils collect oil), across the forehead and up to the hairline. Keep the pressure soft, about the pressure you'd use to touch your eyelid. Counting slowly to 60, or humming a song, keeps you honest.
The minute isn't only practical. It's a small moment to pause at the end of the day, a little like a mini facial massage.
7. Rinse Your Hairline, Jaw and Neck
Leftover cleanser is a common cause of dryness and small bumps along the hairline and jawline. Rinse with lukewarm water using your hands, at least 10–15 splashes, and pay extra attention to:
- Your hairline and temples
- Under your jaw and around your ears
- The sides of your nose
- Your neck, if you applied cleanser there
Run a clean fingertip along your jaw afterwards. If it feels slippery, rinse a few more times.
8. Pat Dry With a Clean Towel
Rubbing your face with a towel tugs at the skin and can irritate it, especially if you're sensitive. Gently press or pat instead. Use a towel that's just for your face, and switch to a fresh one every two to three days. Bath towels that hang in a humid bathroom for a week aren't the place for freshly cleansed skin.
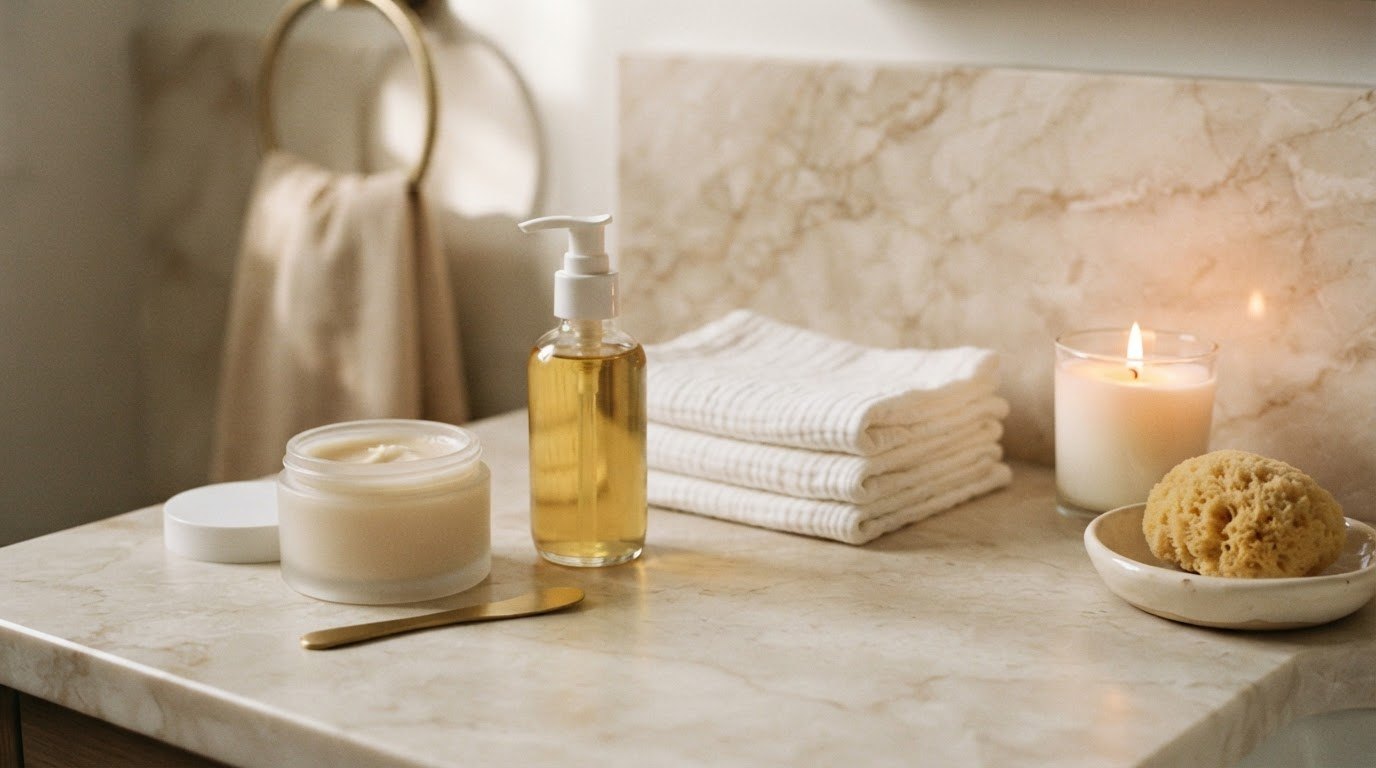
A small stack of soft cotton face towels makes this easy: keep them folded in a basket by the sink and toss each one in the laundry after a couple of uses.
9. Apply Your Next Step on Damp Skin
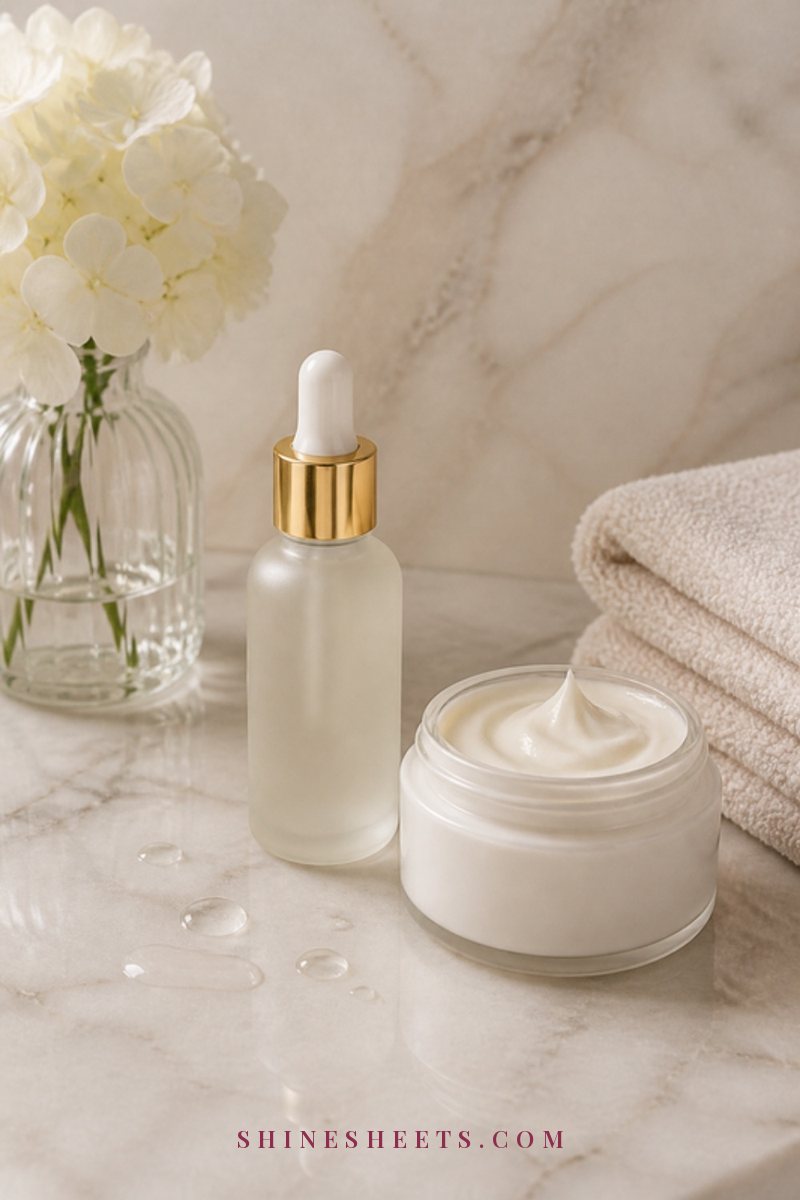
Don't wait until your face is completely dry. Within a minute of patting, while your skin is still slightly damp, apply your toner, essence, serum or moisturizer. Many hydrating ingredients work best on damp skin, and it helps seal in water before it evaporates.
The exception: if you use a retinoid or strong acid and have sensitive skin, apply it to dry skin to reduce irritation, then follow with moisturizer. For a full order of steps, my guide to a skincare routine for beginners lays everything out simply.
Cleanser by Skin Type
Use this table to pick a cleanser that suits you. Screenshot it for your next shopping trip.
| Skin type | Best cleanser texture | Look for | Avoid |
|---|---|---|---|
| Oily | Gel or gentle foam | Low-pH, sulfate-free, niacinamide or a little salicylic acid | Harsh foaming formulas that leave skin squeaky |
| Acne-prone | Gel or gentle foam | Non-comedogenic, salicylic acid a few times a week | Gritty scrubs, heavy oils if they clog you |
| Dry | Cream, milk or balm | Ceramides, glycerin, hyaluronic acid | Strong foaming cleansers, alcohol-heavy formulas |
| Combination | Gel or low-foam | Gentle, balancing, fragrance-light | Anything that leaves cheeks tight |
| Sensitive | Cream, milk or gentle gel | Fragrance-free, short ingredient list, soothing ingredients | Fragrance, essential oils, scrubs |
| Mature | Cream, milk or balm | Hydrating, barrier-supporting ingredients | Hot water, harsh exfoliating cleansers used daily |
Morning vs Night: How Your Face Wash Should Differ
Your morning and evening cleanse have different jobs, so they don't need to look the same.
Morning: your skin has only had your night products and pillowcase on it, so a light cleanse is enough. If your skin is dry or sensitive, a splash of lukewarm water or a quick rinse with a gentle cream cleanser is often plenty. If you're oily or wake up shiny, a gentle gel cleanser for 30 seconds works well.
Night: this is the important one. Your skin has worn sunscreen, maybe makeup, plus a day's worth of oil, sweat and pollution. Take your time here: the full 60-second massage, careful rinsing and, if you wore makeup or water-resistant sunscreen, a double cleanse.
If you're truly exhausted, a gentle cleanse is still better than skipping. Even 30 seconds with a cleanser is kinder to your skin than sleeping in sunscreen and makeup.
When To Double Cleanse
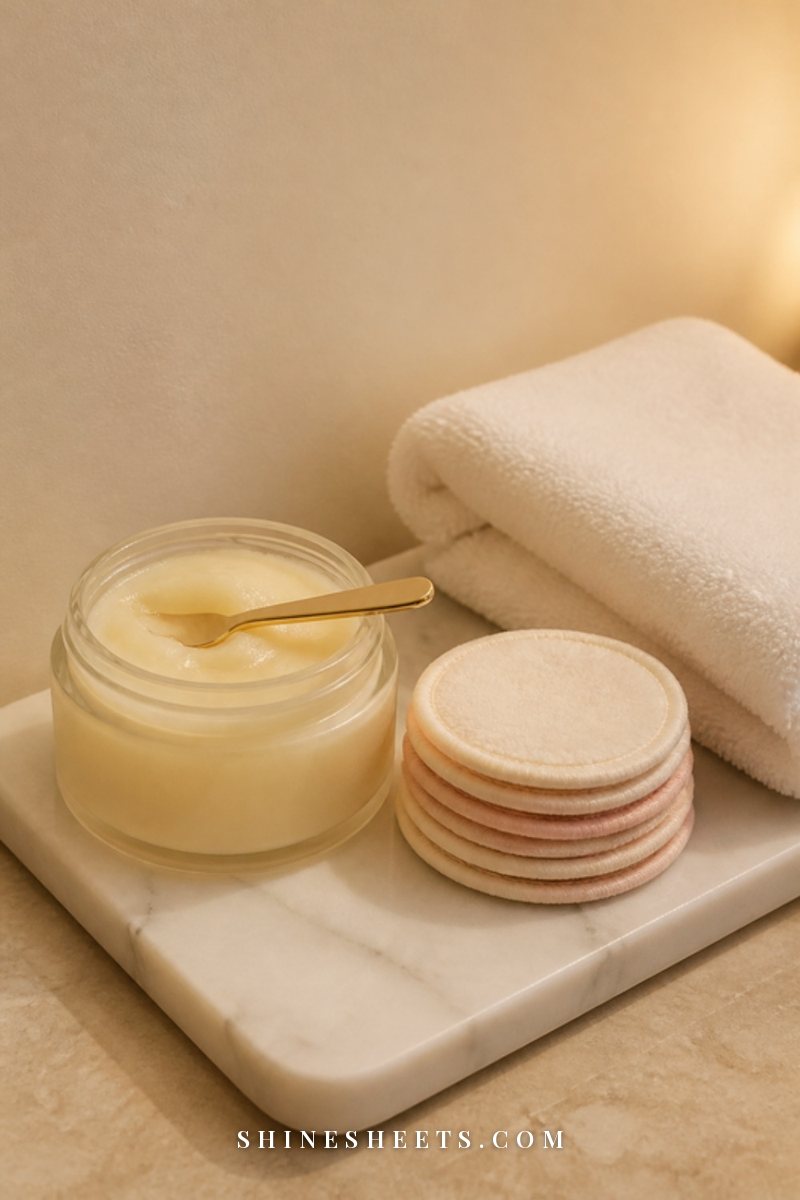
Double cleansing means using an oil-based cleanser first, then a water-based one. The first step melts makeup, sunscreen and oil; the second cleans the skin itself.
You'll benefit from double cleansing in the evening if you wore:
- Foundation, concealer or long-wear makeup
- Waterproof mascara
- Water-resistant or mineral sunscreen
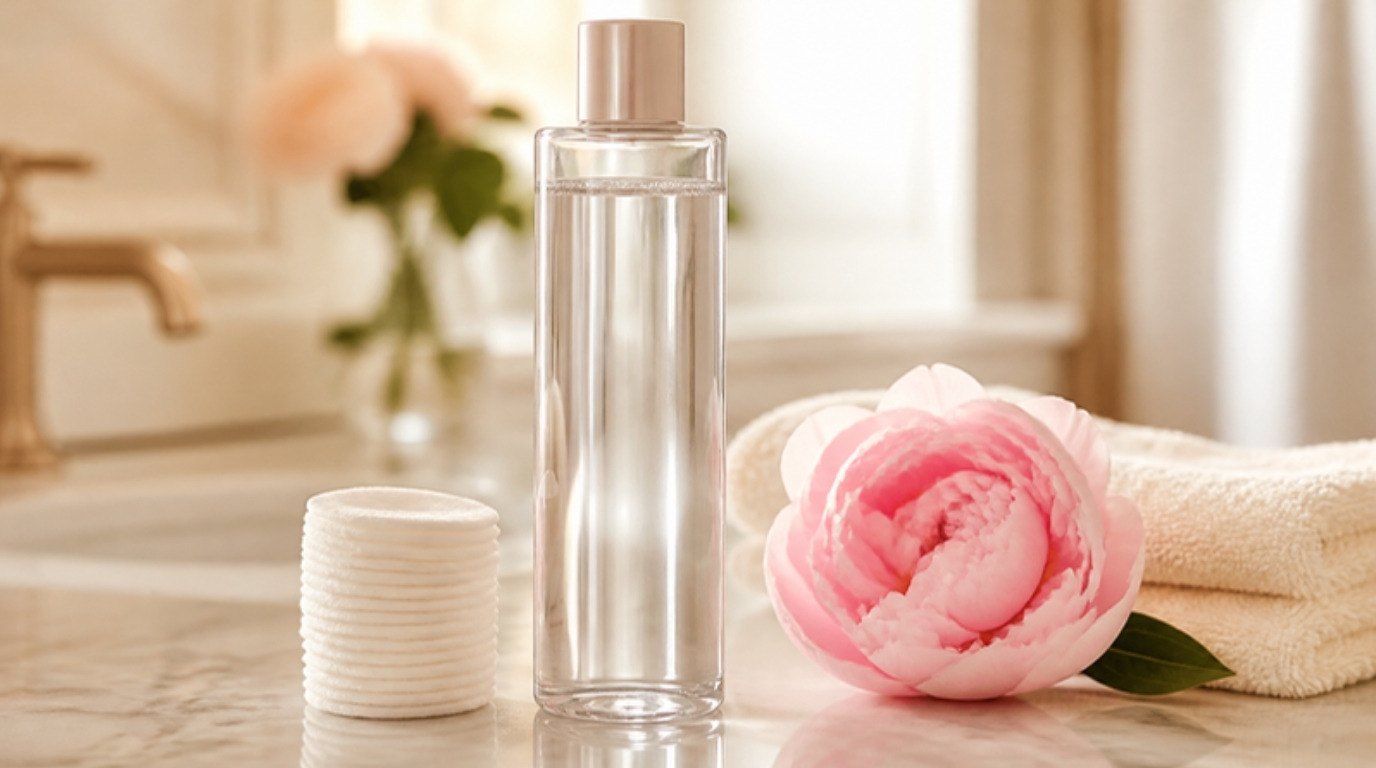
Massage a cleansing balm onto dry skin for about a minute, add a splash of water to turn it milky, rinse, then follow with your regular cleanser. For eye makeup, soak reusable makeup remover pads in a little micellar water or balm and hold them on your lashes for ten seconds before wiping gently. My guide to double cleansing covers who it suits and who can skip it, and my micellar water guide explains when that's enough on its own.
No makeup and no sunscreen that day? A single cleanse is perfectly fine.
How Often Should You Wash Your Face?
For most people, twice a day works well: a light cleanse in the morning and a thorough one at night. Some adjustments:
- Dry or sensitive skin: water only (or a very gentle cleanser) in the morning, a proper cleanse at night.
- Oily skin: twice a day with a gentle cleanser. Washing more often than that can make oiliness worse, not better.
- After a workout: cleanse after heavy sweating, especially if you wore makeup or sunscreen. If you've already washed twice that day, a rinse with water is enough.
Washing three or more times a day usually leads to tight, irritated skin, so if you feel the urge to wash constantly because of oil, try blotting papers during the day instead.
7 Face Washing Mistakes To Avoid
- Using hot water. It strips natural oils and can leave skin red and tight. Stay lukewarm.
- Washing too quickly. Ten seconds isn't enough to remove sunscreen. Give it a full minute.
- Over-washing. More than twice a day often triggers dryness and more oil.
- Scrubbing hard. Gritty scrubs and rough pressure can cause tiny tears and irritation. Exfoliation is a separate step done a few times a week at most. My guide on how to exfoliate your face explains how to do it gently.
- Using the same towel for days. Damp towels collect bacteria. Change your face towel every two to three days.
- Relying on cleansing wipes as your only step. Wipes move makeup around and leave residue behind. Use them for emergencies, then cleanse properly when you can.
- Forgetting the hairline and jaw. These are the spots where residue builds up most. Rinse them on purpose.
Should You Wash Your Face in the Shower?
It's convenient, and plenty of people do it. The catch is temperature: most of us like our showers much hotter than our faces like their water. If you cleanse in the shower, turn the water down to lukewarm for that minute, or step out of the direct stream and rinse with cupped hands instead of putting your face under the spray.
A second tip: wash your face last, after shampoo and conditioner. Hair products rinse down over your forehead, hairline and back, and a final cleanse removes any residue so it doesn't sit on your skin overnight. If you use a leave-in or hair oil afterwards, keep it away from your face and hairline.
Do You Need Cleansing Tools?
For most people, clean fingertips are the best cleansing tool you'll ever own. They're gentle, you can feel exactly how much pressure you're using and they never need replacing.
That said, a few tools can be helpful when used carefully:
- Soft washcloths or muslin cloths: useful for removing balm or cream cleansers. Wet with lukewarm water, press gently and use a fresh one each time.
- Silicone cleansing pads: soft and easy to keep clean. Use with light pressure and wash them after every use.
- Cleansing brushes: can be too much for sensitive or acne-prone skin. If you use one, keep it to a few times a week on the gentlest setting, and replace the head regularly.
Whatever you use, keep it clean and dry between uses, and skip it entirely on days your skin feels irritated.
How To Wash Your Face If You Have Acne-Prone Skin
When you're dealing with breakouts, it's tempting to wash more often and scrub harder. Unfortunately, that usually makes things angrier. A gentler approach tends to work better:
- Stick to twice a day with a gentle gel or foam cleanser.
- If you use a salicylic acid or benzoyl peroxide cleanser, leave it on for about 30–60 seconds before rinsing so it has time to work, and start with a few times a week.
- Don't scrub over active spots; glide over them with light fingertips.
- Change your pillowcase twice a week and your face towel every two days.
- Avoid picking right after cleansing, when skin is soft and more easily damaged.
If breakouts are painful, deep or not improving after a couple of months of gentle care, it's worth seeing a dermatologist for personalized help.
Make It a Habit You Actually Enjoy
The best cleansing routine is the one you'll do on tired evenings too. A few small things help:
- Keep your cleanser, headband and a fresh towel together by the sink, so everything is ready in one reach.
- Wash your face earlier in the evening, before you get too sleepy, rather than right before bed.
- Pair it with something pleasant: a glass candle in the bathroom, a favorite song or your evening tea waiting for you.
It sounds small, but when the setup feels nice, the habit sticks.
Signs Your Cleanser Isn't Right for You
Your face should feel clean, soft and comfortable a few minutes after washing. Listen to your skin if you notice:
- Tightness that lasts more than a few minutes after washing
- Stinging or burning while cleansing
- Flaking or rough patches, especially around the nose and mouth
- Oiliness that seems to get worse through the day
- Leftover makeup on your pads or towel after cleansing
If it's tightness or stinging, choose something gentler. If makeup is left behind, add a first cleanse. Give any new cleanser about two weeks before deciding, unless it burns or causes a rash, in which case stop right away. If redness or irritation doesn't settle, a dermatologist can help you find what suits your skin.
Final Thoughts
Learning how to wash your face properly is one of the simplest, most effective things you can do for your skin. Lukewarm water, the right cleanser, a full minute of gentle massage, careful rinsing and a soft pat dry – that's the whole secret. Everything you apply afterwards works better because of it.
Start with the step you usually skip, whether that's the 60 seconds, the hairline or the clean towel, and let it become a habit. Two calm minutes at the sink, morning and night, add up to skin that feels comfortable and cared for.