Garland is the hardest-working decoration of the holidays. One long strand of greenery can make a staircase feel like a grand hotel, frame a front door like a postcard and turn a plain mantel into the heart of the room. The secret isn't buying more of it. It's choosing the right length, attaching it in a way that holds all season and fluffing it until it looks generous and alive.
The good news is that you don't need nails, a drill or a professional. Almost everything here works with renter-friendly hooks, ties and ribbon, and it all comes down cleanly in January (well, whenever you're ready to let the season go).
This guide walks you through how to hang garland on the three places that matter most: stairs, the front door and the mantel. You'll find how to choose and fluff garland, the tools that won't damage your walls or woodwork, a quick table with the best attachment method and length for each spot, simple ways to add lights and ribbon, safety basics and how to take it all down without peeling paint.
Put the kettle on, untangle one strand on the floor and let's make it look beautiful.
How To Choose the Right Garland
Before you hang anything, it helps to know what you're working with. The right garland for a staircase isn't always the right one for a door, and a few small decisions at the start save a lot of frustration later.
Faux or Real Garland
Faux garland is the easiest choice for most homes. It's lighter, reusable for years, doesn't drop needles and is safer around lights and warm rooms. A good full faux pine garland with plenty of tips per foot looks surprisingly real once it's fluffed. Look for mixed textures (pine, cedar, a little frosted tip) and bendable wire branches that hold their shape.
Real garland smells wonderful and has a natural, slightly wild look that's hard to fake. The trade-off: it's heavier, it dries out in warm rooms and it sheds. If you love the scent, use real garland outdoors or on a cool front door, and keep faux inside near heat sources. You can also tuck a few real cedar sprigs into faux garland for fragrance without the full mess.
How Much Garland You Need
This is where most people come up short. A garland that's pulled tight looks thin and a little sad, so always plan for extra. Here are the rules of thumb I'd use:
- Straight run (stairs or mantel): measure the length and add about 1 foot of extra garland for the ends.
- Draped swags: measure the length and multiply by 1.5. Deep swags on a long staircase can need double.
- Around a door: measure up one side, across the top and down the other side, then add 2 feet so the ends can puddle softly or tuck neatly.
- Mantel with a side drop: mantel width plus 2 to 3 feet per side you want to cascade down.
Garland usually comes in 6 or 9 foot strands. Two shorter strands overlapped by a few inches and wired together look seamless once fluffed, so don't worry if your measurement lands between sizes.
Pre-Lit or Plain Garland
Pre-lit garland is convenient, but if one section fails you're often stuck with a dark patch. Plain garland plus a separate strand of lights gives you more control: you can choose the color temperature, the number of bulbs and whether it runs on a battery or plug. For stairs and doors far from an outlet, plain garland and battery lights is the simplest pairing.
How To Fluff Garland So It Looks Full
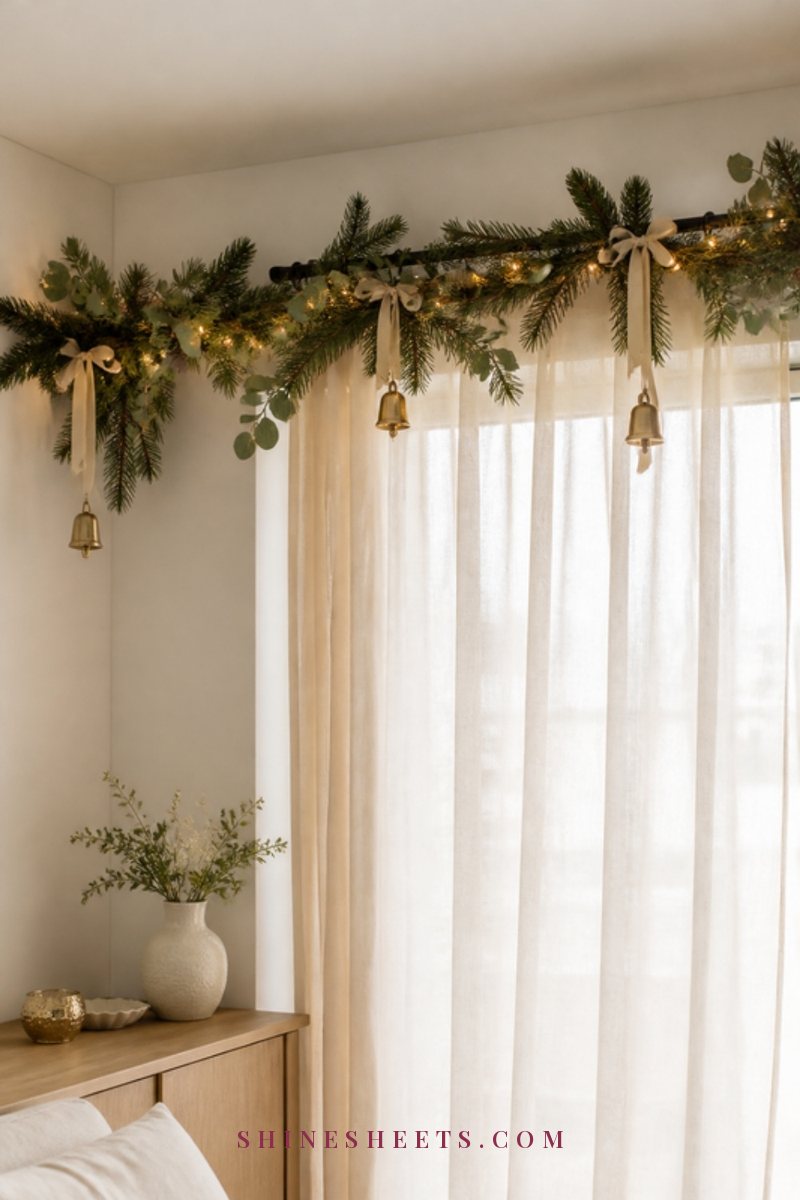
Fluffing is what makes a budget garland look expensive. It takes about 10 to 15 minutes per 9 foot strand, and it's the step people skip most often.
- Lay the garland flat on the floor or a large table.
- Starting at one end, take each branch and bend it outward from the center wire, like a clock face – some up, some down, some to the sides.
- Separate every individual tip on each branch and fan them out slightly, so there are no flat, clumped needles.
- Curve the tips upward a little at the ends. This catches light and makes the garland look lifted.
- Flip it over and do a lighter fluff on the back, so the sides look full when it's hung.
Wear thin gloves if your garland has stiff tips, and take a short break halfway through (your fingers will thank you). The same branch-by-branch method works for trees too, and I go deeper on it in my guide on how to fluff an artificial Christmas tree.
Tools for Hanging Garland Without Damage
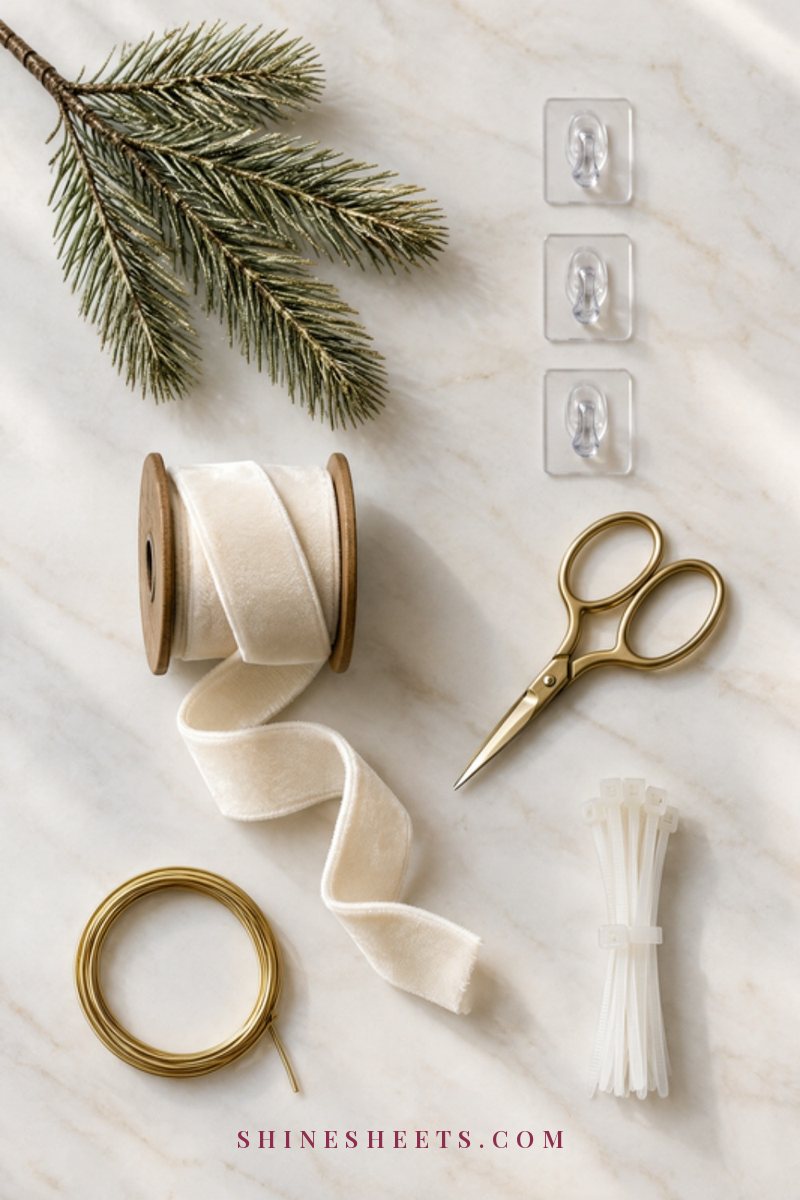
You don't need a toolbox, just a few small things that hold well and come off cleanly. Here's what I'd keep in one little basket for the season:
- Removable adhesive hooks. A pack of clear removable adhesive hooks is the renter's best friend for door frames and mantels. Choose clear ones so they disappear behind greenery, and check the weight rating on the pack against your garland.
- Clear zip ties. Perfect for stair balusters and railings. They hold firmly, don't slip and snip off in a second.
- Floral wire or paddle wire. Thin, bendable and easy to hide. Use it to join strands, attach ribbon and secure ornaments.
- Soft ribbon. Ribbon ties are gentle on wood and look pretty at the same time. More on this in the stairs section.
- Tension rods. A tension rod fitted inside a doorway or between two walls gives you a no-hole support for a garland swag.
- Mantel clips or weighted stocking holders. These sit on top of the mantel and hold garland without any adhesive at all.
- Small sharp scissors and a measuring tape. Boring, but you'll reach for them every five minutes.
Before you stick anything on painted wood, press one hook on a hidden spot for a day and peel it off by pulling the tab straight down, slowly. If the paint stays put, you're safe to use them everywhere.
Garland Hanging Guide at a Glance
Screenshot this table before you start. It's the quick answer for each spot, including the mistake I see most often.
| Location | Best attachment method | Garland length guide | Common mistake |
|---|---|---|---|
| Stairs (straight run) | Clear zip ties or ribbon on balusters every 3 to 4 posts | Railing length + 1 ft | Wrapping the handrail so there's nowhere safe to hold |
| Stairs (draped swags) | Ribbon bows or zip ties at each swag point | Railing length × 1.5 (up to × 2 for deep swags) | Swags of different depths that look accidental |
| Front door frame | Clear adhesive hooks every 12 to 18 inches | Up, across and down + 2 ft | Garland that blocks the door from closing or the lock |
| Mantel (straight) | Weighted mantel clips or adhesive hooks under the edge | Mantel width + 1 ft | Pulling it tight so it looks thin |
| Mantel (side drops) | Hooks at both corners plus weighted ends | Width + 2 to 3 ft per side | Uneven drops on each side |
| Any spot with lights | Floral wire to tuck lights into the branches | Lights ≈ same length as garland | Lights wrapped on the outside where you see every wire |
How To Hang Garland in 3 Places
Each spot has its own little logic. Start with the one you see the most every day – that's where garland gives you the biggest lift.
1. Stairs
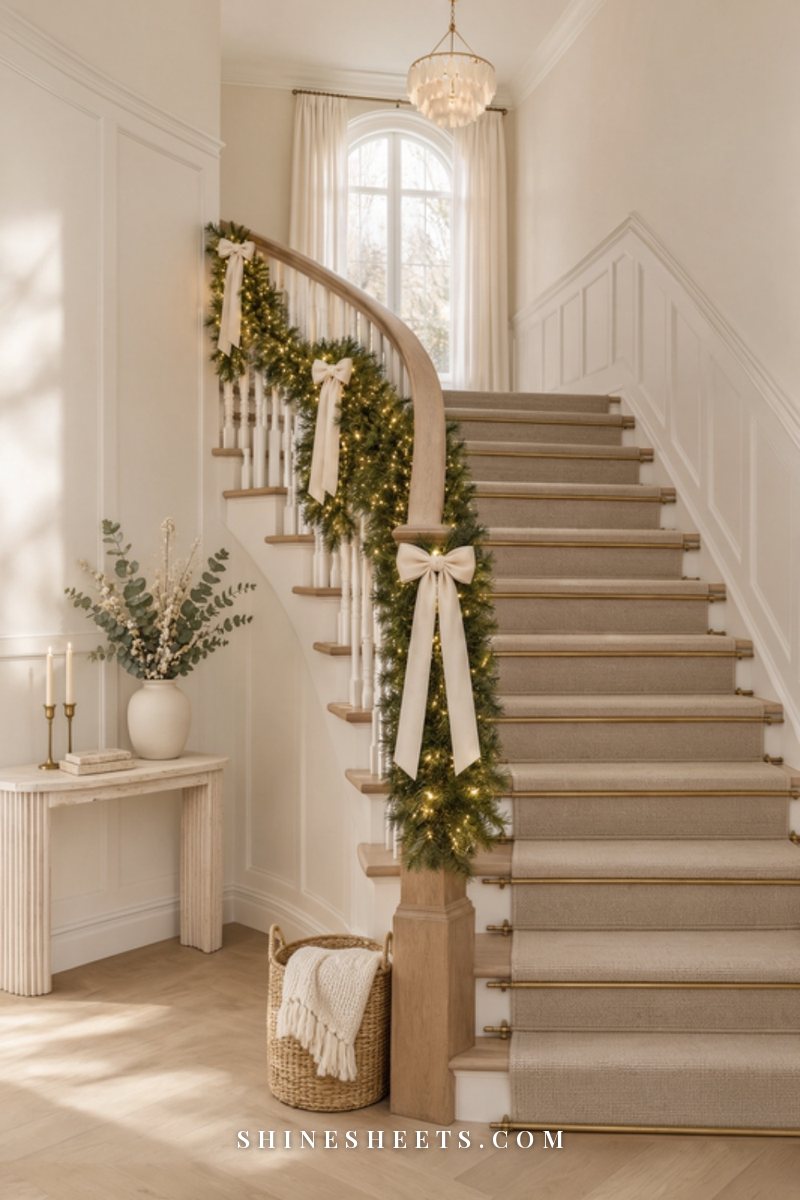
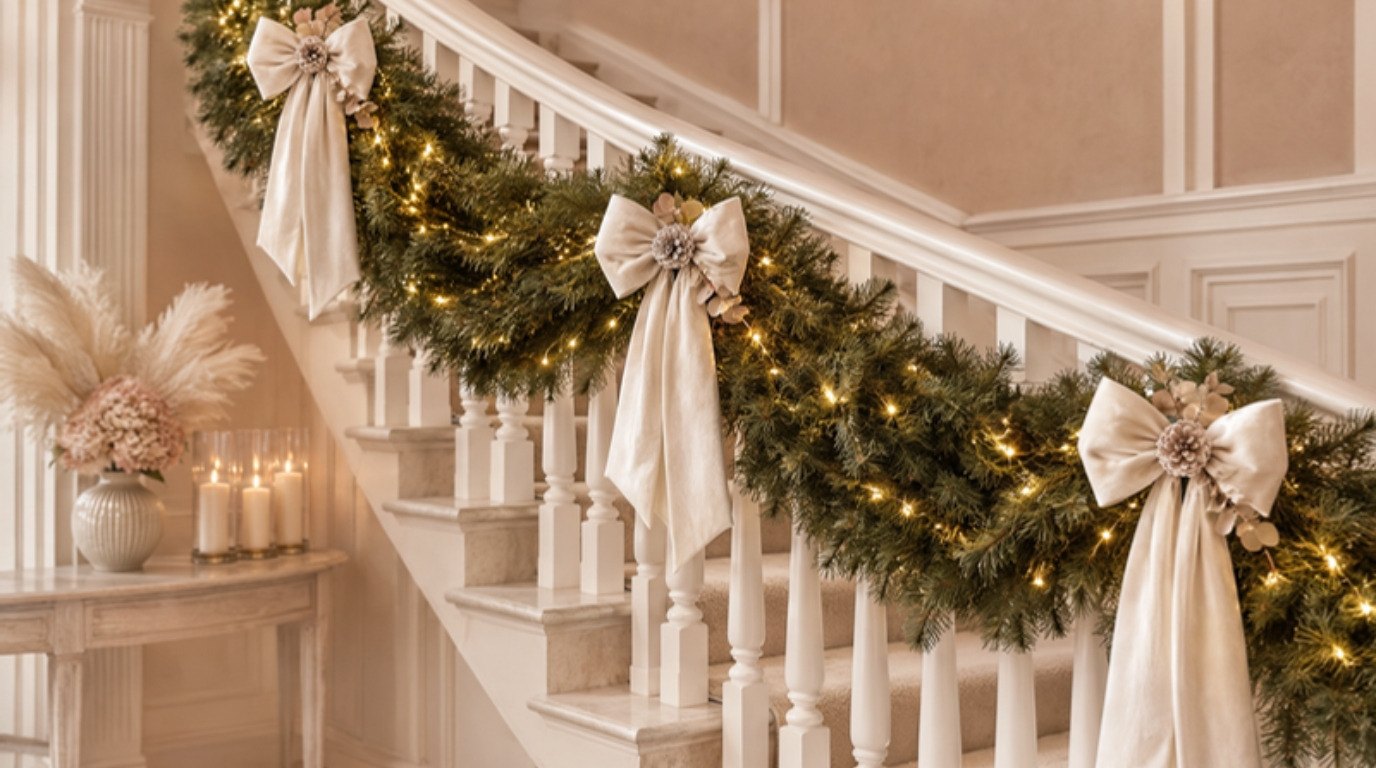
A garland on the stairs is the most dramatic look of the season, and it's easier than it looks. The one rule that matters more than style: keep the handrail clear. Attach garland to the balusters (the vertical posts) or the outer side of the railing, never wrapped around the top where hands need to grip, especially when guests are carrying bags or walking down in socks.
Choose your style first:
- Straight run. Clean, modern and the easiest to do. The garland runs along the outer side of the railing, just below the handrail.
- Draped swags. Classic and romantic. The garland dips between attachment points, usually every 3 to 4 posts, with a bow at each high point.
Here's how I'd do it, step by step:
- Fluff first. Do this on the floor, not on the railing. It's much easier.
- Start at the bottom. Secure the first end to the newel post (the big post at the bottom) with a zip tie or a wide ribbon tie. Let a short tail of 6 to 12 inches hang loose for a soft finish.
- Attach every 3 to 4 balusters. For a straight run, pull the garland just snug and zip tie it at each point. For swags, let it drop about 6 to 10 inches between points – and measure the first swag so you can copy the depth all the way up.
- Join strands neatly. Overlap the ends by 4 to 6 inches and twist floral wire around both, then fluff the joint so it disappears.
- Finish at the top. Tie off at the last post and tuck or trim the end.
- Cover the ties. Tie a cream velvet ribbon bow over each zip tie. Velvet looks rich, stays soft against wood and hides the plastic completely.
If your stair spindles are painted, ribbon ties alone (instead of zip ties) are the gentlest option. Double-knot them and they'll hold a faux garland all season.
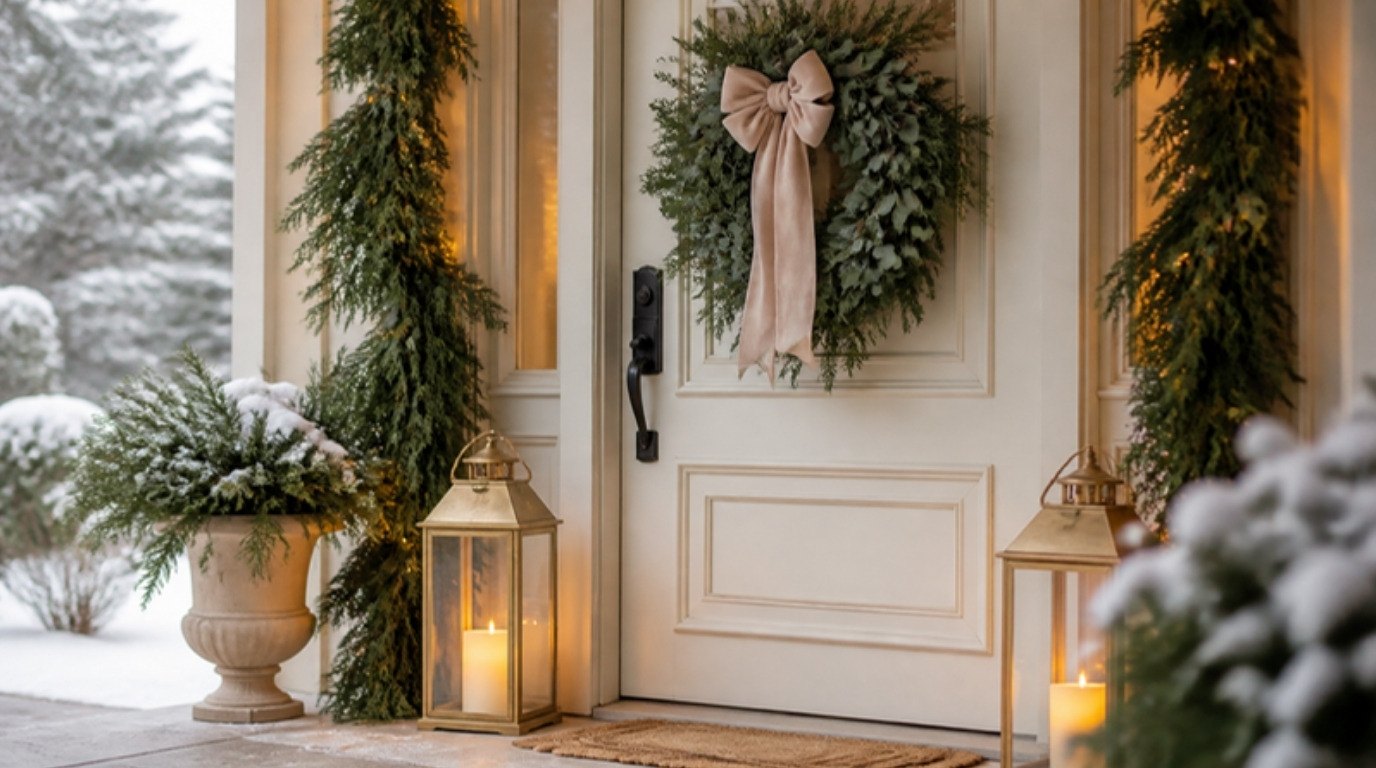
2. Front Door
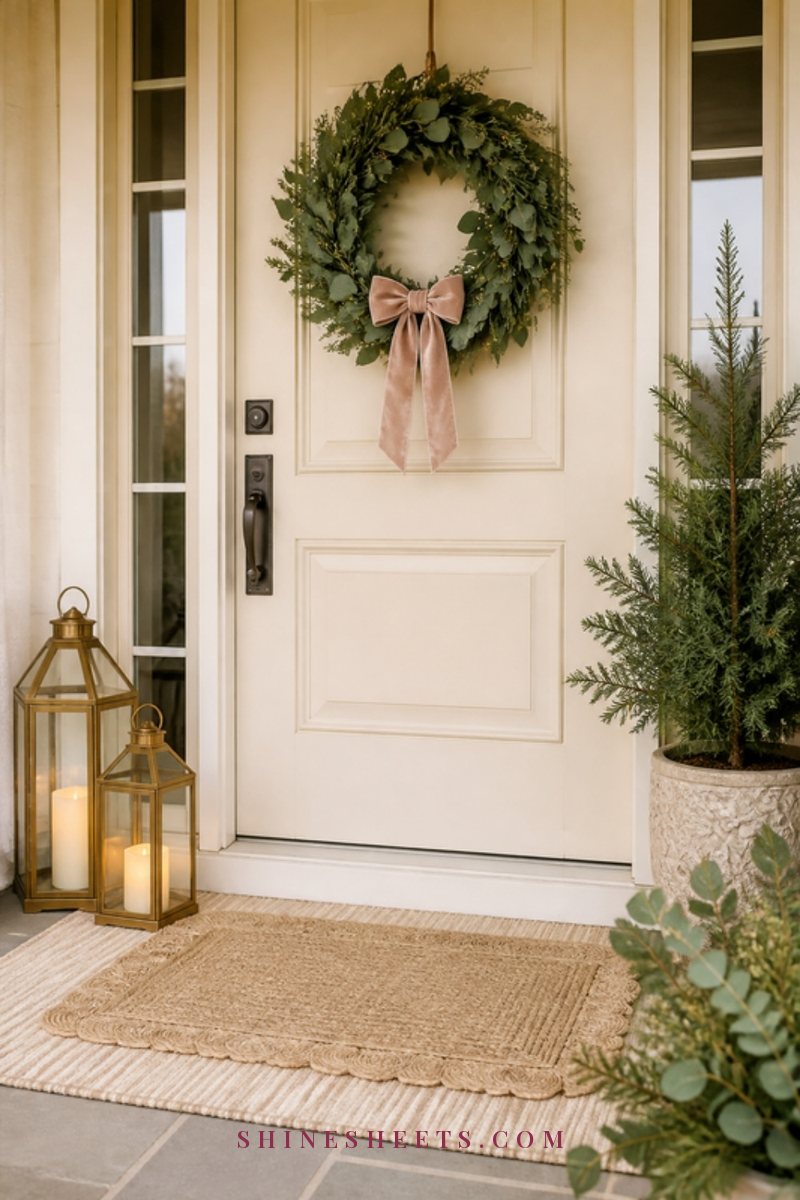
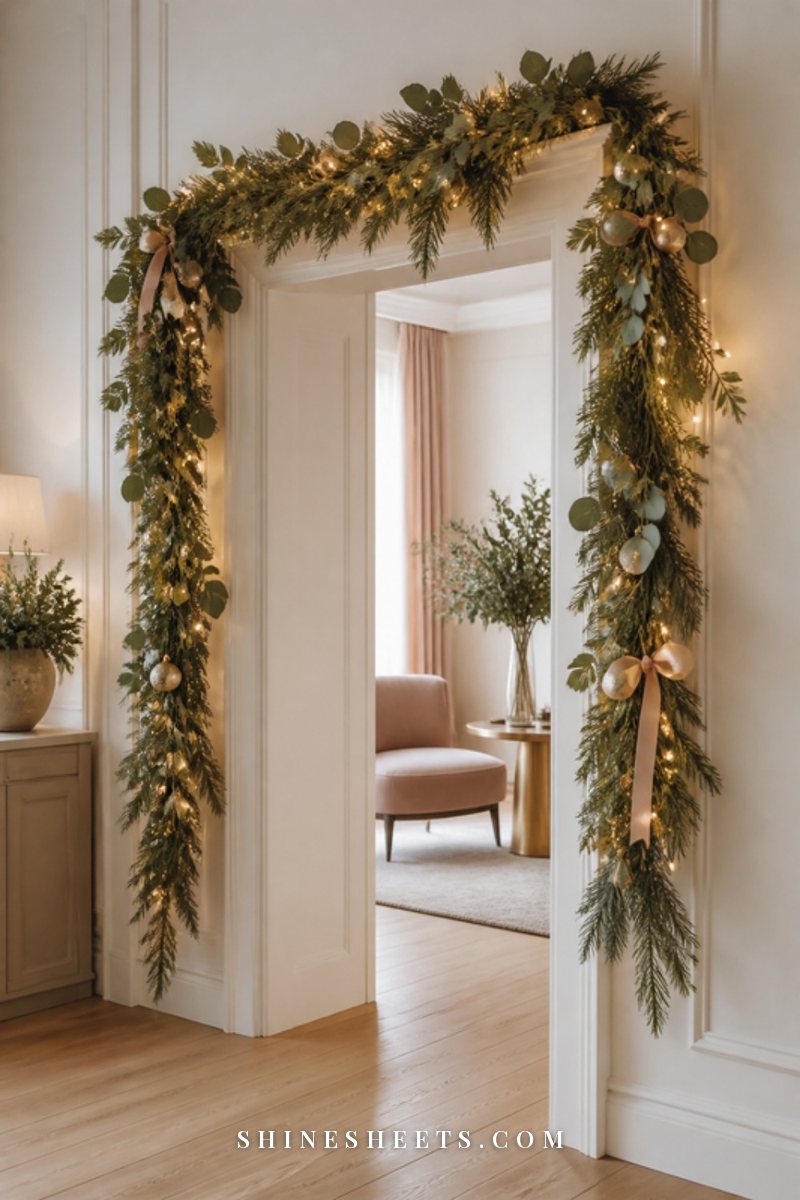
A garland around the front door is the first hello your home gives. It also works beautifully around an interior doorway or a large window if you live in an apartment without your own entrance.
- Check the door first. Open and close it a few times and look at where the hinges, lock and weather seal sit. The garland must sit on the frame (the trim around the door), not on the door itself, so nothing gets crushed or caught.
- Place hooks. Clean the frame with a little rubbing alcohol on a cloth and let it dry. Then press clear adhesive hooks along the outer edge of the frame: one in each top corner, then every 12 to 18 inches down each side and across the top. Wait the time listed on the pack (often about an hour) before you hang anything.
- Hang from the top. Center the garland across the top hooks first, then let each side fall and hook it in place as you go down.
- Decide on the ends. Let them puddle softly on the ground for a lush look, or curl them up and tuck them at the bottom hook for a neat one.
- Add a matching small wreath. A small wreath in the same greenery ties the whole look together. Hang it on an over-the-door hanger so there are no holes.
Outdoors, use only lights and extension cords labeled for outdoor use, and choose weather-safe ribbon (or skip ribbon on a door that gets rain). Battery lights with a timer are wonderful here, because there's no cord running across the step. For more ways to style this spot, my guide to Christmas entryway decor has lots of welcoming ideas for the inside too.
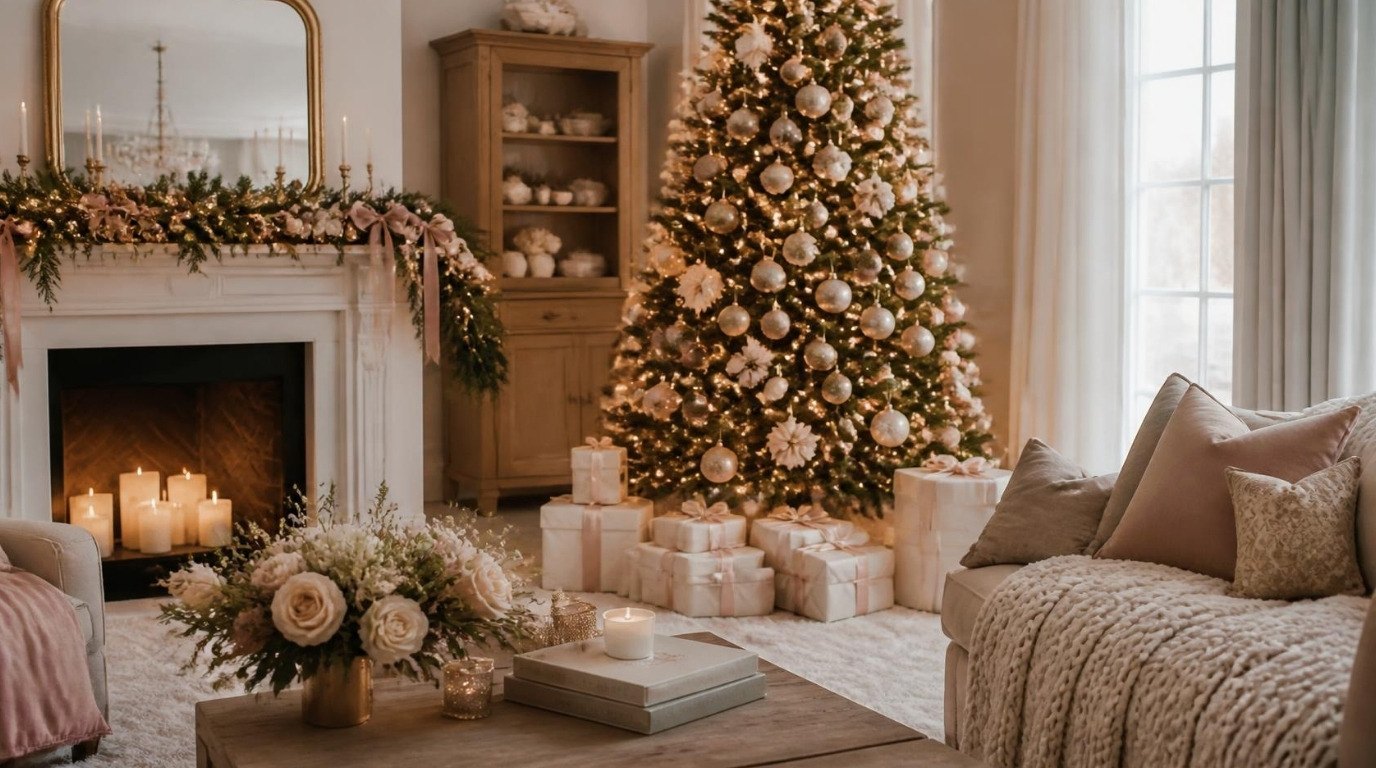
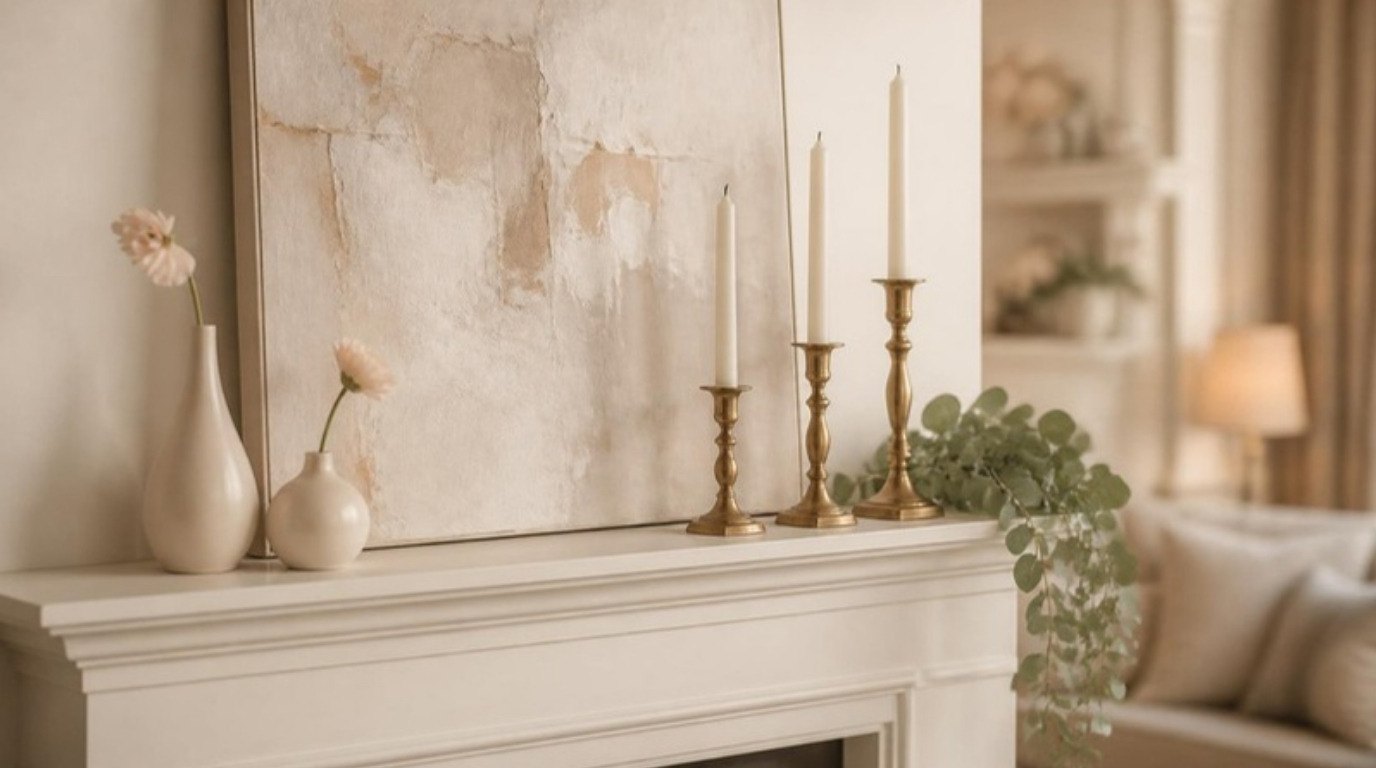
3. Mantel
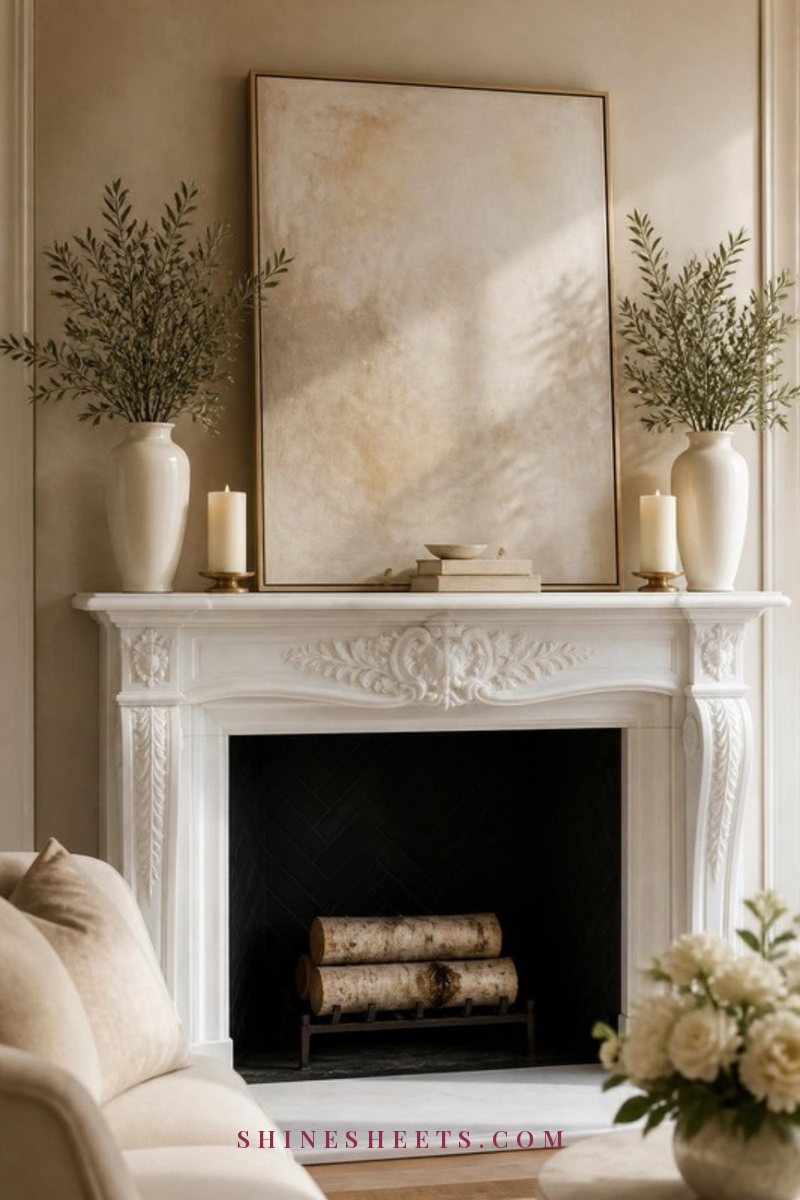
The mantel is where garland feels most like a finished room. The trick is weight and balance: garland is light and springy, so it tends to lift off the edge or slide unless you anchor it.
- Clear the mantel. Take everything off so you're starting with an empty shelf.
- Choose your shape. A straight, symmetrical garland sits along the front edge with equal drops at both ends – calm and classic. A draped garland dips once or twice across the front for a softer, more romantic look.
- Anchor it. Place weighted mantel clips on top of the shelf, or stick adhesive hooks under the front edge where they're invisible. Hook the garland on, center it and adjust.
- Weight the ends. For side drops, tie a small heavy ornament or a cluster of bells to the very end of each side so it hangs straight down instead of curling up. Measure both sides so they match.
- Layer last. Add your favorite objects back slowly – a pair of lanterns, a small vase, a framed print – and keep them a little behind the greenery so nothing tips the garland forward.
A note on candles, because I love them too: real flames and dried greenery don't belong together. Keep any lit candles well away from the garland (at least 12 inches, and ideally on a different surface), and never leave them burning when you leave the room. On the mantel itself, LED candles give you the same warm flicker with none of the worry. If you'd like more styling ideas for the rest of the year, I have a whole guide on mantel decor ideas.
Adding Lights, Ribbon and Ornaments

This is the fun part, and it's where a simple garland starts to look custom. Work in this order – lights, then ribbon, then ornaments – so each layer sits on top of the last.
Lights
Choose warm white LED fairy lights on a thin wire so they melt into the branches. Warm white looks candlelit and soft, while cool white can look a little clinical against green. Start at one end and weave the strand in and out of the garland instead of wrapping around the outside – push it deep into the branches every few inches and let a few bulbs sit near the tips. Plan the battery pack or plug end first so it lands near an outlet or a hidden spot. If you have a cord to deal with, my tips on how to hide cords work beautifully for mantels and doorways.
Ribbon
Two ways look best: bows at each attachment point (perfect for stairs), or one long ribbon woven loosely through the garland in soft loops (lovely on mantels). Wired ribbon holds its shape far better than plain. A 2 to 2.5 inch width is the sweet spot for most garlands.
Ornaments
Keep it simple and repeat one or two things rather than adding ten. A few gold bell ornaments wired in clusters of three look warm and a little vintage. Spread the clusters evenly and step back after every few. Use shatterproof ornaments on stairs, where things can get knocked. If you love a layered look and want to carry it over to the tree, my guide on how to decorate a Christmas tree in layers uses the same idea.
Garland Safety Tips
Decorating should feel joyful, not risky. A few habits keep everyone safe all season:
- Use a sturdy ladder on a level floor. For the top of a door frame or a high mantel, a small folding step stool or a proper step ladder is far safer than a chair. Set it fully open on a flat surface, keep your hips between the side rails and ask someone to hold it steady.
- Keep candles away from greenery. Never place a lit candle near garland, real or faux, and never leave candles burning unattended. The NFPA's candle safety tips are a good, short read before the season starts.
- Choose LED lights. They stay cool to the touch and use much less energy.
- Check every cord. Before you hang lights, look for frayed wires, cracked sockets or loose bulbs, and toss any strand that looks damaged. Don't run cords under rugs or through door jambs.
- Look after real garland. Mist it with water every couple of days, keep it away from radiators, heaters and fireplaces, and take it down as soon as it feels dry or starts dropping needles.
- Keep the stairs clear. The handrail stays free and nothing should trail onto the steps.
- Think about little paws. If you have pets, keep garland high and avoid small ornaments they could chew.
How To Take Garland Down Without Damage
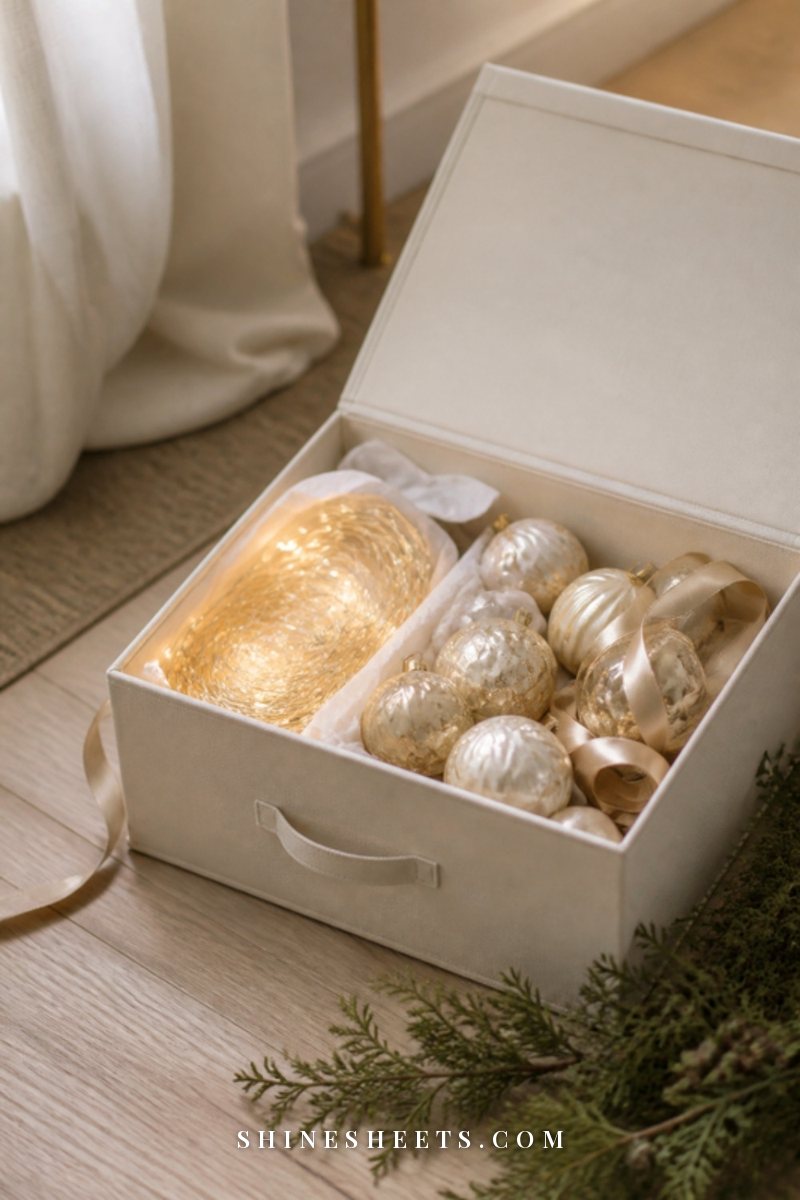
Taking it down carefully is what makes next year easy. Give yourself about 30 minutes per area and do it in reverse order: ornaments, ribbon, lights, then garland.
- Remove the extras. Unwire ornaments and bows and put them straight into a small box so nothing gets lost.
- Unweave the lights. Wind them around a piece of cardboard or an empty ribbon spool so they don't tangle.
- Snip the ties. Cut zip ties with small scissors, angling the blade away from the wood so you don't scratch the paint.
- Peel hooks the right way. Pull the removal tab straight down, slowly and parallel to the wall – never outward. If a hook won't budge, warm it with a hair dryer on low for 20 to 30 seconds first.
- Store garland loosely. Coil it in large loops (not tight folds) inside a wide basket, bin or garland bag, so the branches keep their shape. Label the bin with where it goes.
For the rest of the house, my guide on how to take down Christmas decorations without the chaos makes the whole January reset much calmer.
Final Thoughts
Garland doesn't have to be perfect to be beautiful. A little extra length, ten patient minutes of fluffing and a few good hooks will take you most of the way, and the rest is simply choosing what makes your home feel warm.
Start with one spot this weekend, step back with your evening tea and enjoy it. The stairs, the door or the mantel – whichever you pick, it's going to make the whole season feel a little more magical every time you walk past.