A streaky mirror is rarely a sign you didn't clean hard enough. It's almost always a sign of too much liquid, the wrong cloth or a little leftover film that got pushed around instead of lifted off. Once you fix those three things, a mirror goes from hazy to crystal clear in about two minutes, and it stays that way longer.
The good news is that mirrors are one of the most satisfying spots in the home to get right. They catch light, make a small bathroom feel bigger and turn a hallway into something that feels finished. When they're smudged, the whole room looks a bit tired, even if everything else is spotless.
This guide walks you through how to clean mirrors streak-free with a simple lint-free method that works on bathroom, bedroom and hallway mirrors. You'll find why streaks happen, the six-step method, a mild homemade solution versus a store glass cleaner, a problem-and-fix table you can screenshot, anti-fog tips for steamy bathrooms and an easy rhythm for how often to do it.
It took me far too long to accept that the secret was less spray, not more. Let's start there.
Why Mirrors Streak in the First Place
A mirror is a flat, glossy surface, which means it shows every tiny thing left on it. Streaks are basically residue drying in lines. Here's where that residue comes from:
- Too much cleaner. When you flood the glass, you can't wipe all of it away, so the extra dries in stripes and drips.
- Dirty or lint-shedding cloths. Paper towels and old cotton rags leave fibers behind, and a cloth that's been washed with fabric softener spreads a waxy film.
- Grime that wasn't loosened first. Hairspray, toothpaste splatter, skincare and fingerprints contain oils. Wipe them once and you smear them; loosen them first and they lift.
- Hard water minerals. If you mix your solution with tap water in a hard-water area, the minerals can dry as a faint haze.
- Cleaning in direct sun or a warm, steamy room. The cleaner dries before you finish wiping, which leaves marks behind.
Every step of the method below simply removes one of those causes. Nothing fancy, no special gadgets, just a better order.
What You Need for Streak-Free Mirrors
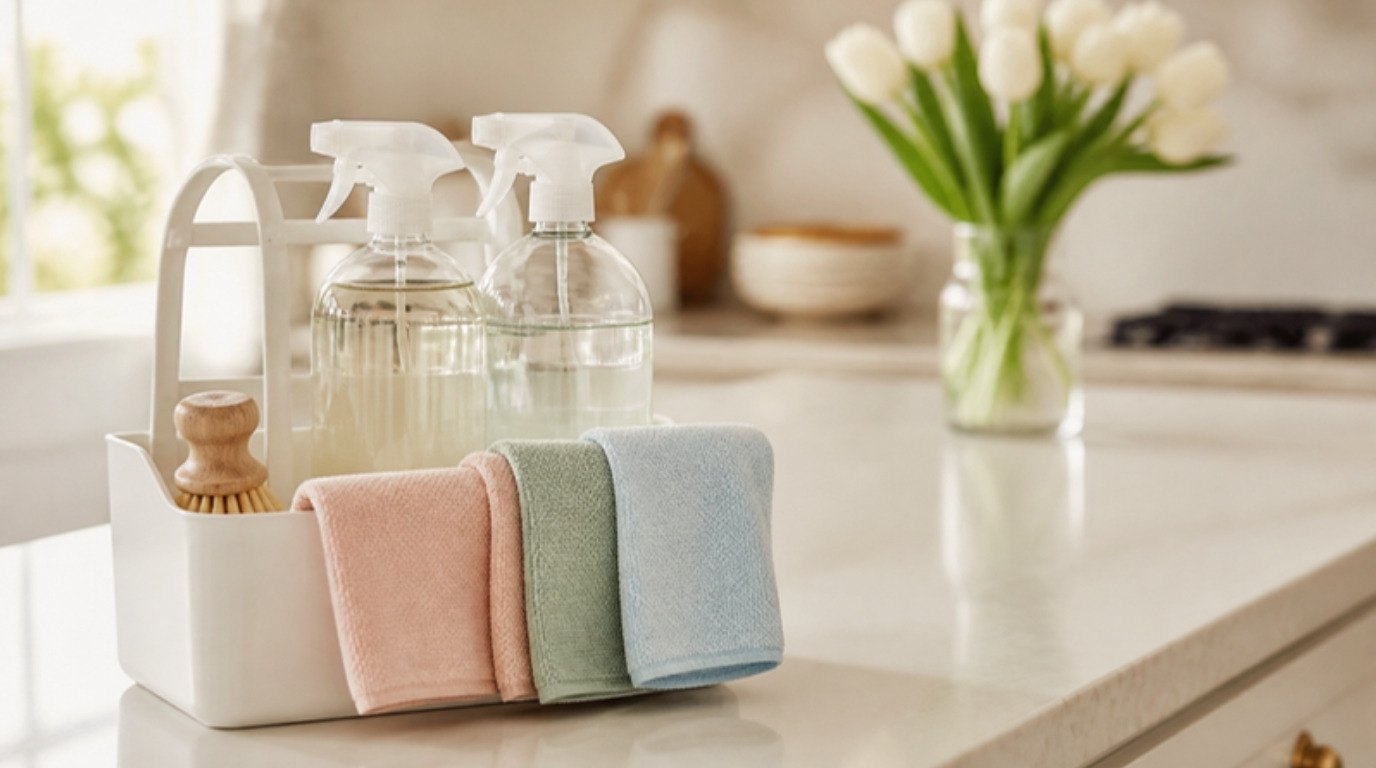
You don't need a cabinet full of products. A short, good-quality kit beats a long, random one every time:
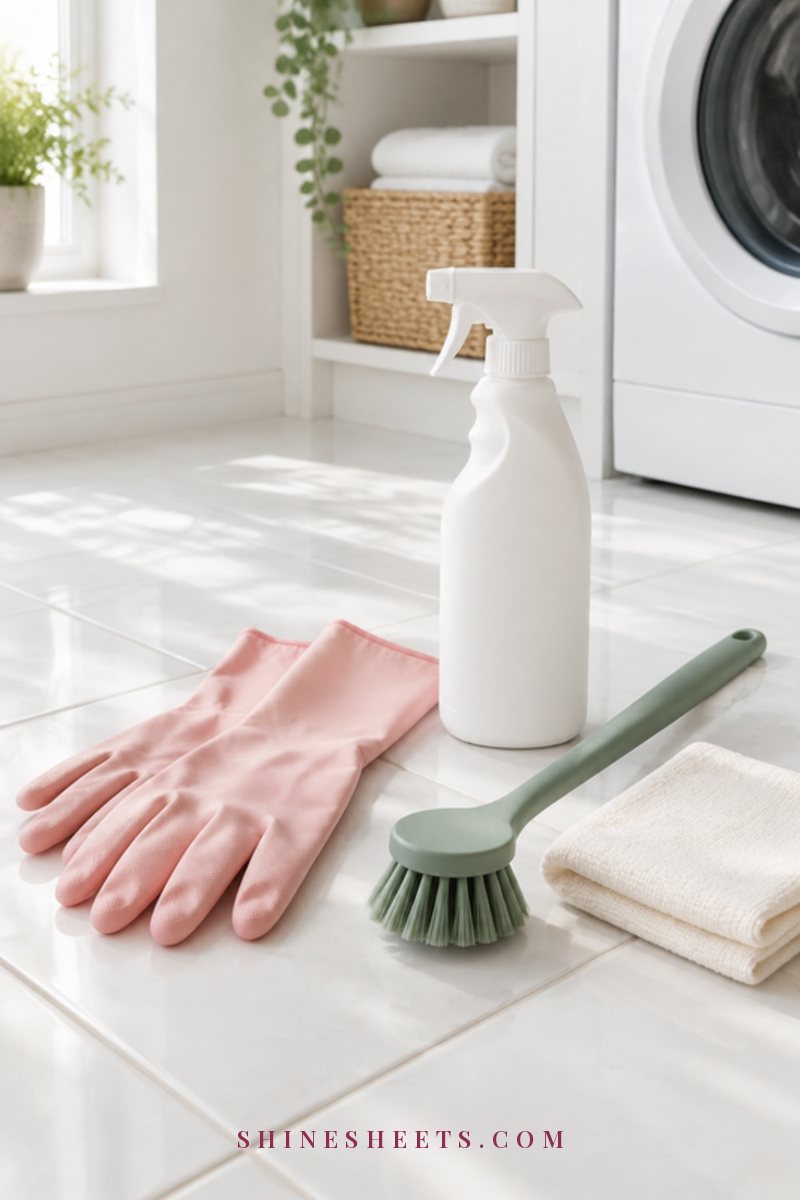
- Two lint-free microfiber cloths per mirror session: one slightly damp for cleaning, one completely dry for buffing. A set of white lint-free microfiber cloths is ideal because you can see when they need a wash. Look for tight, flat-weave glass cloths rather than fluffy ones.
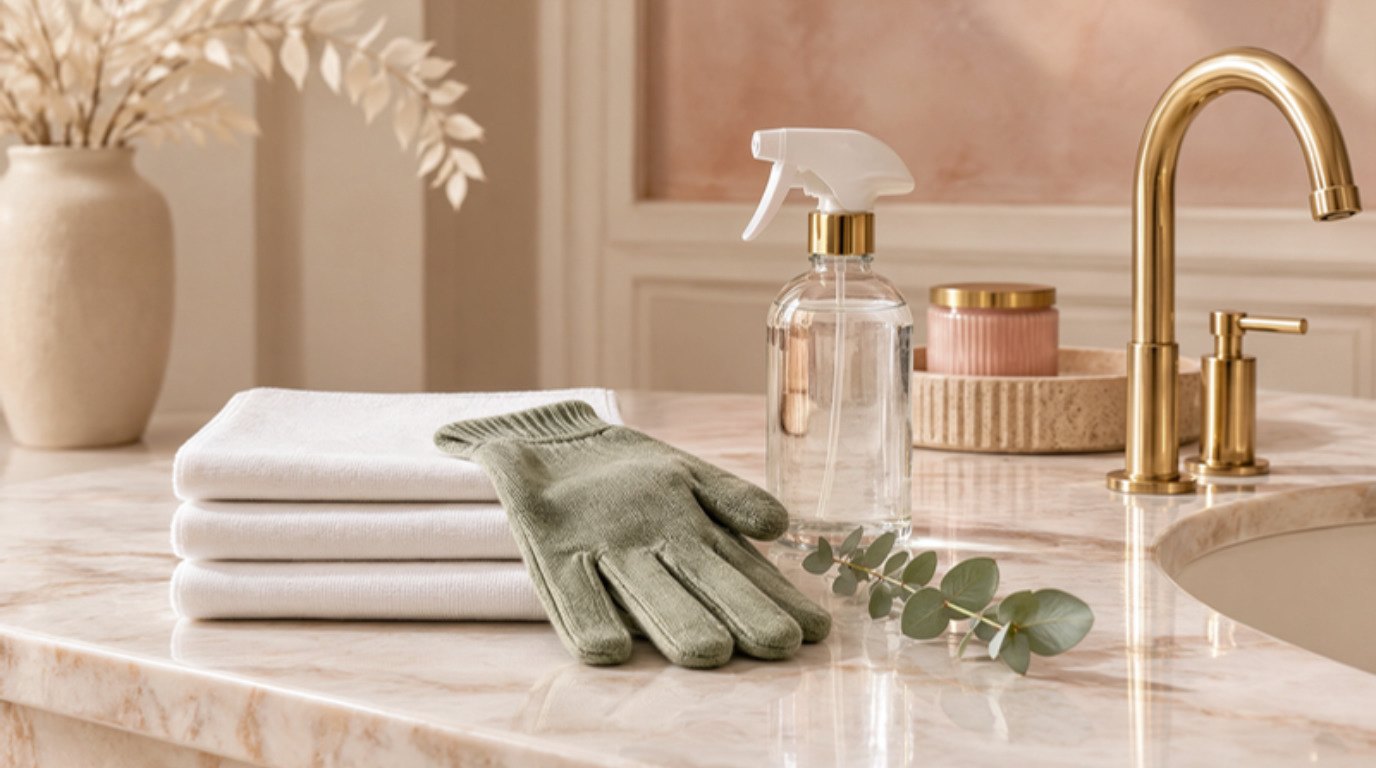
- A spray bottle for your cleaner. A refillable glass spray bottle with a fine mist gives you a light, even spray instead of big drops, and it looks lovely enough to leave out.
- Cotton swabs or a soft old toothbrush for corners and the edge where glass meets the frame.
- Distilled water if your tap water is hard (it's cheap and makes a real difference).
- Optional: a small squeegee for large mirrors and mirrored wardrobe doors.
- Optional: cleaning gloves if your hands are sensitive or dry.
One small honest admission: I resisted the "two cloths" rule for years because it felt fussy. It's the single change that made the biggest difference.
Store Glass Cleaner vs a Simple Mild Solution
Both work. The best choice depends on what's on your mirror and what's around it.
A simple mild solution is perfect for everyday fingerprints and dust. Mix about two cups of distilled (or filtered) water with one or two drops of dish soap in your spray bottle. That's it. More soap is not better here, because extra soap is exactly what leaves streaks. For greasier film, some people prefer equal parts white vinegar and distilled water instead; it cuts through residue nicely on plain glass, but keep it off natural stone counters, wooden frames and any metal trim, and never use it on antique mirrors.
A store glass cleaner is handy for heavy hairspray buildup or mirrors that haven't been cleaned in a while. Choose a streak-free formula, and if your mirror has older or delicate silvering, look for one labeled ammonia-free. Whatever you use, always spray it onto the cloth, not the mirror (more on that in step three).
If you'd like to swap more of your cleaning cupboard for gentle basics, my guide to natural cleaning swaps and the combos you should never mix is a helpful next read.
How To Clean Mirrors Streak-Free in 6 Steps
This is the lint-free method. It takes about two to three minutes for a standard bathroom mirror and around five for a full-length one. Work in a cool, bright room and away from direct sunlight if you can.
1. Dust First With a Dry Microfiber Cloth
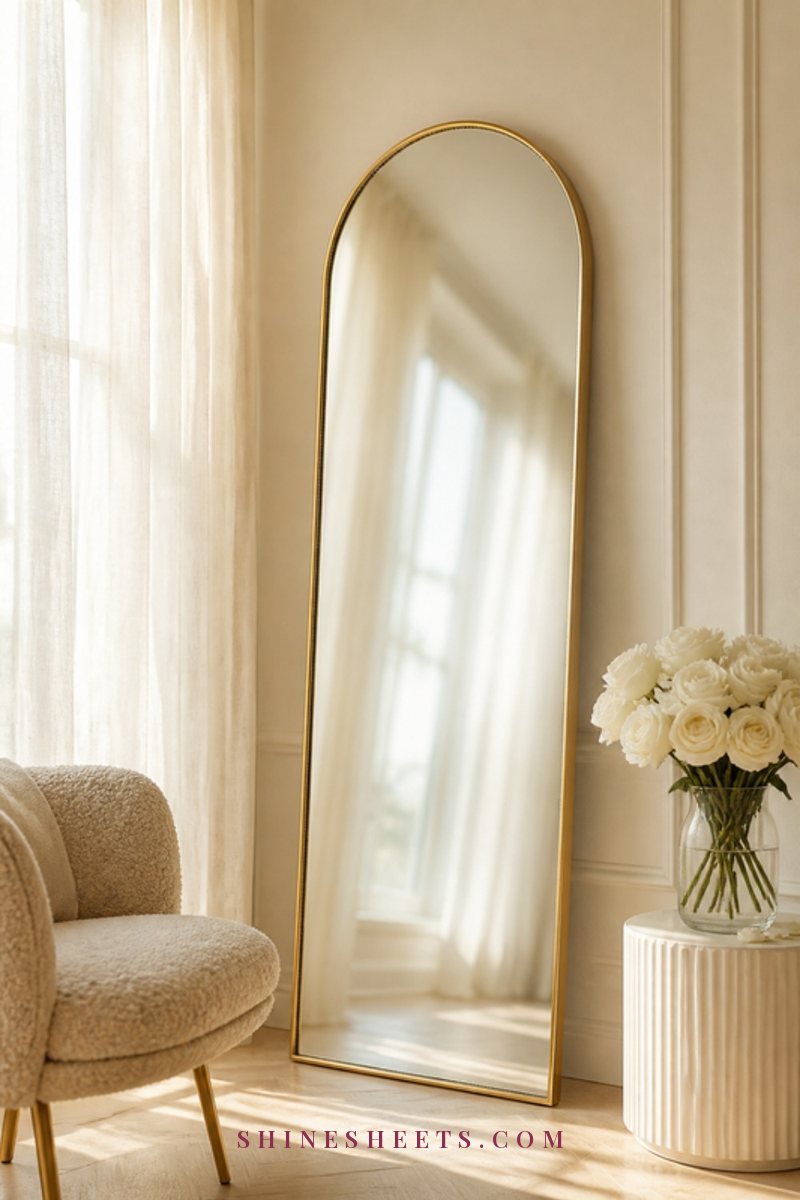
Before any liquid touches the glass, wipe the whole mirror with a completely dry microfiber cloth. Do the frame and the top edge too, where dust quietly piles up.
Why it matters: dust plus spray turns into a thin muddy film that smears. Removing it dry first means your damp cloth only has to deal with oils and splashes. For tall or wall-to-wall mirrors, an extendable microfiber duster reaches the top edge without a step stool.
2. Spot-Treat Splashes and Toothpaste Dots
Look closely for the stubborn bits: toothpaste dots, dried water splashes, hairspray haze and makeup fingerprints. Lightly dampen a corner of your cleaning cloth (or a cotton pad) with your solution and hold it on each spot for about 30 seconds. That short wait softens the residue so it wipes away instead of smearing.
For sticky hairspray film, a little rubbing alcohol on a cloth works well: dab, wait 10 to 15 seconds, then wipe. Keep it away from painted or wooden frames, and test any product on a small corner first. If you see crusty white rings near a faucet, that's mineral buildup, and my guide on how to remove hard water stains goes deeper on dissolving it safely.
3. Mist the Cloth, Not the Mirror
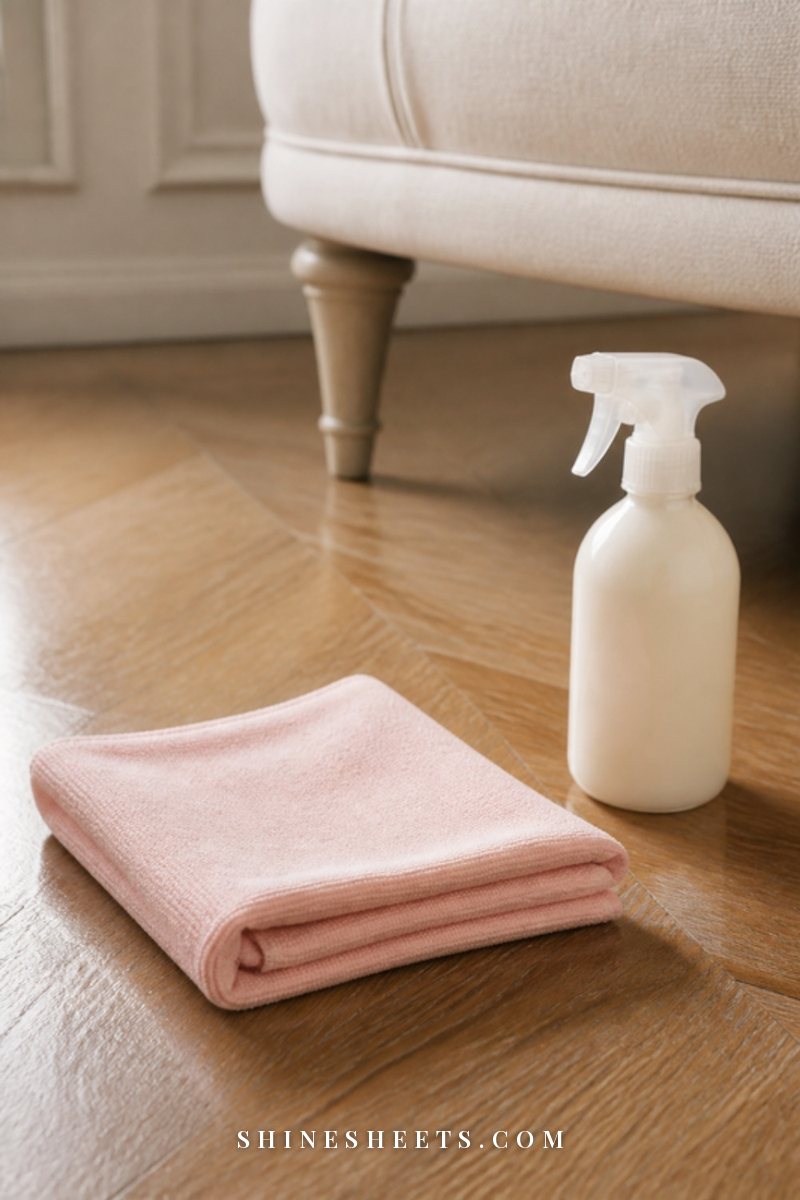
This is the step most people skip, and it's the one that protects your mirror long term. Spray one or two light mists onto the cloth instead of directly onto the glass.
Here's why: when you spray the mirror itself, liquid runs down and seeps behind the edge, into the reflective silver backing. Over months and years, that moisture can cause dark, cloudy spots along the bottom edge, often called black edge or desilvering. Once it's there, it can't be cleaned off. A damp cloth gives you full control and keeps every drop on the front of the glass.
Your cloth should feel just slightly damp, never wet. If it drips when you squeeze it, it's too much.
4. Wipe in an S-Pattern From Top to Bottom
Start at the top corner and wipe across, then move down and wipe back the other way, in a smooth S (or zigzag) pattern all the way down. Overlap each pass slightly.
Working top to bottom means any drip moves onto glass you haven't cleaned yet, not onto the part you've just finished. The S-pattern also pulls residue down and off instead of pushing it around in circles, which is how swirl marks happen. For a big mirror, work in sections about the width of your arm span.
If you're using a squeegee on a large mirror, it goes here: light mist on the cloth, wipe the section, then pull the squeegee down in straight strokes and wipe the blade after every pass. A soft silicone squeegee is gentle on glass and doesn't chatter or skip.
5. Buff With a Second Dry Cloth
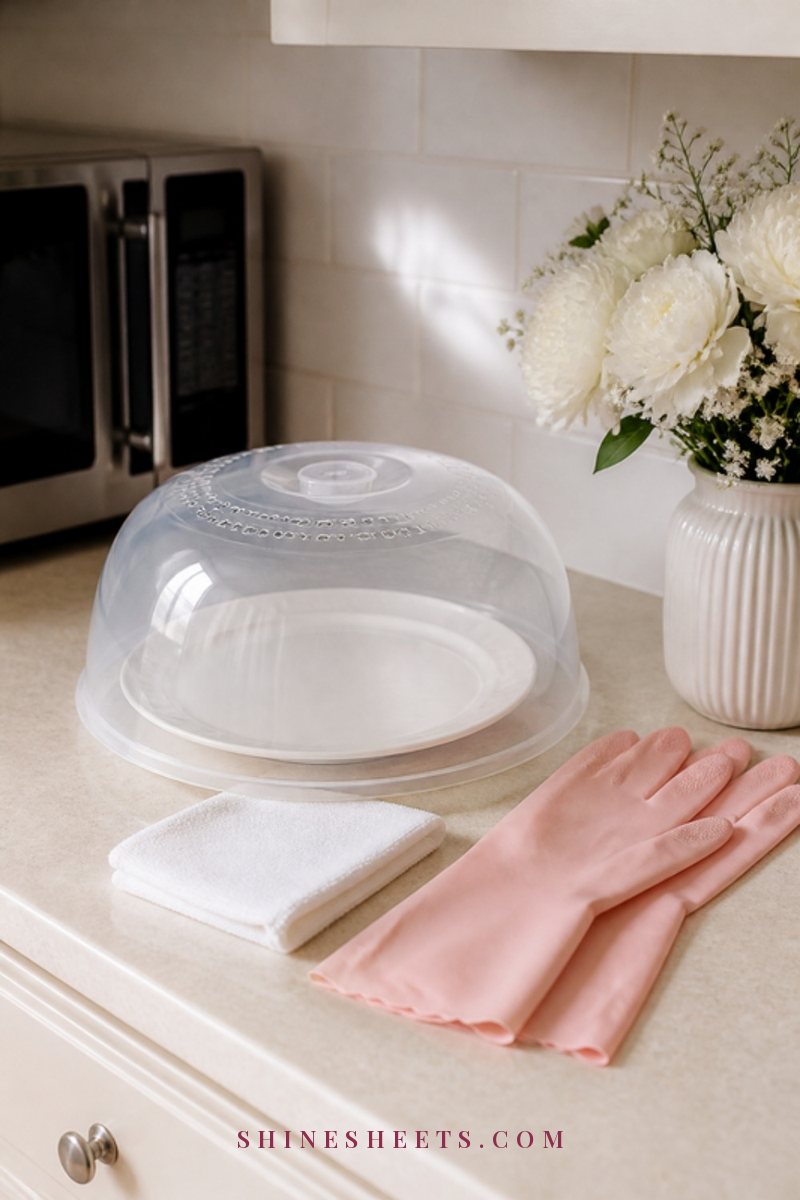
Now take your completely dry second cloth, fold it into quarters and buff the whole mirror using the same S-pattern. This lifts away the last microscopic moisture before it can dry into lines. Flip to a fresh side of the cloth every time it starts to feel damp.
Pay a little extra attention to the corners and the bottom edge, where moisture likes to sit. A cotton swab wrapped in the dry cloth gets right into the frame line. If your hands get dry from cleaning, a pair of soft cotton cleaning gloves also keeps fingerprints off the glass while you buff.
6. Check at an Angle in Daylight
Streaks hide when you look straight on. Step to the side and look at the mirror at an angle, ideally with natural light from a window or with your phone flashlight held flat against the glass. Any haze or missed spot will suddenly show up.
Touch up just those areas with the dry cloth, or with a tiny mist on the cloth if a spot is stubborn. Then you're done. No need to redo the whole thing.
Mirror Problems Table: Cause, Fix and How Often
Here's the quick-reference table for the most common mirror annoyances. Screenshot it and keep it for cleaning day.
| Problem | Likely cause | Fix | How often |
|---|---|---|---|
| Streaks and stripes | Too much spray, dirty cloth, drying too fast | Mist the cloth, wipe in an S-pattern, buff with a dry cloth | Weekly in the bathroom, every 2 weeks elsewhere |
| Lint and fluff | Paper towels, cotton rags, softener on cloths | Switch to flat-weave microfiber washed without fabric softener | Every clean |
| Cloudy haze | Soap residue or hard water minerals | Use distilled water and only 1–2 drops of soap; buff well | Weekly |
| Toothpaste dots | Brushing and spitting near the mirror | Hold a damp cloth on each dot for 30 seconds, then wipe | Quick wipe every 2–3 days |
| Hairspray film | Styling products settling on the glass | Dab with rubbing alcohol on a cloth, wait 10–15 seconds, wipe and buff | Weekly if you use hairspray daily |
| Fingerprints | Touching, kids, pets, hallway traffic | Dry microfiber buff; damp cloth only if needed | As you notice them |
| Dark edges (black edge) | Moisture behind the glass damaging the backing | Can't be cleaned off; prevent by misting the cloth, not the mirror | Prevention every clean |
| Fogging after showers | Warm steam meeting cool glass | Ventilate, then try an anti-fog layer (see below) | Refresh the layer every 1–2 weeks |
Room by Room: Bathroom, Bedroom and Hallway Mirrors
The method stays the same everywhere, but each mirror has its own little troublemakers.
Bathroom Mirrors
Bathroom mirrors deal with the most: steam, toothpaste, splashes from the sink, hairspray and skincare. They're also the ones that most often get black edges, because humidity sits around the bottom of the glass. Use the mist-the-cloth rule strictly here, and dry the bottom edge thoroughly every time.
A 30-second daily habit helps: after brushing your teeth, give the lower third of the mirror a quick buff with a dry cloth you keep in a drawer. If the bathroom is on your weekly list anyway, my 20-minute bathroom cleaning routine shows where mirrors fit in the order (hint: after the shower and sink, so splashes don't undo your work).
Bedroom and Dressing Mirrors

Full-length and vanity mirrors mostly collect dust, fingerprints and a light haze from perfume, body mist and setting spray. Spray fragrance well away from the mirror, and give it a dry dusting once a week (that alone keeps it looking clear).
For a leaning full-length mirror, steady it first, clean from the top, and wipe the frame separately. Wooden or upholstered frames should only get a dry or barely damp cloth. Mirrored wardrobe doors are big, so a squeegee saves time: work in vertical sections and buff the edges where the doors slide.
Hallway and Entryway Mirrors

Entryway mirrors catch fingerprints (we all do the last-second check before leaving) and dust from the front door. They often sit at a height where the lower half gets touched and the top half gets dusty, so the dry-dust step is especially important here.
Keep a folded microfiber cloth in the console drawer or a basket nearby for a five-second buff whenever you notice smudges. If your hallway mirror is near a window, clean it on a cloudy day or in the evening, since direct sun makes cleaners dry too fast. For the windows themselves, my guide to cleaning windows streak-free inside and out uses a very similar method.
Anti-Fog Tips for Bathroom Mirrors
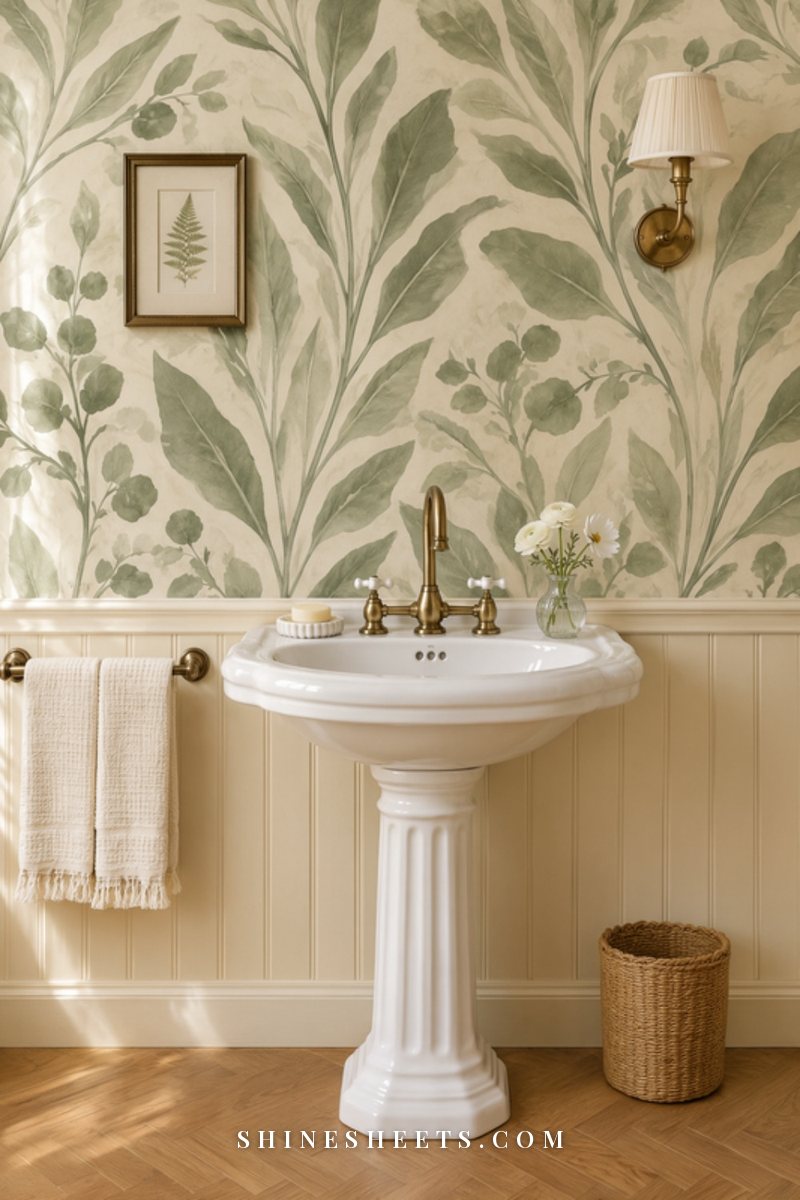
Fog happens when warm steam from the shower hits cooler glass. You can't change physics, but you can make fogging much milder:
- Ventilate first. Turn on the exhaust fan before you start the shower and leave it running for about 15 to 20 minutes afterward. If you don't have a fan, crack the door or a window.
- Lower the steam a little. A slightly cooler shower (still comfortable) creates far less fog.
- Add a thin anti-fog layer. A commercial anti-fog spray for bathroom mirrors is the simplest option. A common home trick is to rub a tiny amount of plain shaving cream or a drop of dish soap over the clean, dry glass and then buff it off completely until it's clear. The invisible film that stays behind helps water spread out instead of beading into fog. Test on a small corner first, and refresh it every one to two weeks.
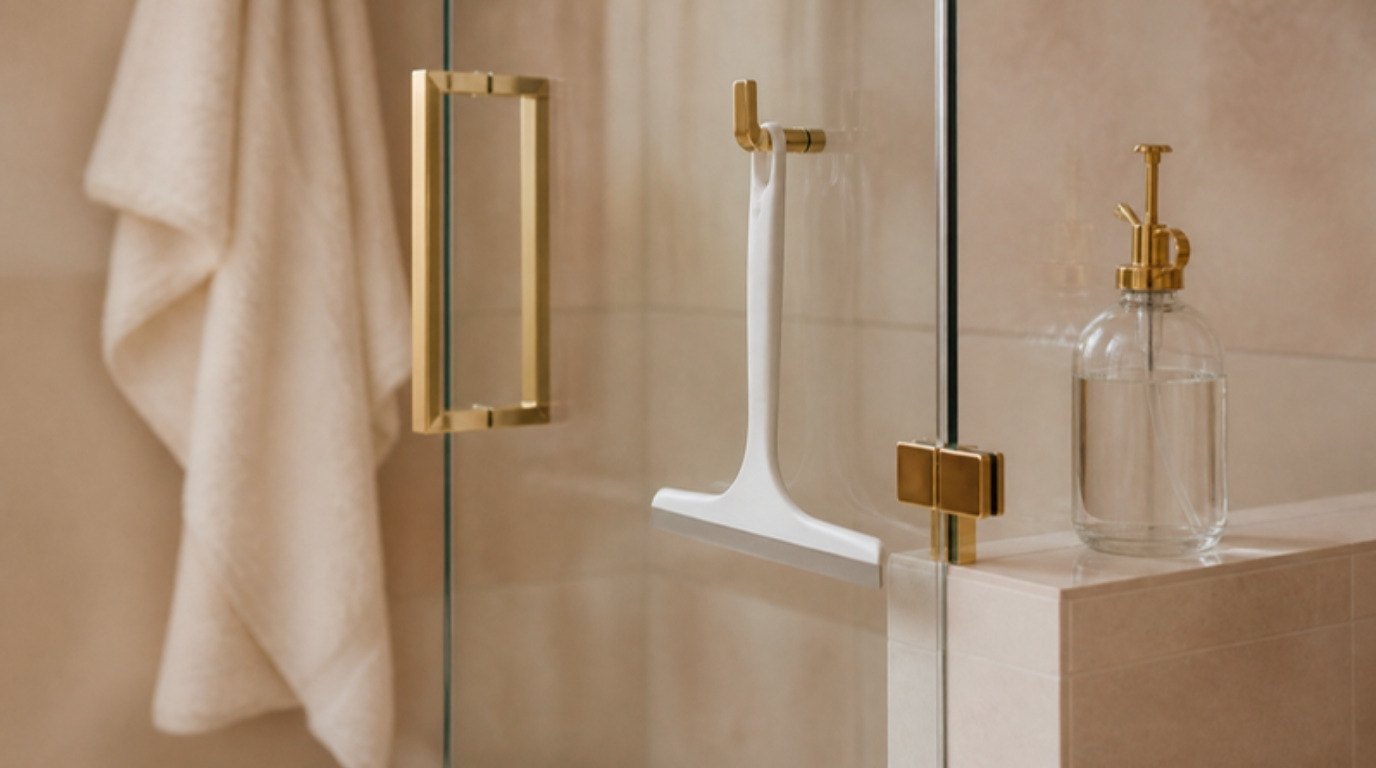
- Wipe with a squeegee after showering. If your shower door gets the same treatment, it's a good moment to do both. My guide on keeping glass shower doors spotless covers that side.
Heated or "smart" mirrors with built-in lights or anti-fog pads should be cleaned according to the maker's instructions. Switch them off, never spray near the electrical parts and use only a lightly damp cloth.
Safety Notes: Ventilation, Gloves and What Never To Mix
Mirror cleaning is gentle work, but a few basics keep it that way:
- Never mix bleach with vinegar or ammonia. Many glass cleaners contain ammonia, and mixing it with bleach releases harmful fumes. Bleach and vinegar together are just as risky. Use one product at a time and rinse your cloth between them.
- Keep the room ventilated. Open a window or run the fan, especially in a small bathroom.
- Wear gloves if your skin is sensitive. Rubbing alcohol and some cleaners are drying. I have sensitive skin myself, so gloves are simply part of my kit.
- Test on a hidden spot. This is especially important for antique mirrors, tinted or mirrored furniture, and anything with a painted or wooden frame.
- Be careful with tall mirrors. Secure leaning mirrors before cleaning, and use a sturdy step stool rather than a chair if you need to reach the top.
- Skip abrasives. Scouring pads, magic erasers and powders can leave fine scratches that show up as permanent haze.
How Often To Clean Mirrors
You don't need to deep clean mirrors constantly. A simple rhythm keeps them clear with almost no effort:
- Bathroom mirrors: a quick dry buff every two to three days, and the full six-step clean once a week.
- Bedroom and vanity mirrors: a dry dust weekly and a full clean every two weeks.
- Hallway and entryway mirrors: a dry buff whenever you notice fingerprints and a full clean every two weeks.
- Rarely used mirrors (guest rooms, decorative mirrors): a dry dust every couple of weeks and a full clean monthly.
- Cloth care: wash microfiber cloths in warm water with a little detergent and no fabric softener, then air dry or tumble dry on low. Keep your glass cloths separate from towels so they don't pick up lint.
If you like having everything in one place, my daily, weekly and monthly cleaning schedule slots mirrors in alongside everything else.
Final Thoughts
Clean mirrors are one of those small things that make a home feel cared for. The whole method really comes down to a few gentle habits: dust dry first, mist the cloth instead of the glass, wipe top to bottom and always buff with a second dry cloth.
Give it one try this week and check your mirror at an angle in the morning light. There's something lovely about walking past a mirror that's simply, quietly clear, and now you know exactly how to keep it that way.