Gas stove grates don't get grimy because you're a messy cook. They get grimy because they sit directly over an open flame, and every tiny splash of oil, sauce or boiled-over pasta water gets baked on again and again until it turns into that dark, sticky, almost lacquered layer. Heat is the problem, and patience (not elbow grease) is the solution.
This guide is all about how to clean gas stove grates and burners without spending an evening scrubbing. You'll find the safety steps to take first, how to check your grate type, 5 cleaning methods from easiest to toughest, how to clean burner caps and heads so the flame lights evenly again, a soak-time table, how to season cast iron grates and a few weekly habits so the grease never builds up like this again.
If you have a smooth glass cooktop instead, my guide on how to clean a glass stove top is the one you need. This one is all about grates, caps and burners.
Why Gas Grates and Burners Get So Greasy

Every time you cook, fine droplets of grease rise and settle on the grates. On a cold surface, that grease would simply wipe off. On a grate that heats up every day, it polymerizes, which is a fancy way of saying it slowly hardens into a tough, varnish-like film (the same process that seasons a cast iron pan).
Burners have their own trouble. Boil-overs and crumbs fall into the burner caps and the tiny ports where the gas comes out. When those ports clog, the flame turns patchy, uneven or yellow, and the burner may click for a while before it lights.
The good news is that baked-on grease softens beautifully when you give it time to soak. Almost every method below relies on letting a cleaner sit and do the hard part, so you can scrub for minutes instead of an hour.
Safety First Before You Start

This part takes two minutes and matters more than any cleaning trick:
- Turn every burner off and let the stove cool completely. Grates hold heat for a long time. Wait at least 30 minutes after cooking, or clean before you cook the next day.
- Check that all gas knobs are in the off position before you touch the burners.
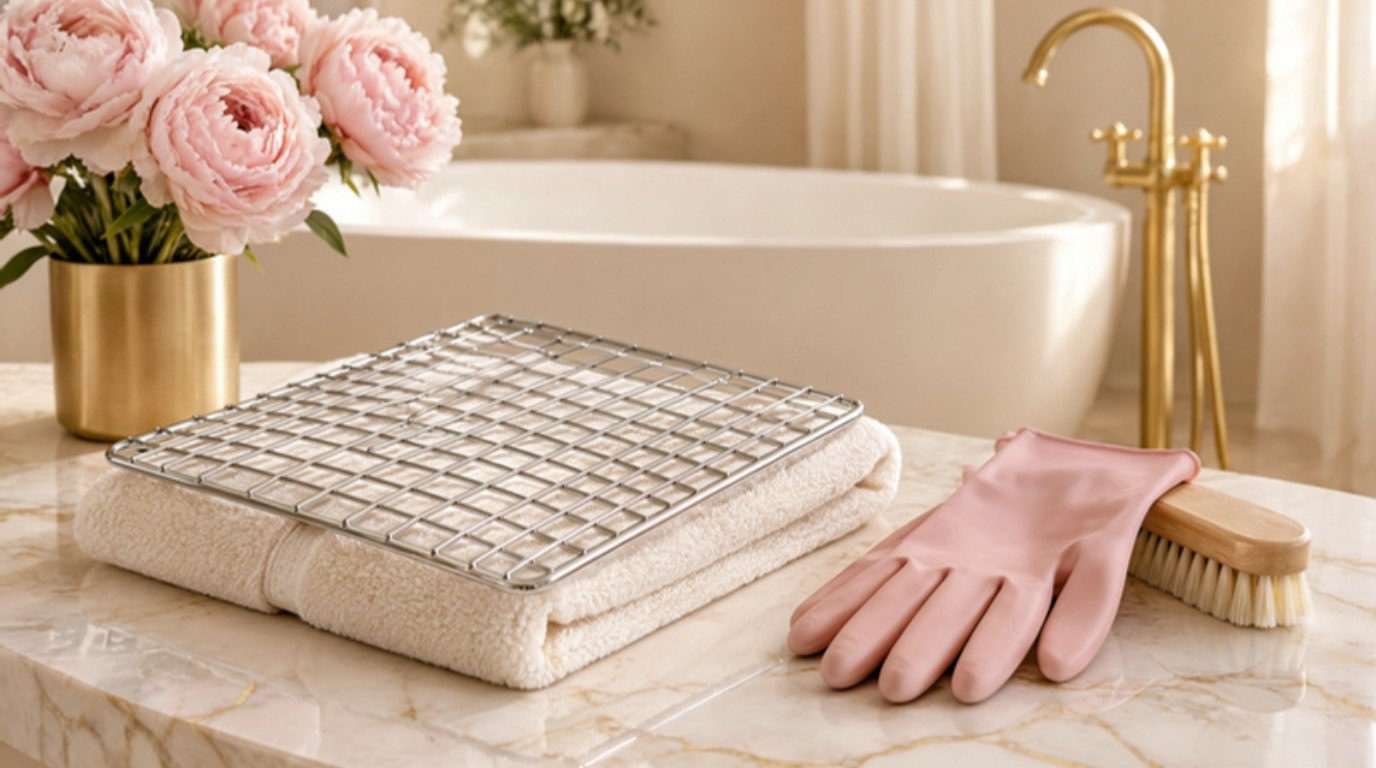
- Wear gloves. Hot water, degreasers and baked-on grime are hard on hands. A pair of blush rubber cleaning gloves with a cuff long enough to cover your wrists makes soaking and scrubbing much more pleasant.
- Ventilate. Open a window or turn on the range hood, especially if you're using any spray cleaner.
- Keep water away from the igniters. The small ceramic igniter next to each burner shouldn't be soaked or sprayed. Wipe around it with a barely damp cloth.
And one important note: if you ever smell gas, don't light anything or flip switches. Turn the stove off if you can, open windows, leave the room and call your gas company from outside.
Check Your Grate Type Before You Clean
Before you choose a method, take a minute to look up your stove's manual (most are easy to find online by model number, usually printed on a label inside the oven door or under the cooktop). The maker's guidance always wins over any general tip, including mine. Most grates fall into one of three groups:
- Enameled cast iron. Heavy, with a smooth, glassy or satin coating. These are the most common on modern gas stoves. They handle soaking well but chip if dropped and can dull with steel wool.
- Bare (seasoned) cast iron. Heavy, matte black and a little rough to the touch, like a cast iron pan. These rust if left wet, so they need short washes, fast drying and occasional seasoning.
- Coated steel or wire grates. Lighter and thinner, often found on older or budget stoves. Their coating scratches easily, so gentle tools only.
Burner caps are usually enameled steel or porcelain-coated cast iron, while the burner heads underneath are often aluminum or brass. Aluminum parts need extra care, because oven cleaner and strong alkaline cleaners can discolor or pit them.
5 Ways To Clean Gas Stove Grates, From Easiest to Toughest
Start with the first method and only move down the list if grime is still holding on. Most weekly mess comes off with method one or two; the tougher methods are for grates that haven't been cleaned in months.
1. Hot Soapy Soak Overnight

This is the low-effort method, and it's surprisingly powerful. Best for enameled cast iron and coated grates.
- Fill a sink, bathtub or a large soaking basin with the hottest water from your tap. If you use the bathtub, lay an old towel on the bottom first so the grates don't scratch it.
- Add a generous squeeze of dish soap, about 2 tablespoons per gallon of water, and swish it around.
- Lay the grates in so they're fully covered.
- Leave them for 8 to 12 hours, or overnight.
- In the morning, scrub with a non-scratch brush, rinse with warm water and dry completely with a towel.
Bare cast iron is the exception. Never soak it overnight, because it will rust. Give it a quick wash of no more than about 15 minutes in soapy water, then dry it immediately.
2. Baking Soda Paste
Baking soda is a gentle abrasive that lifts stuck-on spots without scratching most finishes. It's a lovely next step for any grime the soak didn't shift, and it works well on bare cast iron too.
- Mix 3 parts baking soda with 1 part water into a thick paste, roughly the texture of toothpaste.
- Spread it over the greasy spots on dry or lightly damp grates.
- Let it sit for 20 to 30 minutes.
- Scrub with a non-scratch brush, working in small circles.
- Rinse thoroughly and dry right away.
Baking soda is one of the safe, simple staples in my natural cleaning guide, which also explains the combinations you should never mix.
3. Degreasing Dish Soap Scrub With a Non-Scratch Brush

For greasy (rather than burnt-on) buildup, a concentrated degreasing dish soap applied directly is often all you need.
- Rinse the grates in hot water so they're damp.
- Apply a heavy-duty degreasing dish soap straight from the bottle onto the greasy areas.
- Let it sit for 10 to 15 minutes so it can break down the oil.
- Scrub with a firm, non-scratch brush, paying attention to corners and the undersides where grease hides.
- Rinse in hot water and dry.
A non-scratch scrub brush set with a large brush for flat areas and a small detail brush for corners makes this much quicker. Skip steel wool and harsh scouring pads on enamel; they leave fine scratches that collect grease faster next time.
4. Sealed Bag Soak With a Suitable Cleaner
This is the method for grates that look truly hopeless. The idea is to trap a cleaner with the grates in a sealed bag, so the cleaner (or its fumes) can soften years of baked-on grease overnight.
- Check your manual first and choose a cleaner labeled safe for your grate type, such as a heavy-duty kitchen degreaser.
- Put on gloves and work outdoors or in a very well-ventilated space.
- Place one or two grates in a large, heavy-duty resealable bag or a trash bag you can tie tightly.
- Spray or pour in the cleaner according to its label, then seal the bag.
- Leave it outside or in a ventilated spot, away from children and pets, for 8 to 12 hours.
- Open the bag outdoors, away from your face, then scrub, rinse very thoroughly and dry.
Oven cleaner sometimes gets suggested here too. Only use it on grates whose manual or label clearly says it's safe, because it can dull or damage enamel and coatings.
5. The Dishwasher, Only If the Maker Allows
Some enameled grates are labeled dishwasher safe, and if yours are, it's the easiest option of all. Check the manual first. If it says yes:
- Scrape off any loose debris first.
- Place the grates on the bottom rack, making sure they don't block the spray arms.
- Run a heavy or pots-and-pans cycle.
- Dry them with a towel straight after the cycle.
Never put bare cast iron or aluminum burner parts in the dishwasher. Repeated dishwasher cycles can also slowly dull some enamel finishes, so many people save this for an occasional deep clean.
How To Clean Burner Caps and Burner Heads

Clean grates won't help much if the burners underneath are clogged. This is also the part that fixes uneven flames, so it's worth doing every month or two.
Soak the Caps
Lift off the burner caps (they usually sit loosely on top) and place them in warm, soapy water for 20 to 30 minutes. Scrub gently with a soft brush and rinse. For stuck-on spots, use the baking soda paste from method two. Remember: no oven cleaner on aluminum caps or heads, and no steel wool on enameled ones.
Clear Clogged Burner Ports
If your burner heads lift off, remove them according to your manual. Wipe them with a damp, soapy cloth, then look at the small ports around the edge. If any are blocked:
- Gently push a straightened paper clip or a sewing pin straight into each clogged port.
- Don't twist, widen or bend the opening, because that changes how the flame burns.
- Avoid toothpicks, which can snap off inside the port.
- Brush away loosened debris with a soft, dry toothbrush.
Dry Everything Before You Reassemble
This step is easy to rush, and it's the most common reason a burner won't light afterward. Let caps and heads air dry for at least 30 minutes after towel drying, or longer if water got into the ports. Then put the heads back exactly as they came off, set each cap so it sits perfectly flat and centered, and test each burner.
A healthy flame is mostly blue and even all the way around. If it's patchy, yellow or lifting off the burner, turn it off, let it cool and check that the cap is seated correctly and everything is fully dry. If the flame still looks wrong, call a qualified technician rather than adjusting anything yourself.
Cleaning the Cooktop Surface and Knobs

While the grates are soaking, the cooktop underneath is finally easy to reach.
- Wipe away loose crumbs with a dry cloth first, so you're not pushing them into the burner wells.
- Wash the surface with warm, soapy water on a cloth that's damp, not dripping. Never flood the area around the burners.
- For stuck-on spots, spread a little baking soda paste, leave it for 15 to 20 minutes, then wipe it away. A plastic scraper helps with anything stubborn.
- For stainless steel, wipe in the direction of the grain and finish with a dry cloth to prevent streaks.
- Knobs: most pull straight off. Soak them in warm, soapy water for 10 to 15 minutes, scrub gently, then dry fully before pushing them back on. Never spray cleaner directly onto the control panel or knob stems, because liquid can reach the switches underneath.
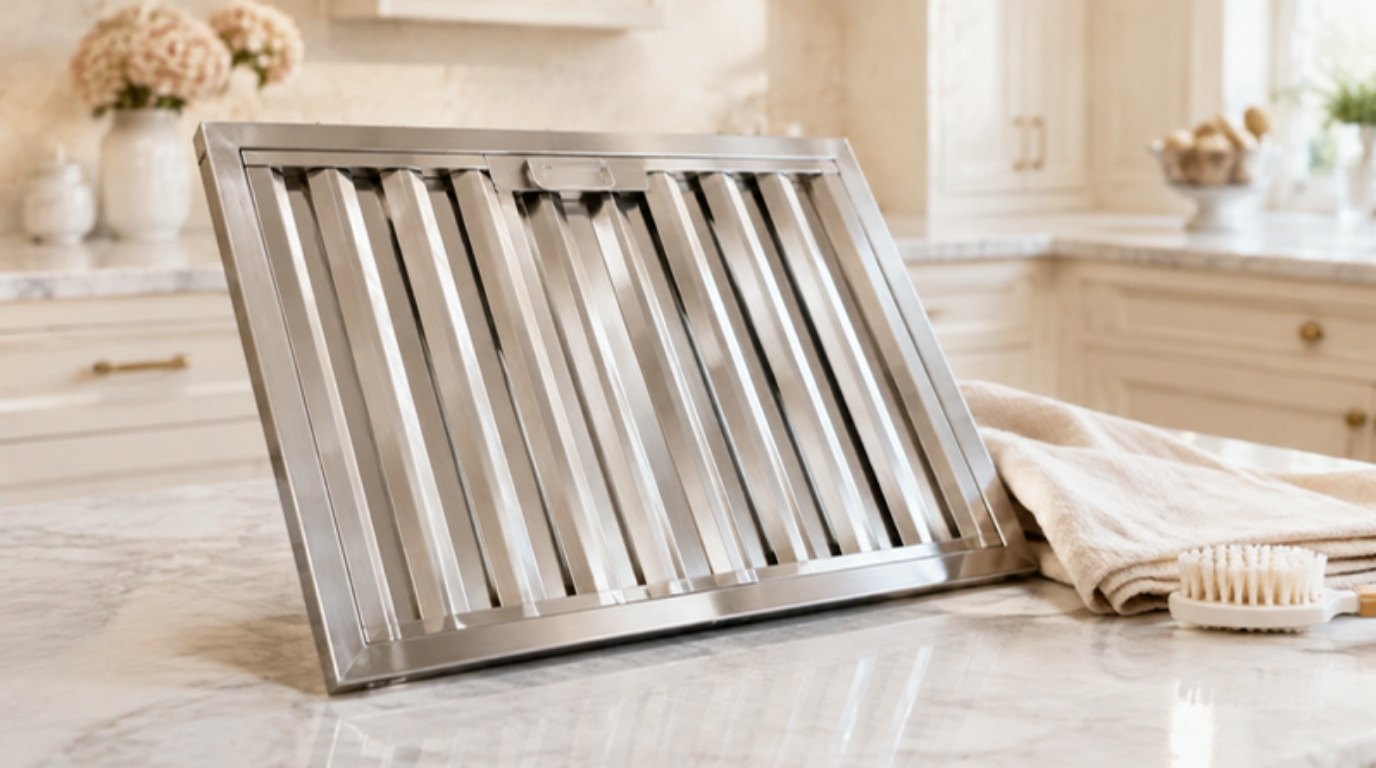
Finish by buffing everything with a clean, dry cloth. A stack of sage microfiber cloths is handy here, because they trap grease without leaving lint behind. If the whole kitchen could use attention, my guide on how to deep clean your kitchen walks through it top to bottom, and the range hood filter above your stove usually needs cleaning too (here's how to clean a range hood filter).
How To Season Cast Iron Grates After Cleaning

This step is only for bare, matte cast iron grates that your manual says can be seasoned. Enameled grates don't need it.
- Make sure the grates are completely dry. Any water left behind can lead to rust.
- Pour a few drops of a neutral cooking oil with a high smoke point onto a lint-free cloth.
- Rub a very thin layer over every surface of the grate, including the underside.
- Wipe off the excess with a clean part of the cloth until the grate looks almost dry. Too much oil turns sticky.
- Place the grates back on the stove, turn on the range hood, and run each burner on low for about 5 to 10 minutes so the oil bonds to the iron.
- Turn the burners off and let everything cool before cooking.
A light seasoning every few deep cleans keeps bare cast iron black, smooth and rust-resistant. It works much like caring for a cast iron pan (and if a pan of yours is looking rough right now, my guide on how to clean a burnt pan covers every pan type).
Gas Grate and Burner Cleaning Table
Here's every part in one place. Screenshot it and keep it on your phone for cleaning day.
| Grate or part | Best method | Soak or dwell time | What to avoid |
|---|---|---|---|
| Enameled cast iron grates | Hot soapy soak, then non-scratch brush | 8 to 12 hours (overnight) | Steel wool, dropping them, oven cleaner unless labeled safe |
| Bare (seasoned) cast iron grates | Quick soapy wash or baking soda paste, then season | 15 minutes maximum; paste 20 to 30 minutes | Long soaks, the dishwasher, air drying |
| Coated steel or wire grates | Degreasing dish soap scrub | Soap 10 to 15 minutes; soak 30 to 60 minutes | Abrasive pads, harsh degreasers |
| Heavily baked-on enameled grates | Sealed bag with a suitable cleaner | 8 to 12 hours, outdoors | Closed rooms, mixing chemicals, aluminum parts |
| Burner caps (enameled or porcelain) | Warm soapy soak, soft brush | 20 to 30 minutes | Steel wool, oven cleaner on aluminum |
| Burner heads and ports | Soapy cloth, straightened paper clip or pin for ports | No soak; dry at least 30 minutes | Toothpicks, widening ports, reassembling wet |
| Knobs | Warm soapy soak off the stove | 10 to 15 minutes | Spraying cleaner onto the control panel |
| Cooktop surface | Soapy cloth, baking soda paste on spots | Paste 15 to 20 minutes | Flooding burner wells, abrasive powders on stainless steel |
Safety Rules: What Never To Mix or Use
Cleaning a stove involves heat, gas and strong cleaners, so a few rules are worth repeating:
- Never mix bleach with vinegar or ammonia. Bleach and vinegar release chlorine gas; bleach and ammonia release chloramine fumes. Both are dangerous to breathe.
- Use one cleaner at a time. Rinse thoroughly before switching to a different product.
- No oven cleaner on enamel unless the label and your manual say it's safe, and never on aluminum burner caps or heads.
- Test on a hidden spot, like the underside of a grate, before trying any new cleaner.
- Keep cleaners away from the igniters and gas ports, and never light a burner while parts are still wet.
- Rinse well. Leftover cleaner can smoke or smell when the stove heats up.
Weekly Habits So Grease Never Builds Up

The secret to never needing the sealed bag method again is catching grease before it bakes on. These habits take only a few minutes:
- Wipe spills once the stove cools. A quick wipe the same evening saves a long scrub later.
- Give the grates a weekly wash. Ten minutes in hot, soapy water once a week keeps grease from hardening.
- Use a splatter screen or lid when frying, so less oil reaches the grates in the first place.
- Keep a dedicated stove cloth folded nearby, so wiping up feels effortless rather than like a chore.
- Lift the caps once a month to check for crumbs and clogged ports before the flame starts to suffer.
A refillable glass spray bottle filled with warm water and a few drops of dish soap is lovely to keep under the sink for these quick weekly wipes.
Final Thoughts
Greasy gas grates are one of those jobs that feel bigger than they are. Once you let hot water, soap and time do the heavy lifting, most of the work happens while you sleep.
Start tonight with a simple overnight soak, check your manual, keep the burners dry and take care with cleaners. In a week or two of small habits, a clean, evenly lit stove will feel like the normal state of your kitchen, not a once-a-year project.