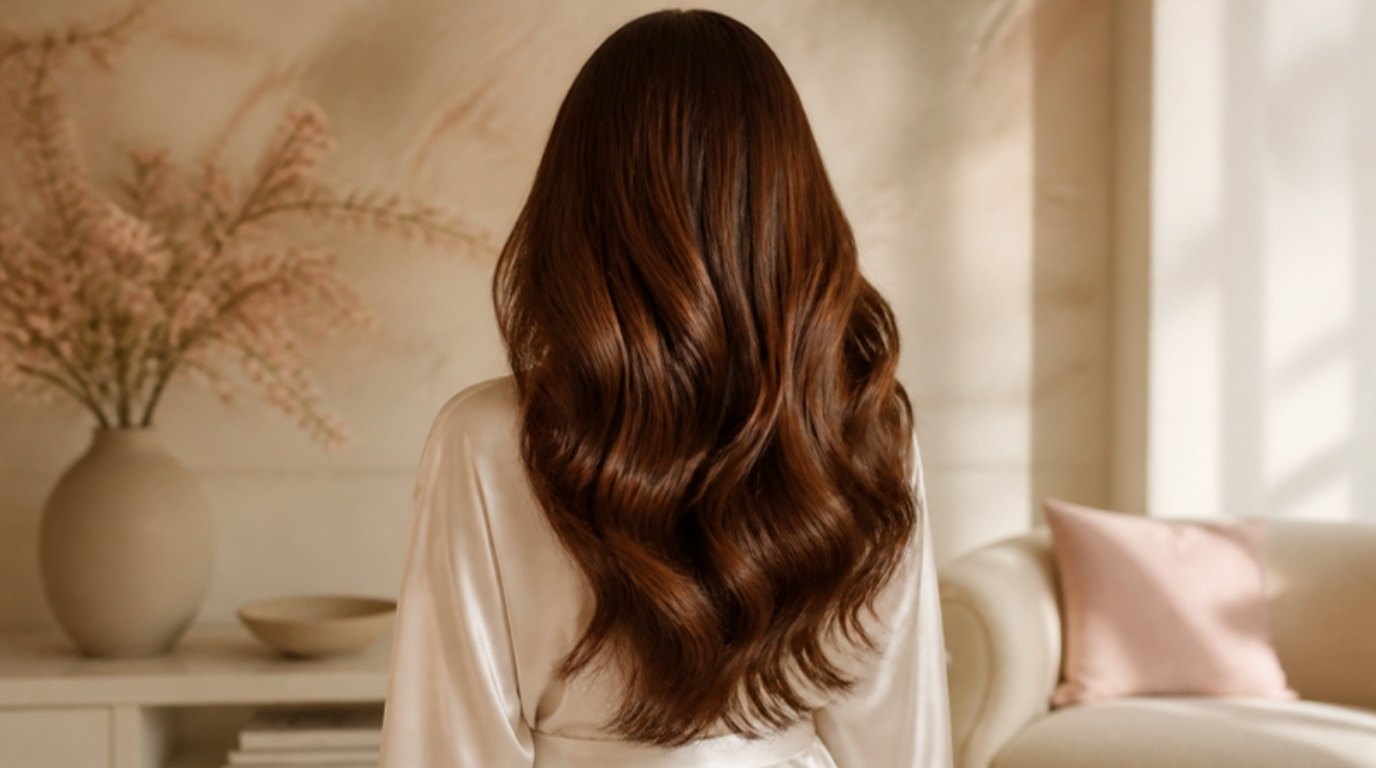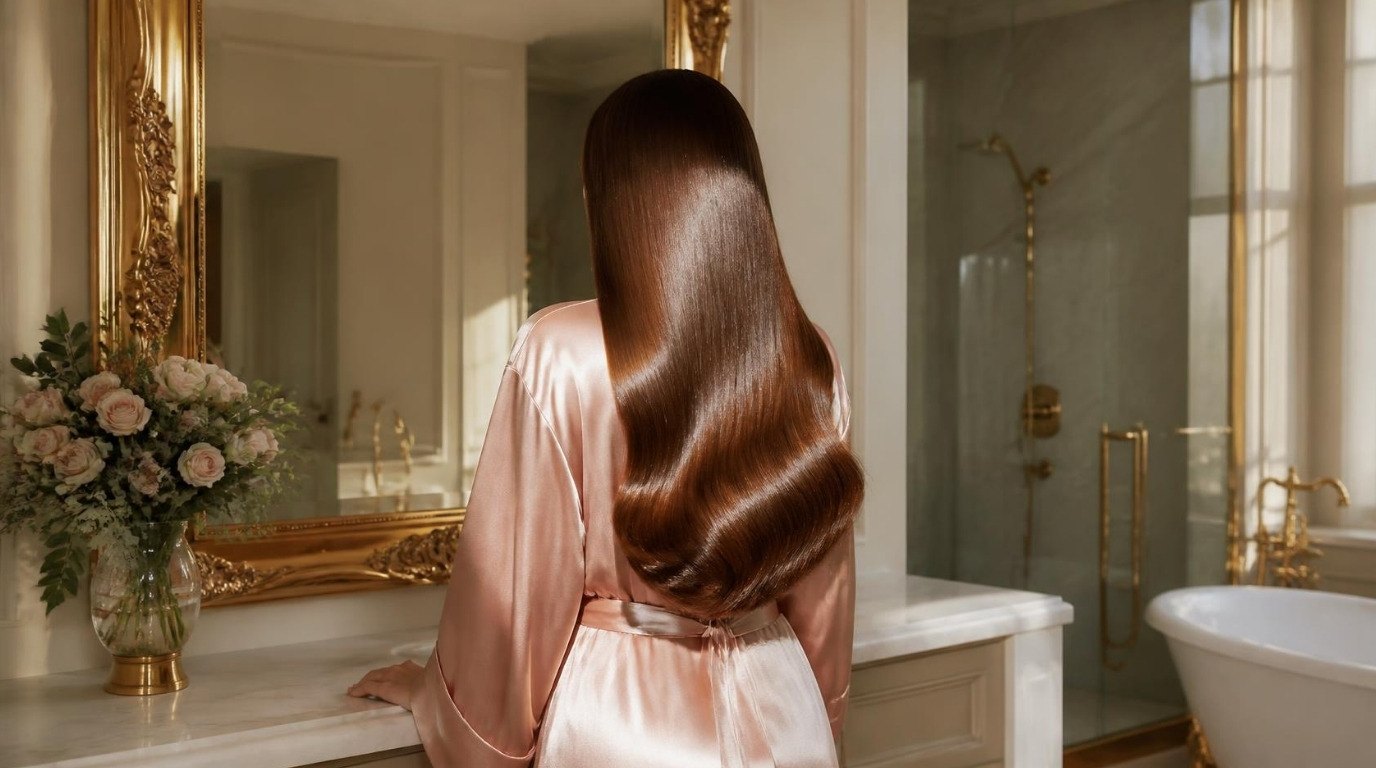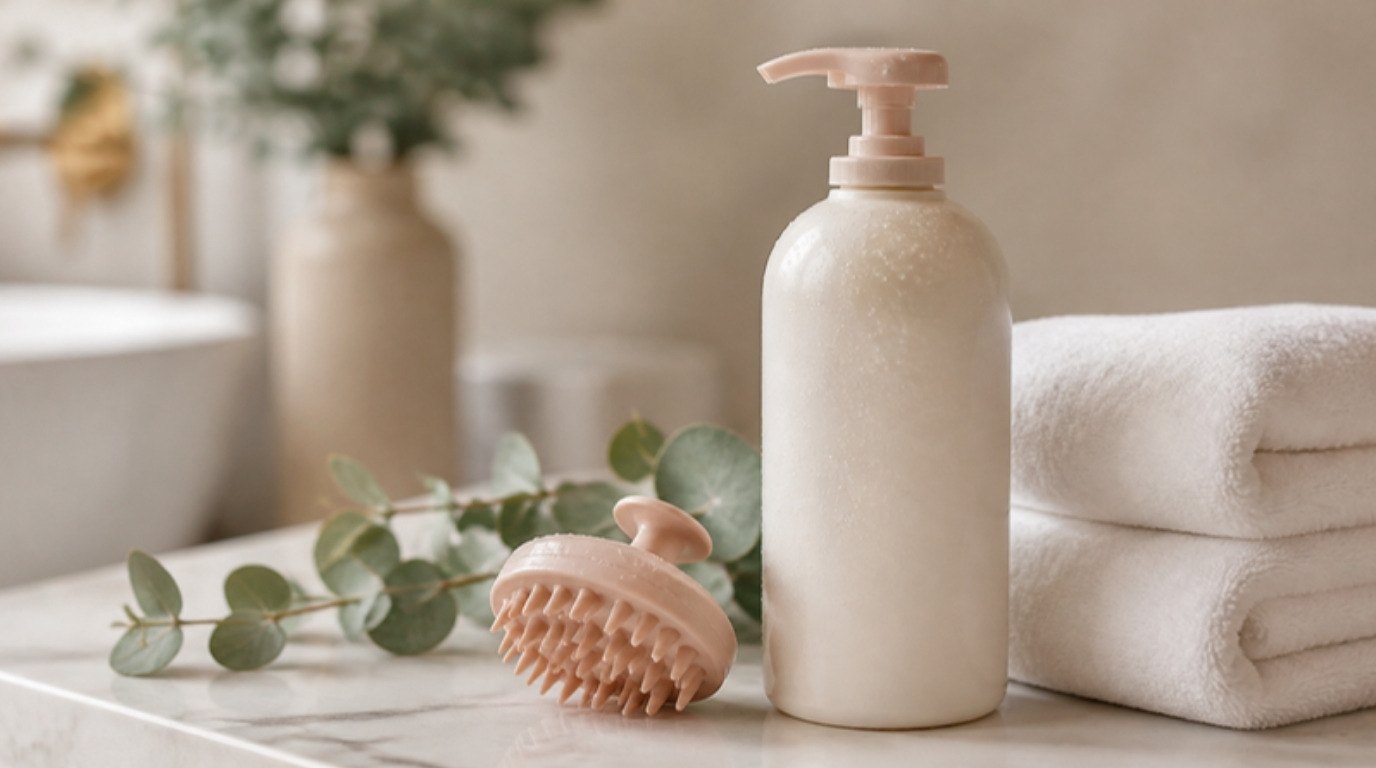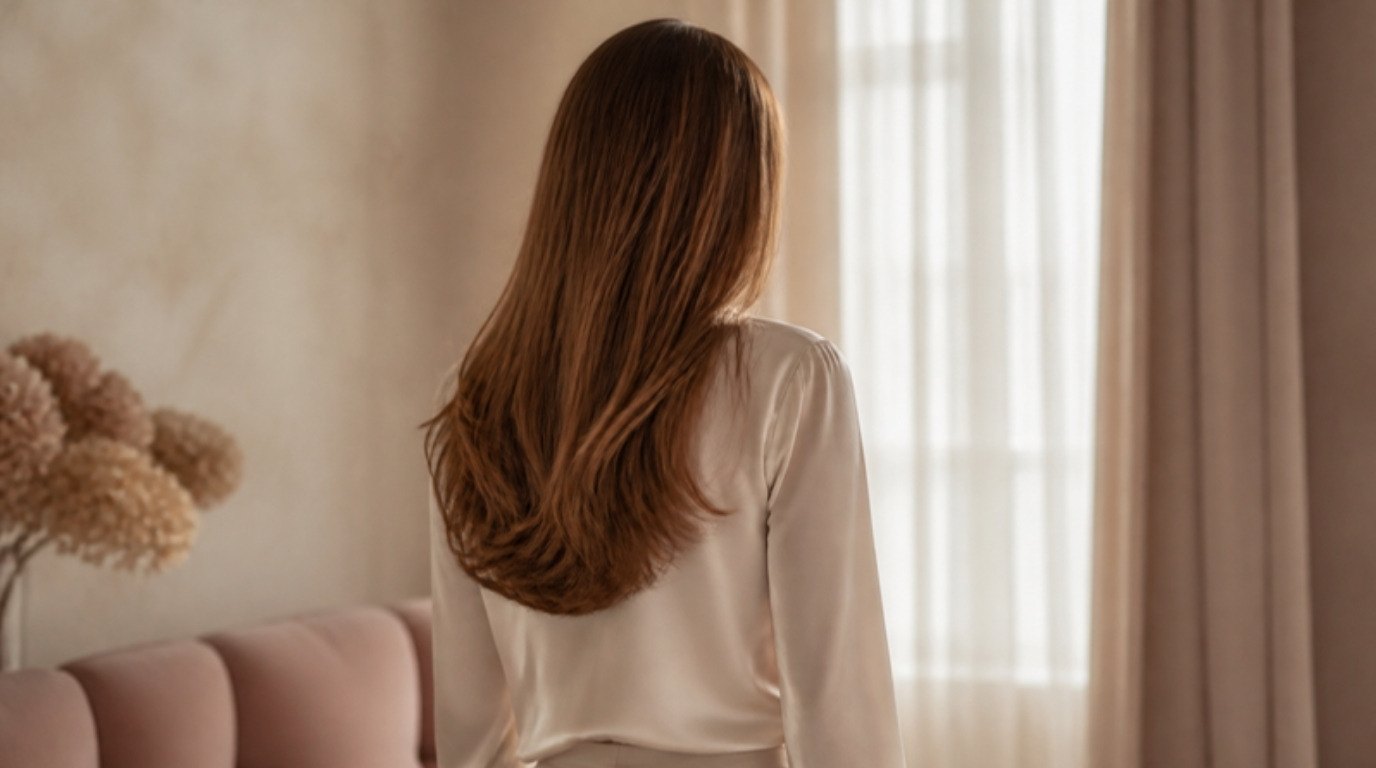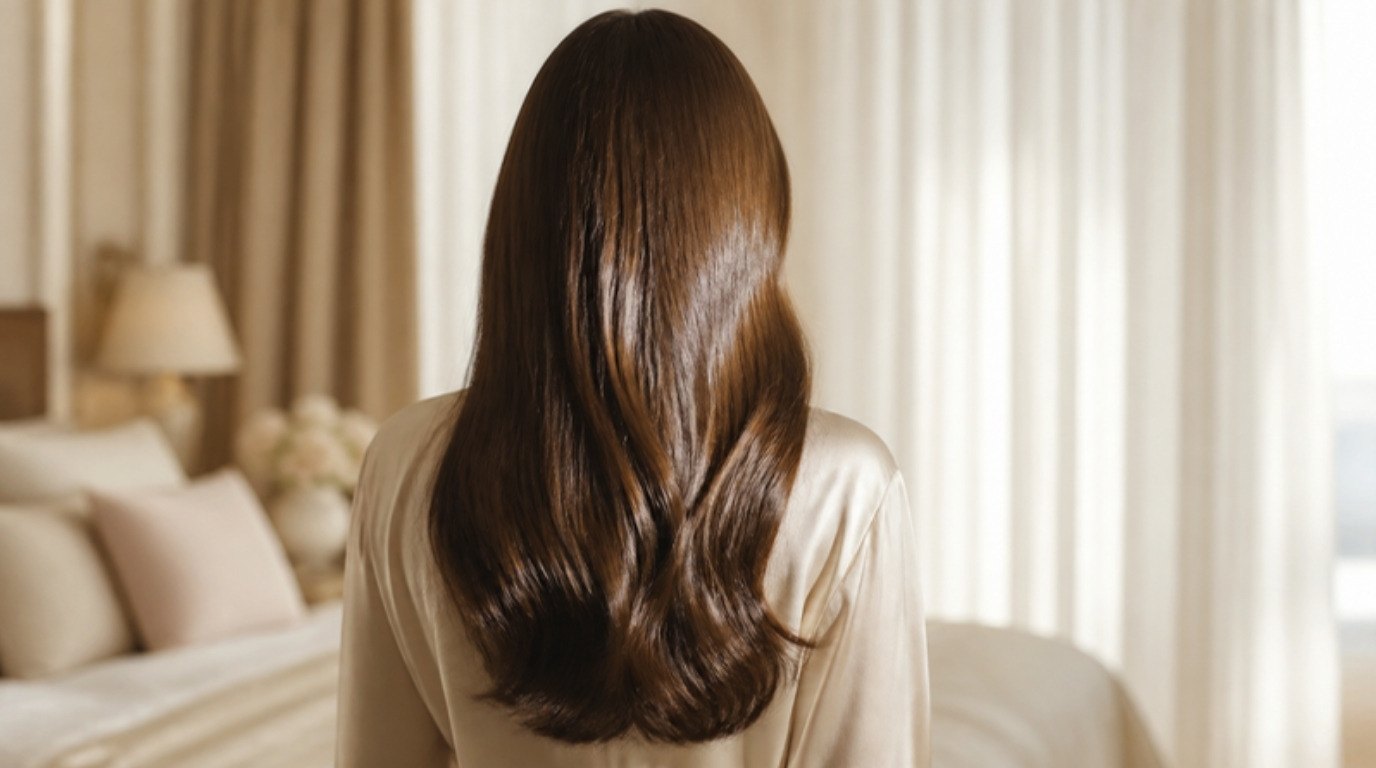
Dull hair rarely needs a big change. Most of the time it needs a smoother surface, because shine is just light bouncing off a cuticle that lies flat. A hair gloss does exactly that: it coats and seals the outer layer of each strand so light reflects evenly, and suddenly the same color you've had for months looks expensive again.
The best part is that a gloss is one of the most forgiving treatments you can do in your own bathroom. There's no lightening, no big commitment and (if you go clear) almost no way to end up with a color you didn't want. It took me a while to understand that "glossy" and "healthy" aren't quite the same thing, though, and that the prep matters as much as the product.
This guide to hair gloss at home covers what a gloss actually is, how it differs from a glaze, toner and dye (there's a side-by-side table for that), who it suits, how to choose clear or tinted, the exact steps, how long it lasts and the small habits that keep the shine around for weeks.
Grab a towel you don't mind getting a little damp. Let's make your hair catch the light.
What Is a Hair Gloss, Exactly?
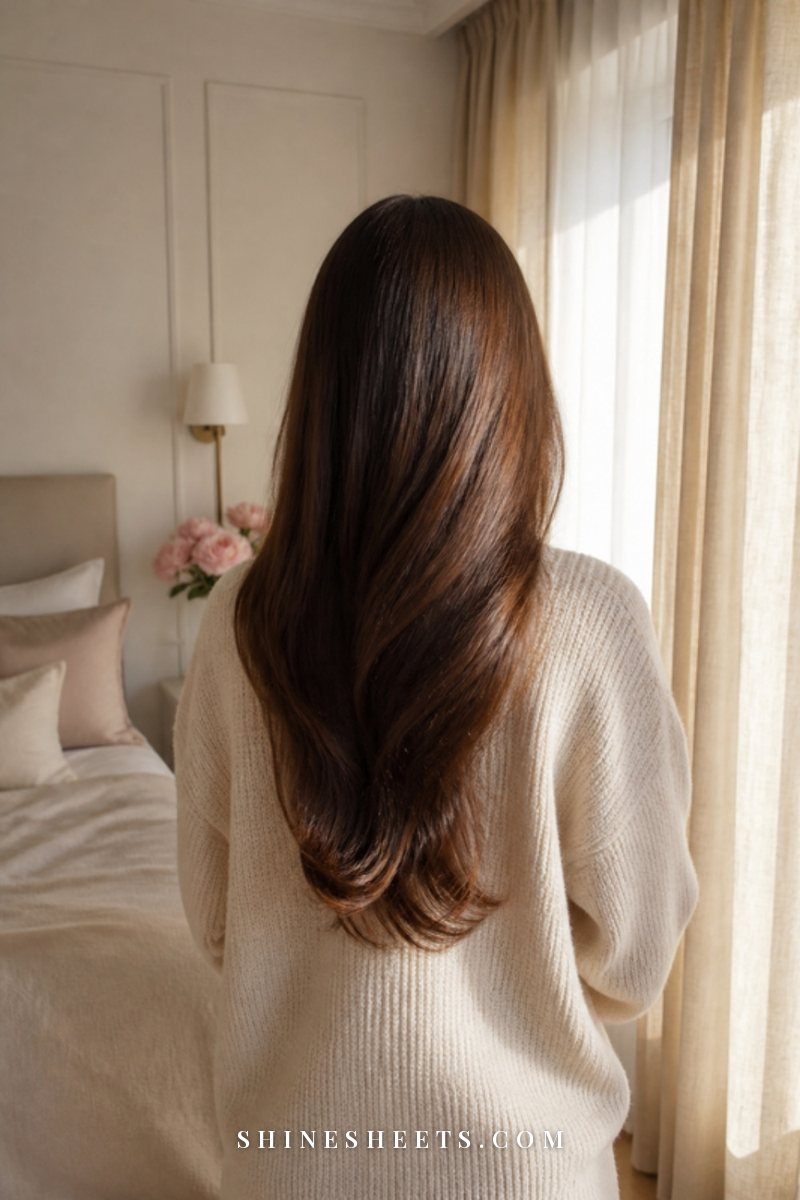
A hair gloss is a semi-permanent shine treatment. It sits mostly on the outside of the hair shaft, filling in tiny rough spots and laying the cuticle flat, so your hair reflects more light and feels smoother. It doesn't lift or lighten your natural pigment, which is why it's so gentle compared with dye.
Glosses come in two kinds:
- Clear gloss: no pigment at all, only shine and softness. It works on any color, natural or dyed.
- Tinted gloss: a sheer wash of color that refreshes faded dye, warms up a flat brown, cools down brassy blonde or adds a little richness to red.
Salon glosses are often mixed with a low-volume developer. Most at-home versions are ready-to-use creams or liquids that you apply in the shower or at the sink, leave on for a set time and rinse. They fade gradually with each wash, so there's no harsh regrowth line, ever.
Gloss vs Glaze vs Toner vs Dye: The Side-by-Side Table
These words get used almost interchangeably online, which is confusing when you're standing in the hair aisle. Here's how they compare in plain words. Screenshot it for your next shopping trip.
| Treatment | What it does | Changes your color? | How long it lasts | Best for |
|---|---|---|---|---|
| Gloss | Coats and smooths the cuticle for shine; may add sheer tint | Clear: no. Tinted: a subtle refresh | About 4–6 weeks (roughly 8–15 washes) | Dull, faded or slightly brassy hair that's in decent shape |
| Glaze | A lighter, conditioner-like shine coat with no developer | Barely, if tinted | About 1–2 weeks | A quick shine boost before an event |
| Toner | Neutralizes unwanted undertones (yellow, orange) after lightening | Yes, it shifts the tone | About 3–6 weeks | Freshly lightened or brassy blonde and highlights |
| Semi-permanent dye | Deposits more pigment on and slightly into the strand | Yes, visibly | About 4–8 weeks | Going a shade richer or deeper without lightening |
| Permanent dye | Opens the cuticle and changes pigment inside the hair | Yes, fully | Grows out; doesn't wash out | Covering grays or a real color change |
If brassiness is your main issue, a toner or a cool-tinted gloss is the right tool, and the logic of the color wheel explains why. My guide on how to fix unwanted undertones with the color wheel trick walks through which shade cancels which.
Who a Hair Gloss Is (and Isn't) For
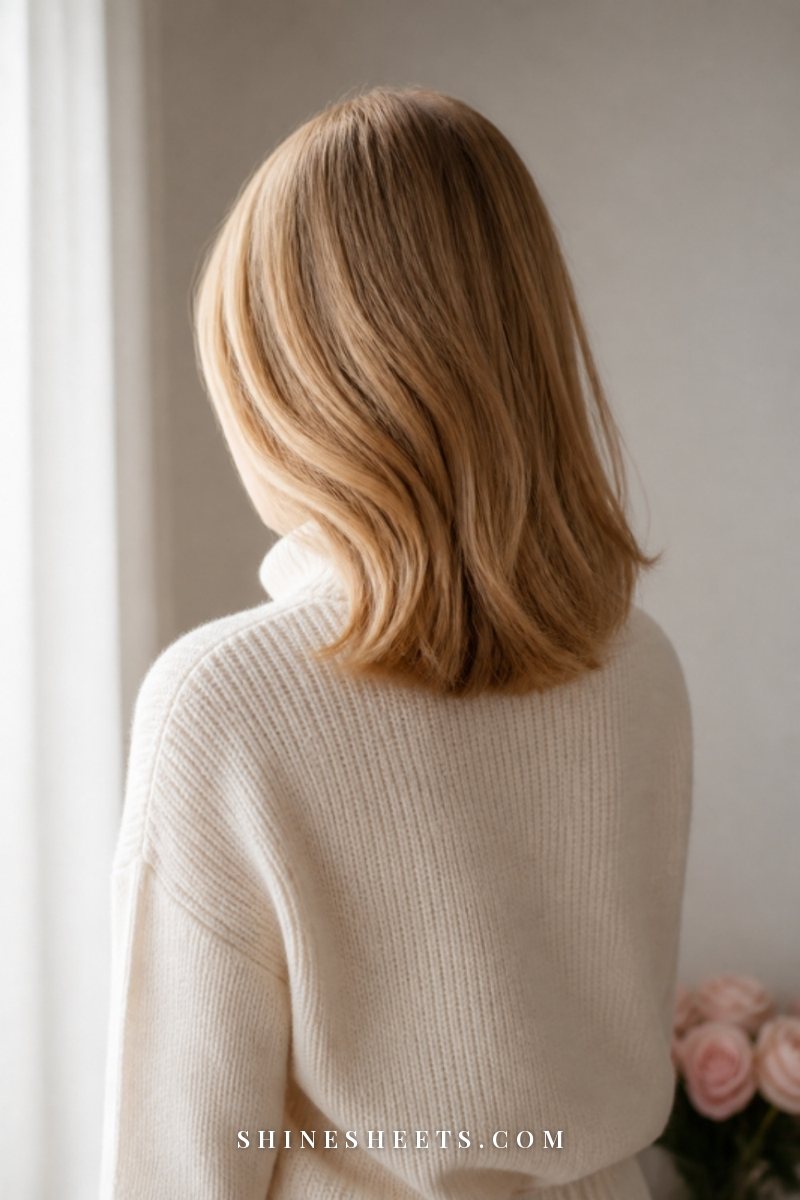
A gloss is a finishing touch, not a repair. It's lovely if your hair is:
- Dull or flat: healthy enough, but it just doesn't reflect light the way it used to.
- Color-faded: your dye has softened between appointments and looks a little washed out.
- Slightly brassy: blonde or lightened brown that has drifted warmer than you like.
- Frizzy but healthy: a gloss can calm surface flyaways and make hair feel smoother for a few weeks.
- Naturally colored and you want more richness: a clear gloss on virgin hair is one of the easiest shine wins there is.
It's less useful if your hair is severely broken, gummy after bleaching or snapping when you comb it. A gloss can make damaged hair look smoother for a while, but it won't rebuild anything. In that case, focus on gentle care and repair first and save the gloss for later. And if you're noticing more shedding than usual or thinning patches, that's a question for a dermatologist rather than a shine product.
Clear vs Tinted Gloss: How To Choose
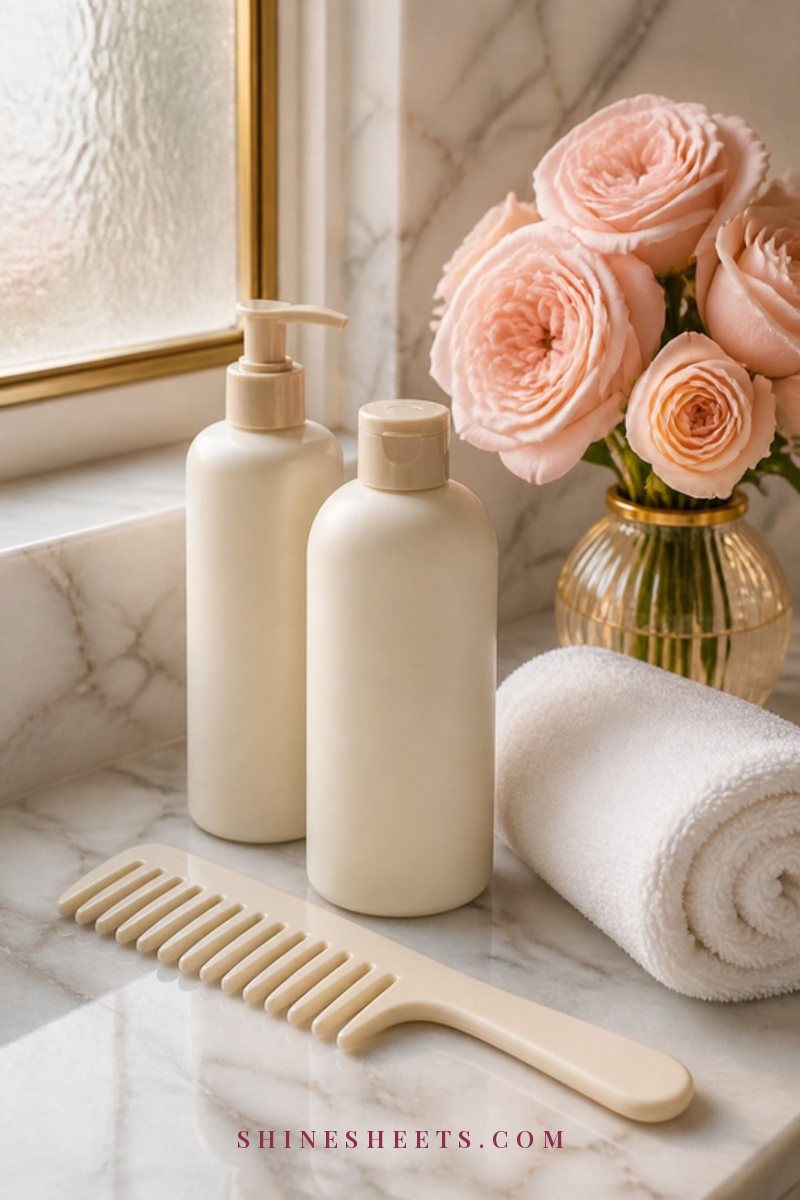
When in doubt, start clear. It gives you all the shine with none of the color risk, and it's the safest first gloss if you've never done one.
A clear shine gloss treatment is a pick for anyone who loves their color and just wants it to look fresher. Look for a formula that's labeled for all hair colors, rinses out after a set time and says it's safe for color-treated hair.
Choose tinted when you want a small color correction:
- Cool or violet-based tints for brassy blonde and yellowy highlights.
- Golden or honey tints for flat, ashy-looking light brown.
- Cocoa, chestnut or espresso tints for faded brunette.
- Copper or red tints for red hair, which fades fastest of all.
For a tinted option, I'd choose a color-depositing gloss that's one shade close to your current color (or a touch lighter). Tinted glosses deposit more on porous ends, so going darker than your hair can leave the ends looking deeper than the roots.
Blonde hair has its own small rules about tone and shine. If that's you, my blonde hair care routine pairs nicely with a cool-tinted gloss.
Before You Start: Strand Test and Patch Test
Two quick tests save you from almost every gloss regret.
The strand test (for any tinted gloss)
Snip or choose a small hidden section from underneath, near the nape. Apply the gloss exactly as the directions say, wait the full time, rinse and dry it. Look at it in daylight. If the color looks right, go ahead. If it's too dark or too warm, shorten the time or pick a lighter shade.
The patch test (for tinted and developer-based glosses)
Tinted products can contain dyes that irritate some people, even if you've never reacted before. Dab a small amount behind your ear or on your inner elbow, leave it as the label says and wait 48 hours. Any itching, redness, burning or swelling means that product isn't for you. Please don't skip this one, especially if your scalp is sensitive.
A clear, no-pigment gloss is lower risk, but a quick skin check is still a kind habit with any new product.
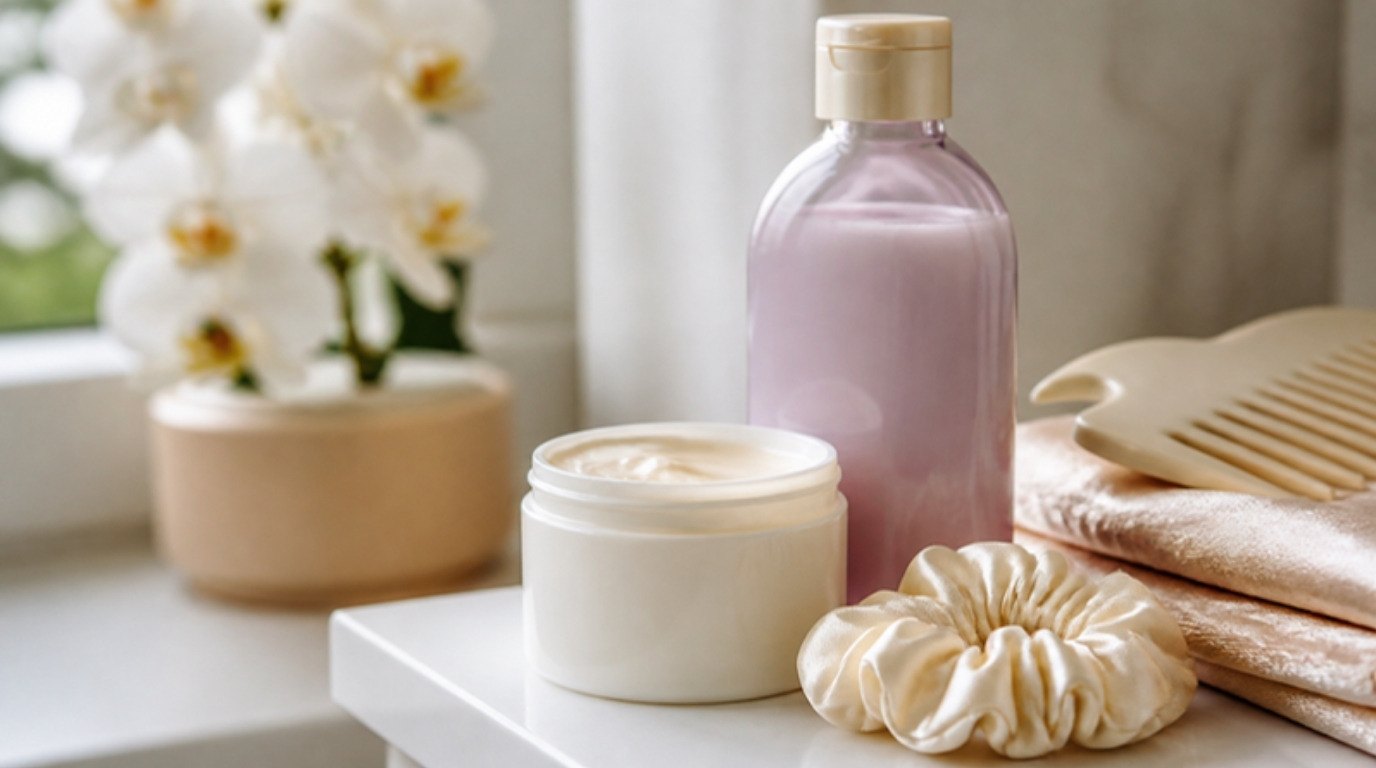
What You Need for an At-Home Gloss
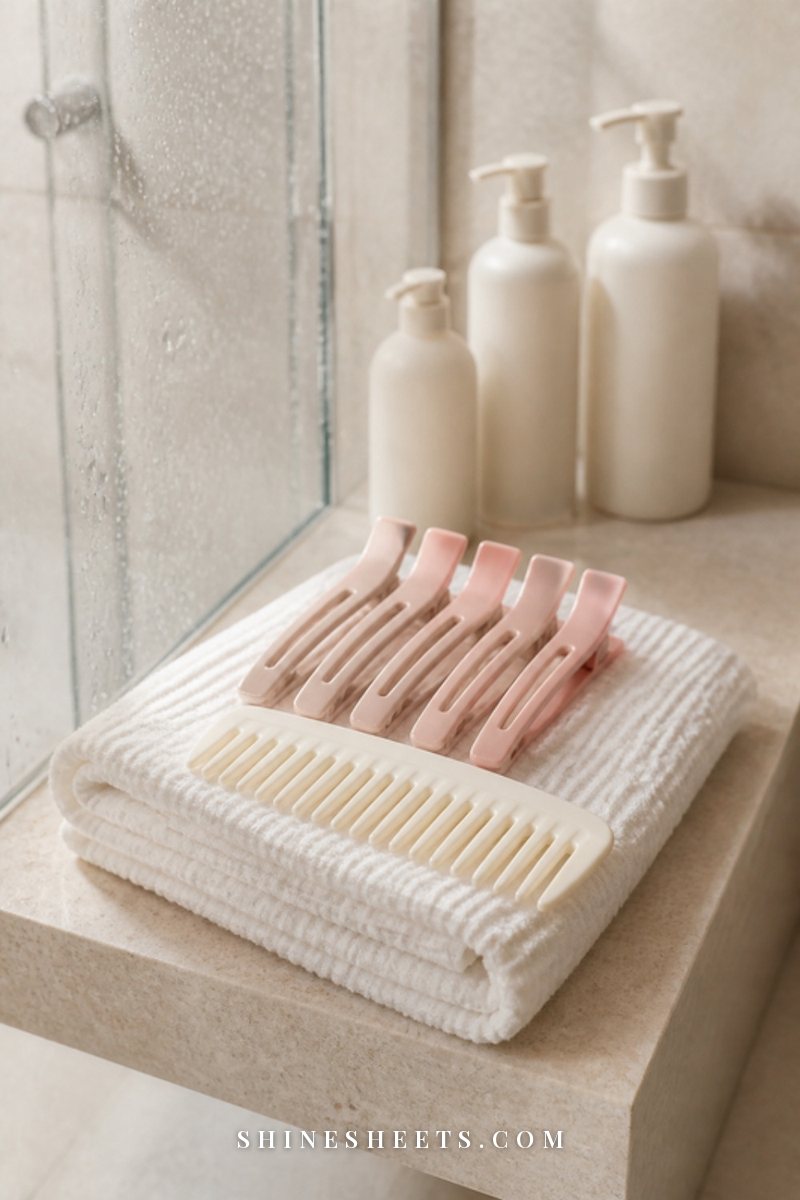
The kit is short, and you probably own half of it already:
- Your gloss (clear or tinted, plus gloves if it's tinted).
- A gentle shampoo for the prep wash.
- A wide-tooth comb to spread the product evenly without pulling. A wide-tooth detangling comb is a pick for this, because fine combs drag the product unevenly through wet hair.
- Sectioning clips. Four big clips make even application so much easier. Pastel sectioning clips with a wide grip hold damp hair without creasing it.
- An old towel around your shoulders, plus a timer.
- A soft towel for after. A microfiber hair towel absorbs water without roughing up the freshly sealed cuticle the way a terry towel can.
How To Do a Hair Gloss at Home: 7 Steps
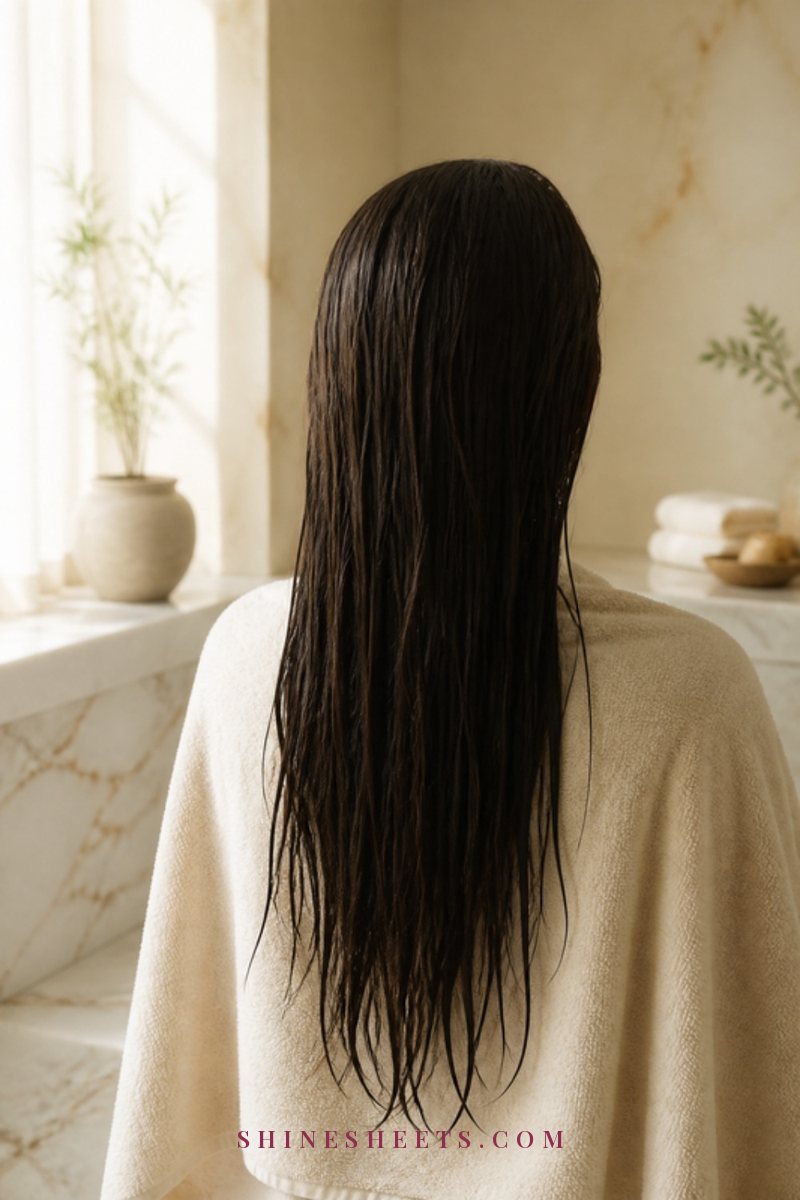
Always read your product's directions first. Some glosses go on dry hair, most on damp. The steps below follow the most common at-home method.
- Wash with a gentle shampoo, skip conditioner. Gloss grabs best onto clean hair with no oil, dry shampoo or silicone layer. If you have a lot of product buildup, a clarifying shampoo a day or two before helps the gloss go on evenly.
- Towel-dry until damp, not dripping. Squeeze gently. Dripping hair dilutes the product and makes it slide off. (Use dry hair only if your label says so.)
- Section into four. Part down the middle, then from ear to ear. Clip each quarter up. This is the step that prevents patchy results.
- Apply section by section. Release one quarter at a time and work the gloss through from mid-lengths to ends first, then roots. Use enough to fully saturate the hair, since dry spots won't shine as much.
- Comb it through. Glide the wide-tooth comb through each section once or twice so every strand is coated.
- Set a timer. Most at-home glosses need about 10–20 minutes. Follow your label exactly and don't leave it on "a bit longer for extra shine," especially with tinted formulas.
- Rinse with cool water until it runs clear. Cool water helps the cuticle lie flat. Condition only if your product says to, then blot with your microfiber towel.
Let it air-dry or blow-dry on a lower heat setting the first time, so you can see the true finish.
How Long Does a Hair Gloss Last?
An at-home gloss usually lasts about 4–6 weeks, which works out to roughly 8–15 washes depending on your routine. It fades gradually, so there's no harsh moment when it "runs out." Your hair just slowly returns to its usual level of shine.
A few things shorten its life:
- Washing every day with a strong shampoo.
- Very hot showers.
- High-porosity, bleached or damaged hair, which holds onto gloss less evenly.
- Lots of chlorine, sun and hot tools.
Most people can safely re-gloss every 4–6 weeks. Doing it more often doesn't make hair shinier and can build up, so let it fade first.
Hair Gloss Tips for Your Hair Type
The basic method stays the same, but a few small adjustments make a real difference depending on your texture and color.
Fine or thin hair
Fine hair can look a little flat right after a gloss if you use too much. Use just enough to coat each section (think a generous conditioner amount, not a mask), rinse thoroughly and skip any extra conditioner afterward unless your hair feels rough. A lightweight leave-in on the ends only keeps volume at the roots.
Thick or long hair
Buy two bottles if your hair is past your shoulder blades and dense. Running out halfway is the most common reason for uneven shine. Work in six or eight smaller sections instead of four, and start the timer only after the last section is coated, so the first section doesn't sit far longer than the rest.
Curly or coily hair
Apply on soaking-wet or very damp hair so the product spreads easily, use your fingers and the wide-tooth comb gently, and follow with your usual moisturizing conditioner if the label allows. A gloss can make curls look more defined and less frizzy, but it won't loosen or change your pattern.
Gray or silver hair
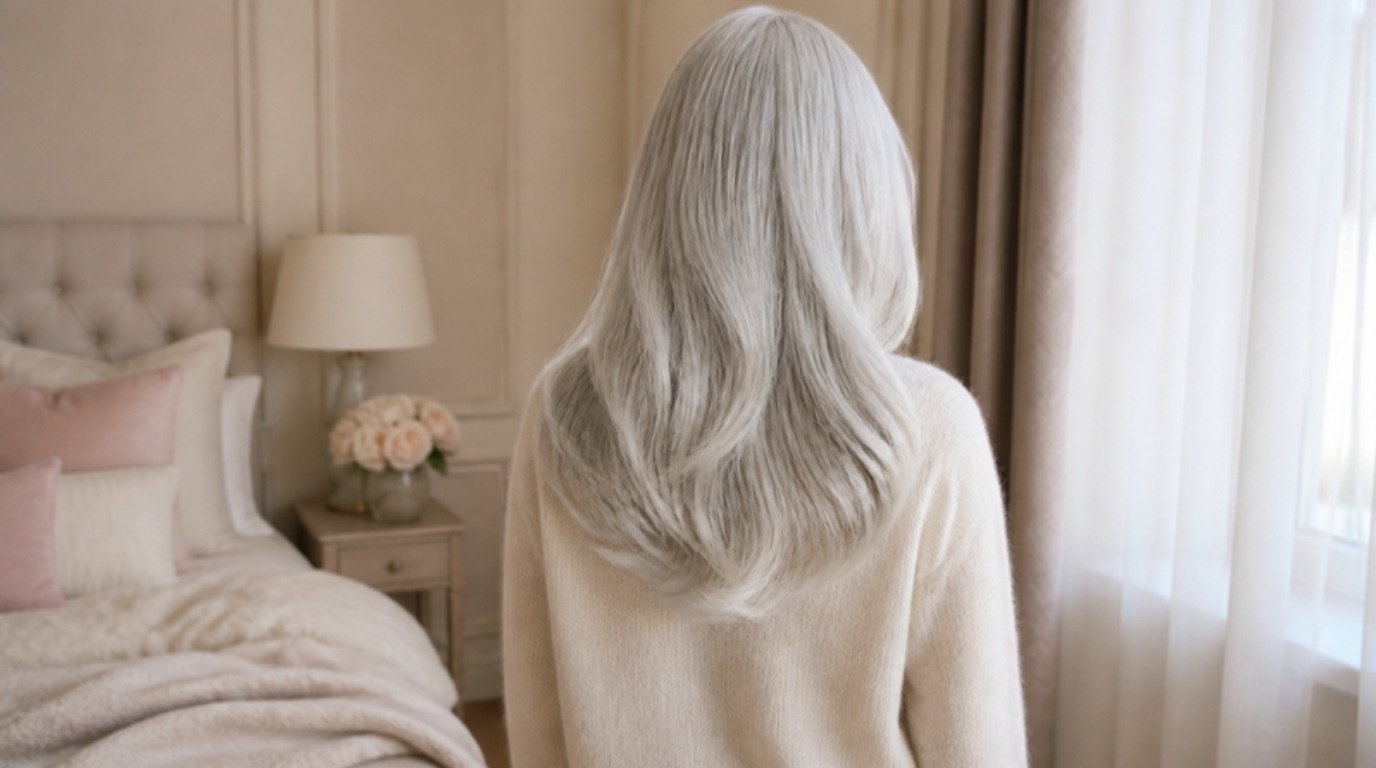
Clear gloss is lovely on silver, since gray strands are often coarser and reflect light less evenly. A clear coat makes them look softer and brighter. If yellowing is the issue, a cool or violet-tinted gloss can help (strand test first, because white hair shows every bit of tint). Tinted glosses blend grays slightly at most, so they're not a replacement for gray coverage.
Freshly colored hair
Wait about a week after a new dye or lightening session before glossing, unless your colorist suggested a gloss as part of the service. It gives the cuticle time to settle and lets you see the true color before you adjust anything.
How To Make the Shine Last: 5 Gentle Habits
- Switch to a color-safe shampoo. Harsh cleansers strip a gloss fastest. A color-safe, sulfate-free shampoo is a pick for keeping both shine and tint around longer.
- Wash a little less often. Stretching washes by even one day helps. Rinse-only days or dry shampoo at the roots can bridge the gap.
- End every shower with a cool rinse. Ten to twenty seconds is plenty.
- Protect from heat. Hot tools rough up the cuticle you just smoothed. My guide to how to use heat protectant right covers how much to use and where.
- Sleep on something smooth. Less friction overnight means less frizz in the morning, which is why silk pillowcase benefits often show up most on glossy, freshly treated hair.
For more everyday tricks beyond glossing, here are 7 ways to get shiny hair that work on any hair type.
6 Hair Gloss Mistakes To Avoid
- Applying it to dirty, oily hair. Oil, dry shampoo and styling products act like a barrier. The gloss sits on top, rinses off early and can look patchy.
- Leaving it on too long. Clear gloss won't get "stronger," and tinted gloss can go darker than planned. The label time is the right time.
- Skipping sections. Uneven saturation gives you shiny ends and flat crown, or the other way around.
- Going too dark with a tint. Porous ends grab more pigment. Stay close to your shade or go slightly lighter.
- Rinsing with hot water. It undoes part of the smoothing. Cool or lukewarm is best.
- Expecting a gloss to fix breakage. It's a finish, not a repair. Damaged hair needs gentle care and time first.
Gloss vs Keratin vs Bond Repair: Which Do You Need?
All three promise smoother hair, but they do very different jobs.
- Gloss: surface shine and (optionally) a little tint. Quick, gentle, fades over weeks. Best when your hair is healthy and just looks dull.
- Keratin or smoothing treatment: reduces frizz and changes how hair behaves, often making it straighter and sleeker for months. Usually a salon service with heat, so it's more of a commitment. It doesn't add color.
- Bond repair: works on the inside structure of hair that's been weakened by bleach, color or heat. It's about strength, not shine, although stronger hair does tend to look better.
Think of it like skincare: bond repair is your treatment step, keratin is a bigger professional service, and a gloss is your finishing glow. If your hair is damaged, start with repair for a few weeks, then gloss once it feels stronger. The shine will be better for it.
Salon Gloss vs At-Home Gloss
A salon gloss is usually mixed to order by a colorist, often with a low-volume developer, so it can shift tone more precisely and may last a little longer. It's the better choice if you want a specific tone correction, if your hair is multi-tonal with highlights and lowlights, or if you've had a color go wrong and want a professional eye on it.
An at-home gloss is gentler, simpler and much cheaper per use. It's perfect for the in-between weeks: keeping salon color fresh until your next appointment, adding shine to natural hair, or giving faded ends a lift before a special weekend. Many people do both, booking a salon gloss with their color and topping up with a clear at-home gloss halfway through.
A simple rule: if you want shine, do it at home. If you want a real tone change you're nervous about, ask a colorist.
Final Thoughts
A hair gloss at home is one of those small treatments that makes you feel put together without much effort. Clean hair, even sections, a timer and a cool rinse are really all it takes, and the result is that glassy, catch-the-light finish that makes even a simple ponytail look polished.
Start with clear, test before you tint and give your hair a few gentle habits to hold onto the shine. Your color doesn't need to change to look new again. It just needs a little light to bounce off.