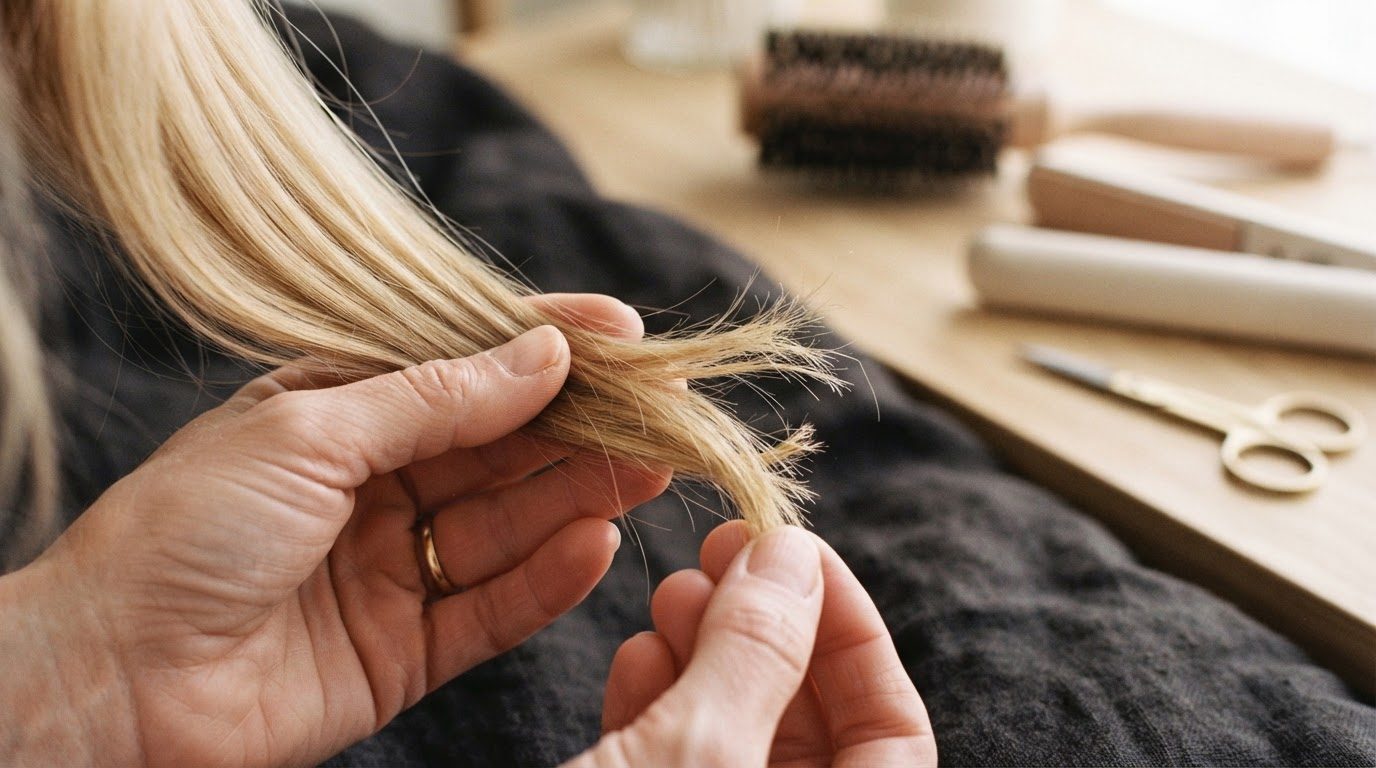
Split ends don't always mean you need to lose two inches. Very often the damage is scattered along the length, a few frayed tips poking out here and there, while the rest of your hair is perfectly healthy. Cutting a straight line across the bottom misses most of them. That's exactly where hair dusting comes in.
Dusting means trimming only the tiny tips that stick out along each section, so the shape and length of your hair stay almost exactly the same. It's quiet, patient work (think tweezing, not mowing), and it's one of the kindest things you can do for hair you're trying to grow out.
This guide is all about the technique of hair dusting: what it is and isn't, who it suits, when a full trim is the better choice, the tools you need, a 7-step method you can follow at home, how often to do it and the mistakes that cost people length. You'll also find a table comparing the main dusting methods so you can pick the one that fits your hair and your patience level.
One honest thing before we start: dusting doesn't repair split ends. Nothing truly glues a split back together. Dusting simply removes the splits before they travel further up the strand, and that's what keeps hair looking fuller and smoother for longer.
What Hair Dusting Actually Is

A regular trim cuts across the ends of your hair to create a clean line. Dusting works differently. Instead of cutting the bottom edge, you take small sections, smooth or twist them, and snip just the damaged tips that pop out along the length. The amount you remove is tiny, usually a few millimeters per tip, which is why it's called "dusting": what falls on the towel looks like a light dusting of hair rather than a pile.
Because hair grows at slightly different rates and gets damaged unevenly (from brushing, heat, hair ties and friction against your pillow), splits rarely sit in a neat row at the very bottom. Some are halfway down. Dusting finds those.
What Dusting Can and Can't Do
Here's the realistic picture, so you know what to expect:
- It can remove visible split and frayed tips along the length, help your hair feel smoother to the touch and reduce tangling where rough ends catch on each other.
- It can help you keep more length over time, because you're removing damage early instead of waiting until a big chop is the only option.
- It can't fix ends that are thin, see-through or broken all along the bottom. Those need a proper trim.
- It can't repair, seal or reverse splits. Products can smooth the look of them for a while, but the only real fix for a split is cutting it off.
If you'd like to understand why splits happen in the first place and how to slow them down, my guide on how to fix split ends and prevent new ones covers the causes and the everyday repair habits. This article stays focused on the dusting technique itself.
Who Hair Dusting Is For

Dusting tends to work beautifully for:
- Anyone growing their hair out who wants to stay ahead of splits without losing the length they've worked for.
- Longer hair that gets scattered splits from years of brushing and styling.
- Layered hair, where the shorter pieces have their own ends and a straight trim at the bottom wouldn't reach them anyway.
- Straight and loosely wavy hair, where frayed tips are easy to see once a section is twisted or smoothed.
- Color-treated or heat-styled hair that tends to fray a little faster than untouched hair.
When Dusting Isn't the Best Fit
Very curly and coily hair is a different story. When curls are stretched straight or twisted for dusting, it's hard to see where each curl actually ends, and snipping in the wrong spot can leave uneven pieces that spring up shorter than the rest. Curly and coily hair is usually best trimmed dry, curl by curl, by a curl-aware stylist who can see the pattern as it naturally sits. If you have tighter curls and want to try at home, snip only the obviously frayed tip of a single curl in its natural shape, and leave anything more to a professional.
Dusting also isn't the answer if your ends are badly damaged, very thin at the bottom, or breaking off in short pieces. In that case a proper trim gives you a fresh, healthy line to grow from, and you can start dusting afterward to keep it that way.
Dusting vs a Full Trim: How To Choose
Think of dusting as maintenance and a trim as a reset. A few simple signs help you decide which one your hair needs right now.
Dusting is enough when: your ends look full and even from a distance, you only spot splits when you look closely, and your hair still holds its shape.
A full trim is better when: the bottom inch looks wispy or see-through, your ends tangle into knots no matter what you do, you see white dots or obvious breakage, or your hair has lost its shape completely.
Many people end up doing both: a trim once or twice a year, and dusting in between. If you're not sure how often your hair type needs a real cut, my guide on how often to trim your hair by hair type breaks it down.
What You Need Before You Start

The tool list is short, but every item matters:
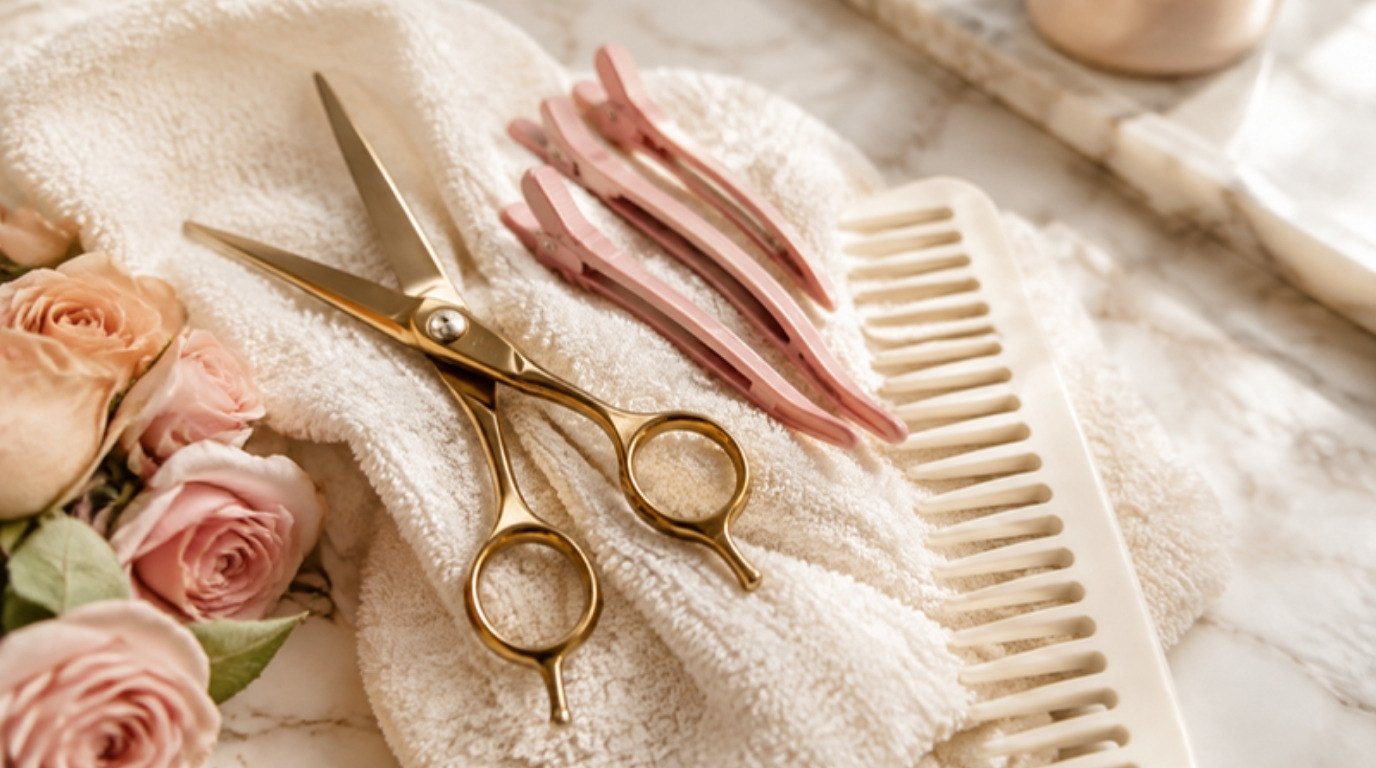
- Sharp hair-cutting scissors. This is the one thing you can't skip. Pick professional hair-cutting scissors with fine, sharp blades, and keep them only for hair. Dull blades crush and tear the strand, which creates new splits right where you cut.
- Sectioning clips. A set of blush sectioning clips keeps the hair you're not working on out of the way, so you don't cut into the wrong section by accident.
- A wide-tooth comb. A wide-tooth comb detangles gently without snapping fragile ends before you even begin.
- Good light. Natural daylight by a window is ideal. Splits are tiny, and dim bathroom lighting hides them.
- A mirror (or two). A handheld mirror helps with the back, though I'd leave the very back sections to a friend or a stylist if reaching them feels awkward.
- A towel over your shoulders. Dark towels make light hair easier to see falling, and light towels do the same for dark hair.
A quick safety note: hair scissors are seriously sharp. Keep the tips pointing away from your face and eyes, cut slowly, and never dust while rushing or distracted.
Hair Dusting Methods Compared
There isn't just one way to dust. Here's how the main methods compare, so you can choose the one that suits your hair. Screenshot it if you'd like it handy while you work.
| Method | Best for | How it works | Difficulty |
|---|---|---|---|
| Twist method | Straight, wavy and layered hair; beginners | Twist a small section tightly so frayed tips pop out of the twist, then snip just those tips. | Easy |
| Slide method | Straight or smoothed hair, fine to medium strands | Hold a section between two fingers and slide slowly toward the ends; snip tips that peek out above your fingers. | Easy to medium |
| Fold method | Thicker, longer straight hair | Fold a flat section over one finger so the bend makes damaged tips stand up, then snip them along the curve. | Medium |
| Curl-by-curl tip snip | Curly and coily hair (light maintenance only) | Leave hair dry and in its natural pattern, then snip only the clearly frayed tip of one curl at a time. | Medium to hard (a curl-aware stylist is best) |
If you're new to this, start with the twist method. It's the most forgiving, and it shows you clearly which tips are damaged.
How To Dust Your Hair in 7 Steps
Set aside 30 to 60 minutes the first time. It gets much quicker once you know your hair, but this is not a task to squeeze in five minutes before you leave the house.
1. Start With Clean, Dry, Smooth Hair

Wash and condition as usual, then let your hair dry completely. Dry hair shows you exactly where the ends sit, while wet hair stretches and makes you cut more than you meant to.
For straight hair, brush it smooth. For wavy hair, you can dust in your natural texture or smooth it lightly first. If you blow-dry or use a straightener to smooth it, always apply a heat protectant first (my guide on how to use heat protectant the right way walks through it) and keep the heat moderate. Skip heavy oils and stylers for now, because they glue frayed tips down and hide them.
2. Set Up Your Space
Sit or stand by a window with good daylight, drape the towel over your shoulders and lay your tools within reach. Detangle gently from the ends up with the wide-tooth comb. You want every section to be smooth and knot-free before the scissors come anywhere near it.
3. Divide Your Hair Into Small Sections
Split your hair into four large sections (two at the front, two at the back) and clip them up. Then let down one section at a time and take a small piece from it, about one inch wide. Small pieces matter: a thick chunk hides the splits in the middle.
Work in a set order, for example front left, front right, back left, back right, so you always know which hair you've already done.
4. Try the Twist Method

Hold the small section near the root and twist it firmly, but not painfully, all the way down. As the twist tightens, damaged and frayed tips lift away from the strand and stick out at different points along the length. Healthy hair stays tucked into the twist.
Twist the same section in one direction, snip, then twist it in the opposite direction and look again. A second twist often reveals a few more tips you missed the first time.
5. Or Use the Slide Method
If twisting feels awkward, hold the section flat between your index and middle fingers, pull it gently taut and slide your fingers slowly down toward the ends. Damaged tips, which are often shorter and rougher, will peek out above your fingers as you go. Pause every inch or so to look closely.
This method works best on hair that's been brushed smooth, and it's a lovely option for fine hair that doesn't hold a twist well.
6. Snip Only the Tips That Stick Out
This is the heart of dusting. Hold the scissors vertically or at a slight angle and snip just above the split, removing only a few millimeters, about 1/8 inch. You are not cutting the section, only the frayed tips poking out of it.
Look before every single snip. If you can't clearly see a split, leave the hair alone. A strand that looks a little shorter isn't necessarily damaged, especially if you have layers.
7. Check, Repeat and Finish
Run your fingers down the section. It should feel smoother, with fewer rough bits catching on your skin. Clip it away, take the next small piece and repeat until you've worked through all four sections.
When you're done, shake out your hair, sweep up the clippings and wipe your scissors clean and dry before you put them away. Finish with a small amount of a lightweight leave-in conditioner on the lengths and ends to keep them soft and protected.
How Often Should You Dust Your Hair?

For most people, dusting every 6 to 12 weeks is plenty. Here's a simple way to find your rhythm:
- Every 6 to 8 weeks if you heat style often, color your hair, or have fine hair that frays easily.
- Every 8 to 12 weeks if your hair is mostly air-dried, rarely colored and generally in good shape.
- Only when you see splits if your hair is already very healthy. There's no need to dust just because the date came up.
Avoid dusting more often than every few weeks. Constantly snipping makes it easy to lose length bit by bit without noticing, which is exactly what you were trying to avoid. A gentle weekly routine does more to prevent new splits than frequent cutting, and my simple weekly hair care routine is a good place to start.
How To Protect Your Ends After Dusting

Dusting removes the damage you have now. These small habits slow down the next round:
- Detangle gently. Always start at the ends and work up, and never yank through knots. A soft detangling brush or the wide-tooth comb is kinder than a stiff, tight-bristled brush.
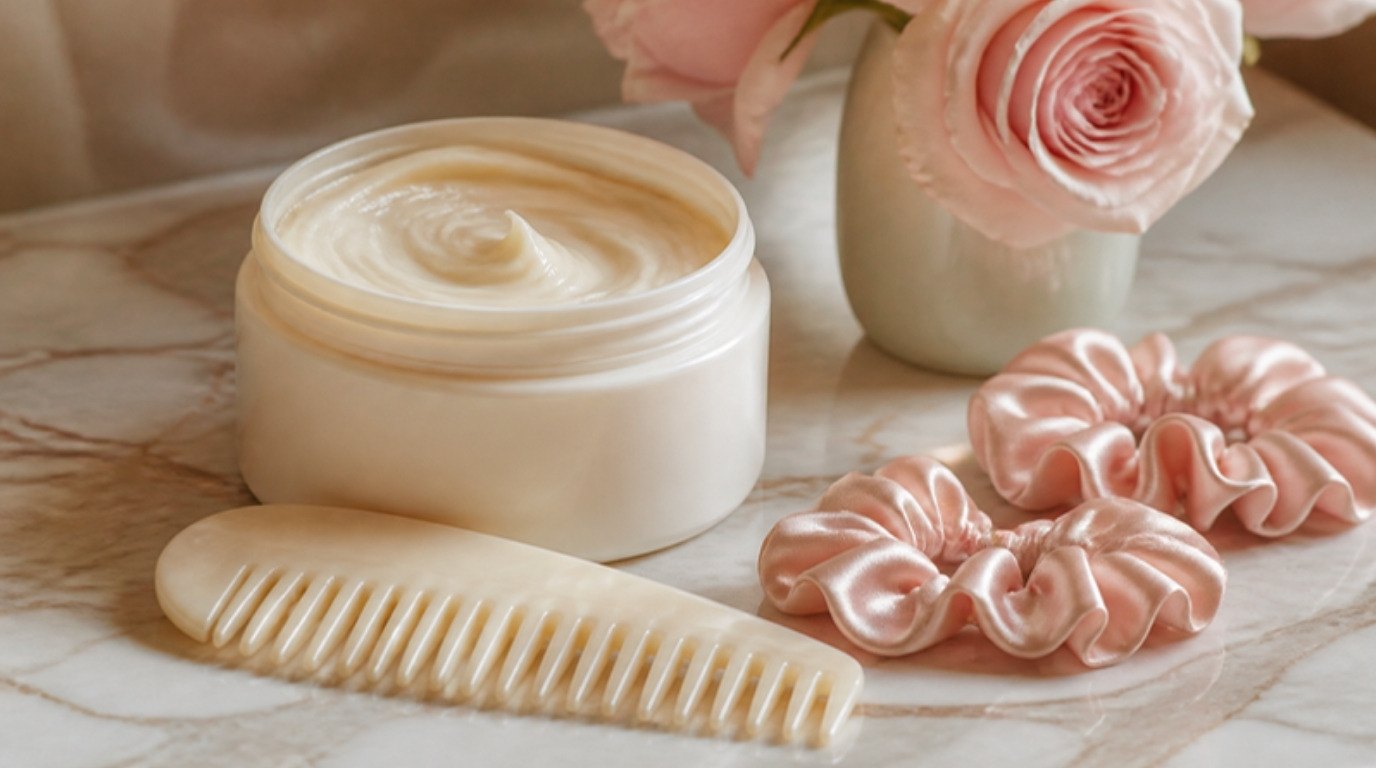
- Swap tight elastics. Elastic bands with metal joins snag and snap hair. Soft silk scrunchies hold hair without digging in or leaving a crease.
- Reduce friction at night. Cotton pillowcases rub against your ends while you sleep. A silk or satin pillowcase lets hair glide instead (my post on silk pillowcase benefits for skin and hair explains why).
- Keep heat moderate. Use a heat protectant every time, lower the temperature and give your hair heat-free days.
- Moisturize the ends. A pea-sized amount of leave-in conditioner on the bottom few inches keeps them flexible, and flexible hair splits less easily.
None of this is complicated, but together these habits can stretch the time between dusting sessions noticeably.
6 Common Hair Dusting Mistakes

Most dusting disasters come down to a handful of easy-to-avoid habits:
- Using kitchen or craft scissors. Regular scissors are too dull and thick for hair. They crush the strand instead of cutting it cleanly, which creates fresh splits.
- Cutting too much. Dusting is a few millimeters per tip. If you find yourself trimming whole sections, stop, step back and look at your hair from a distance.
- Dusting wet hair. Wet hair stretches and hides splits. You'll cut more length than you planned and still miss the damaged tips.
- Cutting straight across the section. Snipping across a twisted or held section turns dusting into a choppy trim and can leave uneven, blunt pieces.
- Working in poor light. Splits are tiny. Without bright, even light, you'll either miss them or snip healthy hair by guessing.
- Dusting too often. Every few days or every week is too much. Give your hair at least six weeks between sessions so you keep the length you're growing.
And one gentle reminder: if a section ever feels too hard to reach or you're unsure, leave it. A stylist can always tidy up the back, and many salons offer dusting as a quick, inexpensive service if you ask for it by name.
Final Thoughts
Hair dusting is a small, patient habit with a lovely payoff: smoother lengths, fewer tangles and more of the length you've been waiting for. It won't repair a split, and it can't replace a real trim when your ends need a fresh start, but as gentle maintenance in between, it's hard to beat.
Take your time, work in good light, snip less than you think and let your hair be your guide. A little care every couple of months adds up to healthy, beautiful ends.