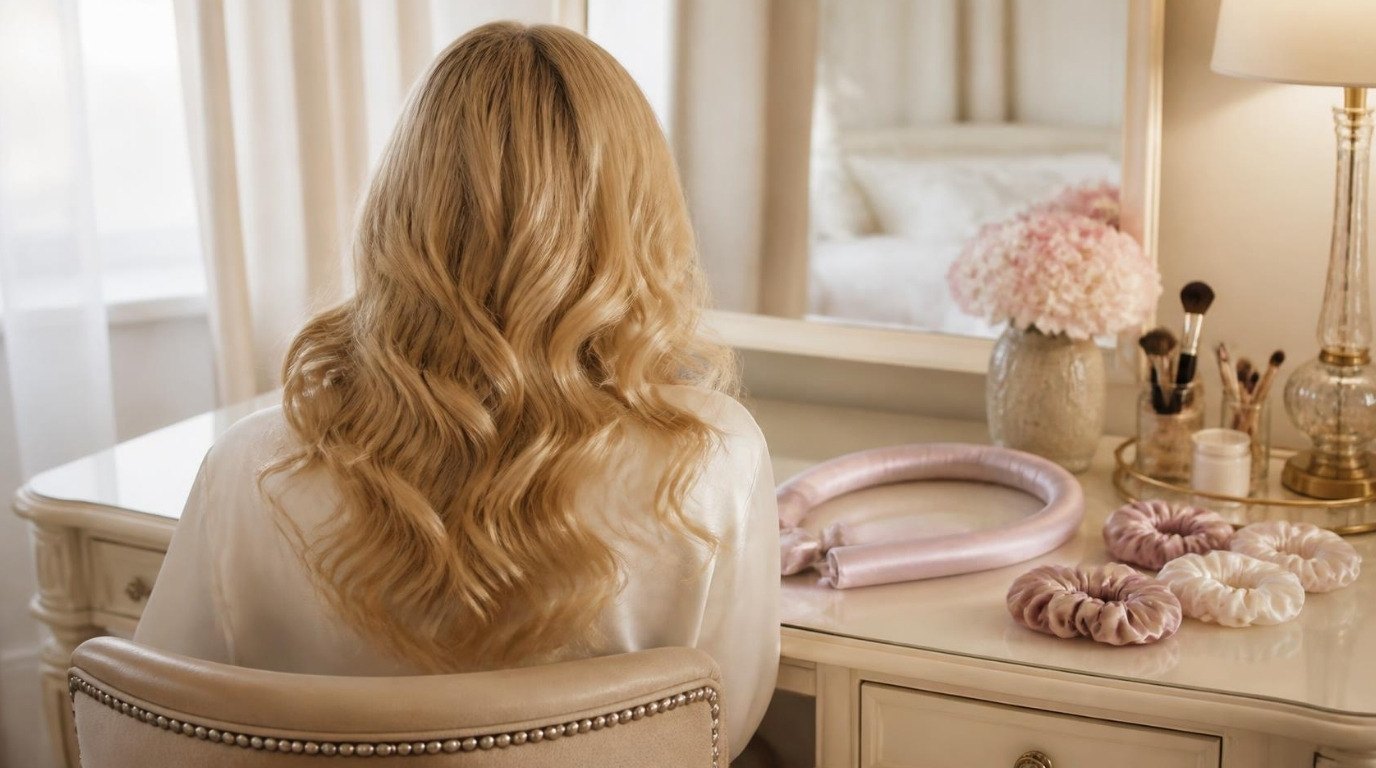
There's something so satisfying about going to bed with a slightly ridiculous-looking head of hair and waking up to soft, bouncy curls. No curling iron, no burnt fingertips, no rushing around at 7 a.m. trying to section hair while your coffee goes cold. Just a little bedtime ritual and a bit of morning magic.
The catch? Not every method works for every head of hair, and some are honestly miserable to sleep on (I'm looking at you, pokey rollers). So instead of another list of "10 ways to get heatless curls," I've ranked the 7 best methods for heatless curls overnight by the things that actually matter: how the curls look, how long they hold, how comfy they are to sleep in, and how much effort they take.
You'll also find a comparison table, a pick-your-method grid by hair length, a quick troubleshooting guide, and the 5-minute next-morning refresh routine that keeps curls looking fresh instead of fluffy.
Before You Start: The 4 Rules of Overnight Heatless Curls
Every method below follows the same basic physics: hair sets in whatever shape it dries in. Get these four things right and almost any method will work.
- Damp, not wet. Aim for hair that's about 80% dry – cool to the touch but not dripping. Soaking-wet hair often won't fully dry overnight, and you wake up with limp, frizzy, slightly damp curls (ask me how I know). Bone-dry hair works too, but the curl is softer and drops faster, so mist it lightly first.
- Product first. A pea-to-golf-ball amount of mousse or a few sprays of setting spray gives the curl something to "remember." On fine hair this is the difference between curls and a vague bend.
- Smaller sections = tighter curls. Big sections give loose waves, small sections give defined ringlets. Decide the look before you start wrapping.
- Give it time. Plan on at least 6–8 hours for damp hair. If you're starting with dry, misted hair, 4 hours can be enough.
For the product step, look for a lightweight volumizing mousse – "lightweight" and "flexible hold" on the label mean the curls won't feel crunchy in the morning. Scrunch it through the mid-lengths and ends, not the roots.
Heatless Curls Overnight: The Comparison Table
Here's the at-a-glance ranking. Hold times are rough guides – fine, straight hair sits at the low end, thick or naturally wavy hair at the high end.
| Method | Result | Typical hold | Sleep comfort | Best hair length | Effort |
|---|---|---|---|---|---|
| 1. Satin curling rod | Big, bouncy blowout curls | 1–2 days | ★★★★★ | Shoulder-length and longer | Low (5 min) |
| 2. Robe or sock curls | Loose, glossy curls | 1–2 days | ★★★★☆ | Shoulder-length and longer | Low (5–7 min) |
| 3. Flexi rods | Defined spiral curls | 2–3 days | ★★★☆☆ | Chin-length to long | Medium (15–20 min) |
| 4. Twist buns | Beachy, undone waves | About 1 day | ★★★★☆ | Shoulder to mid-back | Very low (2 min) |
| 5. Braids | Crimped or soft S-waves | 1–2 days | ★★★★★ | Any length you can braid | Low (5–10 min) |
| 6. Pin curls | Vintage, glamorous curls | 2–3 days | ★★★☆☆ | Short to shoulder-length | High (20–30 min) |
| 7. Foam rollers | Volume and round, bouncy curls | 1–2 days | ★★☆☆☆ | Short to medium | Medium (10–15 min) |
7 Methods for Heatless Curls Overnight, Ranked
1. The Satin Heatless Curling Rod
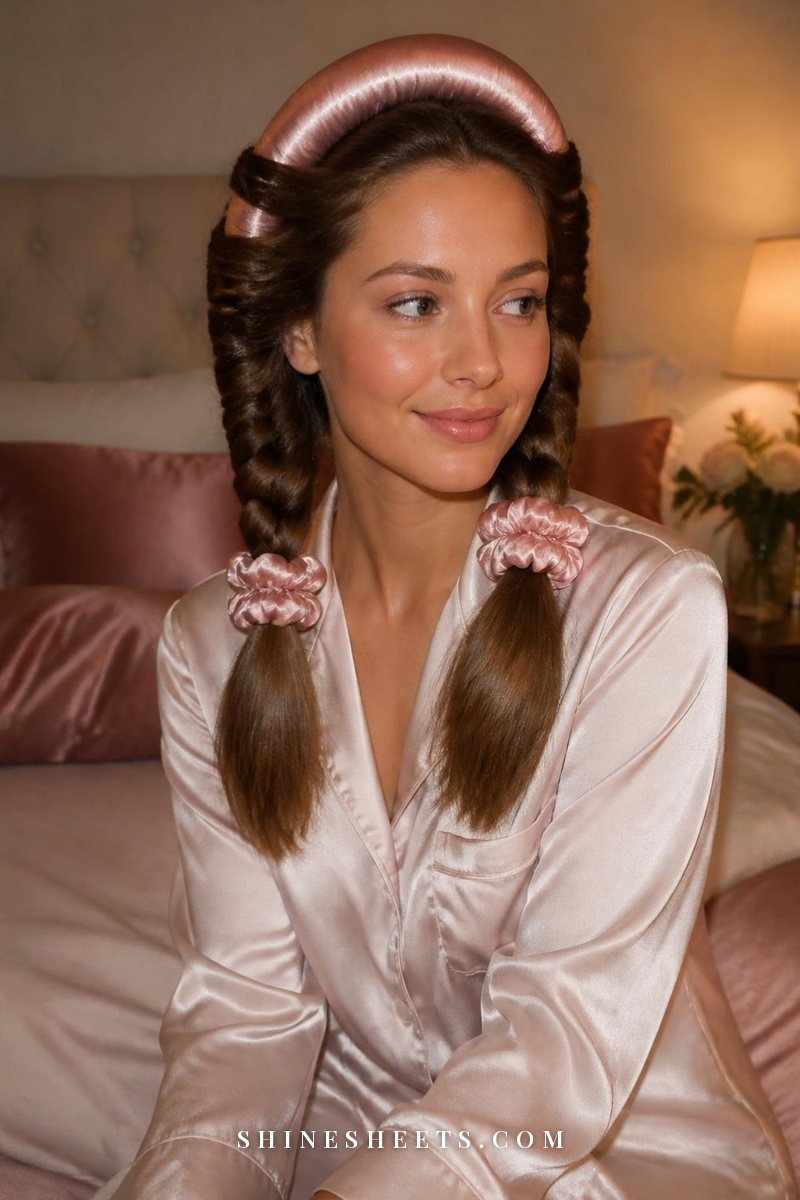
This is the method that made heatless curls go mainstream, and for good reason: it's fast, it's genuinely comfortable to sleep in, and the result looks like a salon blowout with face-framing curls.
How to do it:
- Start with hair about 80% dry, brushed and detangled. Apply mousse to the mid-lengths and ends.
- Place the middle of the rod on top of your head like a headband, ends hanging down by your ears. Clip it in place at the crown.
- Take a 1–2 inch section from the front on one side and wrap it away from your face around the rod. Keep adding a new section of hair each time you wrap, like a loose French braid around the rod.
- When you reach the ends, secure them with a scrunchie. Repeat on the other side.
- Sleep on your back or side – the rod sits on top, so there's nothing hard to lie on.
Look for a pink satin heatless curling rod that comes with its own scrunchies and clips – the satin cover is smoother on hair than foam or cotton, and a longer rod (around 35 inches) suits longer hair.
Amber's tip: The very front pieces tend to curl tightest because they're wrapped first. If you want softer face-framing, start your first section an inch back from your hairline.
2. Robe Belt or Sock Curls
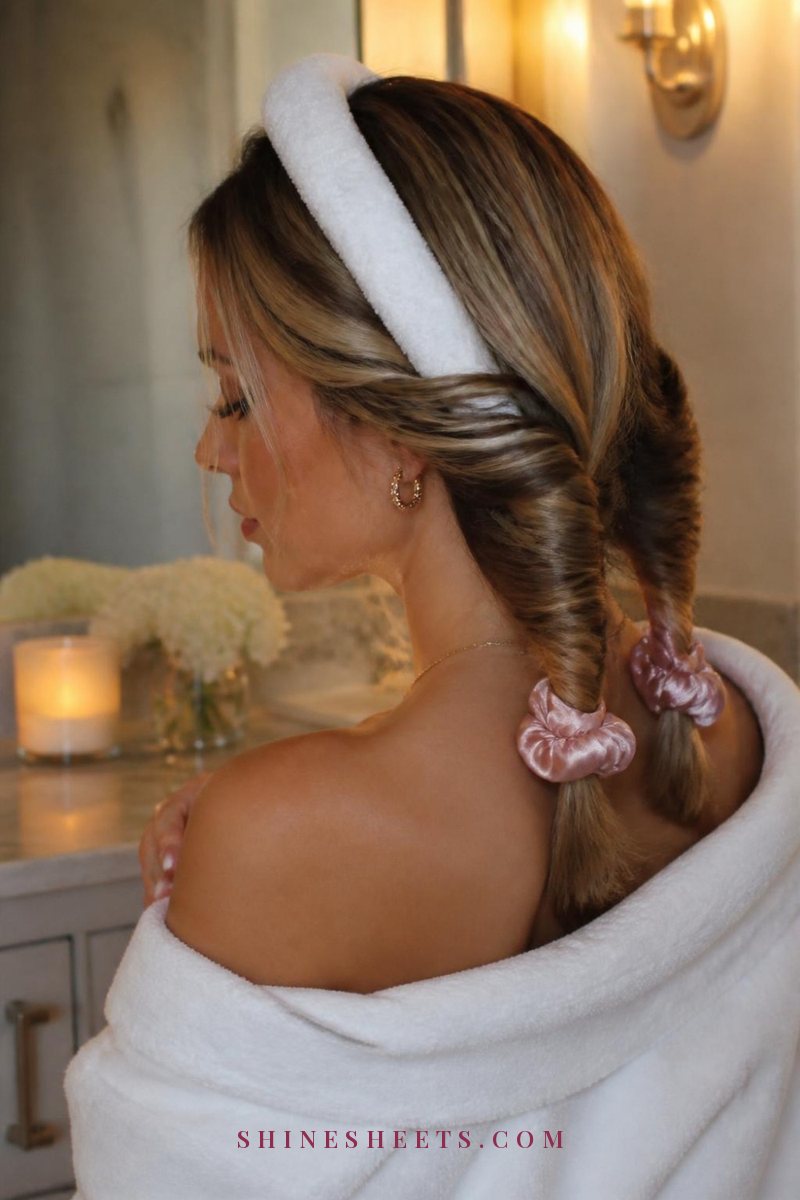
The budget version of method 1, and it works almost as well. A fluffy robe belt or a long, clean tube sock does exactly the job of a curling rod – you probably have one in a drawer right now.
How to do it: Exactly like the curling rod – belt over the top of your head, wrap sections away from your face, secure the ends. For a sock, cut the toe off and roll it into a donut, then use the sock-bun method: put your hair in a high ponytail, slide the ends through the donut and roll it down to your scalp, tucking hair around it as you go.
Best for: trying heatless curls before buying anything. The only downside is that thick terry fabric can rough up the cuticle a little, so finish with a drop of serum in the morning if your hair gets fuzzy.
Wrap the ends with pastel satin scrunchies instead of regular elastics – they grip without leaving that sharp dent in the ends.
3. Flexi Rods
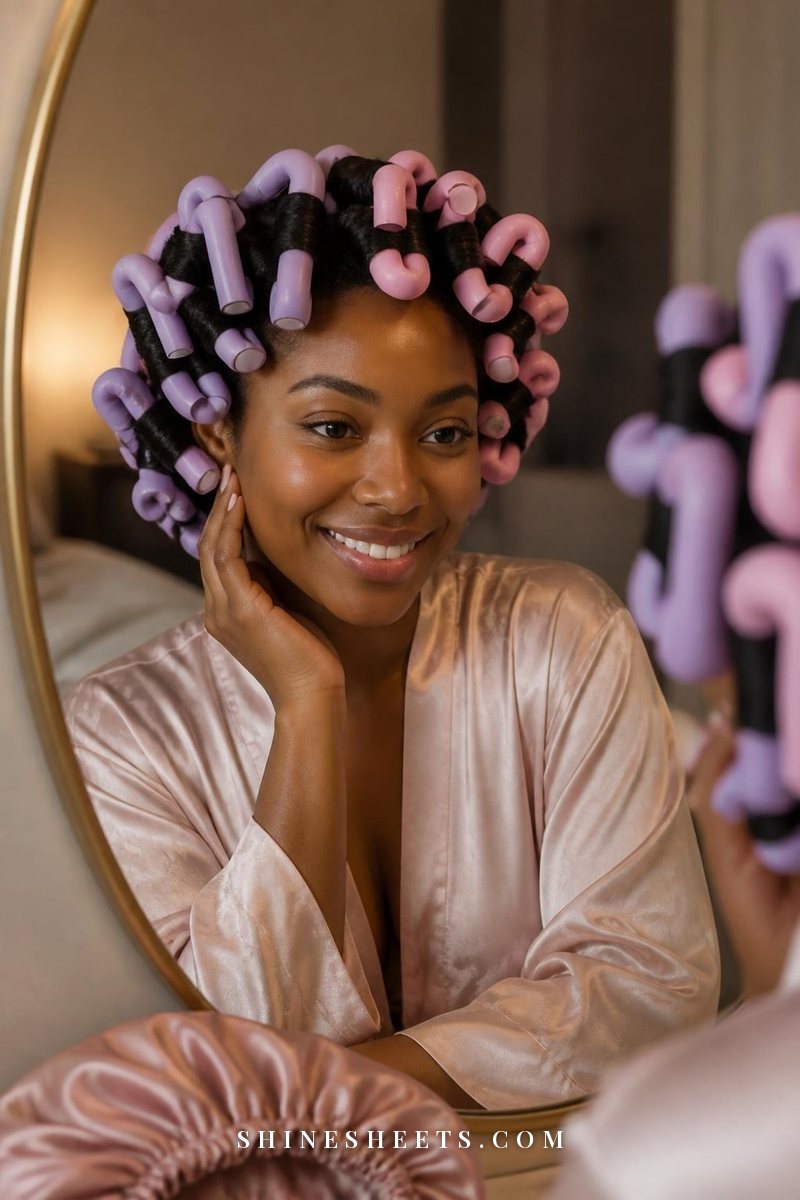
If you want defined spiral curls – the kind that bounce when you walk – flexi rods are the winners. They're bendy foam rods with a wire inside, so you wrap the hair and just fold the ends to lock it in. No clips needed.
How to do it:
- Divide damp, product-coated hair into 1-inch sections (smaller for tighter spirals).
- Hold the rod vertically at the ends of a section and wrap the hair around it, twisting the strand as you go for extra definition.
- Wind up to the root, then bend both ends of the rod into a U shape to lock it.
- Repeat all over. Most heads need 20–40 rods.
Thinner rods = tighter curls, thicker rods = looser curls. A mixed-size set of flexi rods lets you use the thinner ones around your face and the thicker ones at the back.
Comfort note: Lots of rods means lots of lumps. Sleep with a bonnet over them (more on that below) so they don't slide out.
4. Twist Buns
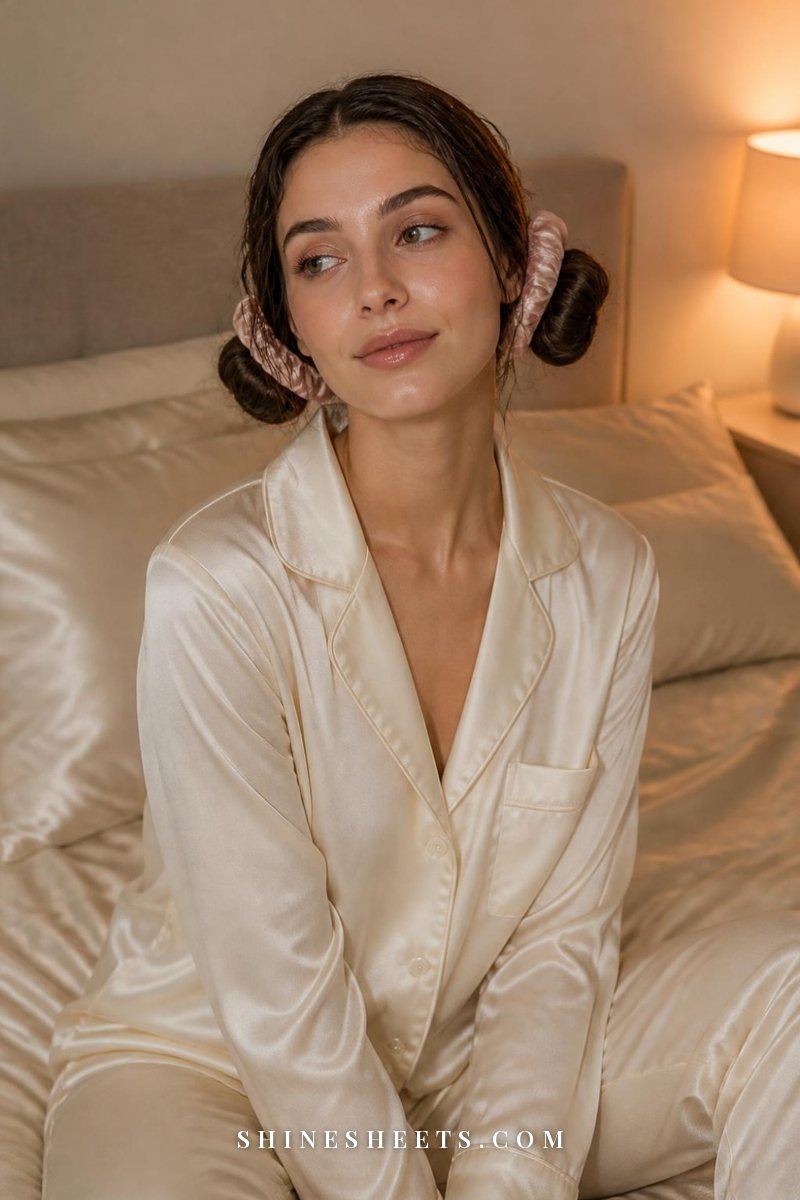
The laziest method on this list, and I mean that lovingly. Two minutes, zero tools, and you wake up with beachy, effortless waves.
How to do it: Split damp hair into two halves. Twist each half tightly away from your face until it starts to coil, then wrap it into a bun at the side of your head (not on top, so you can still lay your head down). Secure each one with a scrunchie.
For more curl: Make 4 smaller twist buns instead of 2. For a looser, more "I just came from the beach" look, keep it to 2 big ones.
This method is gorgeous on naturally wavy hair because it encourages the bend that's already there instead of fighting it.
5. Braids
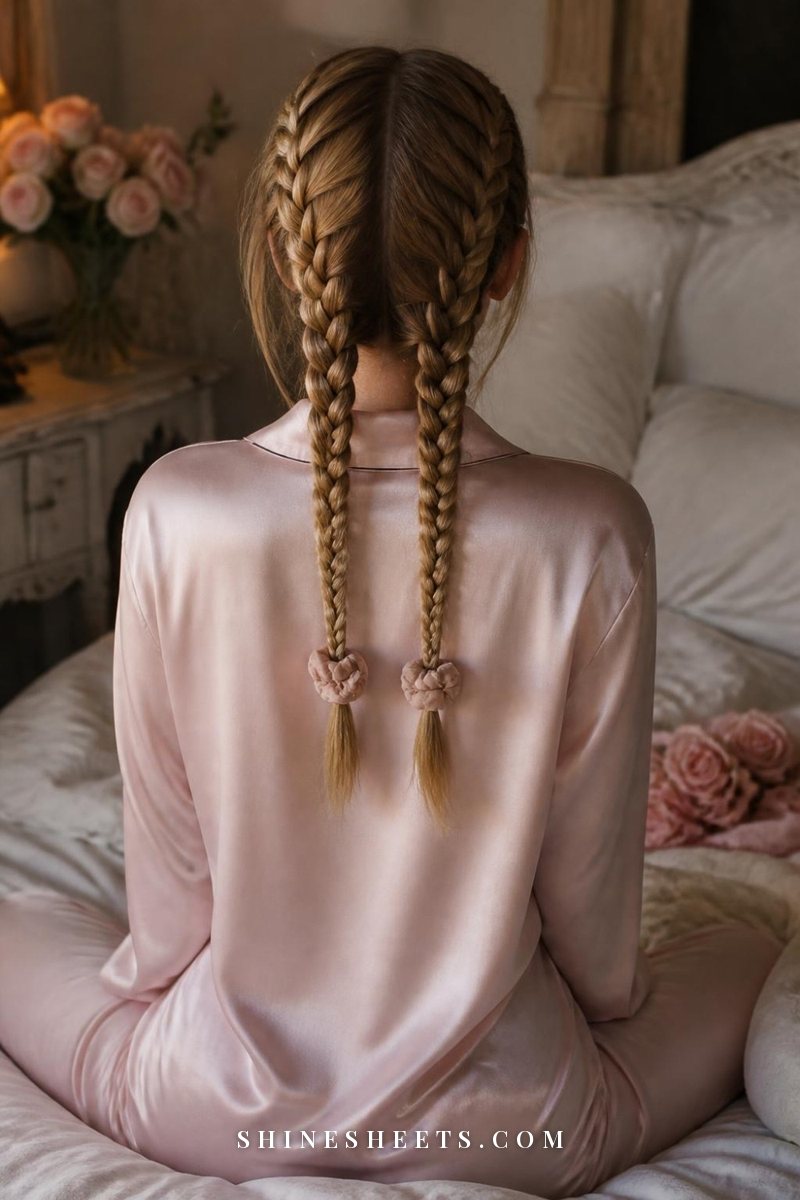
Braids are the most comfortable option of all (it's just your own hair) and the safest bet for beginners, but the result depends a lot on which braid you choose.
- One or two regular braids: Soft, mermaid S-waves. Start the braid at ear level, not at the root, so the top stays smooth.
- Two French or Dutch braids: Waves from root to ends, with more volume at the top.
- Many small braids (6–10): Tight, crimped texture. Great for volume, less "curl" and more "fun party hair."
Amber's tip: The ends below the braid will stay straight. Twist the last 2 inches around your finger and secure them in a pin curl, or wrap them around a scrunchie, so the waves go all the way down.
6. Pin Curls
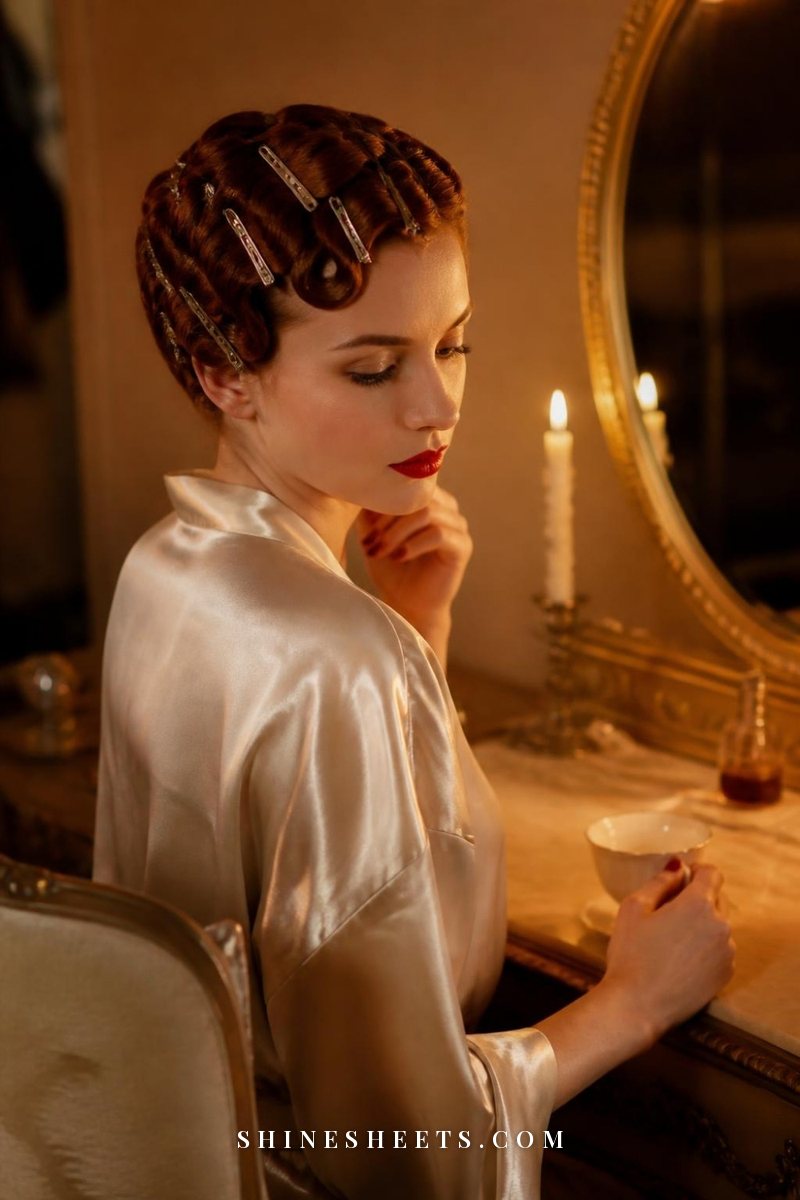
Okay, this is my Old Hollywood heart talking. Pin curls are how the starlets set their hair before a big night, and nothing gives you that glossy, sculpted vintage curl quite like them. They take more time, but they're also the longest-lasting method on the list.
How to do it:
- Work on damp hair with setting spray or mousse.
- Take a 1-inch section, comb it smooth, and wrap it around two fingers from the ends toward the scalp.
- Slide the coil off your fingers, lay it flat against your head, and pin it with a duckbill clip or two crossed bobby pins.
- For a classic look, curl all the sections in the same direction. For a softer, modern wave, alternate directions row by row.
- In the morning, take out the pins, and brush the curls out gently for that glamorous, Veronica Lake-style wave.
I like to do these slowly after my evening tea, with a candle on and a little playlist going – it turns into a lovely 20-minute ritual instead of a chore.
7. Foam Rollers
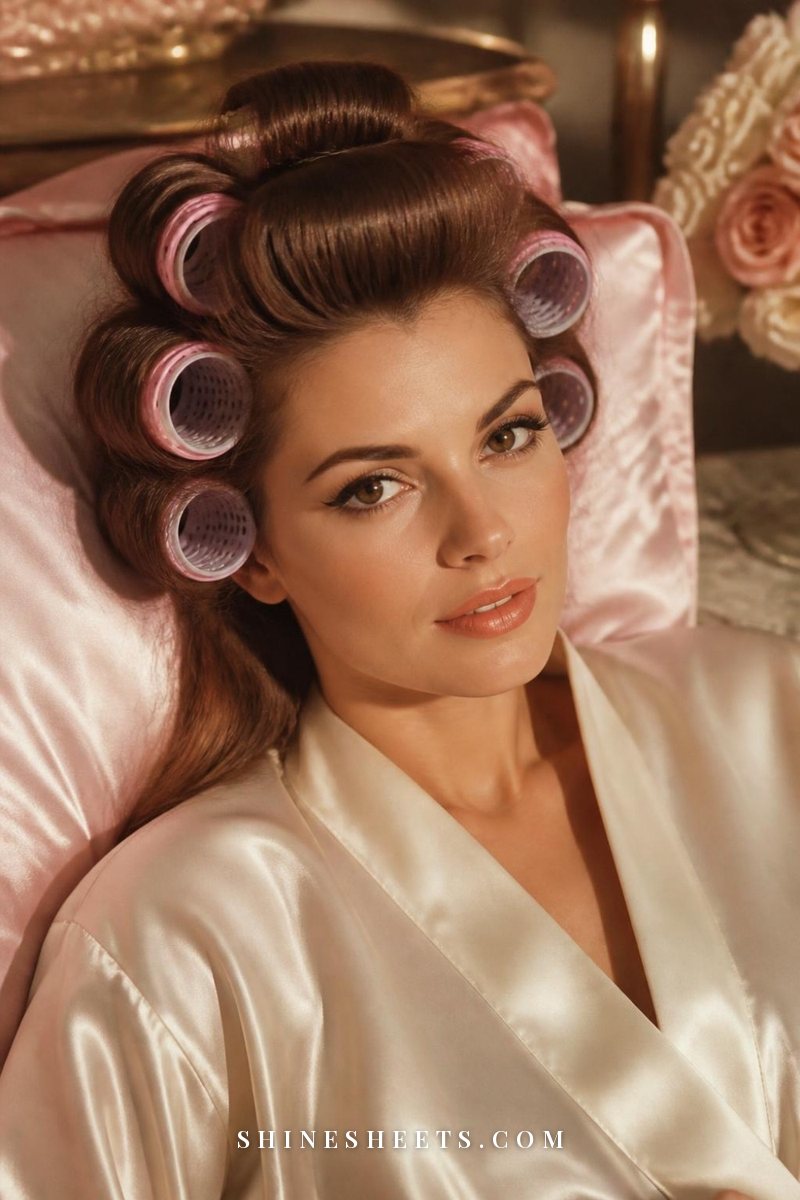
Foam rollers give the most volume of any method here – think big, round, '60s-style curls with lift at the root. They land at number 7 only because they're the least comfortable to sleep on.
How to do it: On damp hair with mousse, take sections about as wide as the roller. Place the roller at the ends, roll down toward the scalp, and snap it shut. For root volume, roll the crown sections back and slightly up, not down.
Soft pastel foam rollers in a medium size are the comfiest choice for sleeping – skip hard plastic or velcro rollers overnight, since they dig in and tangle.
Comfort note: Put the rollers mostly on the crown and sides, and skip the very back of your head so you have somewhere to rest it.
Pick Your Method by Hair Length and Type
Not sure where to start? Find your hair in the left column and try the first pick first.
| Your hair | First pick | Also try | Skip |
|---|---|---|---|
| Short (chin to shoulder) | Pin curls | Foam rollers, small flexi rods | Curling rod (not enough length to wrap) |
| Medium (shoulder to bra strap) | Satin curling rod | Twist buns, flexi rods | Many tiny braids (too crimped) |
| Long (past bra strap) | Satin curling rod | Robe belt, two braids | Foam rollers (hard to fit all the hair) |
| Fine or thin | Flexi rods | Pin curls, foam rollers | Single loose braid (drops by lunch) |
| Thick or heavy | Twist buns (4 small ones) | Robe belt, flexi rods | Big sections on anything – they won't dry |
| Naturally wavy | Twist buns | Braids, satin curling rod | Nothing – almost everything works |
| Layered | Flexi rods | Pin curls | Curling rod (short layers poke out) |
How to Sleep With Heatless Curls (Without Ruining Them)
The setup is only half of it. How you sleep decides whether you wake up with curls or a frizzy, flattened mess.
- Cover it. A bonnet keeps every section in place and stops friction against the pillow. A lavender silk sleep bonnet with a wide, soft band is the most comfortable option – it fits over a curling rod or rollers without pressing on your forehead.
- Swap your pillowcase. If bonnets aren't your thing, a pink satin pillowcase is the next best thing. The slippery surface means less frizz on whatever pieces escape. If frizz is a constant battle for you, my guide to making frizzy hair smooth again has more ideas.
- Sleep on your back or side. Stomach sleepers, the twist bun and braid methods are your friends – they're flat enough to lie on.
- Be kind to your hairline. Wrap snugly, not tightly. Tight styles worn to bed again and again can strain the hair around your hairline, and the American Academy of Dermatology lists rollers worn to bed most of the time and tight braids among styles linked to hair loss. Give your hair a night off between curl sessions, and if a style hurts, loosen it.
Troubleshooting: Why Didn't My Heatless Curls Work?
- Hair was still damp in the morning: You started too wet or used sections that were too thick. Next time, air-dry or rough-dry for 15–20 minutes first, and use smaller sections.
- Curls fell out by noon: Hair was too dry, or there was no product. Add mousse and mist with water before wrapping. Also check out my tips on how to make curls last longer – most of them work for heatless curls too.
- Weird dents or kinks: These come from elastics or clips pressing on the hair. Use satin scrunchies and place clips at the very ends or on the rod, not on the hair itself.
- Front pieces are too tight: Use a wider section at the front, or start wrapping an inch further back.
- Too much volume: Don't brush curls with a regular brush. Separate them with your fingers instead (more on that below).
The 5-Minute Next-Morning Refresh Routine
This is the part most tutorials skip, and it's what makes heatless curls look polished instead of "I slept in this."
- Unwrap gently (1 minute). Unroll, don't pull. Let each curl drop on its own before you touch it.
- Let them cool and settle (1 minute). Give them a minute in the air – curls that settle before you touch them last longer.
- Finger-separate (1 minute). Rub a drop of hair oil or serum between your palms and gently pull each curl apart into 2–3 smaller ones. This is how you get that soft, airy blowout look.
- Add root lift (1 minute). Flip your head over and shake out the roots, or tease the crown lightly. If your roots look flat or a little greasy, a quick puff of dry shampoo fixes both – my post on what to try if your hair gets oily too fast has more tricks.
- Set it (1 minute). Mist with a flexible-hold hairspray from about 12 inches away so it doesn't clump.
Day-two refresh: Re-twist just the face-framing pieces around your finger, clip them for 15 minutes while you do your makeup, then release. They'll look freshly done.
Final Thoughts
The best method for heatless curls overnight is the one you'll actually do on a sleepy Tuesday night. If you're new, start with braids or a robe belt (free!), then move to a satin curling rod or flexi rods once you know what your hair likes. And if you ever want to feel like a 1940s film star, give pin curls a slow, candlelit evening of their own. And if you are wondering whether a smoother pillow helps curls last, I wrote all about whether a silk pillowcase is worth it.
Your hair gets a break from heat (one of the easiest ways to dodge the hair care mistakes that damage hair quickly), you get a few extra minutes in the morning, and you still get to walk out the door with bouncy, gorgeous curls. That's a win in my book.