Strip lashes look tricky, but most first-try disasters come down to two small things: a lash that's too long and stiff for your eye, and glue that goes on wet. Fix those two, and false lashes stop being a fight with your mirror and start feeling like a soft, easy finishing touch.
The good news is that you don't need steady surgeon hands or a drawer full of tools. You need one forgiving pair of lashes, a tiny bit of patience while the glue gets tacky, and a simple order of steps you can repeat until it's muscle memory.
This guide to false lashes for beginners walks you through everything: how to choose your first pair (including tips for hooded eyes), a style table so you can pick the right look, prep, the 7 application steps, glue safety, gentle removal, cleaning and reusing your strips, and the mistakes almost everyone makes at the start.
I have a soft spot for Old Hollywood glamour, and a fluttery lash is the quickest way to borrow a little of it. But the everyday wispy version is the one I'd want every beginner to start with.
What Beginners Should Know Before the First Pair

Before you buy anything, it helps to know how strip lashes actually work. A strip lash is a row of lash fibers attached to a thin band. You glue that band right on top of your own lash line (not on your skin above it, and not underneath your lashes), so the false lashes and your real ones blend into one fuller line.
A few things that make the first attempts much easier:
- Your first try is practice, not a performance. Do it on a quiet evening, not ten minutes before you need to leave. Give yourself 20 minutes and zero pressure.
- Almost every lash needs trimming. Strips are made long on purpose, because eyes come in all sizes. Trimming isn't a sign you bought the wrong pair.
- Tacky glue is the secret. Wet glue slides around. Glue that has waited 30 to 60 seconds grips. That one pause solves most of the "it keeps popping off" problems.
- Natural styles forgive more. A soft, wispy lash hides small placement mistakes. A dramatic, dense one shows every gap.
If eye makeup in general still feels new, my guide to eye makeup for beginners covers five simple looks that pair beautifully with a light strip lash.
How To Choose Your First Strip Lashes
Choosing the right pair does about half the work for you. Here's what to look for, in order of importance.
Pick a Natural, Wispy Style
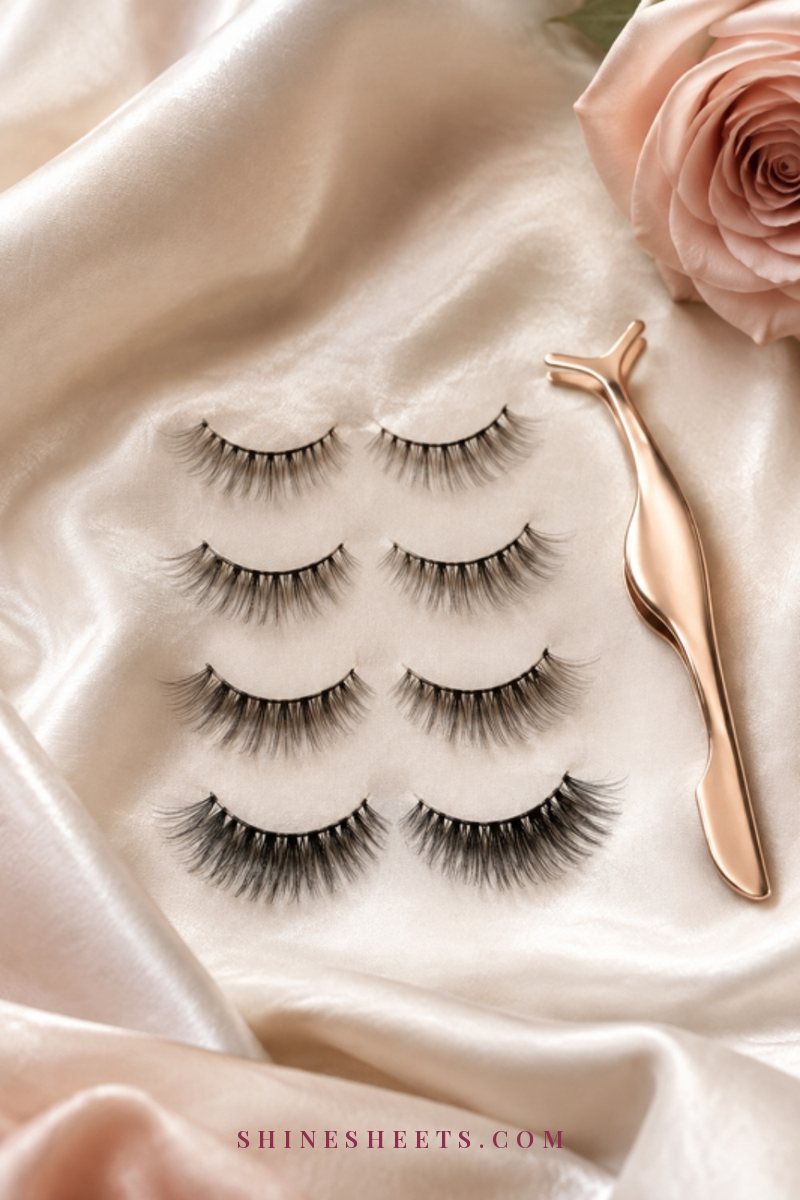
For your first pair, look for lashes described as "natural," "wispy" or "demi." These have fibers of slightly different lengths that criss-cross a little, which looks like real lashes rather than a perfect fringe. A set of wispy natural strip lashes with several pairs in one box is a smart start, because you'll have spares while you practice.
Skip the super dense, very long dramatic styles for now. They're gorgeous for an evening out, but they're heavier, harder to place and much less forgiving.
Look for a Thin, Flexible Band
The band matters more than the lashes themselves. A thin, flexible band (sometimes called a cotton band or invisible band) bends easily to the curve of your eye and feels lighter. A thick, stiff band tends to lift at the corners and can feel scratchy. Gently bend the strip between your fingers when it arrives: if it springs back flat like a ruler, it will need extra softening.
Choose Length for Your Eye Shape
A simple rule: the false lash should be only slightly longer than your own lashes. Short to medium lengths look the most natural on almost everyone. If you have round eyes, a lash that's evenly fluffy across the band keeps things soft. If you have almond eyes, nearly any natural style works. If your eyes are close-set, a lash that gets longer toward the outer corner gently widens the look. Downturned eyes often like a little lift at the outer third.
Tips for Hooded Eyes
Hooded eyes have a fold of skin that covers part of the lid, so long, straight-out lashes can bump into the crease and get flattened (or leave mascara marks). Look for shorter, curled, lightweight lashes, and place them just a hair away from the inner corner. Many people with hooded eyes also like "half lashes" that only cover the outer part of the eye. My makeup tips for hooded eyes go deeper into placement and liner for this eye shape.
False Lash Styles Compared: Which Look Suits You
Here's a quick table to help you choose. Screenshot it before you shop, so you're not guessing in the beauty aisle.
| Lash style | Best for | Eye shape it flatters | How natural it looks |
|---|---|---|---|
| Natural wispy | Everyday, work, first-timers | Almost all eye shapes | Very natural – reads as "good lash day" |
| Half lash (outer corner) | Beginners, hooded eyes, a subtle lift | Hooded, round, close-set | Very natural – barely detectable |
| Doll / even length | Open, wide-eyed look | Almond, deep-set, monolid | Medium – noticeable but soft |
| Cat-eye (longer at the outer end) | Lifting and elongating the eye | Round, close-set, downturned | Medium – flirty, a bit glamorous |
| Volume / dramatic | Evenings, photos, special occasions | Almond, larger eyes | Low – obviously false (on purpose) |
If you're unsure, start at the top of the table. You can always move down later once placement feels easy.
What You Need: A Short, Simple Kit

You don't need much. Here's the whole kit:
- Your lashes. A natural, wispy pair as described above.
- Lash glue. For beginners, I'd choose a clear, latex-free lash glue. Clear glue dries invisible, so small mistakes won't show, and latex-free formulas are a kinder pick if you're prone to sensitivity. Dark glue can look like liner once you're more confident.
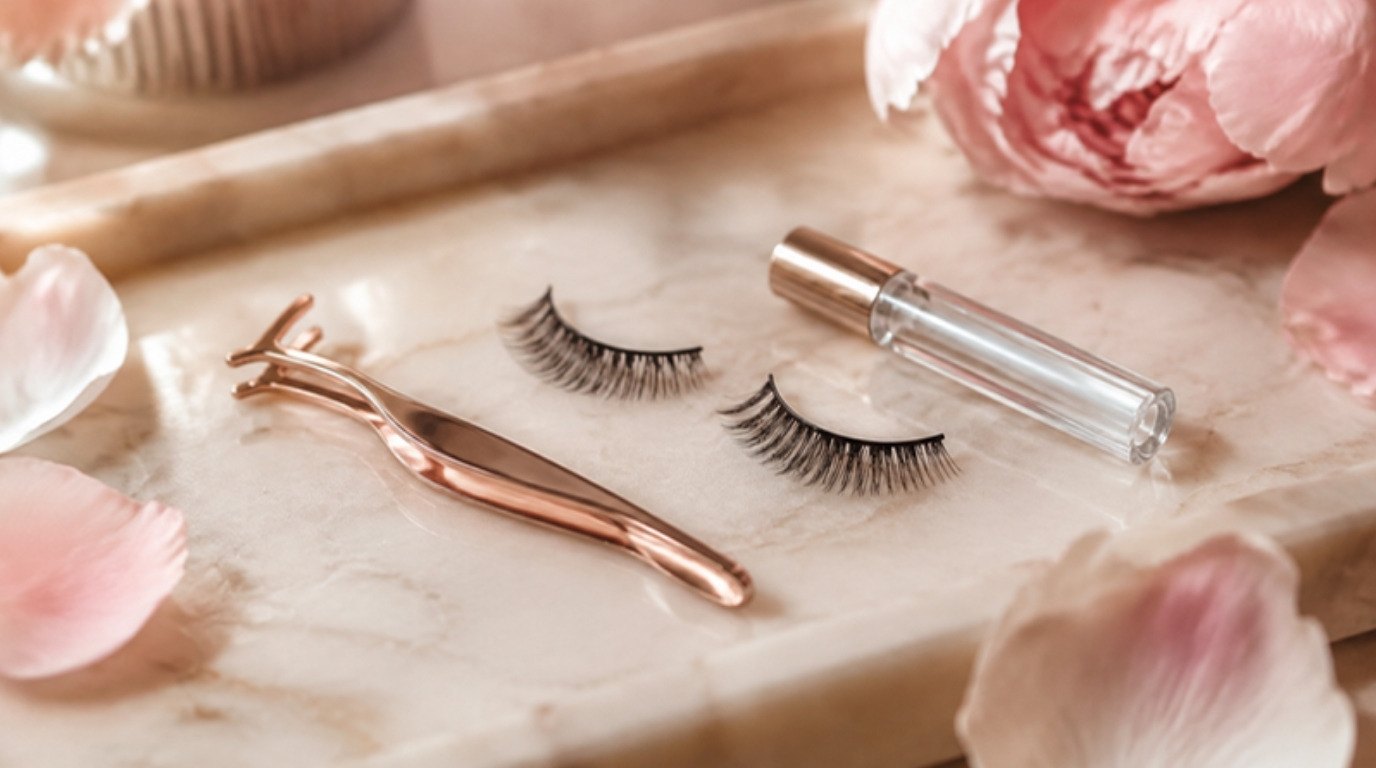
- An applicator or tweezers. A rose gold lash applicator tool with curved tips lets you hold the strip without touching the glue, and press the corners precisely.
- A lash curler. Curling your own lashes first helps them blend into the falsies. A simple rose gold eyelash curler is plenty.
- A small mirror. Looking down into a mirror makes application so much easier (more on that below). A small pink makeup mirror you can lay flat on the table works perfectly.
- Small scissors and a cotton swab. Any clean small scissors for trimming, and a swab to tidy up glue.
Prep Your Natural Lashes First

Prep takes two minutes and makes the biggest difference in how "real" your false lashes look.
- Do the rest of your eye makeup first. Eyeshadow and liner go on before the lashes, so you're not brushing powder over a fresh band.
- Make sure the lid is clean and dry. Oily eye cream or a slick primer right at the lash line can stop glue from gripping. A quick dab with a dry cotton swab helps.
- Curl your natural lashes. Hold the curler at the base for about 5 seconds, then gently once more halfway up. Straight lashes poking out under a curled strip are the number one "they look fake" giveaway.
- Add one light coat of mascara. Just one thin coat, mostly at the roots. It gives the glue something to grab and helps the two sets of lashes blend. (Too much mascara makes the band slide.)
For more on getting the most from your own lashes, my mascara tips cover prep, wand tricks and formulas that hold a curl.
How To Apply Strip Lashes in 7 Steps

Set your mirror flat on a table and look down into it. This position opens your lid naturally, so you can see your lash line clearly without pulling at your skin. Then follow these steps.
1. Measure Against Your Lash Line
Take the lash out of the tray gently, pinching the band from the outer end (pulling the lashes themselves can bend them). Hold it on top of your natural lash line, starting about 2–3 mm away from the inner corner. Notice where it extends past the outer edge of your own lashes.
2. Trim From the Outer Edge
Always trim from the outer edge, never the inner one. The outer end is where the longest lashes usually sit, and the inner end is designed to be short and soft. Snip a little at a time; you can always cut more, but you can't add it back. Trim each lash separately, because your two eyes are rarely the exact same size.
3. Bend the Band To Soften It
Gently curl the band into a C shape between your fingers, or wrap it around the handle of a makeup brush for 10–20 seconds. This shapes it to the curve of your eye, so the corners don't spring up later.
4. Apply a Thin Line of Glue and Wait Until Tacky
Run a thin, even line of glue along the band, adding a tiny bit extra on the inner and outer ends (those are the corners that lift first). Now wait 30 to 60 seconds, until the glue turns slightly see-through and feels tacky. This pause is the most skipped step, and the most important one.
5. Place From the Middle Outward
Hold the lash with your applicator, look down into the mirror and lay the middle of the band onto the middle of your lash line first, as close to your own lashes as you can. Once the middle is in place, gently guide the outer end, then the inner end, into position.
6. Press the Corners With Tweezers or an Applicator
Use the closed tips of your applicator to softly press the band down along your lash line, especially at the inner and outer corners. Then press your natural lashes and the false ones together from underneath for a few seconds, so they hold as one.
7. Blend With Eyeliner or Mascara
Once the glue has set (give it a minute or two), hide any visible band with a thin line of liner on top. A soft brown or black pencil works beautifully for a natural look. If you'd like help with the liner part, my guide on how to apply eyeliner explains several easy styles. You can also add a light touch of mascara at the roots to marry the two sets of lashes, but keep it minimal so the strip stays reusable.
That's it. The first eye may take ten minutes. By the fifth time, both eyes take three.
Lash Glue Safety: Patch Test and Go Gentle

Lash glue sits very close to a delicate area, so a little caution goes a long way. I have combination, sensitive skin, and these are the habits I'd follow every time:
- Patch test first. Before using a new glue near your eyes, dab a tiny amount on your inner arm and leave it for 24 hours. Redness, itching or bumps mean that glue isn't for you.
- Use a small amount. A thin line is all you need. Extra glue doesn't hold better; it just spreads onto your skin.
- Keep glue on the band, not your lash line. If your eyes are sensitive, keep the glue strictly on the strip and set it on top of your lashes, so it touches your skin as little as possible.
- Stop if anything feels wrong. If your eyes sting, water, itch or turn red, gently remove the lashes, rinse with cool water and don't use that glue again. If irritation doesn't settle quickly or your eye feels swollen or painful, check in with a doctor.
- Never share lashes or glue, and close the tube tightly after each use.
The U.S. Food and Drug Administration has a helpful overview of eye cosmetic safety if you'd like to read more about caring for the eye area.
How To Remove False Lashes Gently

Please don't just rip them off at the end of the night. Pulling a strip quickly can take some of your own lashes with it, and it bends the band. Here's the gentle way:
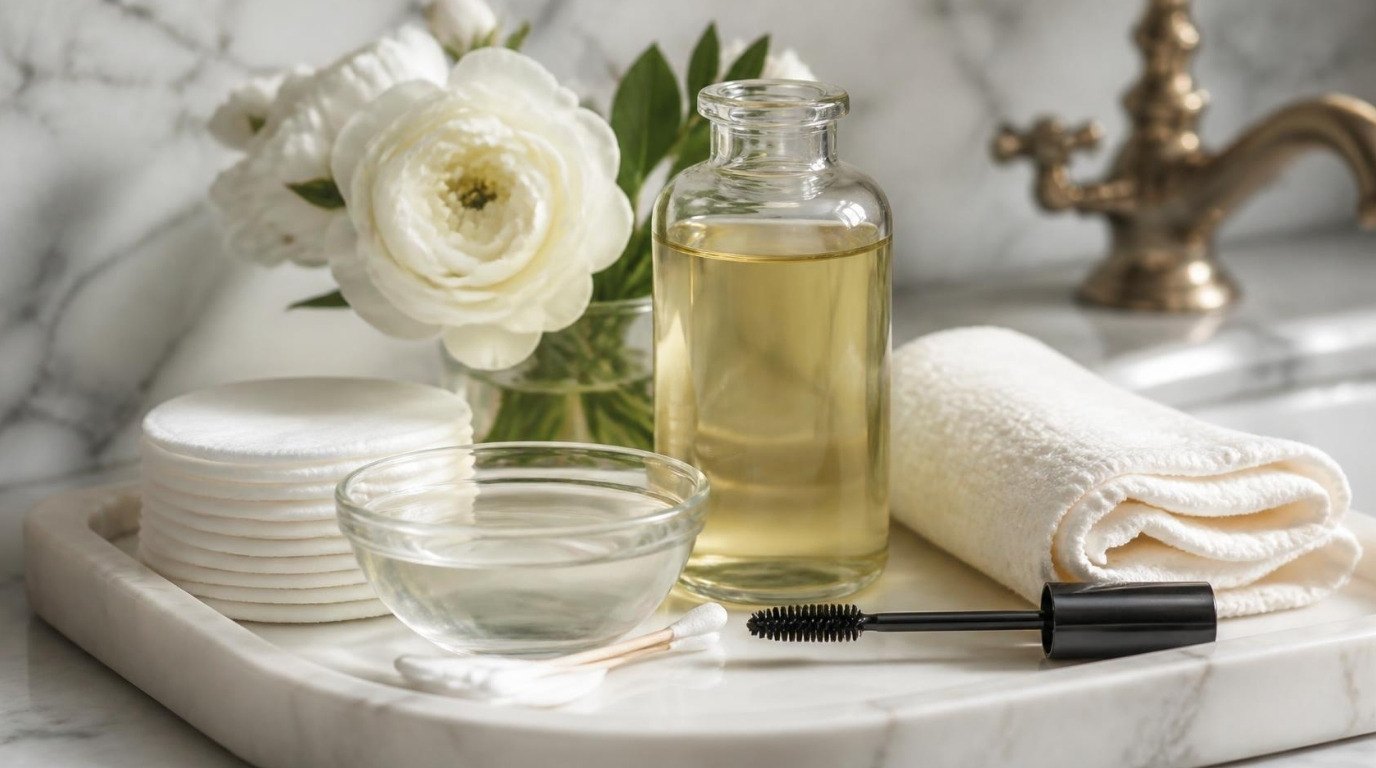
- Soften the glue. Soak a cotton pad or swab in an oil-based remover and hold it against the lash line for 20–30 seconds. A gentle cleansing oil (the classic Korean cleansing oils are a good pick here) melts glue and mascara at the same time.
- Peel from the outer corner. Hold the outer end of the band and slowly peel inward, toward your nose. If you feel any tug, add more oil and wait a little longer.
- Cleanse the lash line. Wipe away leftover glue and mascara with a fresh oily pad, then wash your face as usual.
If you wore waterproof mascara underneath, my guide on how to remove waterproof mascara has three gentle methods that won't leave you rubbing your eyes.
How To Clean and Reuse Your Strip Lashes

A good pair of strip lashes can often be worn several times (many last five to ten wears with care), which makes them much kinder to your budget.
- Peel off the old glue. Once the lash is off, use your fingers or the applicator to gently pull the dried glue strip away from the band, starting at one end. It usually comes off in one piece.
- Remove mascara. Dip a cotton swab in a little oil-based remover or micellar water and roll it gently along the lashes from band to tip.
- Let them dry. Lay them flat on a clean tissue for a few minutes.
- Store them in their tray. Put each lash back into its original curved tray (or a lash case) so it keeps its shape and stays clean.
- Know when to let go. If the band is bent out of shape, the fibers look frizzy or the lashes ever caused irritation, toss them and open a fresh pair.
7 Common False Lash Mistakes (and Easy Fixes)
Every single one of these is normal at the start. Here's how to fix them:
- Applying wet glue. The lash slides and won't stay. Fix: count to 30 (or 60) before placing.
- Skipping the trim. The outer end pokes into your eye or droops. Fix: measure every time and trim from the outer edge.
- Placing it too close to the inner corner. It feels scratchy and makes you blink. Fix: start 2–3 mm out from the inner corner.
- Gluing it onto the lid, above the lash line. You'll see a gap between your lashes and the strip. Fix: lay the band right on top of your own lashes, as close to the roots as you can.
- Forgetting to curl your own lashes. Two layers of lashes point in different directions. Fix: curl, then one light coat of mascara before applying.
- Choosing a style that's too long or heavy. It looks costume-like and weighs your eye down. Fix: go shorter, wispier and lighter until you're confident.
- Pulling them off dry. You lose natural lashes and ruin the strip. Fix: soften with oil first, then peel from the outer corner.
And one bonus permission: if one eye goes on perfectly and the other refuses, take a break, have a sip of tea and try again. Nobody's eyes match perfectly anyway.
Final Thoughts
False lashes don't have to feel like a high-stakes skill. Pick a soft, natural pair, give the glue its little pause, place from the middle outward and be kind to your eyes when you take them off. A few relaxed practice evenings are all it takes.
Before long, you'll reach for a strip lash the way you'd reach for a favorite lipstick: easily, quickly and with a small, happy flutter every time you blink.