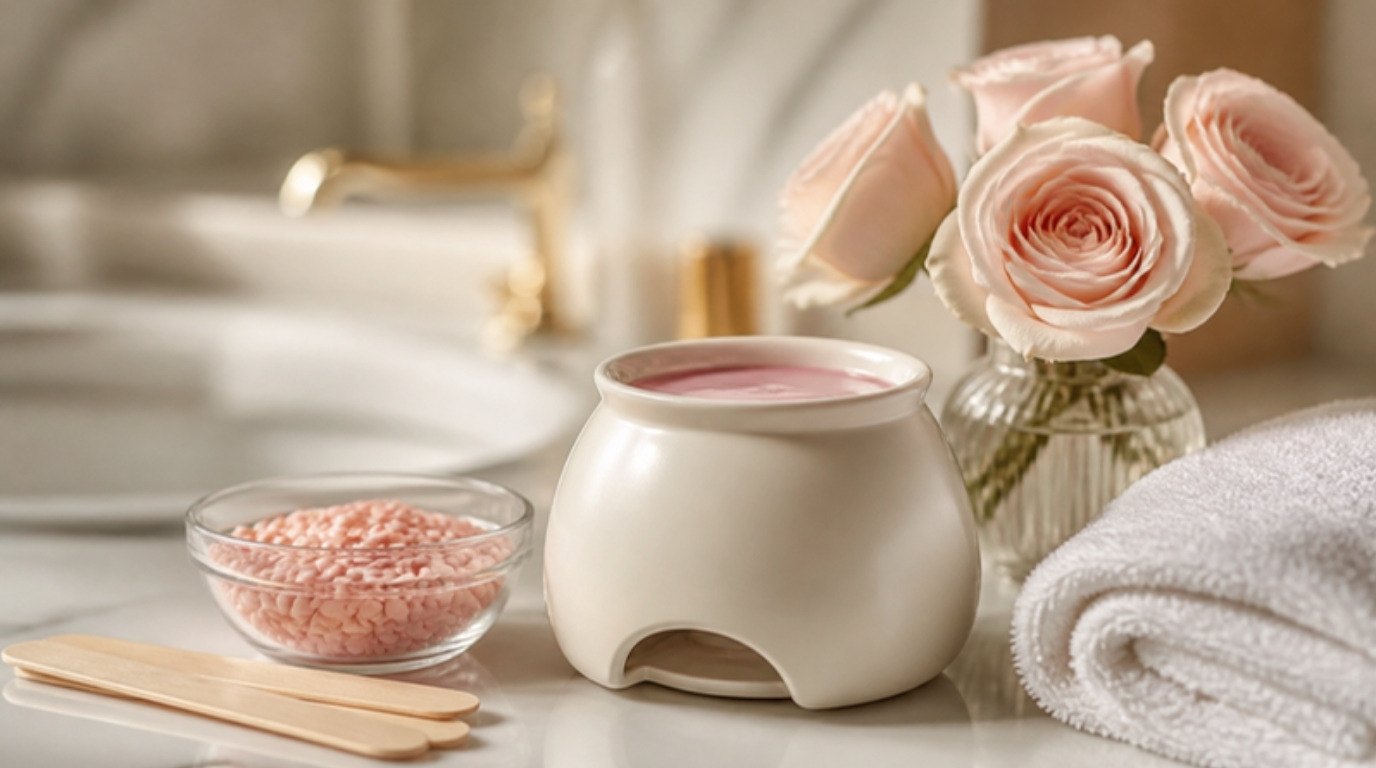
Waxing at home hurts a lot less when you get three small things right: the hair length, the wax temperature and the angle of the pull. Most of the "I'll never do that again" stories come from skipping one of them, not from waxing itself being unbearable.
The good news is that all three are easy to learn. With a calm setup, the right type of wax for each area and a bit of patience the first time, you can get smooth legs and underarms that last for weeks, without booking an appointment.
This beginner's guide on how to wax at home covers the four types of wax and where each works best, a wax-by-area table, how to prep your skin the day before, a step-by-step method for legs, underarms, upper lip and brows, low-pain tips, aftercare and who should skip home waxing. Go slowly, be kind to your skin, and remember that your first session is practice, not a test.
The 4 Types of Wax (and What Each Does Best)
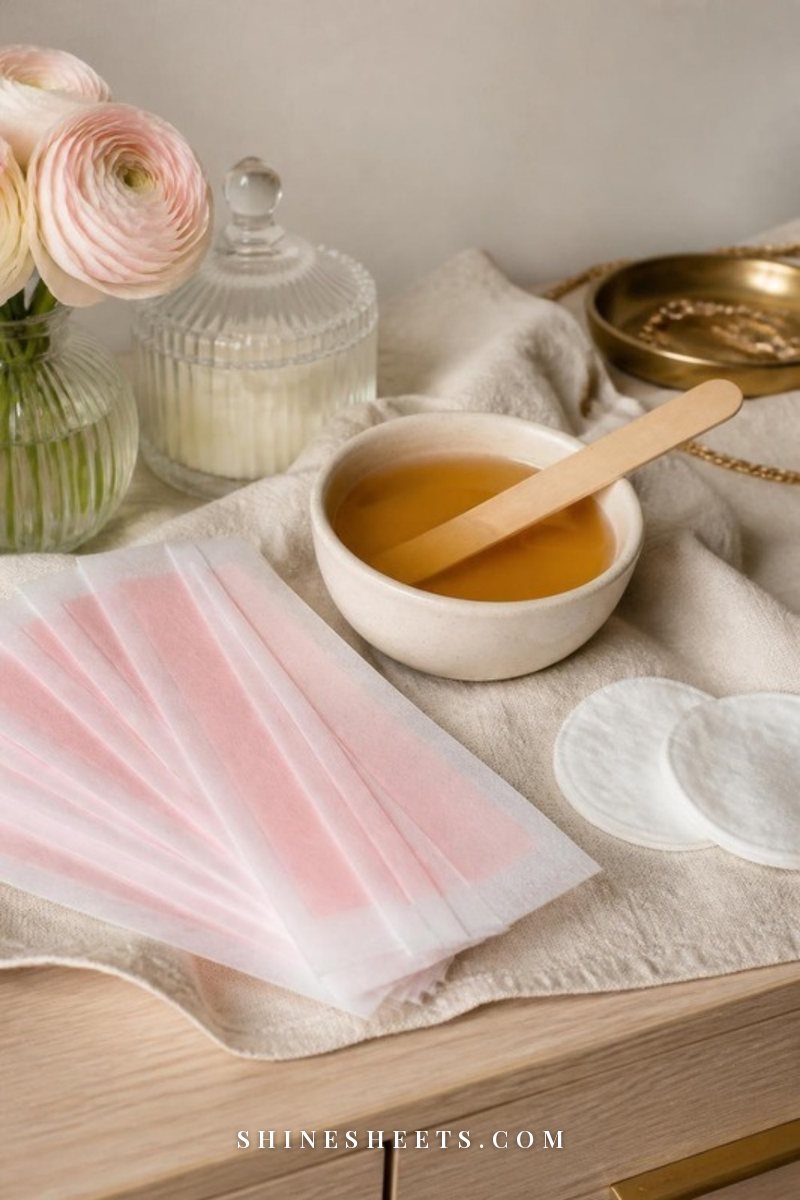
Walk down any beauty aisle and the choices look endless, but almost every option falls into one of four groups.
Hard Wax
Hard wax (often sold as small beads) is melted, spread in a thick layer and left to set for about 30–60 seconds. It hardens around the hair, and you lift it off by its edge without any cloth strip. Because it grips the hair more than the skin, it's the gentlest option for small, sensitive areas like underarms, upper lip and brows.
A hard wax kit with a small warmer and beads is the easiest place to start if you plan to wax regularly. Look for a warmer with an adjustable temperature dial and beads made for sensitive skin.
Soft (Strip) Wax
Soft wax is spread in a thin layer, covered with a cloth or paper strip and pulled off quickly. It's fast for big areas like legs and arms, but it sticks to the skin as well as the hair, so it can feel harsher on delicate spots. It also needs a bit of practice to spread evenly.
Pre-Made Wax Strips

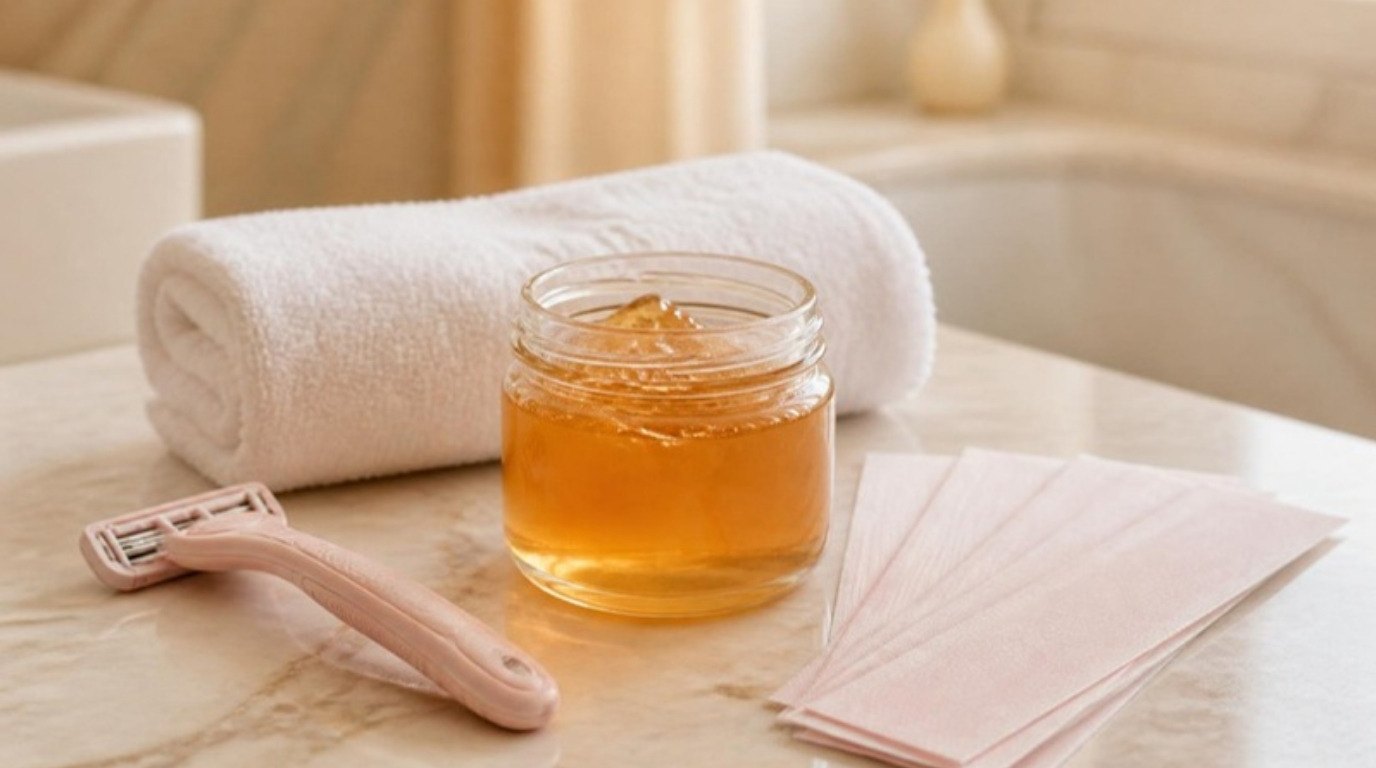
Pre-made strips come with a thin layer of wax already on them. You warm them between your palms for a few seconds, peel them apart, press and pull. No heating, no mess, no equipment.
They're the friendliest choice for a true first try, especially on legs. Ready-to-use wax strips for legs are also lovely to keep for quick touch-ups between full sessions. The trade-off: they grip short or coarse hair less reliably, so you may need to go over a spot twice.
Sugaring
Sugaring paste is a thick, sticky paste that's worked against the direction of hair growth and flicked off in the direction of growth. Many people with sensitive skin find it gentler, and any residue rinses off with warm water. It does have a learning curve (the flicking motion takes a few tries), so expect your first sessions to be slower.
Which Wax for Which Area: A Simple Table
This is the table to keep nearby the first few times. Screenshot it and you won't have to guess.
| Area | Best wax | Also works | Beginner tip |
|---|---|---|---|
| Lower legs | Pre-made strips or soft wax | Hard wax, sugaring | Work in small sections from ankle to knee; hair often grows in different directions on the back of the leg. |
| Thighs | Soft wax or pre-made strips | Sugaring | Sit with your leg relaxed and slightly bent so the skin stays smooth and taut. |
| Underarms | Hard wax | Sugaring | Hair grows in two or three directions here, so wax in two or three small patches. |
| Upper lip | Hard wax | Small face strips | Do each side separately and press the skin with your tongue from inside to keep it firm. |
| Brows | Hard wax | Small face strips | Only tidy stray hairs below the brow; leave shaping and the area near the eye to a professional. |
| Arms | Soft wax or pre-made strips | Sugaring | Forearm hair is fine, so make sure it's long enough before you start. |
The bikini area is the one place where a professional appointment is genuinely easier and kinder to your skin, so this guide sticks to legs, underarms, upper lip and brows.
Is Your Hair Long Enough To Wax?
Hair should be about 1/4 inch long, roughly the length of a grain of rice. That usually means two to three weeks of growth after shaving.
- Too short and the wax can't grab it, so you'll pull at your skin with little result.
- Too long (over about 1/2 inch) and the pull hurts more and hairs are more likely to break. Trim long hair with small scissors or an electric trimmer to about 1/4 inch first.
If you're switching from shaving, the in-between weeks can feel a bit awkward. That's normal, and it gets easier with every session as the hair grows back finer for many people.
How To Prep Your Skin 24 Hours Before
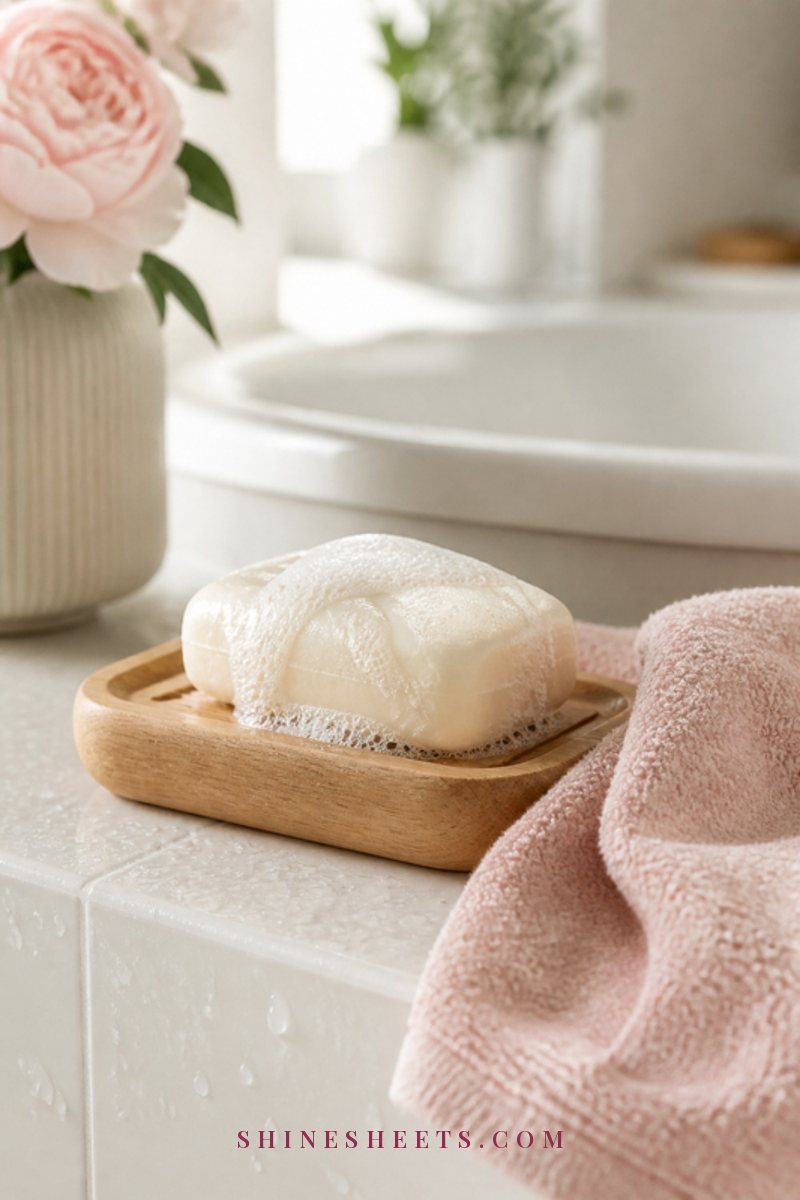
Good prep makes the wax grip better, lowers the sting and helps prevent ingrown hairs later.
- Exfoliate gently the day before. In the shower, go over the area with an exfoliating mitt in light circles for about 30 seconds. Skip harsh scrubs, and skip the face entirely if your skin is sensitive. My guide on how to exfoliate your body has more on doing this without irritation.
- Pause active ingredients. Stop using retinoids, retinol, and strong acids (AHAs, BHAs) on the area for about a week before waxing. These thin the top layer of skin, and wax can lift it.
- Skip the moisturizer on waxing day. Wax doesn't grip oily or lotioned skin well. Moisturize the night before instead.
- Cleanse and dry. Right before you start, wipe the area with a pre-wax cleanser (or a gentle soap and water) and pat completely dry.
- Dust with a little powder. A light layer of plain cornstarch-based or talc-free body powder absorbs moisture so the wax grabs the hair, not the skin. This is especially helpful for underarms.
Patch test first: the day before, apply a small amount of wax to a coin-sized spot on your inner arm or lower leg, remove it and wait 24 hours. If you see redness that doesn't fade, bumps or itching, don't wax with that product.
Do the Temperature Test Every Single Time
This step takes ten seconds and prevents the one waxing mistake that can actually hurt your skin: a burn.
Once your wax is melted, scoop a little onto a spatula and dab a tiny amount on your inner wrist. It should feel warm and comfortable, like a hot drink you can sip, never hot or stinging. Hard wax should be the texture of thick honey; if it's runny, it's too hot. Lower the heat, stir and test again.
Test every time you start, and again if you've left the wax heating for a while. Microwavable wax heats unevenly, so stir well before testing.
How To Wax at Home: Step by Step

Set up before you start: wax, a handful of wooden spatulas (a fresh one each time it touches skin), a clean towel, small scissors, tweezers for strays and a soothing product for after. Good light helps more than you'd think.
The basic method is the same everywhere:
- Check the direction of growth. Look closely or run your hand over the hair. Note it, because it changes on different parts of the leg and underarm.
- Apply with the growth. Spread the wax in the same direction the hair grows. Hard wax: about the thickness of a coin, with a thicker "lip" at one end to grip. Soft wax: a thin, even layer.
- Hold the skin taut. With your free hand, gently pull the skin flat just behind the area you'll pull. This is the single biggest pain reducer.
- Pull against the growth, quickly and low. Remove the wax in one fast motion, keeping your hand close and parallel to the skin, never straight up.
- Press right away. Place your palm on the area for a few seconds. The pressure calms the sting.
- Don't go over the same spot more than twice. Tweeze any leftovers instead.
Waxing Your Legs
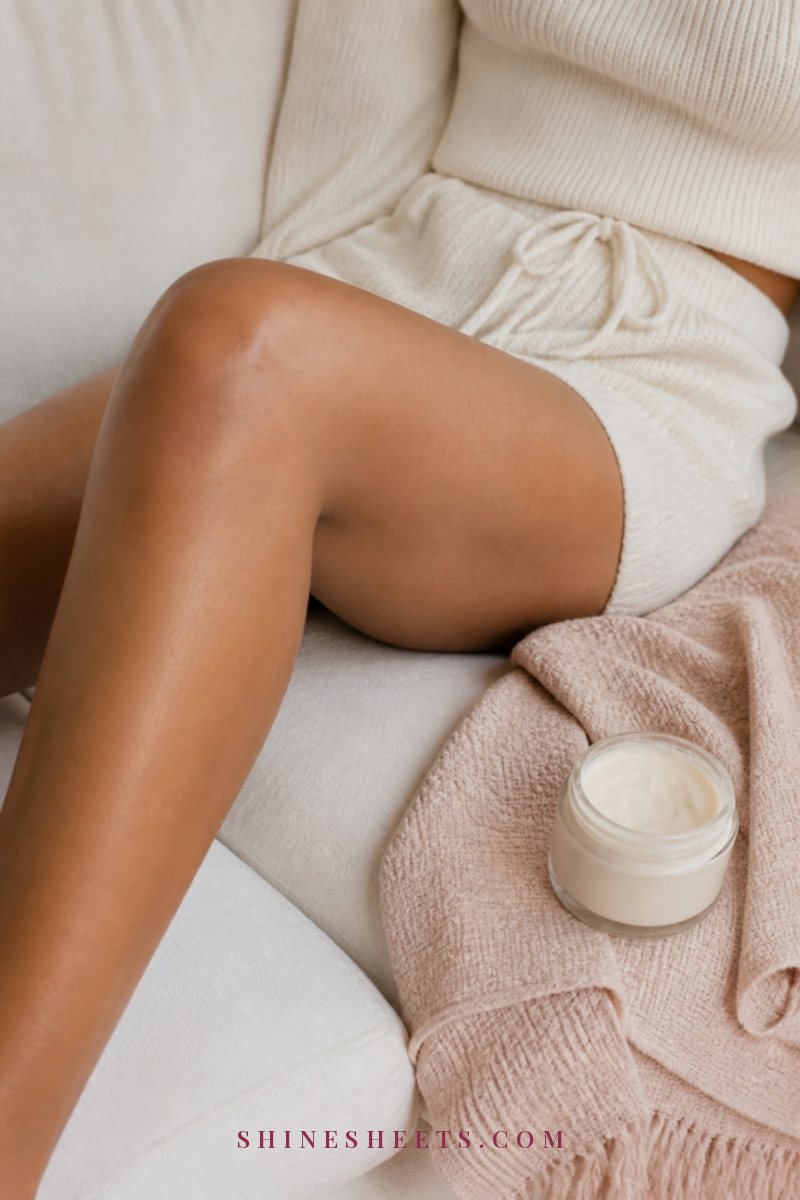
Sit on a towel on the floor or the edge of the bath with your leg relaxed. Start at the ankle and work up toward the knee in strips about 2 inches wide and 4–5 inches long. For the back of the leg, the hair often grows sideways or downward, so check each section before you apply.
Knees are tricky: bend the leg slightly to keep the skin taut and use smaller strips. Thighs are easiest sitting with the leg bent and relaxed. Plan on 30–45 minutes for both legs the first time; it gets faster.
Waxing Your Underarms
Underarm hair grows in several directions, usually up, down and sideways. Raise your arm and rest your hand behind your head to stretch the skin. Divide the area into two or three small patches and use hard wax on each one, following the growth.
The skin here is thin, so work in small sections, keep the skin very taut and don't re-wax the same patch. Expect some pinkness for an hour or two.
Upper Lip and Brows

For the upper lip, use hard wax or small face strips and do one side at a time, from the center outward. Press your tongue against the inside of your lip to keep the skin firm, and pull toward the center quickly.
For brows, only tidy stray hairs underneath the brow line, well away from the eye. Brush the brows up first with a spoolie, apply a very small amount of hard wax with the tip of a thin spatula, let it set and lift. If you want real shaping, that's a job for a brow professional; a slip with wax near the brow is hard to undo.
Low-Pain Tips That Actually Help
Waxing will never be painless, but it can be far less uncomfortable than you expect.
- Breathe out as you pull. Inhale as you get ready, then pull on a slow exhale. It sounds small, and it really does take the edge off.
- Pull fast. Hesitating or pulling slowly hurts more. Commit to one quick motion.
- Keep skin taut, always. Loose skin moves with the wax and stings.
- Avoid the days right before your period. Many people find skin more sensitive then.
- Skip extra coffee beforehand. Caffeine can make some people feel more on edge, and you want to be relaxed.
- Numbing products: only if the label allows. Some over-the-counter numbing creams are meant for use before waxing. Use them only exactly as the label says, and never on broken skin.
- Make it calm. Warm room, a candle, a favorite playlist. A relaxed body tenses less, and less tension means less sting.
Aftercare: The First 24 Hours
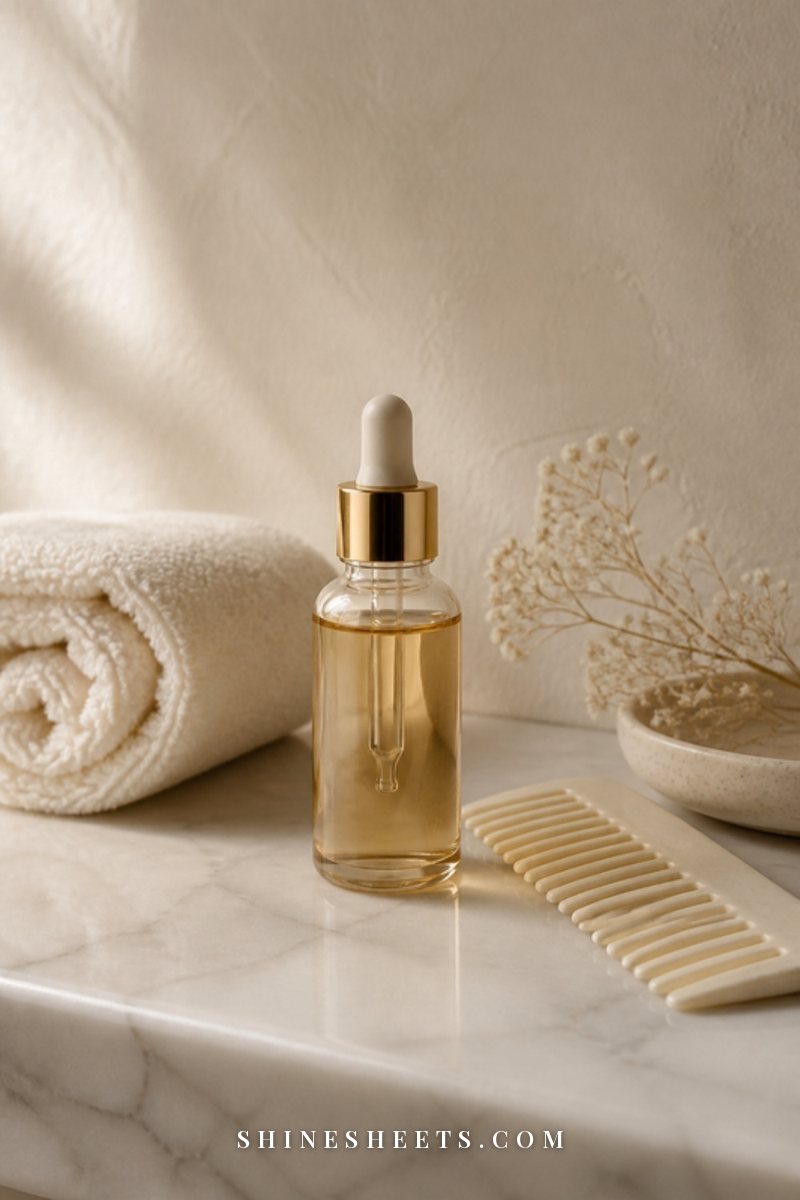
Freshly waxed skin is a little more open and sensitive, so treat it gently for a day.
- Remove leftover wax. Use the post-wax oil from your kit or a plain body oil on a cotton pad. Don't scrub it off with soap.
- Soothe. Smooth on a thin layer of an after-wax soothing oil or a fragrance-free aloe gel. A cool, damp cloth for a couple of minutes helps with redness.
- For 24 hours, skip: hot showers and baths, saunas, sun and tanning, workouts that make you sweat, swimming pools, tight clothing on the area, deodorant on freshly waxed underarms (wait until the next morning if you can) and anything fragranced.
- Don't touch or pick. Little red bumps usually settle within a day or two.
- Moisturize from day two. A gentle, unscented lotion keeps skin soft. My body care routine guide has an easy weekly rhythm to fit it into.
Expect results to last around three to six weeks, depending on how fast your hair grows. Many people find regrowth gets finer and slower over time.
How To Prevent Ingrown Hairs After Waxing
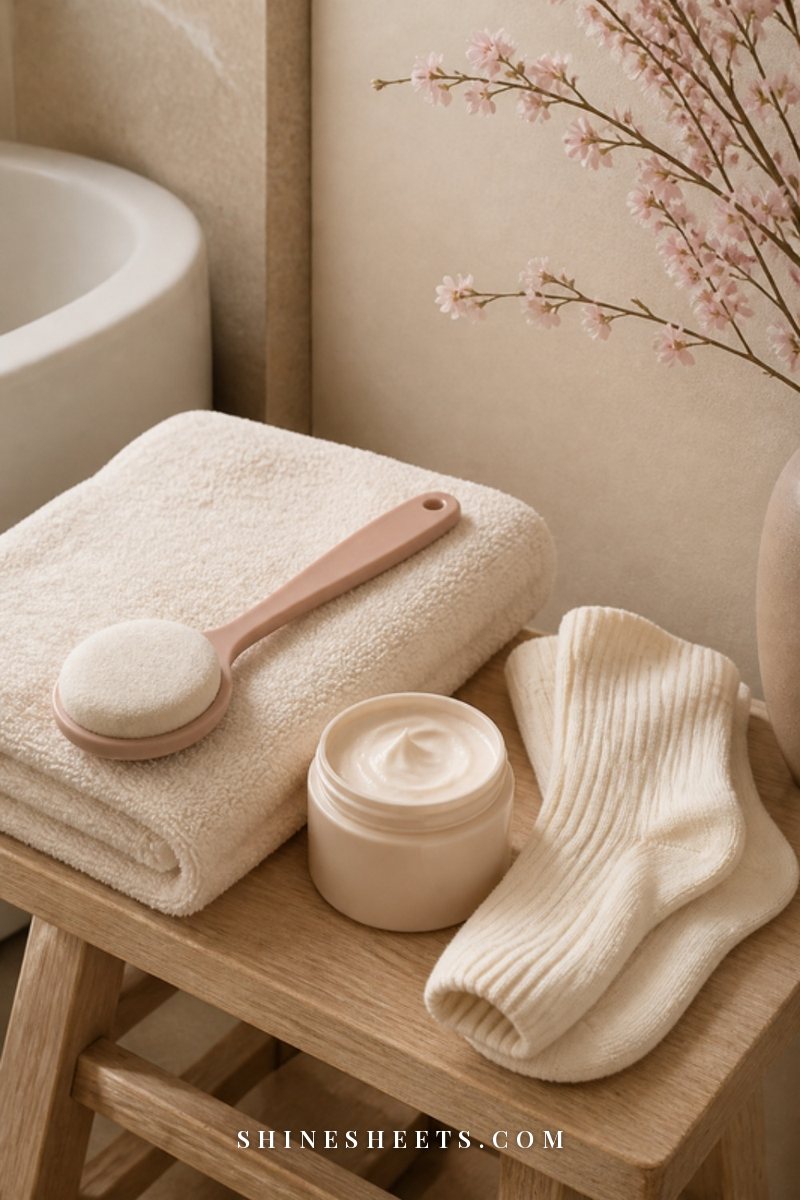
Ingrown hairs happen when a regrowing hair curls back under the skin. A few habits keep them to a minimum:
- Start exfoliating again after 48 hours, then gently two or three times a week.
- Moisturize daily so the skin stays soft enough for hairs to grow through.
- Wear loose clothing for a day or two after waxing, especially on legs.
- Don't dig at them. A warm compress for a few minutes can help a trapped hair surface on its own.
If you get them often, my guide on how to get rid of ingrown hairs goes into more detail. And if dark dots on your legs are what bothers you most, the article on strawberry legs explains what causes them and what helps.
Who Should Skip Waxing at Home
Waxing isn't right for every skin on every day. Please skip it, or check with a doctor or dermatologist first, if any of these apply:
- You use topical retinoids or strong acids on the area (pause for about a week first).
- You take, or recently finished, prescription acne medication by mouth. Ask your doctor how long to wait.
- You have a sunburn, a rash, cuts, broken or irritated skin, or active breakouts on the area.
- You have diabetes or poor circulation, as skin can heal more slowly; ask your doctor before waxing.
- You have varicose veins, moles or skin tags in the area (work around them, never over them).
- You're pregnant and your skin has become more sensitive; a gentle method or a professional may be kinder.
If you notice a burn, blistering, or redness and swelling that gets worse instead of better after a day or two, see a doctor. And if waxing never seems to agree with your skin, there are other options; my overview of body hair removal options compares them side by side.
How Often Should You Wax?
Most people wax legs and underarms every three to six weeks, and the upper lip every three to four weeks. A simple rhythm that works for many beginners:
- First two or three sessions: wait until most of the hair is back to about 1/4 inch, usually three to four weeks. Hair grows in different cycles, so a few sparse hairs in between are normal at this stage.
- After a few months: many people find the growth evens out, which means smoother results that last a little longer and slightly less sting each time.
- Between sessions: try not to shave, because shaving resets the length and you'll be back to waiting. Tweeze the odd stray hair instead, or reach for a pre-made strip for a quick touch-up.
Put your next waxing day in your planner right after a session. It takes the guesswork out, and you'll always know when you have a calm, smooth-skin evening coming up. Keep a small note of what worked (which wax, which temperature setting, how long you let hard wax set) so each session builds on the last instead of starting from scratch.
4 Common Beginner Waxing Mistakes
- Waxing hair that's too short. Wait the full two to three weeks after shaving. It's worth it.
- Using wax that's too hot. Always do the wrist test.
- Pulling up instead of along the skin. Keep your hand low and parallel; pulling upward bruises and breaks hairs.
- Going over the same patch again and again. Twice is the limit. Tweeze the rest.
Final Thoughts
Learning how to wax at home is mostly about slowing down for the first few sessions: right hair length, warm (not hot) wax, taut skin and a quick, low pull. After that, it becomes a calm little routine you can do on a Sunday evening with a candle lit.
Be patient with yourself while you learn, treat your skin gently for a day afterward, and enjoy that smooth, soft feeling for weeks.