Curly hair in winter doesn't need a whole new set of products. It needs a slightly different rhythm: fewer washes, deeper moisture, a firmer seal and a little protection from the things that rub, dry and zap your curls all season long. Once you adjust those few details, curls can stay soft and defined right through the coldest months.
The tricky part is that winter attacks curls from every side at once. Dry indoor heat pulls moisture out, cold wind roughens the outer layer of each strand, hats and scarves rub against your lengths all day, and static turns your best curl clumps into a fuzzy halo. Curly and wavy hair is naturally drier than straight hair (the natural oils have a harder time traveling down a curved strand), so it feels all of this first.
This guide is all about curly hair in winter: why curls suffer when it gets cold, a simple ten-step winter routine, quick fixes for static, and a winter wash-week table that shows you exactly what to do on which day. No hairstyles, just care that keeps your curls happy until spring.
Why Curly Hair Struggles in Winter
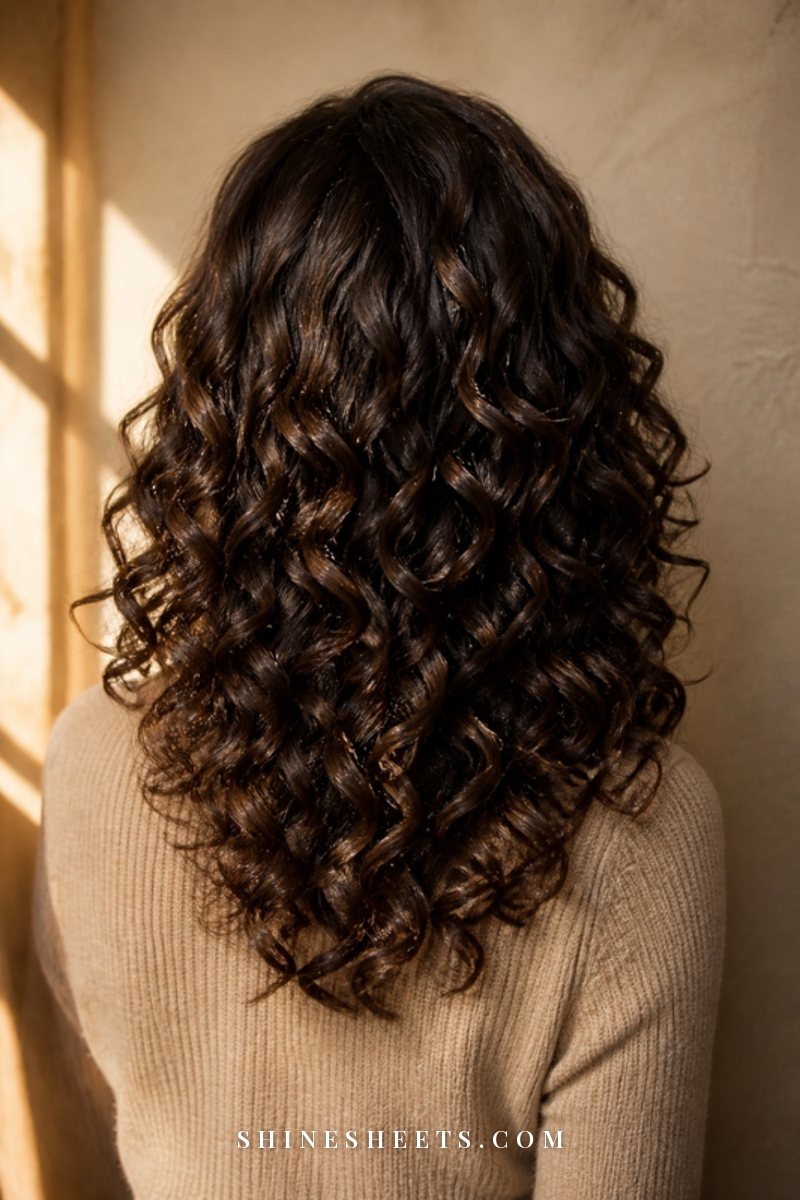
Understanding the "why" makes the routine much easier to follow, because every step answers one of these problems:
- Dry indoor heat. Heaters and radiators drop the humidity in your home, and dry air slowly draws water out of your hair. Curls that felt soft in the morning can feel crunchy or straw-like by evening.
- Cold, windy air. Cold air holds very little moisture, and wind roughens the cuticle (the outer layer of the strand). A rough cuticle means more frizz and less shine.
- Hat and scarf friction. Wool, acrylic and knit fabrics rub against your hair every time you move your head. That friction breaks up curl clumps and causes frizz and breakage at the nape and around your face.
- Static. Dry air plus synthetic fabrics equals static. Static lifts individual strands away from the curl pattern and makes everything look fluffier and less defined.
- Hot showers. A long, hot shower feels amazing in January, but very hot water strips more of your natural oils and leaves curls drier.
The fix isn't to fight all of these at once. It's to build a routine that adds moisture, locks it in and protects your curls from friction, and then to repeat it steadily all winter.
Signs Your Curls Need Winter Care
Not sure if winter is the problem? These are the most common signs that your curls need a seasonal adjustment:
- Curls feel dry or rough within a few hours of styling.
- Your usual definition disappears by midday.
- Frizz shows up mostly around your hairline and at the nape of your neck.
- Static makes strands stick to your face, coat or scarf.
- Ends look thin, see-through or split more easily.
- Your curl pattern looks looser or less springy than in summer.
- Your scalp feels tight or a little itchy after washing.
If several of these sound familiar, your hair isn't "bad" this season. It's just thirsty, and the routine below is built for exactly that.
Your Winter Curly Hair Routine in 10 Steps
If you already have a curl routine, you don't need to start from scratch. Think of these as small winter tweaks. If you're new to caring for curls, my curly hair routine for beginners walks you through a basic wash day first.
1. Wash Less Often

In winter, your scalp usually makes less oil and your curls lose moisture faster, so frequent washing can leave them drier than they need to be.
Try this: if you wash every two to three days in summer, stretch it to every three to five days in winter. Most curly hair does well with one or two wash days per week in the cold months. On the days in between, you'll refresh instead of washing (see step 8).
Turn the water temperature down too. Wash with warm, not hot, water, and finish with a few seconds of cooler water over your lengths to help the cuticle lie flat.
2. Switch to a Co-Wash or Low-Lather Shampoo
Strong, foamy shampoos are great at removing buildup, but they can also strip the oils your curls need in winter.
Try this: on most wash days, use a co-wash (a cleansing conditioner) or a gentle, low-lather shampoo. Focus on the scalp: massage with your fingertips (not your nails) for about a minute, then let the suds rinse down your lengths without scrubbing them.
Every two to four weeks, do one wash with a clarifying shampoo to remove buildup from heavier winter products. Follow it with a deep conditioner straight away, because clarifying always leaves curls a little thirsty.
3. Deep Condition Every Week
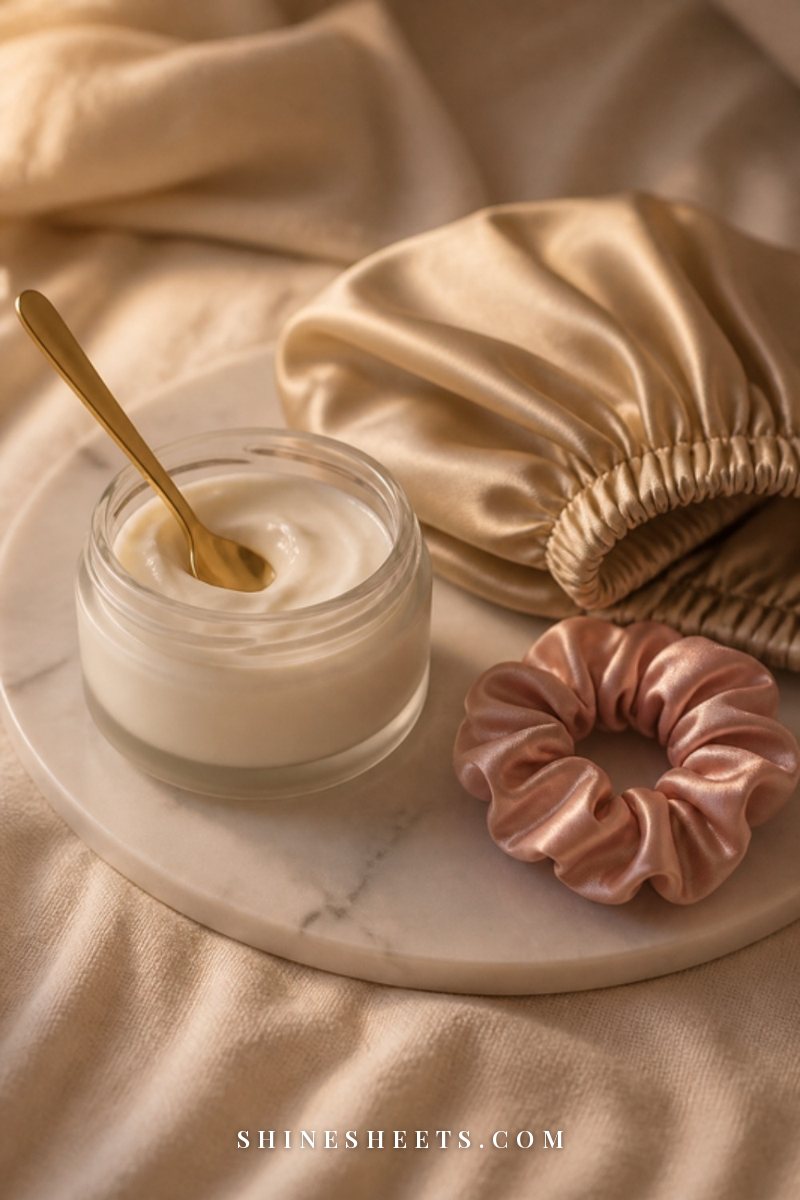
If you only add one step this winter, make it this one. A weekly deep condition puts back the moisture that dry air and heating take out.
Try this: after shampooing, squeeze out the excess water and apply a generous amount of a deep conditioning mask for curls from mid-lengths to ends. Detangle gently with your fingers or a wide-tooth comb while it's in. Then cover your hair with a shower cap and wrap a warm towel around it (a towel straight from the dryer or warmed on a radiator works well) and leave it for 10–20 minutes. Gentle warmth helps the conditioner sink in more evenly.
Look for a mask that lists moisturizing ingredients like shea butter, oils or aloe near the top, and rinse with lukewarm water. As with any new product, try it on a small section first if your scalp is sensitive.
4. Layer Your Moisture: Leave-In, Cream, Then Gel
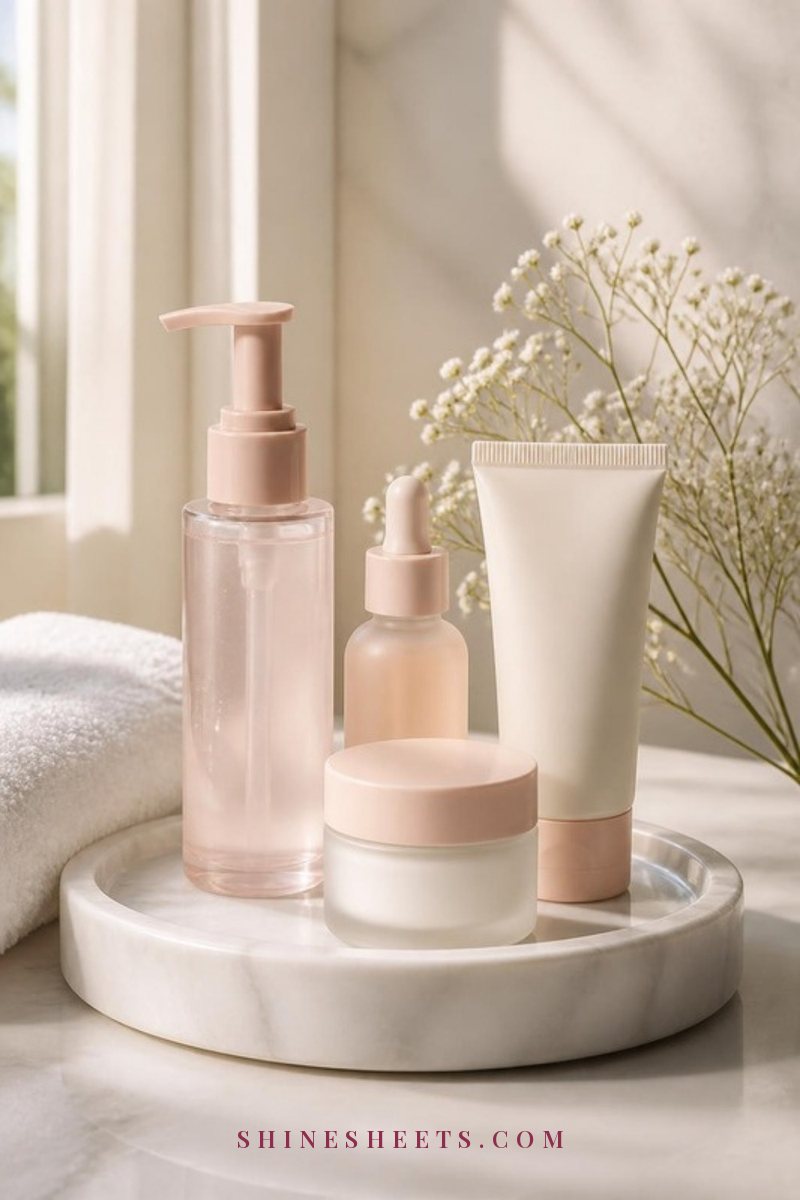
In winter, one product is rarely enough. The trick is layering: first water-based hydration, then a richer product to soften, then a hold product to seal everything in.
Try this: on soaking wet hair, apply products in this order:
- Leave-in conditioner for light hydration and slip.
- Curl cream for softness and definition. A rich curl cream leave-in can sometimes double as steps one and two if your curls are fine or wavy.
- Gel or mousse to seal the moisture in and form a soft cast that protects your curls from dry air and friction.
Apply each layer section by section, then scrunch upwards gently. Applying to soaking wet hair (not damp) makes a big difference, because the water helps the products spread evenly and clump the curls together.
If your curls feel crunchy once dry, that's the gel cast doing its job. Once your hair is completely dry, scrunch it gently with your hands to soften the cast.
5. Go Easy on Glycerin in Very Dry Air
Glycerin is a humectant, which means it attracts water. In humid weather, that's lovely. In very dry winter air, though, there's little moisture outside for it to pull in, and some curls end up feeling drier, stickier or frizzier.
Try this: if your curls feel dry or fuzzy with your usual products in winter, check the labels. If glycerin is listed near the top of several products, try swapping one of them (usually the gel or leave-in) for a glycerin-free or low-glycerin version. Not every head of curls reacts to glycerin, so change one product at a time and give it two or three wash days before you decide.
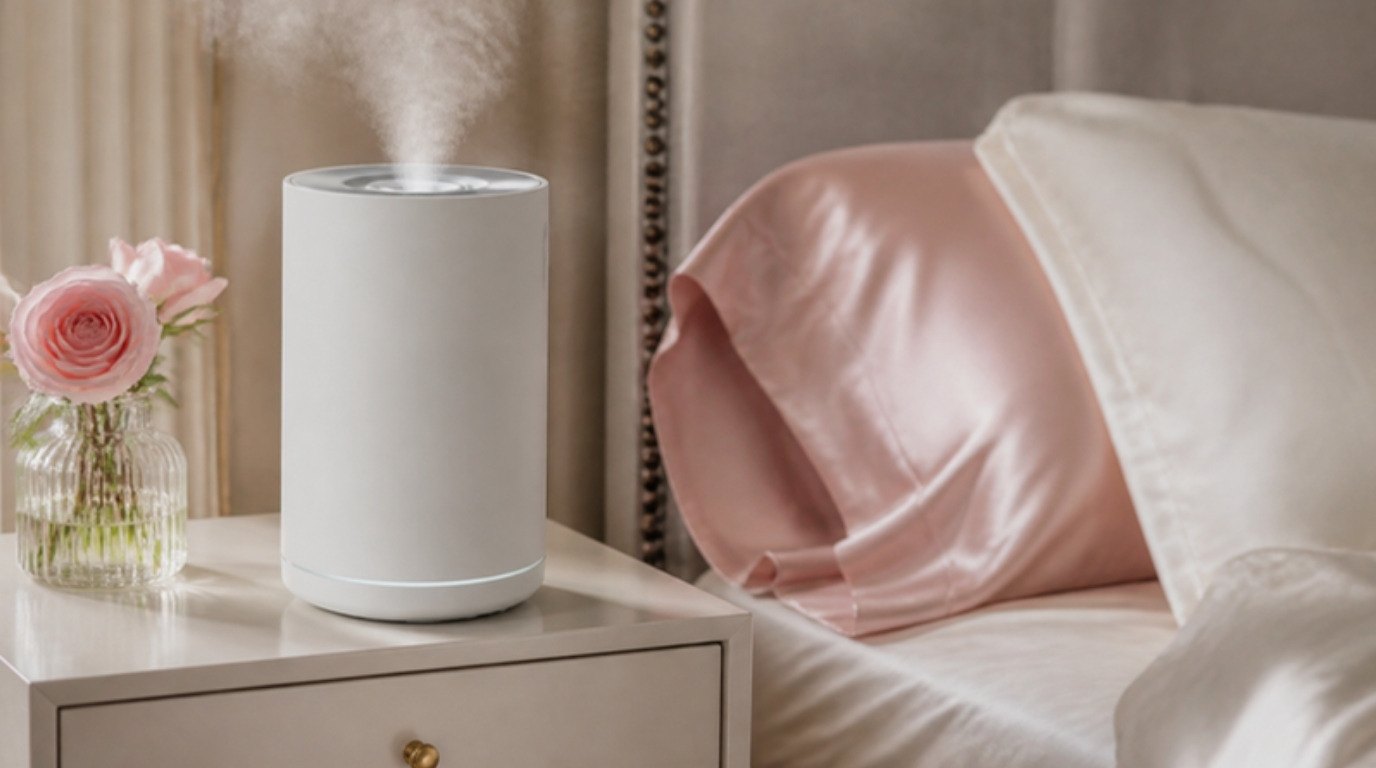
A small humidifier in your bedroom can also help your hair (and your skin) on very dry heating days.
6. Dry Gently and Fully
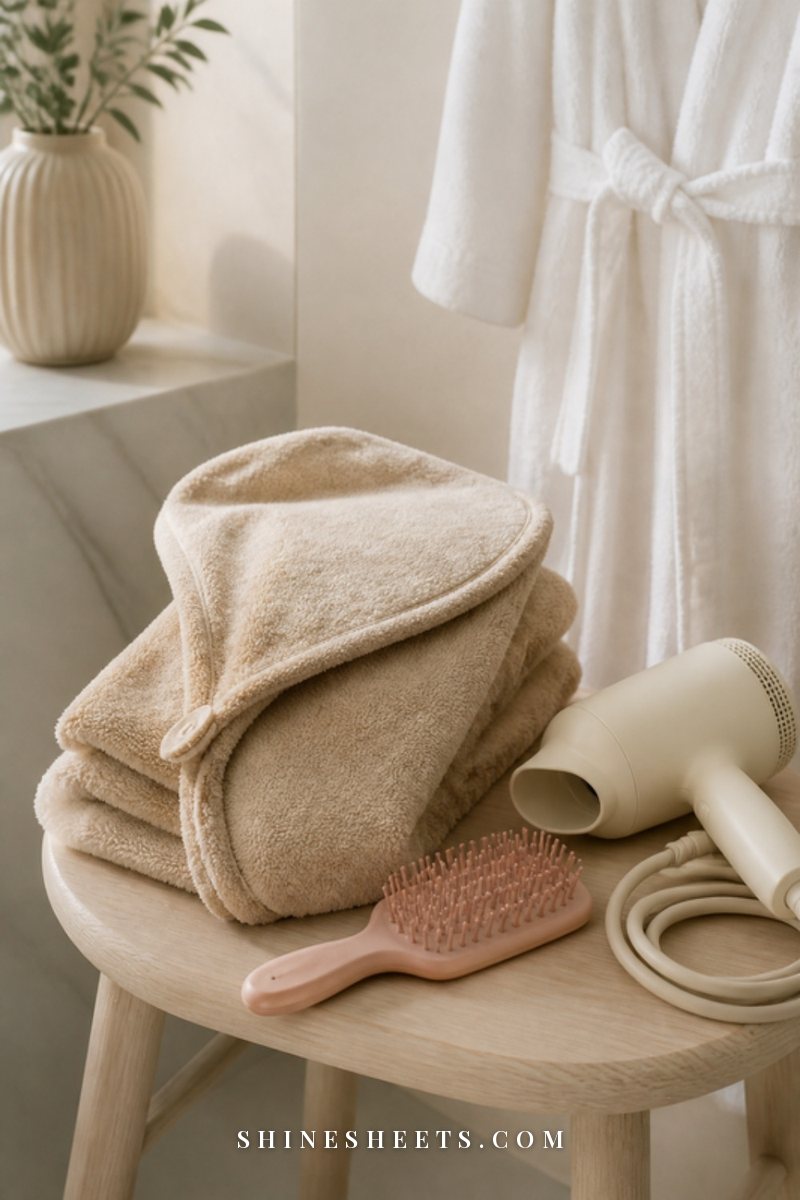
How you dry your curls in winter matters a lot, both for definition and for comfort.
Try this: skip the rough terry towel. Instead, gently scrunch out excess water with a soft microfiber hair towel or an old cotton T-shirt. Then either air dry indoors or use a diffuser attachment on low heat and low speed. Cup sections of curls into the diffuser bowl, hold for 30–60 seconds, then move on. Avoid moving the diffuser around too much, as that causes frizz.
One rule I'd never break: don't go out into freezing air with wet hair. Cold, wet strands are more fragile, can feel stiff and brittle, and you'll be uncomfortably cold. Wash in the evening if you prefer to air dry, so your hair has the whole night to dry fully (more on night care below).
A quick, kind heat note: keep your dryer on a low or medium setting and hold it a few inches from your hair, because high heat dries curls out even faster in winter.
7. Protect Curls Under Hats and Scarves
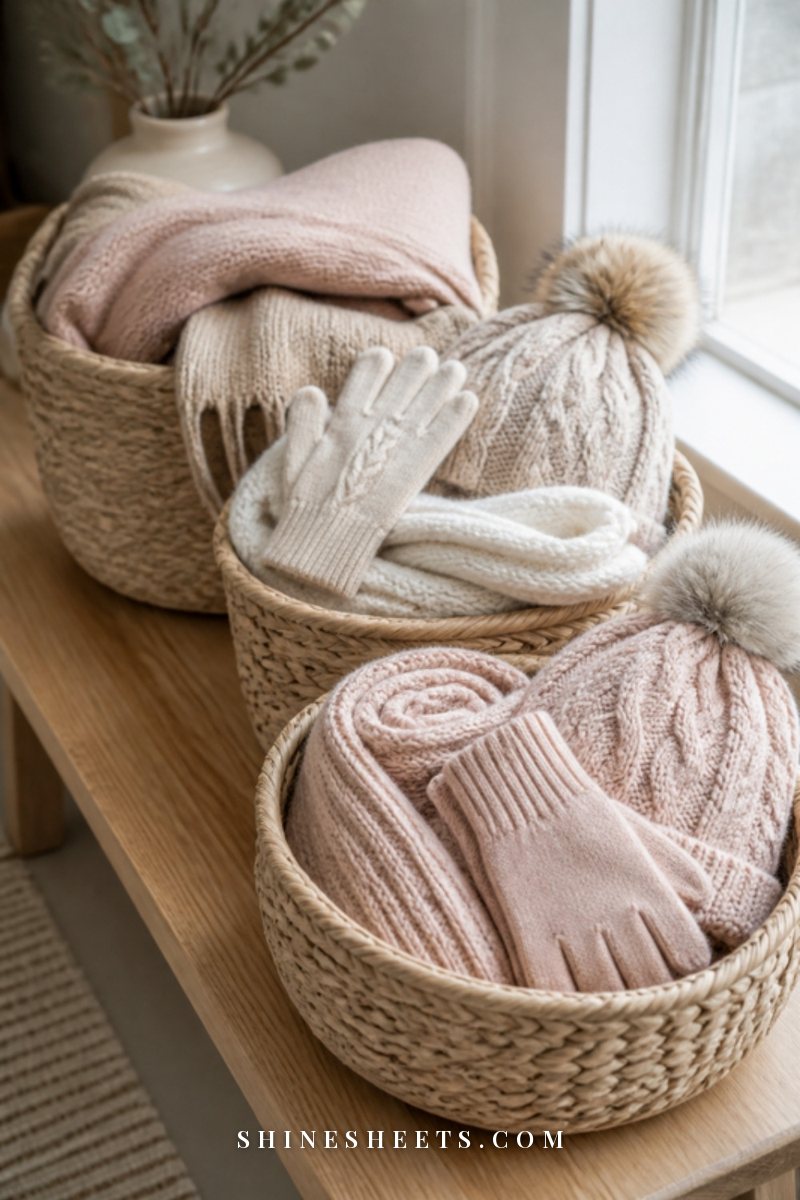
Hats are non-negotiable in a real winter, but wool and knit fabrics can rough up your curls fast. The answer is a smooth layer between your hair and the fabric.
Try this: choose a satin-lined beanie, or slip a thin satin scarf or cap under your favorite knit hat. Satin lets your curls glide instead of rub, which means less frizz, less breakage and less static. Wear your scarf over your coat collar rather than tucked against the back of your hair, and put your hat on gently from front to back instead of pulling it down over your curls.
When you take the hat off, resist the urge to rake through your curls with your fingers. Gently shake your hair at the roots and scrunch a little to bring the shape back.
8. Refresh on Day Two and Three
Refreshing lets you stretch time between washes without your curls looking flat or frizzy.
Try this: mist your curls lightly with water from a fine spray bottle (just enough to make them slightly damp, not soaking). Then rub a pea-sized amount of leave-in conditioner or curl cream between your palms with a few drops of water and gently scrunch it into any frizzy or flat sections. Let them air dry or diffuse for a few minutes on low.
Focus only on the sections that need it, usually the top layer and the pieces around your face. Refreshing your whole head every day can lead to buildup. For more ways to keep definition going, my guide on how to make curls last longer has lots of small tricks.
9. Protect Curls at Night
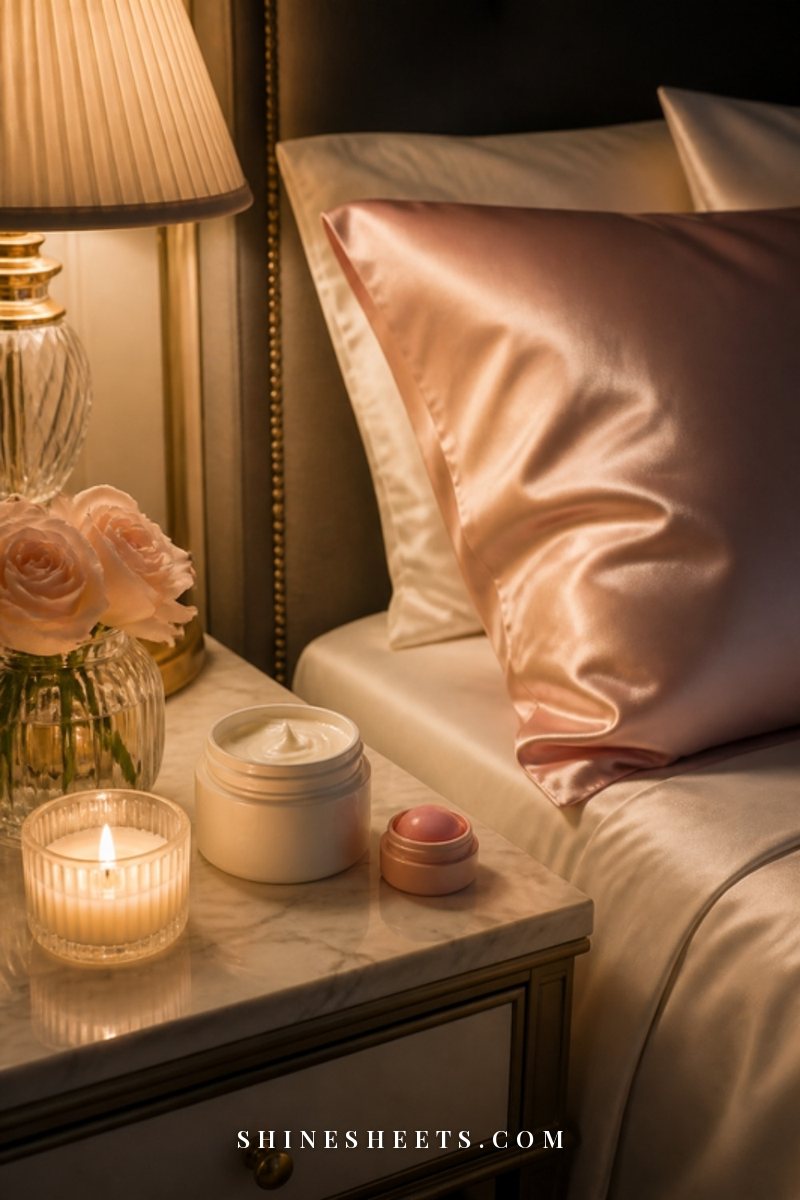
A lot of winter frizz is made while you sleep. Cotton pillowcases absorb moisture from your hair and create friction every time you turn.
Try this: before bed, gently gather your curls loosely on top of your head and cover them with a satin bonnet, or sleep on a satin or silk pillowcase. Either option keeps moisture in your curls and helps them keep their shape until morning. If you're curious about the pillowcase route, my post on silk pillowcase benefits explains what it can and can't do.
In the morning, take the bonnet off, shake your roots gently and refresh only if you need to.
10. Trim Dry Ends Regularly
Winter is hard on the oldest part of your hair: the ends. Dry, split ends don't hold curl well and tangle easily, which leads to even more breakage.
Try this: plan a small trim every 8–12 weeks through winter, ideally with a stylist who cuts curly hair. Even a dusting (a very light trim) helps your ends clump and curl again. Between trims, smooth one or two drops of a light hair oil over your ends after styling to help them feel softer.
Quick Fixes for Static Curls
Static can strike even with a perfect routine. Here are fast fixes that work without washing:
- Water and leave-in: mist static sections lightly with water and press in a tiny amount of leave-in. Static loves dry hair, so a little moisture calms it quickly.
- A drop of oil: rub one drop of hair oil between your palms and gently press it over the top layer of your curls. Don't rub or rake.
- Hand cream in a pinch: a tiny amount of unscented hand cream warmed between your palms and pressed over flyaways works surprisingly well.
- Change your fabrics: natural fabrics like cotton and wool blends create less static than fully synthetic scarves and sweaters.
- Skip the brush on dry curls: brushing dry curly hair breaks the curl pattern and adds static. Detangle only when hair is wet and coated in conditioner.
- Add humidity: a humidifier in the room where you spend the most time helps hair, skin and lips all winter.
For more seasonal fixes beyond curls, including hat hair and dry ends, my winter hair care guide has quick tips for every hair type.
Your Winter Wash-Week Table
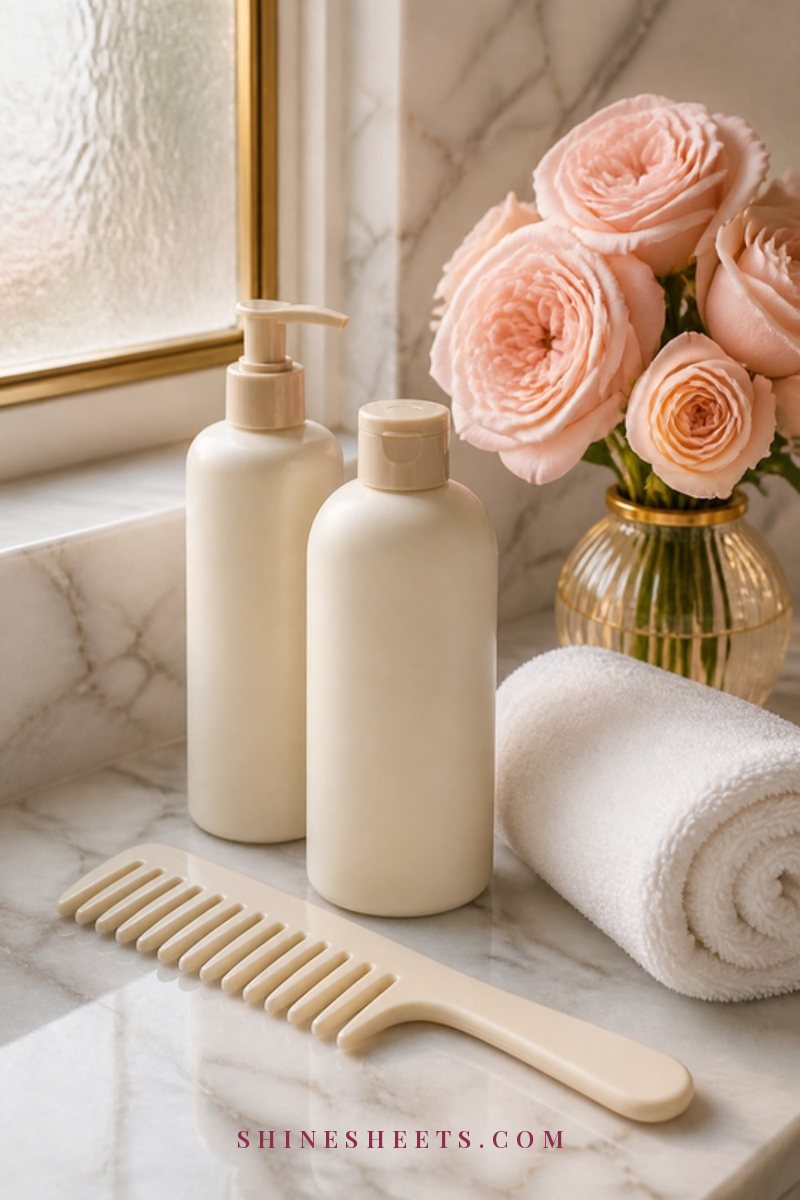
Here's what a simple winter week can look like if you wash twice. Screenshot it and adjust the days to your schedule. If your curls are very fine or very coily, you may want to move wash days closer together or further apart.
| Day | Step | Product type | Time needed |
|---|---|---|---|
| Monday | Wash day with deep condition: cleanse scalp, mask with warm towel, layer products, diffuse | Co-wash or low-lather shampoo, deep conditioning mask, leave-in, curl cream, gel | 60–90 minutes |
| Tuesday | Morning: soften the cast; night: bonnet or satin pillowcase | Satin bonnet | 5 minutes |
| Wednesday | Light refresh on frizzy sections only | Water mist, a little leave-in or curl cream | 5–10 minutes |
| Thursday | Wash day without mask: cleanse, condition, layer products, diffuse | Co-wash or gentle shampoo, conditioner, leave-in, curl cream, gel | 45–60 minutes |
| Friday | Protect under hats; night care | Satin-lined beanie, satin bonnet | 2 minutes |
| Saturday | Light refresh; a drop of oil on ends | Water mist, leave-in, light hair oil | 5–10 minutes |
| Sunday | Rest day: no products, just bonnet at night (once a month, swap Monday's wash for a clarifying wash plus mask) | Satin bonnet; clarifying shampoo once a month | 0–5 minutes |
The pattern is what matters most: one wash with a deep condition, one lighter wash, a couple of light refreshes and protection every single night and every time you wear a hat.
If frizz is still your biggest struggle after a few weeks, my guide to frizzy hair goes deeper into what causes it and how to smooth things down.
5 Winter Curl Mistakes To Avoid
Small habits can quietly undo a good routine. These are the ones that catch most curly-haired people out in the cold months:
- Taking very hot showers. Keep the water warm and short, and let the last rinse over your lengths be a little cooler.
- Skipping the seal. Leave-in and cream alone can evaporate in dry air. A light layer of gel or mousse on top keeps the moisture where it belongs.
- Touching your curls all day. Every time you twirl or fluff them, the curl clumps break up a little more. Hands off until the evening.
- Using too much product on refresh days. Heavy layers build up fast in winter and leave curls limp. A pea-sized amount is usually plenty.
- Pulling your hat straight down. Dragging a knit hat over your curls flattens and frizzes them in one move. Place it from front to back and lift it off the same way.
None of these are a big deal on their own, but fixing even two of them can make your curls look noticeably smoother by the end of the week.
When To Get Extra Help
Most winter curl problems ease with more moisture and less friction. But if your scalp becomes very itchy, red, flaky or sore, or you notice unusual hair shedding or bald patches, it's worth seeing a doctor or dermatologist. Those can be signs of a scalp condition that needs proper care rather than a new product.
And if you try a new product and your scalp stings, itches or breaks out, rinse it out and stop using it. Patch testing a small amount behind your ear or on your inner arm 24 hours before a full application is always a kind idea for sensitive skin.
Final Thoughts
Curly hair in winter asks for a little more patience, not a whole new personality. Wash a little less, deep condition every week, layer and seal your moisture, protect your curls from hats and pillowcases, and let your refreshes do the in-between work.
Give your new routine three or four weeks to settle in. Your curls will feel softer, hold their shape longer and get through the coldest months looking like themselves.