Brow lamination is one of those treatments where the appointment is only half the story. The other half happens at home, in the first two days and the weeks after, and it decides whether your brows stay soft, lifted and fluffy or slowly drift back to doing their own thing. The good news is that the aftercare is simple. It just asks for a little patience and a few small habits.
This guide covers brow lamination aftercare from the moment you leave the salon: what the treatment actually does to your brow hairs, what to skip in the first 48 hours, a day-by-day table you can screenshot, and the seven daily habits that help your brows look freshly done for weeks.
One thing before we start: your brow technician's aftercare instructions come first. Every salon uses slightly different products, so if anything here differs from what they told you, follow them. Think of this as the friendly explainer that sits next to their card.
What Brow Lamination Actually Does
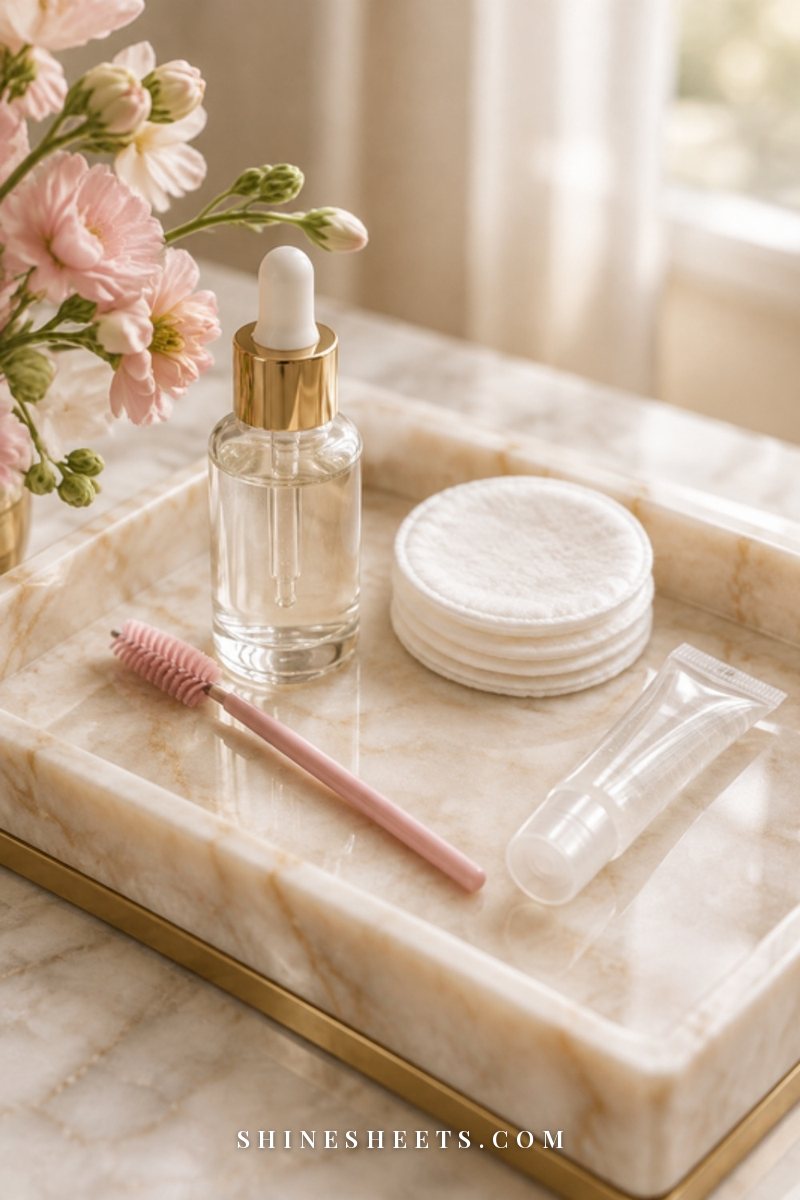
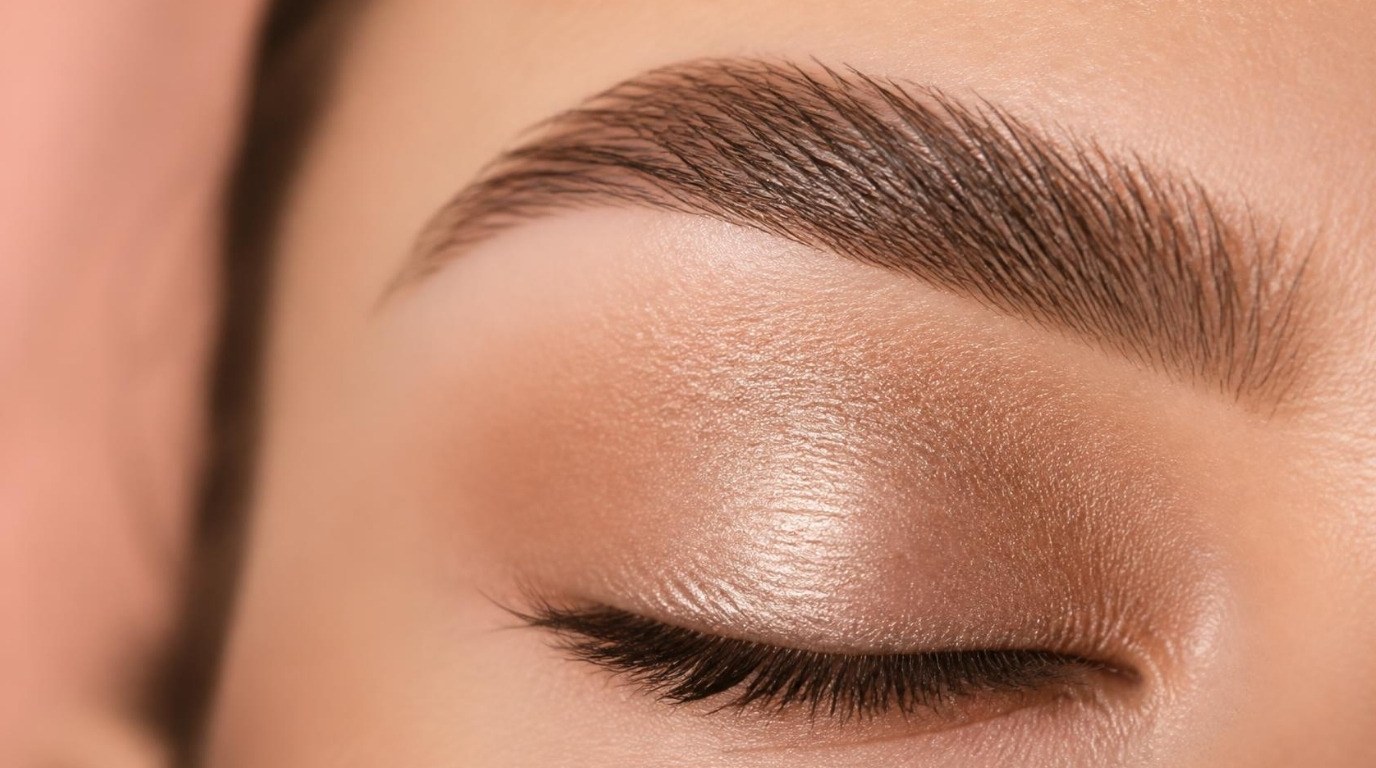
In plain words, brow lamination is a perm for your eyebrows, just set in a different direction. A technician applies a perming-style lotion that softens the bonds inside each hair, brushes the hairs upward and into place, then applies a second lotion that sets them in their new position. Most treatments finish with a nourishing oil or serum, and some include a tint.
The result is that brushed-up, full, slightly feathery look that makes sparse brows appear thicker and unruly brows look neat. It usually lasts about 6 to 8 weeks, sometimes a bit less if your hair grows quickly or your brows are naturally very coarse.
Here is the part that matters for aftercare: right after the treatment, the hair is still settling into its new shape. The bonds have been re-formed, but they're not fully "locked" yet. That's why the first day or two are so delicate, and why the hairs are a little drier than usual afterwards. Your job at home is to protect the shape early on and then keep the hair soft and healthy.
If you love the brushed-up look but haven't decided on the treatment yet, my guide to getting fluffy brows with makeup shows how to fake a similar finish with a spoolie and a good gel.
Why the First 24 to 48 Hours Matter Most
Lamination results are set by chemistry, and chemistry needs a little time. During the first 24 to 48 hours, anything that softens or swells the hair (water, steam, heat, sweat, oils) can loosen the new shape before it settles. That's when brows start pointing in random directions or drop flatter than you hoped.
After roughly two days, the hairs are much more stable. You can wash your face normally, wear makeup again and start treating your brows with care rather than caution. It took me a while to understand that this short window does most of the work. If you get the first two days right, the remaining weeks are easy.
The First 48 Hours: What To Skip
Keep this short list in mind until your technician says otherwise:
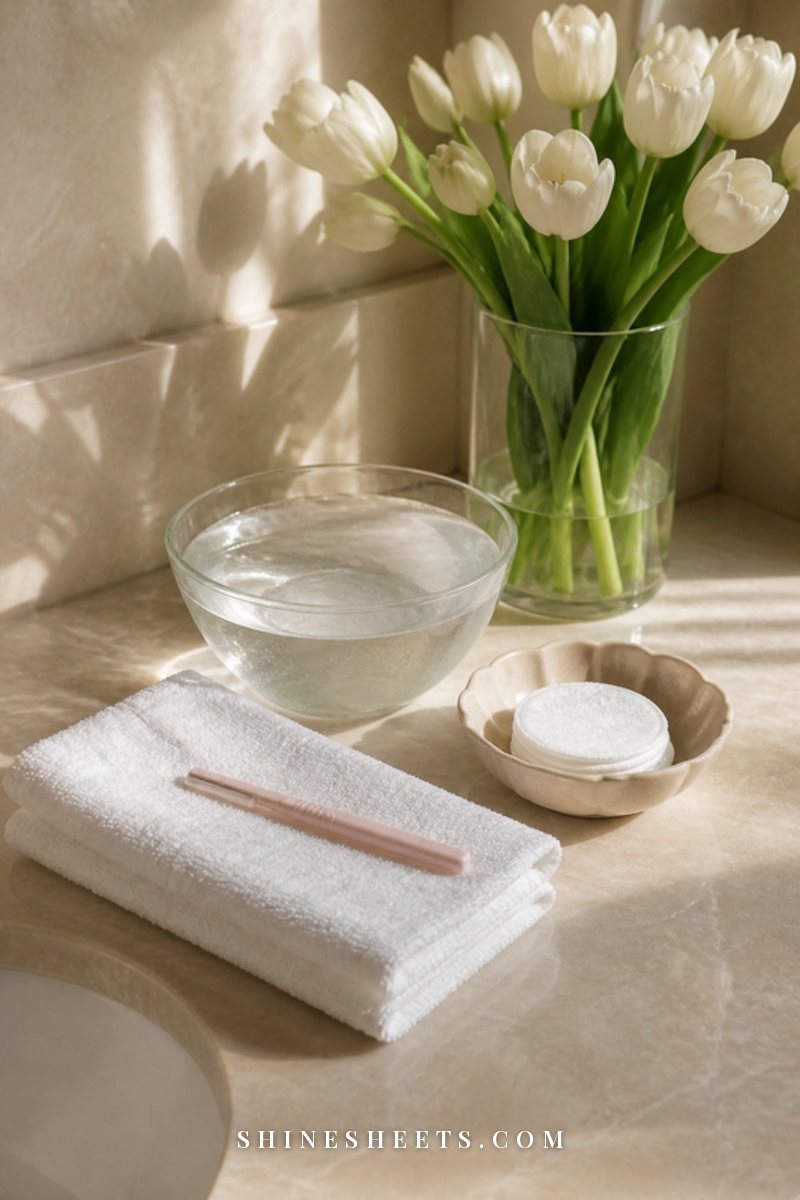
- No water on your brows. Wash your face carefully around them with a damp cotton pad or cloth, or skip face washing for the first night if you can. Some people put a strip of tape over the brows in the shower; a gentle face cloth held over them works too.
- No steam. That means no hot showers with your face in the stream, no saunas, steam rooms or facial steaming. A lukewarm, quick shower is fine.
- No sweat. Skip intense workouts and hot yoga. A calm walk is perfect.
- No makeup on the brows. No pencil, pomade, powder or gel for now. Makeup on the rest of your face is fine if you keep it away from the brow area.
- No oils or rich creams near the brows. Keep your face oil, balm cleanser and heavy night cream at least a finger's width away.
- No rubbing, touching or picking. Your brows may feel slightly stiff. Leave them alone.
- Sleep on your back if you can. Pressing your face into the pillow can bend the hairs out of shape (more on sleep below).
That's seven small things to avoid, and none of them is forever. Two days later, you're back to normal life with fluffier brows.
Your Brow Lamination Aftercare Timeline
This is the table I'd keep on my phone after an appointment. It shows what to do, what to avoid and why, from the first evening to the week you rebook.
| Timeframe | Do | Avoid | Why |
|---|---|---|---|
| Day 0 (first evening) | Leave brows alone, cleanse around them with a damp pad, sleep on your back | Water, steam, makeup, oils, touching | The new shape is still setting and is easy to disturb |
| Day 1 | Lukewarm, quick shower with face turned away; gentle brushing only if your technician allows it | Workouts, saunas, hot showers, brow products | Heat and moisture can loosen the bonds before they settle |
| Day 2 | Resume normal face washing gently; brush brows up with a clean spoolie | Harsh scrubs or actives near the brows | The shape is stable now, but the hairs are still dry |
| Days 3–14 | Brush up every morning, apply brow oil or serum at night, wear SPF | Retinoids and acids on the brow area, at-home tinting | Keeping hairs soft and protected helps the shape hold longer |
| Weeks 3–5 | Keep the routine, add a clear brow gel if hairs start to relax | Overbrushing or tugging, piling on heavy pomade | The lift softens naturally; gel bridges the gap gently |
| Weeks 6–8 | Let the treatment grow out, then book a consultation | Redoing too early, DIY lamination kits | Brow hair needs recovery time between chemical treatments |
A simple rule for the whole timeline: if you're unsure whether something is safe for your brows, wait one more day. Waiting never ruins a lamination; rushing sometimes does.
7 Brow Lamination Aftercare Habits for Fluffy Brows
Once the first two days are behind you, these are the habits that keep your brows looking freshly done. None of them takes more than a minute.
1. Brush Your Brows Up Every Morning

Brushing is the single most useful thing you can do. Laminated hairs remember their new direction, but sleep, towels and touching your face push them around. A daily brush reminds them where to go.
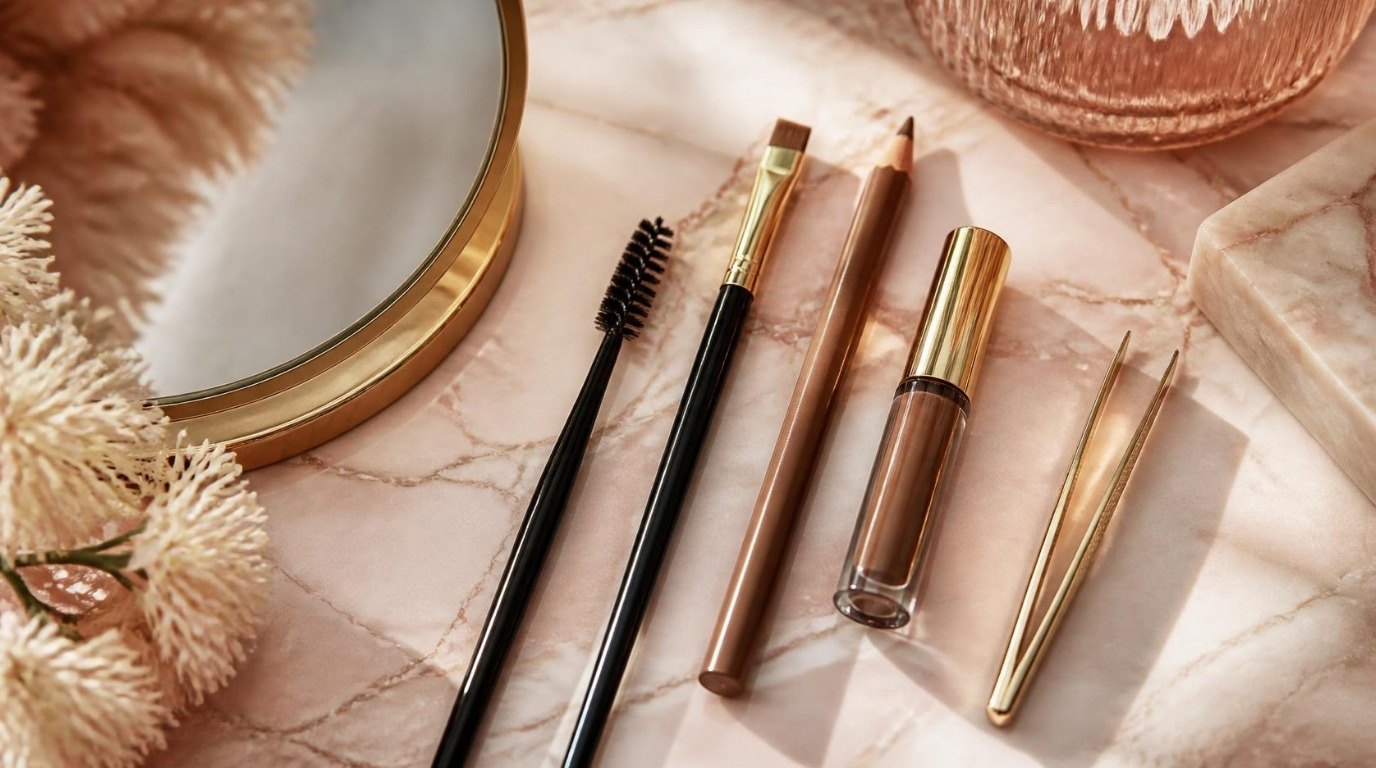
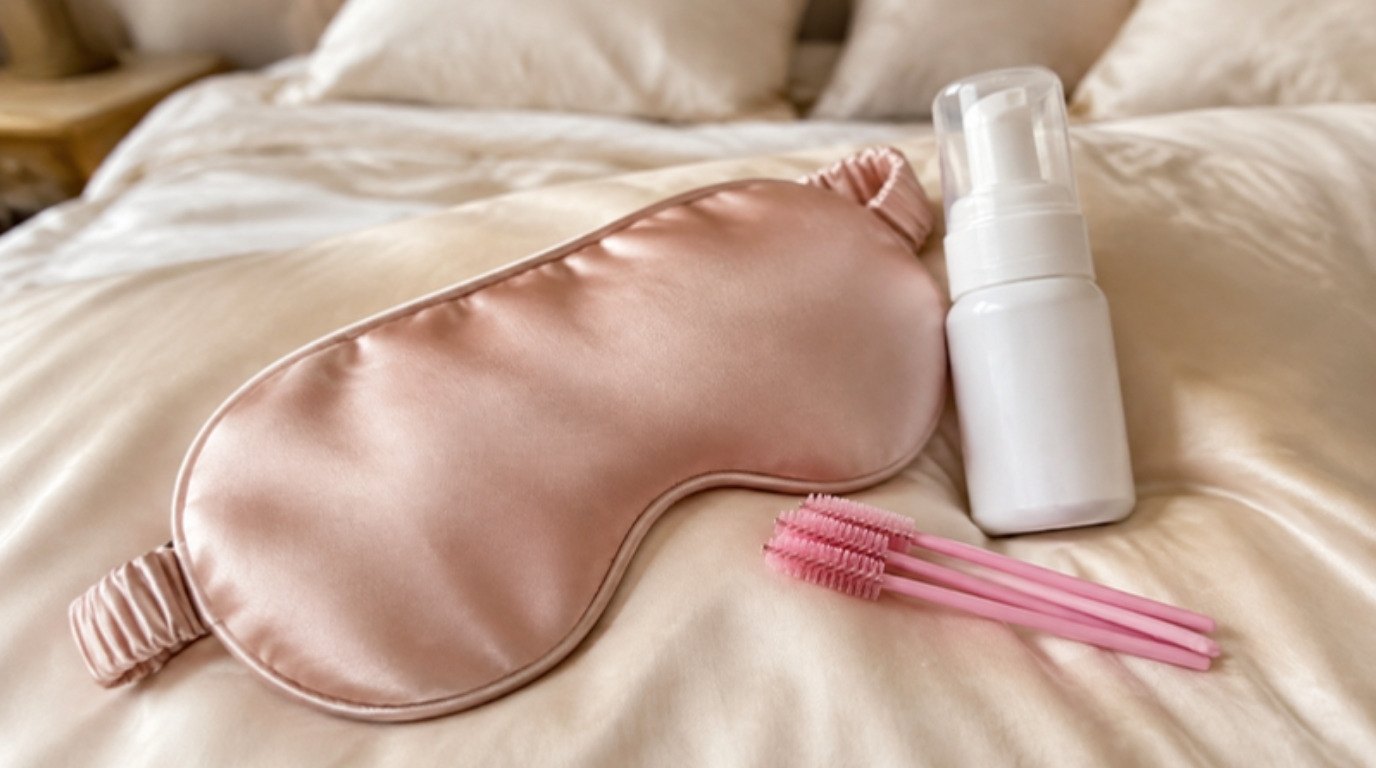
Use a clean spoolie and brush each brow upward first, then slightly outward at the tail. Five or six slow strokes per brow is enough. Do it in the morning and, if you like, again in the evening after cleansing. A set of soft disposable spoolie brushes makes it easy to always use a clean one, which matters because a spoolie that sits in a makeup bag collects oil, product and bacteria. If you prefer a reusable one, wash it once a week with mild soap and let it air-dry.
2. Add a Nourishing Brow Oil or Serum After Day 2

Lamination solutions are drying. The hairs can feel a little coarse afterward, and dry hair is more brittle and harder to shape. A few drops of nourishment each evening keep them soft, flexible and shiny.
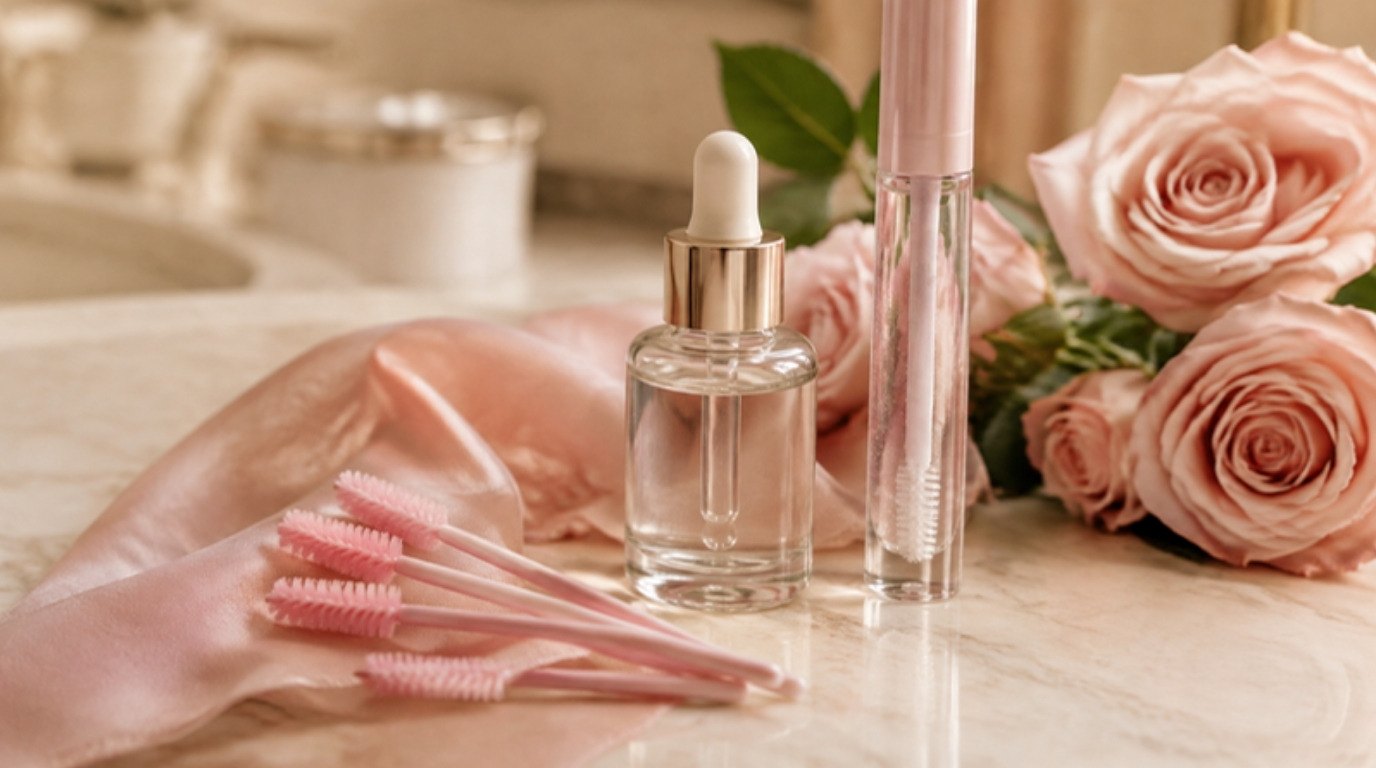
From day 2 or 3 (or whenever your technician says), apply a tiny amount of a nourishing brow serum or a light oil like castor or argan with a clean spoolie. Look for a formula with conditioning ingredients such as peptides, panthenol or plant oils, and without strong fragrance. One drop for both brows is plenty; you want them conditioned, not greasy. Brush it through in the direction you want the hairs to sit, then leave it overnight.
A small honest admission: more is not better here. Too much oil every day can make the hairs heavy and flatten the lift faster. A thin layer most nights works better than a thick layer every night.
3. Keep Harsh Actives Away From Your Brows

Retinoids (retinol, retinal, tretinoin), exfoliating acids (glycolic, lactic, salicylic) and strong vitamin C serums are wonderful for skin, but they can irritate the freshly treated skin under your brows and dry out the hair even more. Some actives may also weaken the lift faster.
For the first week, keep them at least a finger's width away from your brows. After that, you can bring them closer again, but I'd still avoid applying them directly on the brow skin for the life of the treatment. My skin is combination and sensitive, with a shiny T-zone, so I'm very used to working around one zone of my face. Treat your brows like that zone: everything else gets your full routine, the brows get the gentle version.
4. Cleanse Around Your Brows Gently

Clean brows hold their shape better, because oil and leftover makeup weigh hairs down. But scrubbing or rubbing pulls them out of place. The answer is gentle, targeted cleansing.
Wash the rest of your face as usual. For the brows, soak a cotton pad with a gentle micellar water, press it on each brow for a few seconds, then wipe in the direction the hairs grow (upward), not side to side. Skip oil cleansers and cleansing balms on the brow area; they can loosen the lift and leave residue. Pat dry with a clean towel instead of rubbing.
5. Wear SPF Every Day
Sun exposure can fade any tint applied with your lamination and dries out the hair over time. The skin under your brows was also just exposed to a chemical treatment, so it deserves a little extra protection.
Apply your daily sunscreen up to the brow line, avoiding a thick layer directly on the hairs. A gentle mineral sunscreen for sensitive skin is a good choice here, because zinc-based formulas tend to sting less. A hat on very sunny days helps too.
6. Skip At-Home Tinting
It can be tempting to touch up the color a few weeks in, especially if the tint fades faster than the shape. Please don't do this at home. Tint is another chemical process, and stacking chemicals on recently treated hair can cause breakage or irritation, and the color often turns out darker or warmer than expected.
If your brows need a little color in between, use makeup instead. A soft pencil in hair-like strokes or a tinted gel gives you control and washes off at night. My guide to natural brows in five minutes walks through a quick, soft fill. And the same goes for lamination itself: never use DIY lamination chemicals at home. They need precise timing and a trained eye, and the skin around your eyes is too delicate for guesswork.
7. Wait 6 to 8 Weeks Before Redoing

As your brows grow and shed, the laminated hairs are slowly replaced by new ones growing in their natural direction. That's why the look softens gradually. It's normal and doesn't mean anything went wrong.
Most technicians recommend waiting at least 6 to 8 weeks between treatments so the hair can recover. Redoing earlier means applying perming lotion to hair that is still processed, which is how brows end up frizzy or brittle. I like to jot the appointment date in my journal over evening tea, then note the date six weeks later as the earliest rebooking day. It keeps me from booking too soon just because one brow has a few stubborn hairs.
While you wait, a clear brow gel brushed upward each morning holds the softened hairs in place. Look for a flexible, non-flaky formula; you want them held, not crunchy.
How To Sleep After Brow Lamination

Sleep is sneakier than it sounds. If you sleep on your side or stomach, your brow presses into the pillow for hours, and on the first night that pressure can bend the hairs flat or sideways.
- First two nights: try to sleep on your back. A pillow on each side can stop you from rolling over.
- Choose a smooth pillowcase. A blush silk pillowcase creates less friction than cotton, so the hairs get pushed around less, even if you end up on your side. Look for mulberry silk or a smooth satin, and wash it gently.
- Brush up in the morning. Even if you wake up with a flattened brow, a few strokes with a spoolie usually bring it back once you're past day 2.
Don't stress if you wake up on your stomach on night one. One night of side sleeping rarely ruins a treatment. Just brush gently once you're allowed to, and keep going.
Makeup After Brow Lamination
After the first 48 hours, you can wear brow makeup again, but laminated brows usually need much less of it. That's half the joy.
- Start with nothing. Brush up and look in natural light before reaching for any product. Many days, the lamination alone is enough.
- Fill gaps with hair strokes. Use a fine pencil to add a few upward flicks where the brow is sparse, rather than outlining the whole shape.
- Choose gel over pomade. Heavy pomades and waxes can clump laminated hairs together. A clear or lightly tinted gel keeps the separated, fluffy finish.
- Remove gently every night. Use micellar water on a cotton pad, pressed and wiped upward.
If your brows are sparse and you're wondering how much lamination can help, my post on making thin eyebrows look fuller has gentle ideas that pair well with it. And if you'd like to understand which shape suits your features before your next appointment, the guide to eyebrow shapes for your face shape is a lovely starting point for a conversation with your technician.
When To Stop and Get Help
Most people have no issues beyond slightly dry hairs. Still, it's worth knowing what's normal and what isn't.
Usually normal: brows feel a little stiff or dry for a day or two, a faint chemical smell on the first day, a few hairs pointing in odd directions that settle after brushing.
Not normal: stinging or burning that doesn't fade, redness, swelling, itching, bumps or flaking skin on or around the brows, watery or painful eyes, or any change in your vision. If you notice any of these, stop using all products on the area, rinse gently with cool water, and contact a doctor. Let your technician know too, so they can note which products were used.
Before any lamination or tint, ask for a patch test, ideally 24 to 48 hours ahead, especially if you have sensitive skin, eczema or allergies, or if you're having the treatment for the first time. A good salon will offer one without you having to ask.
Brow Lamination vs Lash Lift Aftercare
These treatments use similar solutions, so the aftercare overlaps: no water or steam for the first day or two, gentle cleansing, and a nourishing serum afterwards. The difference is mostly about shape and maintenance.
- Brows need daily brushing. Laminated brows are shaped by you every morning; lifted lashes mostly hold their curl on their own.
- Brows sit near your skincare. Actives, sunscreen and moisturizer all live right next to your brows, so keeping them clear takes more attention.
- Brows can wear makeup sooner. Many technicians suggest waiting longer for mascara after a lash lift than for brow gel after lamination.
If you're getting both done, my lash lift aftercare guide covers the lash side in detail.
Common Brow Lamination Aftercare Mistakes
- Washing your face normally on day one. Even a quick splash can loosen the shape.
- Skipping the brushing. Without daily direction, hairs start to curl back toward their old pattern sooner.
- Using too much oil. Heavy layers weigh the hairs down. A drop is enough.
- Putting retinol right up to the brow line. It dries the hair and can irritate freshly treated skin.
- Rebooking too early. Processing the same hairs again within a few weeks is the fastest route to frizz.
- Ignoring irritation. Stinging and redness are signals to stop, not to push through.
Final Thoughts
Brow lamination aftercare is really just two days of patience followed by a few gentle, one-minute habits. Protect the shape early, keep the hairs soft with a little nourishment, brush them up every morning and give them time to recover between treatments.
Do that, and your brows will keep that soft, brushed-up, slightly Old Hollywood polish for weeks, with very little effort from you.