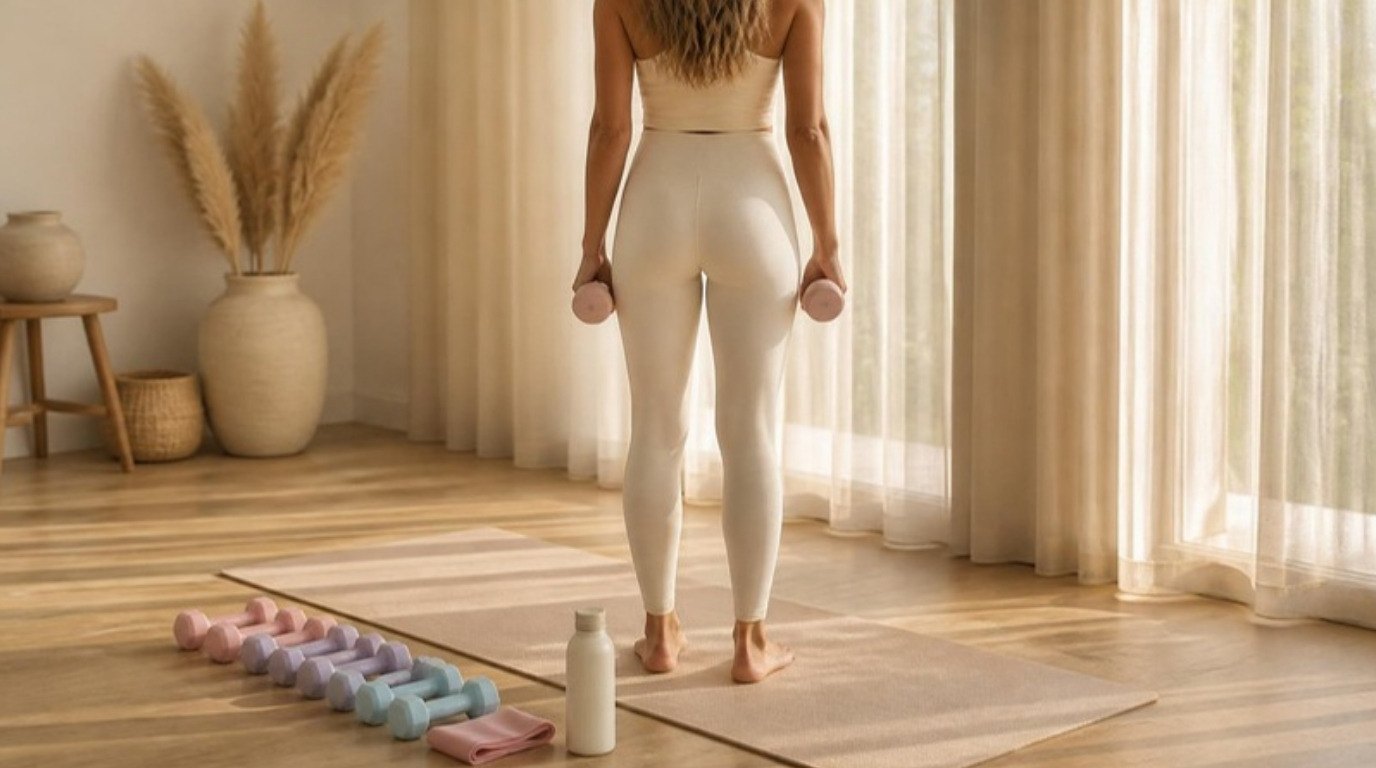
Strength training doesn't have to mean a loud gym, heavy barbells or a complicated program. For most beginners, it starts with a handful of simple moves, a pair of light weights and two short sessions a week. That's it. The magic isn't in doing a lot – it's in doing a little, with good form, again and again.
And the payoff is bigger than how your arms look in a tank top. Stronger muscles help you carry groceries without that wobbly feeling, climb stairs with more ease, sit and stand taller, and walk through your day with a quiet kind of confidence that's hard to describe until you feel it.
This guide is your gentle starting point for strength training for women who are complete beginners. You'll find why it matters, how to start with bodyweight before adding dumbbells, eight foundational moves explained step by step, how to choose the right weight, sets, reps and rest, a warm-up and cool-down, how to tell normal soreness from pain, and a 4-week beginner plan you can follow at home.
No intimidating jargon, no punishing workouts. Just a clear plan and a little patience with yourself.
Why Strength Training Matters for Women
If you've only ever done cardio, or nothing at all, strength training can feel like a world that belongs to someone else. It doesn't. Here's why it's worth making room for, even if you only have 30 minutes twice a week:
- Your bones love it. Weight-bearing and resistance exercise is widely recommended to help maintain bone strength as we get older. It's one of the kindest long-term things you can do for your future self.
- Your posture improves. Strong back and core muscles make it easier to sit and stand tall without constantly reminding yourself. If you spend your days at a desk, pairing strength work with a few gentle posture exercises is a lovely combination.
- Everyday life gets easier. Lifting a suitcase into the overhead bin, carrying a laundry basket upstairs, getting up off the floor – these are all strength moves in disguise.
- Your energy often feels steadier. Many women find that regular strength sessions help them feel more awake during the day and sleep a little better at night.
- Confidence grows quietly. There's something special about noticing that the dumbbells that felt heavy in week one feel manageable in week four. It's proof, in your own hands, that you can get stronger.
The "Bulky" Myth
Let's clear this up gently: lifting light to moderate weights a few times a week will not suddenly make you bulky. Building large, very visible muscle takes years of focused training, specific eating and, for most women, a hormonal profile that simply doesn't favor rapid muscle growth. What beginners usually notice instead is firmer, more defined muscle, better posture and clothes that fit a little differently. You're in charge of how far you take it, always.
Start With Bodyweight, Then Add Light Dumbbells
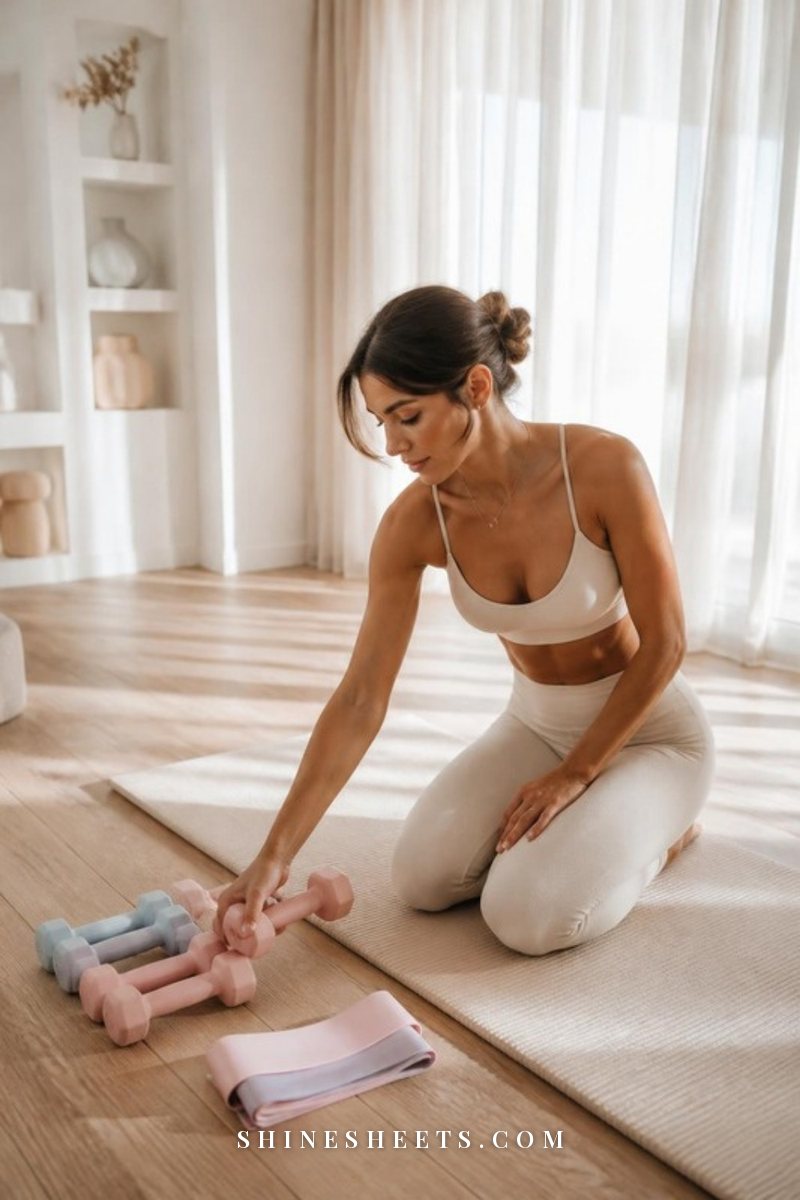
The best beginner strategy is wonderfully unglamorous: learn the movement with your body first, then add weight once the pattern feels natural. Your muscles, joints and tendons all need time to adapt, and your brain needs time to learn where your body is in space.
Here's how I'd approach it:
- Weeks 1–2: mostly bodyweight. Squats, bridges, incline push-ups and dead bugs need no equipment at all. Focus on slow, controlled reps.
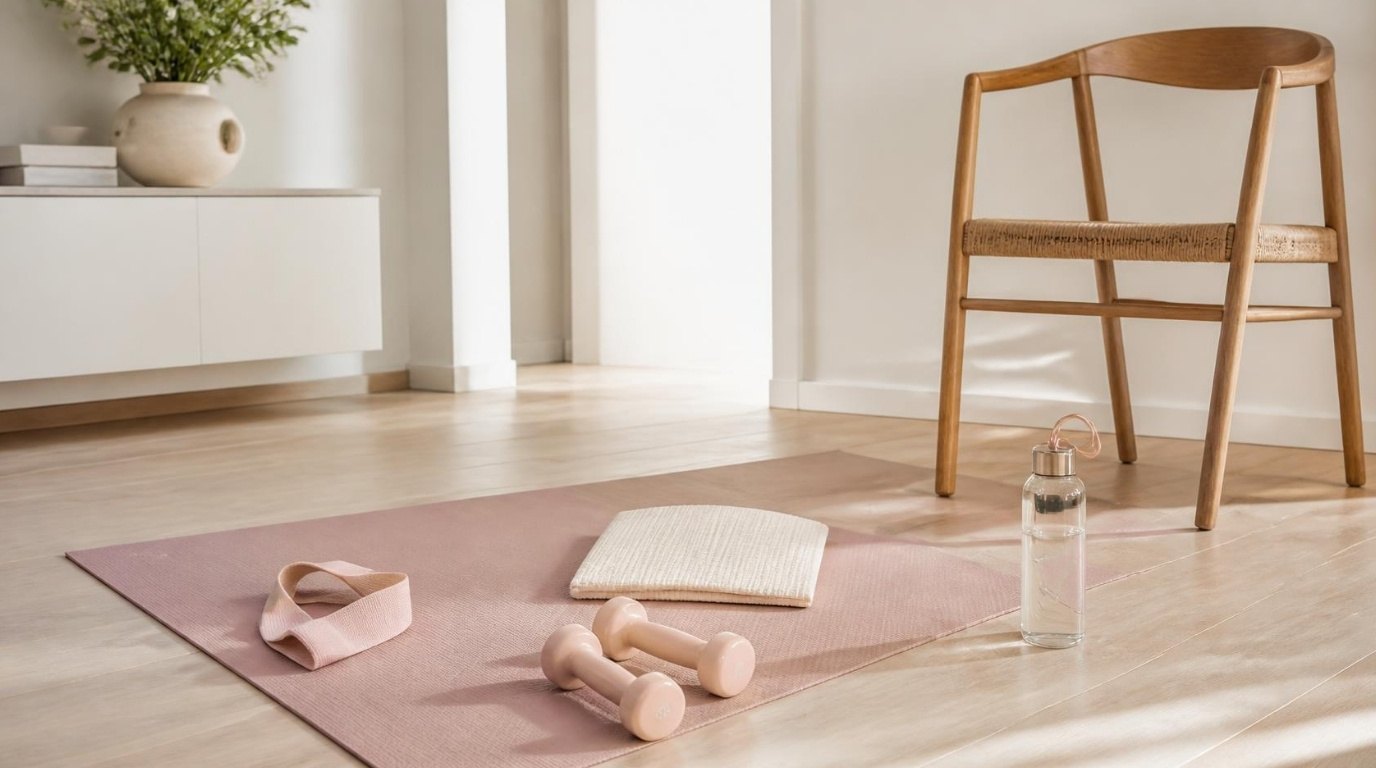
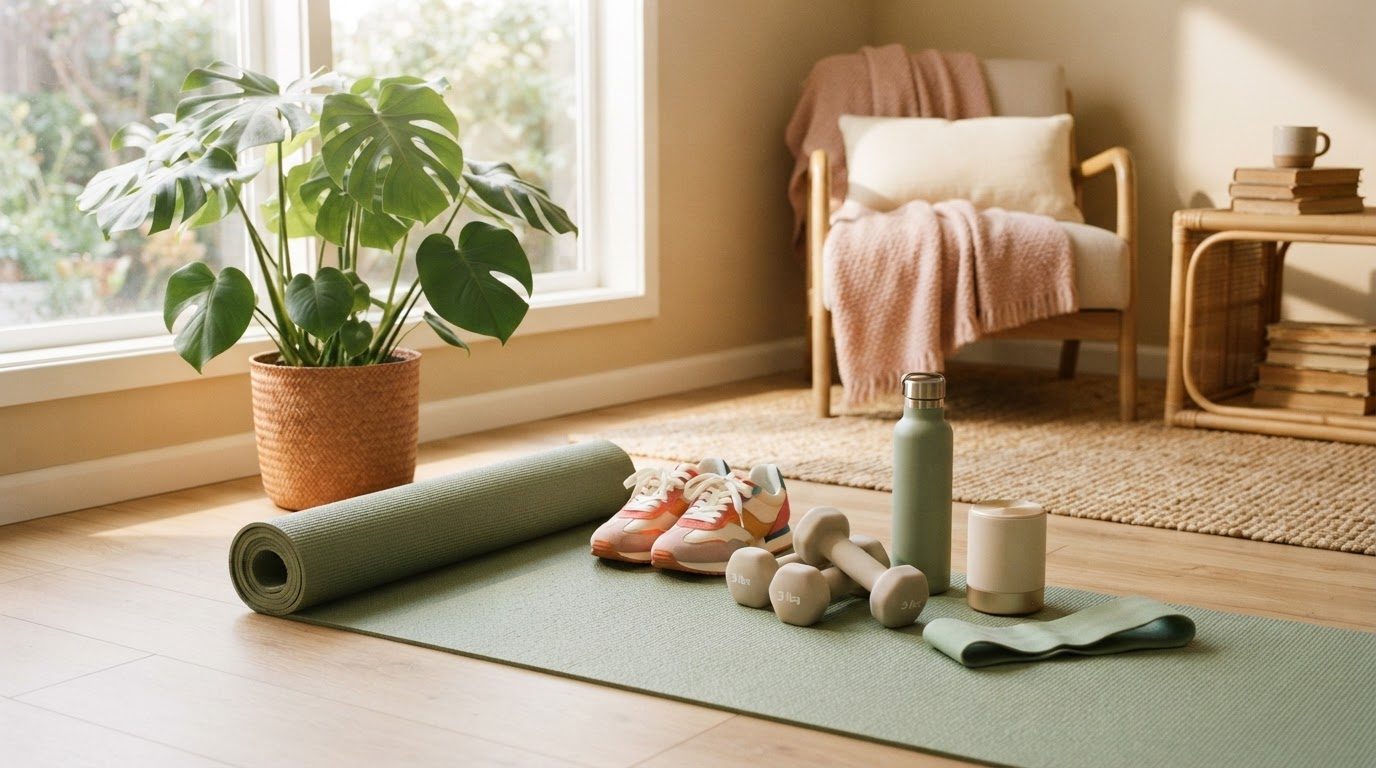
- Weeks 2–4: add light dumbbells. Rows, overhead presses and carries feel much more natural with a little weight in your hands. A pastel dumbbell set with a few weights (think 3, 5 and 8 pounds) gives you room to progress without buying new equipment every month.
- Anytime: resistance bands. Bands are light, inexpensive and fold into a drawer. A fabric resistance band set in soft colors is perfect for glute bridges and for making squats a touch harder without dumbbells.
You'll also want something soft under your knees and back for floor work. Look for a non-slip yoga mat in a calm neutral that's at least 6 mm thick, so bridges and dead bugs feel comfortable on a hard floor.
If you've been doing something like Pilates at home, you already have a head start: your core awareness will make every move in this guide feel more stable.
8 Foundational Strength Moves for Beginners
These eight moves cover everything your body does in daily life: squatting, hinging, pushing, pulling, lunging, pressing overhead, bracing your core and carrying. Read each description once, then try it slowly in front of a window or wall so you can focus on how it feels rather than how it looks.
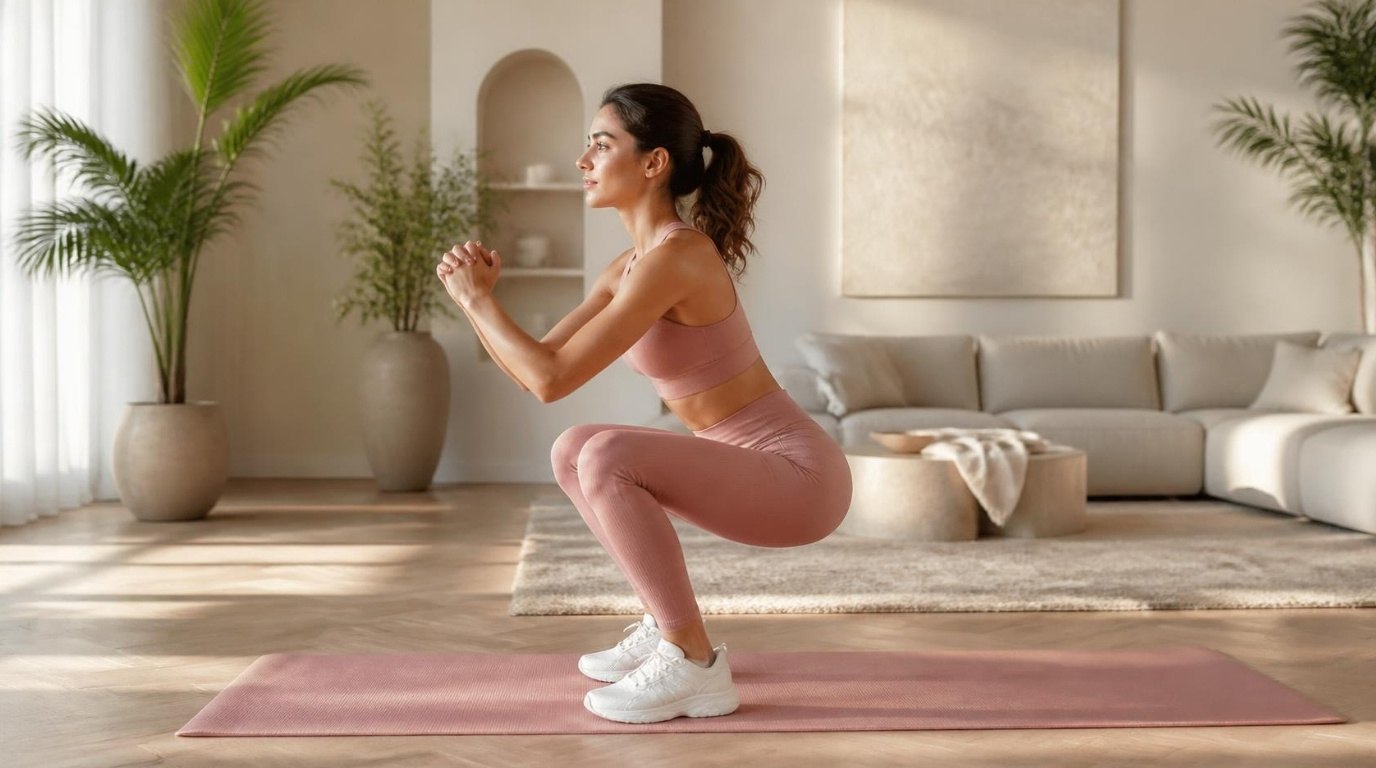
1. Bodyweight Squat
What it trains: thighs, glutes and core.
How to do it: Stand with your feet about hip- to shoulder-width apart, toes turned out slightly. Reach your arms forward for balance. Breathe in and sit your hips back and down as if you're lowering onto a chair behind you, keeping your chest proud and your weight spread across your whole foot. Go as low as you comfortably can while your heels stay down, then breathe out and press through your feet to stand tall, squeezing your glutes at the top.
Make it easier: squat down to an actual chair, tap it lightly and stand back up.
Make it harder: hold one dumbbell vertically against your chest (a goblet squat).
2. Glute Bridge
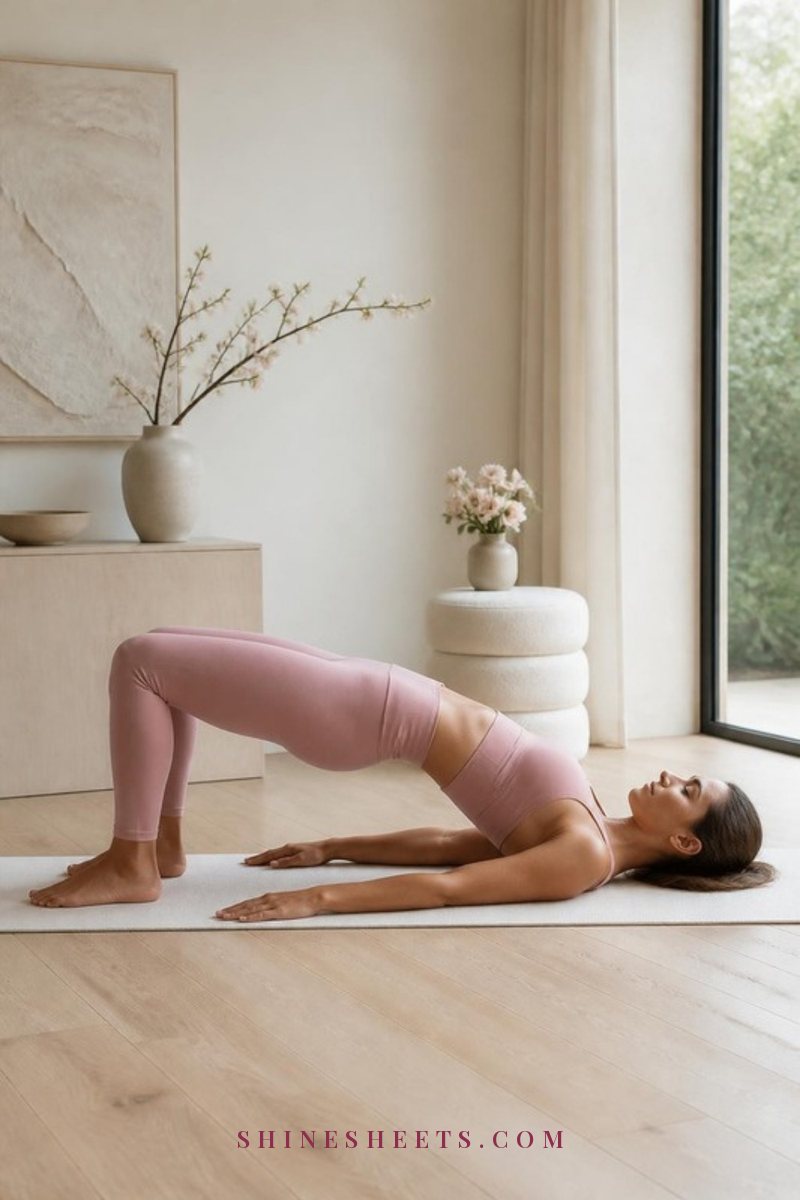
What it trains: glutes, hamstrings and the muscles that support your lower back.
How to do it: Lie on your back with your knees bent and your feet flat on the floor, hip-width apart, heels about a hand's length from your hips. Rest your arms by your sides, palms down. Breathe out, press your heels into the floor and lift your hips until your body forms a straight line from shoulders to knees. Squeeze your glutes for a slow count of two at the top, then lower with control.
Watch for: arching your lower back to lift higher. Your ribs should stay down, and you should feel it in your glutes rather than your back.
Make it harder: loop a resistance band just above your knees and press gently outward, or rest a dumbbell across your hips.
3. Incline Push-Up
What it trains: chest, shoulders, triceps and core.
How to do it: Place your hands on a sturdy kitchen counter, desk or the back of a stable sofa, slightly wider than your shoulders. Walk your feet back until your body forms a straight, slanted line from head to heels. Breathe in and bend your elbows to lower your chest toward the surface, elbows angled back at roughly 45 degrees (not flared straight out). Breathe out and push away until your arms are straight.
Progression: the lower the surface, the harder it gets. Counter, then table, then a low step, then eventually the floor. There's no rush to get there.
4. Bent-Over Row
What it trains: upper back, the backs of your shoulders and biceps – the muscles that help pull your shoulders back.
How to do it: Hold a dumbbell in each hand, palms facing each other. Soften your knees and hinge forward at your hips, pushing your bottom back until your torso is at about a 45-degree angle, back flat and neck long. Let the weights hang below your shoulders. Breathe out and pull your elbows back toward your hips, squeezing your shoulder blades together. Pause, then lower slowly.
No dumbbells yet: stand on the middle of a resistance band and hold the ends, or loop a band around a sturdy door handle and row toward you.
5. Reverse Lunge
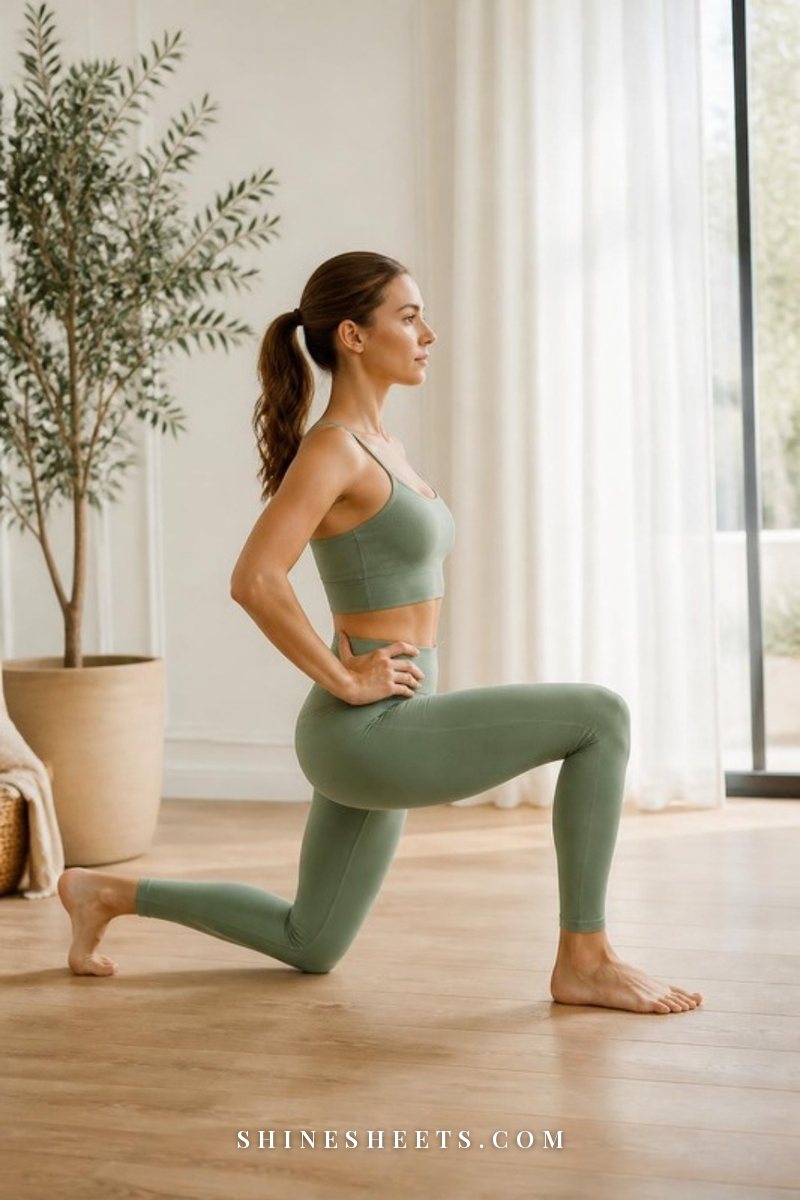
What it trains: glutes, thighs and balance.
How to do it: Stand tall with your feet hip-width apart. Step one foot back about two feet, landing on the ball of that foot. Lower straight down until both knees are bent at roughly 90 degrees, with your back knee hovering just above the floor and your front knee stacked over your front ankle. Push through the heel of your front foot to bring your back foot forward to standing. Do all your reps on one side, then switch.
Why reverse instead of forward: stepping back is usually gentler on the knees and easier to balance, which makes it ideal for beginners.
Make it easier: hold the back of a chair with one hand and take a shorter step.
6. Overhead Press
What it trains: shoulders, upper back and triceps, plus your core as it keeps you steady.
How to do it: Stand with your feet hip-width apart and hold a light dumbbell in each hand at shoulder height, palms facing forward or slightly in. Gently squeeze your glutes and draw your ribs down so your lower back doesn't arch. Breathe out and press the weights straight up until your arms are almost fully extended beside your ears. Lower slowly back to your shoulders.
Good to know: start lighter here than you think. Shoulders are smaller muscles, and most beginners need lighter weights for this move than for rows or squats. You can also do it seated on a sturdy chair.
7. Dead Bug
What it trains: deep core muscles, coordination and lower-back support.
How to do it: Lie on your back with your arms reaching straight up toward the ceiling and your knees bent at 90 degrees above your hips, shins parallel to the floor (like a bug flipped on its back). Press your lower back gently into the mat. Breathe out and slowly lower your right arm overhead and your left leg toward the floor at the same time, stopping before your lower back lifts. Breathe in as you return to the start, then switch sides.
Make it easier: move only your legs, one at a time, and keep your arms still.
It looks simple, and then about six reps in you'll feel exactly why it's on this list.
8. Farmer Carry
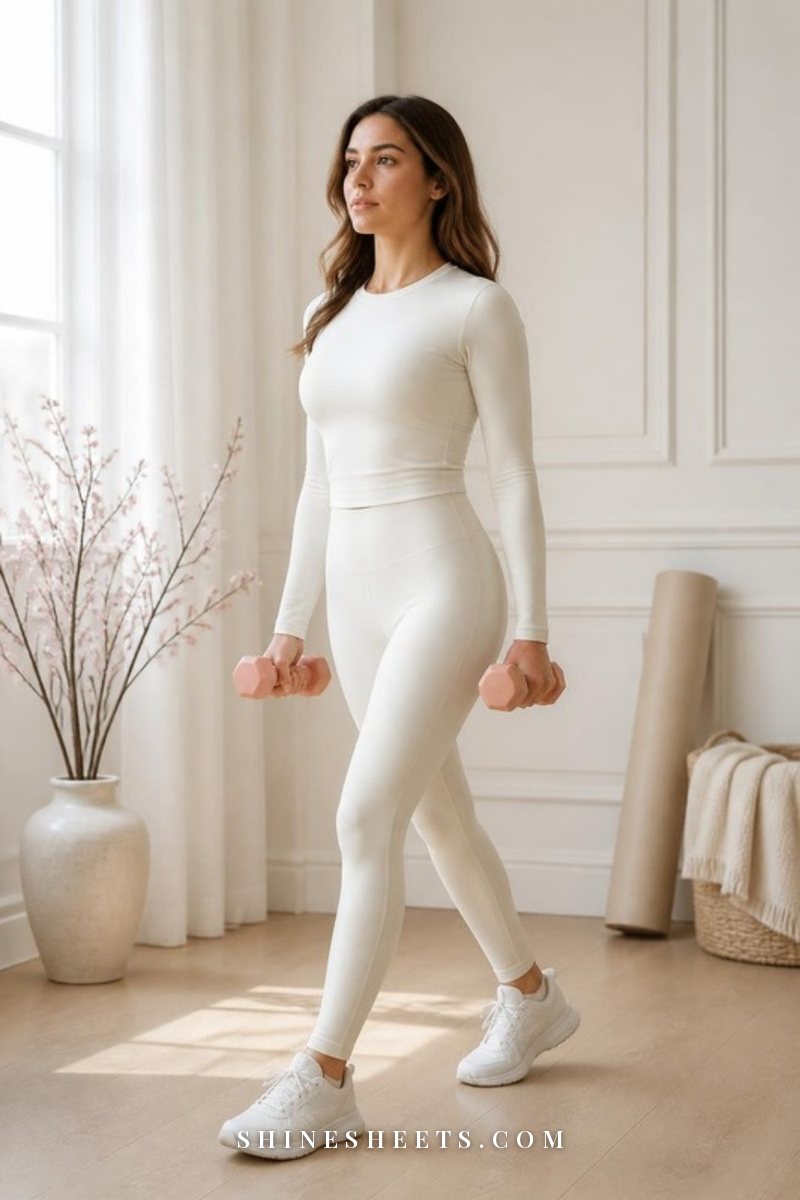
What it trains: grip, shoulders, core and posture. It's also the most "real life" move on this list.
How to do it: Hold a dumbbell in each hand by your sides, arms long. Stand tall, shoulders gently back and down, eyes forward. Walk slowly and steadily across the room for 30–40 seconds, keeping your torso upright without leaning to either side. Set the weights down carefully by bending your knees and keeping your back flat.
Make it harder: walk a little longer, or carry just one weight in one hand (your core has to work hard to keep you from tilting).
Think of it as practicing carrying shopping bags with perfect posture. A pair of supportive women's training shoes with a flat, stable sole helps here and for squats and lunges, too – softer, cushioned running shoes can feel a bit wobbly under weights.
Sets, Reps and Rest: The Simple Formula
Here's the formula I'd keep on a sticky note: 2–3 sets x 8–12 reps, 60–90 seconds of rest.
- Rep: one full movement, like one squat down and up.
- Set: a group of reps done back to back, like 10 squats in a row.
- Rest: the pause between sets. Use it to breathe, sip some water and reset your posture.
For dead bugs and lunges, count reps per side. For farmer carries, count seconds instead of reps (30–40 seconds per set).
Move slowly. A good beginner tempo is about two seconds down, a tiny pause, and one to two seconds up. Slow reps feel harder, which is exactly the point – they build strength and teach control at the same time.
Keep a tall insulated water bottle next to your mat so a sip of cold water becomes part of every rest break. And if you need a reminder to keep drinking through the rest of the day, too, that habit pays off in every workout.
How To Pick the Right Weight
This is the question almost every beginner asks, and the answer is refreshingly simple: choose a weight where the last two reps of a set feel hard, but your form stays clean.
That means:
- If you could easily do 5 more reps, the weight is too light. Go up a little next set or next session.
- If your form breaks down (back rounding, knees caving in, shoulders creeping to your ears, jerking the weight up), it's too heavy. Go down without a second thought.
- If the last two reps are slow and challenging but still controlled, that's your sweet spot.
Expect different weights for different moves. Many beginners might use 8–10 pounds for rows and goblet squats, 5 pounds for overhead presses and just bodyweight for lunges. That's completely normal.
When 12 reps start to feel comfortable for all of your sets, it's time to progress: add a couple of pounds, add a set, or slow the tempo down. Small steps, always. Getting stronger is meant to feel like a staircase, not a cliff.
Your 4-Week Beginner Strength Training Plan
This plan uses two short workouts, A and B, so you train your whole body each week without doing all eight moves every time. Each session takes about 25–35 minutes, including warm-up and cool-down. Leave at least one rest day between sessions, for example Monday and Thursday, or Monday, Wednesday and Friday.
- Workout A: bodyweight squat, incline push-up, bent-over row, dead bug.
- Workout B: glute bridge, reverse lunge, overhead press, farmer carry.
Screenshot the table below and keep it on your phone, or copy it into a notebook so you can jot down your weights each session.
| Week | Days | Moves | Sets x Reps | Focus |
|---|---|---|---|---|
| Week 1 | 2 days (A, B) | All moves with bodyweight; rows and presses with a band or very light dumbbells | 2 x 8 (dead bug 2 x 6 per side, carry 2 x 30 sec) | Learn the movements, slow tempo, 90 sec rest |
| Week 2 | 2 days (A, B) | Add light dumbbells to rows, presses and carries; band on glute bridges | 2 x 10 (dead bug 2 x 8 per side, carry 2 x 30 sec) | Find your "last two reps hard" weight |
| Week 3 | 3 days (A, B, A) | Same moves; try goblet squats with one dumbbell | 3 x 10 (dead bug 3 x 8 per side, carry 3 x 30 sec) | Add a third set, keep form clean, 60–90 sec rest |
| Week 4 | 3 days (B, A, B) | Same moves; nudge the weight up on 1–2 moves that feel easy | 3 x 8–12 (dead bug 3 x 10 per side, carry 3 x 40 sec) | Progress gently, note your weights |
If week 3 feels like too much, it's absolutely fine to stay at two days a week for the whole month. Consistency at two days beats burnout at three.
On your days off, gentle movement helps your body recover. A relaxed walking workout or a low-impact workout keeps you moving without adding more strain. And if you'd like to build cardio alongside your new strength, my guide on how to start running pairs nicely with this plan once the first few weeks feel settled.
After Week 4
Repeat weeks 3 and 4, nudging the weight up a little whenever 12 reps feel comfortable for all sets. After a couple of months, you could add a third workout or try new variations, like single-leg bridges or step-ups. But honestly, these eight moves can carry you a long way.
Warm-Up and Cool-Down
A warm-up gently raises your body temperature and gets your joints moving, so the first set doesn't feel like a shock. A cool-down helps your heart rate settle and gives tight muscles a moment of attention. Both take about five minutes.
A 5-Minute Warm-Up
- March in place for 60 seconds, swinging your arms.
- Arm circles for 30 seconds forward and 30 seconds backward.
- Hip circles, hands on hips, 10 in each direction.
- Cat-cow on your mat, slowly rounding and arching your back, 8 times.
- Bodyweight good mornings, hands on hips, hinging forward with a flat back, 10 times.
- One easy practice set of the first move in your workout, without any weight.
If you already have a favorite set of morning stretches, a few of those work beautifully as a warm-up, too.
A 5-Minute Cool-Down
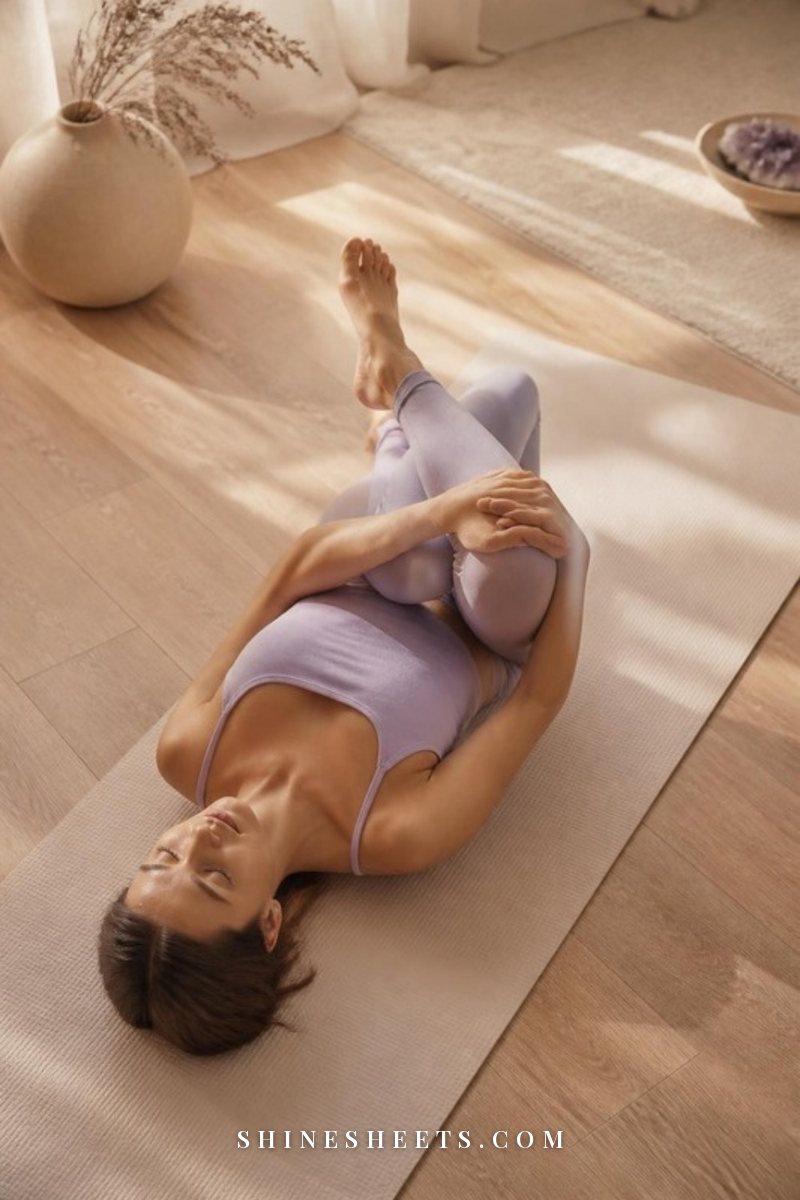
Move slowly and breathe deeply. Hold each stretch for 30–45 seconds without bouncing:
- Figure-four stretch: lie on your back with both knees bent, cross your right ankle over your left knee, then lift your left foot off the floor and gently draw your left thigh toward your chest with both hands. You'll feel it deep in your right hip and glute. Switch sides.
- Child's pose: knees wide, big toes touching, arms stretched forward, forehead resting on the mat.
- Standing quad stretch: hold a wall or chair for balance and draw one heel toward your bottom.
- Chest opener: clasp your hands behind your back and gently lift your chest.
A soft-density foam roller in a calming color is a nice extra for rolling your thighs and upper back after a session. Go gently – it should feel like a firm massage, never sharp.
Soreness vs. Pain: How To Tell the Difference
Feeling a little sore a day or two after a new workout is very common. It's called delayed onset muscle soreness, and it usually peaks around 24–48 hours after training before fading. Pain, on the other hand, is your body asking you to stop.
| Normal muscle soreness | Pain to take seriously |
|---|---|
| Dull, achy, spread across the muscle you worked | Sharp, stabbing or burning, often in one specific spot |
| Starts several hours to a day after training | Starts suddenly during a movement |
| Eases with gentle movement and warmth | Gets worse with movement |
| Fades within a few days | Lingers, comes with swelling, or affects a joint |
For normal soreness, gentle movement is usually the best medicine: a short walk, light stretching or a warm bath. Being sore doesn't mean you have to skip your next session, either – you can do the same workout with lighter weights or fewer sets.
If something feels like pain, stop that move. Try an easier variation or skip it for the day, and if it doesn't settle, check in with a doctor or physical therapist.
A kind safety note: if you're pregnant or postpartum, have a heart or blood pressure condition, osteoporosis, a past or current injury, or any health concern, please talk to your doctor before starting a new strength routine. A physical therapist can also help you adapt these moves to what your body needs right now.
Little Habits That Make It Stick
The best plan is the one you actually follow. A few small things can make that much easier:
- Schedule it like an appointment. Pick your two or three days now and put them in your planner. "Sometime this week" rarely happens.
- Keep your equipment visible. Dumbbells tucked in a basket by your mat are far more inviting than dumbbells buried in a closet.
- Write down your weights. A tiny note after each session ("rows 8 lb, 3 x 10, felt good") lets you see your progress in black and white.
- Lower the bar on hard days. If you're tired, do one set of each move and call it a win. Showing up keeps the habit alive.
- Celebrate non-scale wins. Carrying all the groceries in one trip, standing up off the floor without using your hands, feeling taller at your desk – these count, and they're worth noticing.
Final Thoughts
Strength training isn't about becoming someone else. It's about becoming a slightly stronger, steadier version of you, one slow squat at a time.
Start with bodyweight, pick up light dumbbells when you're ready, and let two short sessions a week do their quiet work. In four weeks, the weights in your hands will feel a little lighter, and you'll carry yourself a little taller. That's a beautiful place to begin.