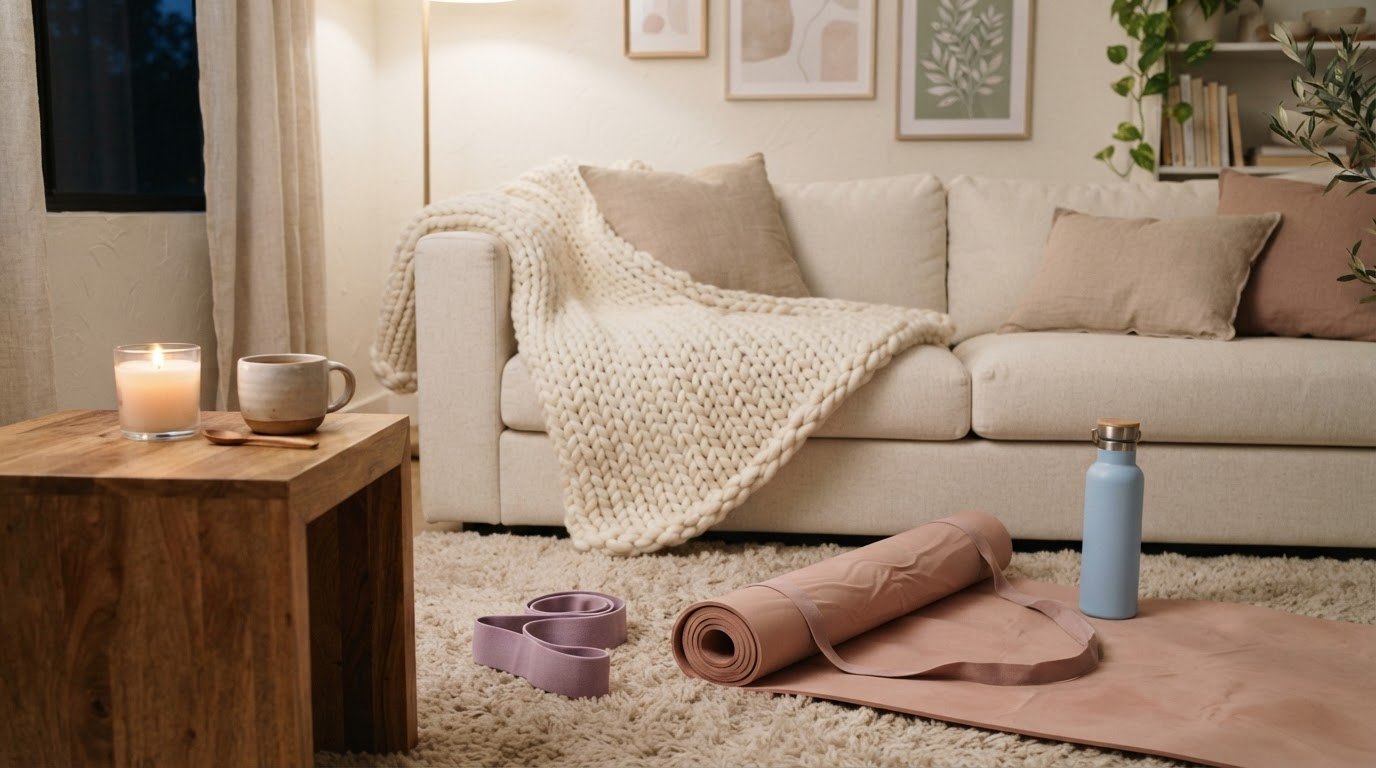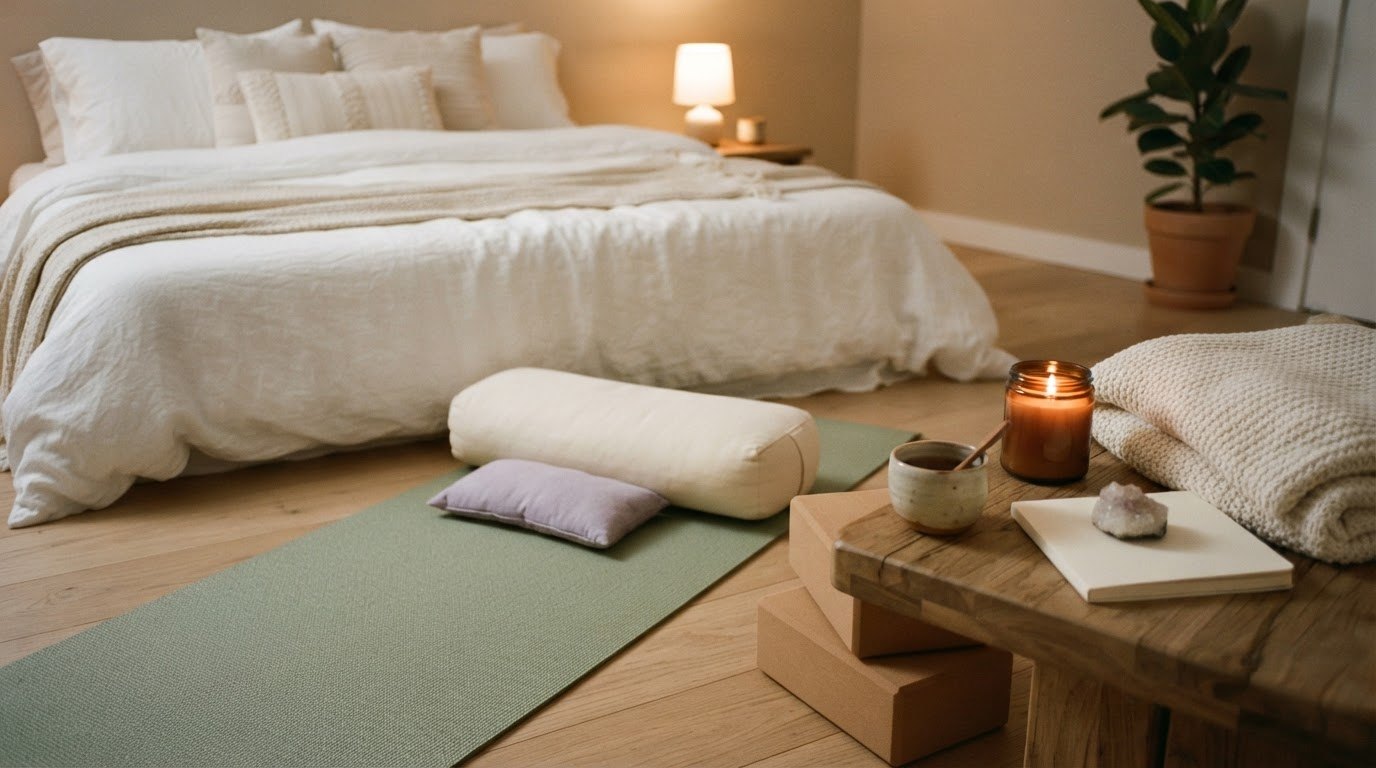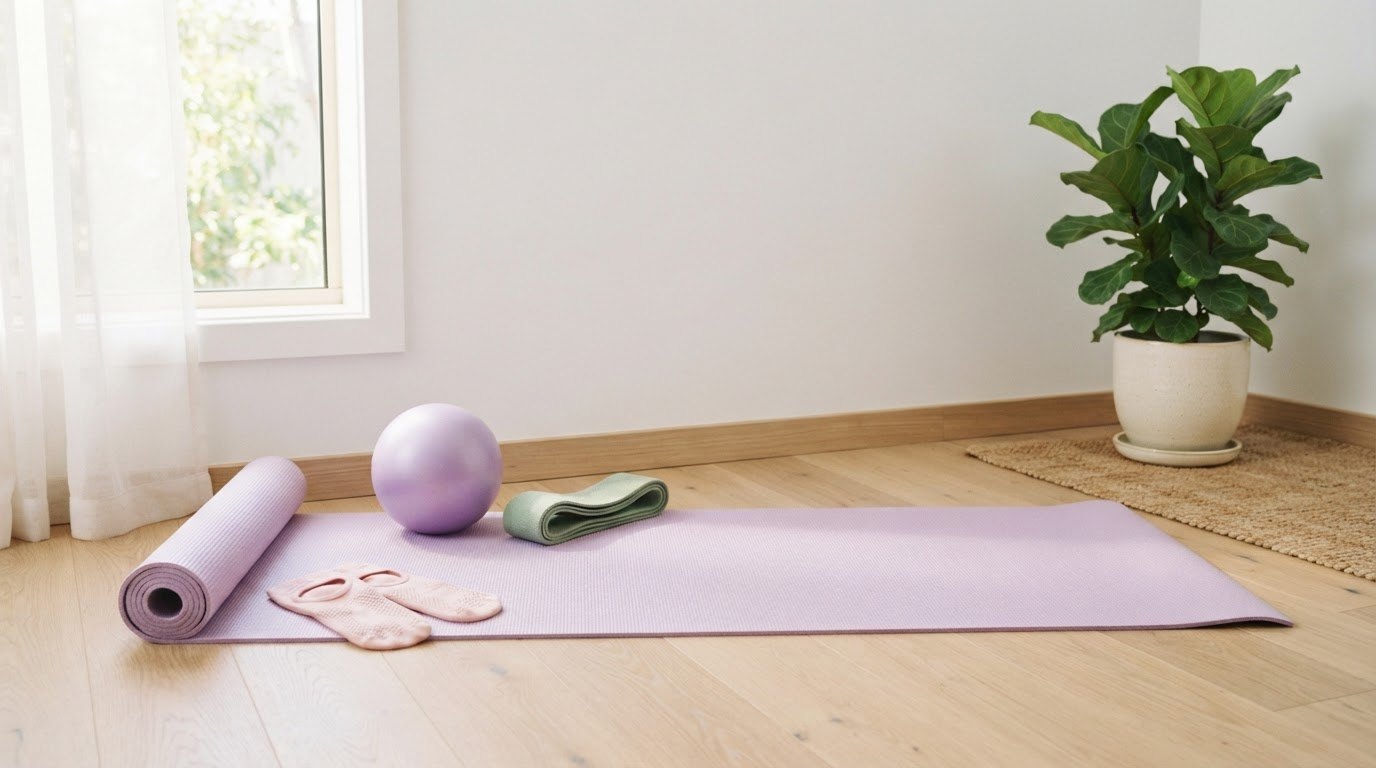
Wall pilates is one of the kindest ways to start moving, because the wall does half the teaching for you. It tells you when your back is straight, it gives your hands something steady to hold, and it turns wobbly balance moves into calm, controlled ones. You don't need a studio, a reformer machine or any special flexibility, just a clear bit of wall and about the width of a yoga mat.
The other quiet benefit is focus. With your feet or back pressed into something solid, you can actually feel which muscles are working, which makes it easier to slow down and do each move properly instead of rushing through it.
This guide is everything you need for wall pilates for beginners: what it is, what to set up, a 20-minute routine with 10 wall moves, a form check card to keep you safe and steady, and a simple weekly rhythm. It's about strength, posture and feeling good in your body, not about shrinking it.
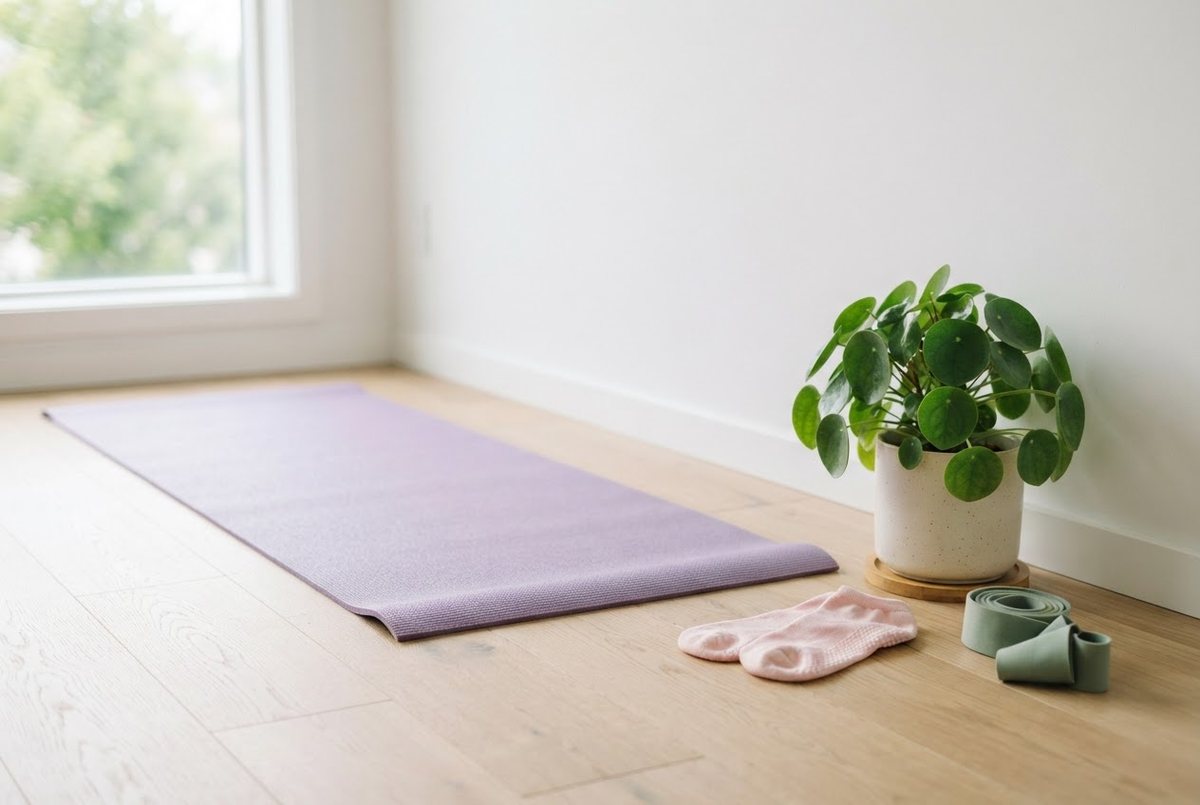
What Is Wall Pilates?
Wall pilates takes classic mat pilates moves (bridges, leg lifts, roll downs, planks) and adds a wall as a prop. Sometimes your feet press into it, sometimes your back slides along it, sometimes your hands lean into it. That contact gives you feedback and support, so moves that feel shaky on the floor suddenly feel doable.
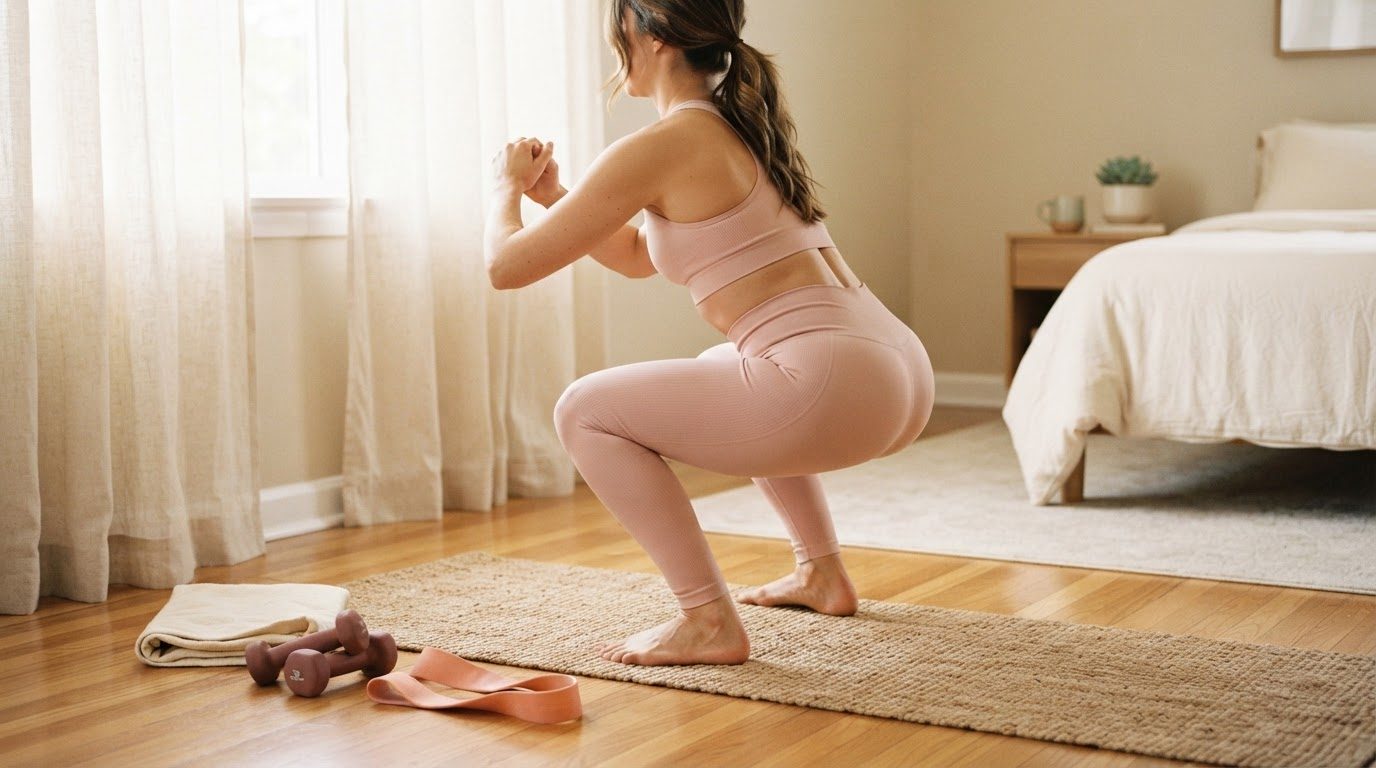
Like regular pilates, the focus is on slow, controlled movement, steady breathing and your deep core muscles – the ones that wrap around your middle and help hold you upright. It's low-impact (no jumping), quiet enough for an apartment and easy to scale up or down.
Here's what I love most about it:
- It's beginner-friendly. The wall catches you before you lose balance, which takes the fear out of trying something new.
- It's great for posture. Standing and lying moves against a flat surface show you exactly where your shoulders and pelvis are. If you spend long days at a desk, pair it with these gentle posture exercises on your off days.
- It fits small spaces. One wall, one mat. No machine to store, no equipment to set up.
- It's calm. Twenty slow minutes with steady breathing can feel more like a reset than a workout, which is exactly what makes it easy to come back to.
What You Need To Get Started
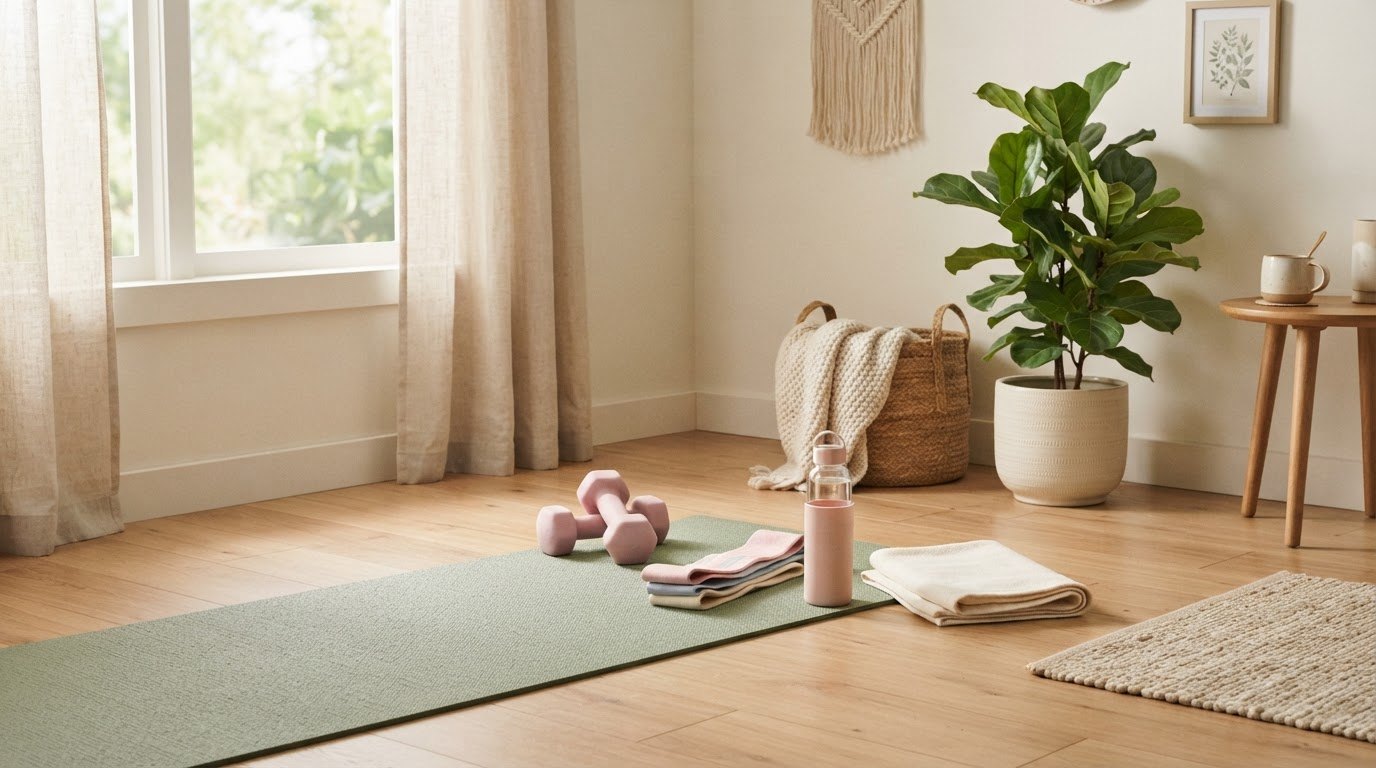
You can start barefoot on a rug, but a few simple things make wall pilates more comfortable and safer. Here's what I'd look for:
- A non-slip mat. Your mat should sit right up against the wall without sliding. I'd choose a thick, non-slip yoga mat in a soft lavender with a little cushioning for your spine and knees during bridges and kneeling moves.
- Grip socks. Bare feet can slip on painted walls, and regular socks definitely will. A pair of pilates grip socks with rubber dots on the soles keeps your feet planted while you press into the wall.
- A clear wall. Choose a sturdy, flat wall with nothing hanging at foot height. Move frames, hooks and shelves out of the way, and check that the floor in front of it is clear.
- A small towel and water. Nothing fancy. Keep them within reach so you don't break your flow.
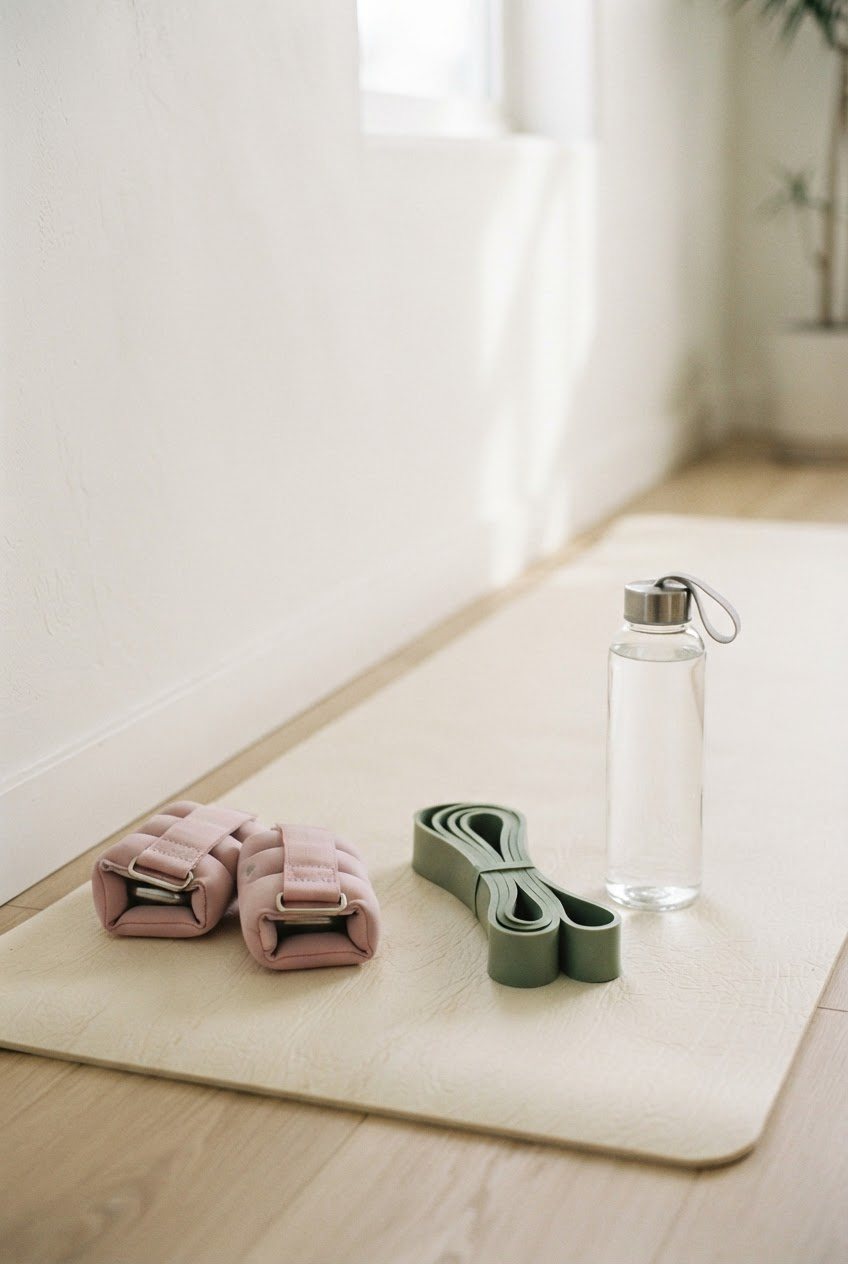
That's genuinely it for your first few weeks. Light ankle weights and a resistance band are lovely later, once the basic routine feels easy (more on that below).
Before You Start: A Kind Safety Note
Pilates is gentle, but your body still deserves a little care. Please keep these in mind:
- Stop if anything hurts. Muscle effort and a mild burn are normal. Sharp, pinching or shooting pain is not. Stop that move, rest and skip it next time.
- Check with your doctor first if you're pregnant or recently postpartum, recovering from an injury or surgery, living with a heart condition or joint problem, or completely new to exercise. A quick conversation can save you weeks of setbacks.
- Go slower than you think. Pilates works best when it's controlled. Fast and sloppy reps just borrow strength from the wrong muscles.
- Breathe the whole time. If you notice you're holding your breath, the move is probably too hard for today. Make it smaller.
This article is for general wellness and isn't a replacement for personal medical advice.
The 20-Minute Wall Pilates Routine
Here's the full routine at a glance. It starts standing, moves to the floor, and ends with a gentle stretch, so your body warms up before the harder moves. Screenshot the table and keep it next to your mat for the first few sessions.
| Move | Time or reps | How to do it | What you should feel |
|---|---|---|---|
| 1. Wall roll down | 2 minutes (about 6 slow reps) | Back against wall, peel spine forward one vertebra at a time, roll back up | Gentle stretch along your spine and hamstrings |
| 2. Wall sit with breathing | 3 x 30 seconds | Slide down until knees are bent, hold, breathe slowly | Thighs and glutes working, back flat on wall |
| 3. Standing wall push-up | 2 x 10 reps | Hands on wall at shoulder height, bend elbows, press away | Chest, arms, and the muscles between your shoulder blades |
| 4. Wall angels | 2 x 8 reps | Back and arms against wall, slide arms up and down like a snow angel | Upper back opening, shoulders relaxing down |
| 5. Wall glute bridge | 2 x 12 reps | Lie down, feet flat on wall, lift hips, lower slowly | Glutes and hamstrings, not your lower back |
| 6. Single-leg wall bridge | 2 x 6 reps each side | Same as bridge, one foot on wall, other knee hugged in or leg lifted | One glute working hard, hips staying level |
| 7. Wall dead bug | 2 x 8 reps each side | Lie down, hands press into wall overhead, lower opposite leg slowly | Deep core switching on, lower back staying heavy |
| 8. Side-lying leg lift | 2 x 10 reps each side | Lie on your side, back against wall, lift top leg sliding heel along wall | Outer hip and side of your glute |
| 9. Wall plank | 3 x 20 seconds | Forearms on floor, feet pressing into wall, long straight line | Whole core, shoulders and legs working together |
| 10. Legs up the wall | 2 minutes | Lie close to the wall, legs resting up it, arms relaxed | Calm, heavy legs, slower breathing |
Rest 20 to 30 seconds between sets and moves. With rests, the whole thing lands at about 20 minutes. If you only have ten minutes, do moves 1, 2, 5, 7 and 10 once each.
How To Do Each Move
Read through these once before your first session. The details are what make wall pilates feel smooth instead of awkward.
1. Wall Roll Down
Stand with your back against the wall, feet about a foot in front of it and hip-width apart, knees soft. Tuck your chin gently and peel your spine away from the wall, starting from the top of your head, until you're hanging forward with your arms loose. Pause for one breath, then roll back up, pressing each part of your back into the wall in order. Take about ten seconds down and ten seconds up.
This is your warm-up and your check-in. Notice which parts of your back feel stiff today, without judging them.
2. Wall Sit With Breathing
From the same spot, walk your feet a little further out and slide down until your knees are bent (aim for somewhere between a gentle bend and a 90-degree angle – higher is perfectly fine). Keep your whole back, including your lower back, touching the wall. Hold for 30 seconds, breathing in through your nose for four counts and out through your mouth for six.
Check that your knees point the same direction as your toes. If they ache, slide up higher.
3. Standing Wall Push-Up
Face the wall and place your hands on it at shoulder height, a little wider than your shoulders. Step your feet back until you're leaning in a straight line from head to heels. Bend your elbows to bring your chest toward the wall, then press away. Keep your elbows angled slightly back rather than flaring straight out.
To make it harder, step your feet further back. To make it easier, step closer.
4. Wall Angels
Stand with your back against the wall again, feet a few inches out, knees soft. Bring your arms up into a "goalpost" shape with the backs of your hands and elbows touching the wall (or as close as they comfortably go). Slowly slide your arms up overhead and back down, keeping your ribs soft and your lower back near the wall.
This one is a small miracle for desk shoulders. If your hands won't touch the wall, that's completely normal – just move in the range you have.
5. Wall Glute Bridge
Lie on your back with your hips about a foot or two from the wall and your feet flat on it, knees bent to roughly 90 degrees. Press through your heels, squeeze your glutes and lift your hips until you form a line from shoulders to knees. Lower slowly, one vertebra at a time.
If you feel it mostly in your lower back, lower your hips a little and squeeze your glutes harder at the top.
6. Single-Leg Wall Bridge
Set up like the bridge, then lift one foot off the wall and either hug that knee toward your chest (easier) or extend the leg straight up (harder). Press the other heel into the wall and lift your hips. Try to keep both hip bones level, like headlights pointing at the ceiling. Do all reps on one side, then switch.
7. Wall Dead Bug
Lie on your back with the top of your head a few inches from the wall. Reach your arms overhead and press your palms flat into the wall. Lift your knees above your hips, shins parallel to the floor. Slowly lower one heel toward the floor while the other leg stays still, then bring it back. Alternate sides.
Pressing into the wall switches your core on almost automatically. Keep your lower back heavy on the mat; if it arches, don't lower the leg as far.
8. Side-Lying Leg Lift
Lie on your side with your back, hips and heels lined up against the wall, bottom arm supporting your head. Lift your top leg about a foot, letting your heel lightly slide along the wall, then lower with control. The wall stops you from rolling backward and cheating with your hip.
9. Wall Plank
Come onto your forearms facing away from the wall, then place the balls of your feet against it so your legs are straight and your body forms a long line. Press your forearms into the floor and your feet into the wall at the same time. Hold for 20 seconds, breathing steadily.
Easier option: drop your knees to the mat and keep your feet resting on the wall. A plank you can breathe in beats a perfect-looking one you can't.
10. Legs Up the Wall
Sit sideways next to the wall, then swing your legs up as you lie back, so your legs rest up the wall and your hips are close to it (closer is not better if your hamstrings complain – scoot back a little). Rest your arms by your sides, close your eyes and breathe slowly for two minutes. If you love this part, my bedtime yoga flow has a few more poses that feel just as soothing.
Wall Pilates Form Check Card
Before each move, run through this quick card. It takes ten seconds and keeps your effort in the right muscles.
- Feet: Grounded and hip-width, with weight spread evenly across heel, big toe and little toe.
- Knees: Soft, never locked, and tracking over your toes.
- Pelvis: Neutral (not tucked under, not arched), unless the move asks you to curl.
- Ribs: Soft and heavy toward your hips, not flaring up.
- Shoulders: Away from your ears, shoulder blades gently sliding down your back.
- Neck: Long, chin slightly tucked, eyes soft.
- Breath: Exhale on the effort, inhale on the return. No breath-holding.
- Speed: Slow enough that you could stop at any point in the move.
If one of these slips, make the move smaller or slower until it comes back. That's not failing – that's exactly how pilates is supposed to work.
How Often Should Beginners Do Wall Pilates?
Three times a week is a lovely starting rhythm. It's enough to feel stronger within a few weeks and leaves days in between for your muscles to recover. Here's a gentle weekly rhythm you can follow:
- Monday: Full 20-minute routine.
- Tuesday: A walk or a few easy morning stretches.
- Wednesday: Full 20-minute routine.
- Thursday: Rest or a short walk.
- Friday: Full 20-minute routine.
- Weekend: Something fun and active, or just rest. Rest counts.
Some weeks you'll manage three sessions and some weeks you'll manage one. Both are fine. Consistency over months matters far more than any single week, and if you tend to beat yourself up about missed workouts, my guide on being more disciplined without burning out might take some pressure off.
How To Make It Harder (When You're Ready)
Once the routine feels comfortable – you can do every set with good form and still breathe easily – you can add a little challenge. Change only one thing at a time:
- Slow down even more. Take four counts up and four counts down. It sounds simple and it's surprisingly tough.
- Add a pause. Hold at the hardest point of each rep (top of the bridge, bottom of the wall sit) for two breaths.
- Add light ankle weights. For bridges, side-lying leg lifts and dead bugs, a pair of light, adjustable ankle weights in soft pink (start with about one pound each) adds gentle resistance without straining your joints.
- Add a resistance band. Loop a fabric resistance band in a pastel shade just above your knees for wall sits and bridges, and press your knees gently out against it. Fabric bands roll up less than rubber ones.
- Add a small ball. Squeezing a soft mini pilates ball between your knees during bridges and wall sits wakes up your inner thighs and deep core.
- Add a round. Repeat moves 3 to 9 a second time for a 30-minute session.
None of these are required. Plenty of people do the basic routine for months and feel wonderful.
6 Common Beginner Mistakes (and Easy Fixes)
- Setting up too close or too far from the wall. If a move feels strangely hard or strangely easy, scoot an inch or two and try again. Small changes in distance change everything.
- Rushing. Count your reps out loud slowly if you need to. Pilates is not a race.
- Arching the lower back. Especially in dead bugs and planks. Make the move smaller until your back stays steady.
- Shrugging. Shoulders creep up when we concentrate. Check in between every move and let them drop.
- Doing too much too soon. Three sessions a week is plenty to start. Daily, all-out sessions usually end in soreness and quitting.
- Comparing your wall to someone else's. Online videos show the most flexible, practiced version of each move. Your version, done with good form, is the right version.
Little Ways To Make It a Habit
The routine only helps if you come back to it, so make it as easy as possible to start:
- Leave your mat by the wall. If it's already rolled out (or rolled up right there), you skip the "ugh, setting up" step.
- Attach it to something you already do. Right after your morning tea, or right before your evening shower.
- Keep the bar low. On tired days, promise yourself just moves 1 and 10. Most days you'll keep going; some days you won't, and that's okay too. For more ideas on very low-effort days, my lazy girl workouts are made for exactly those moments.
- Notice how you feel afterward, not how you look. Looser shoulders, a calmer mind, standing a little taller at your desk. Those are the wins that keep you coming back.
Final Thoughts
Wall pilates proves you don't need much to feel stronger: one wall, one mat and twenty slow minutes. Start with the routine as it is, let the wall guide you, and give your body a few weeks to settle in.
Some days it will feel graceful and some days it will feel wobbly. Every one of those sessions still counts, and every one of them is a small act of kindness toward the body that carries you through everything else.