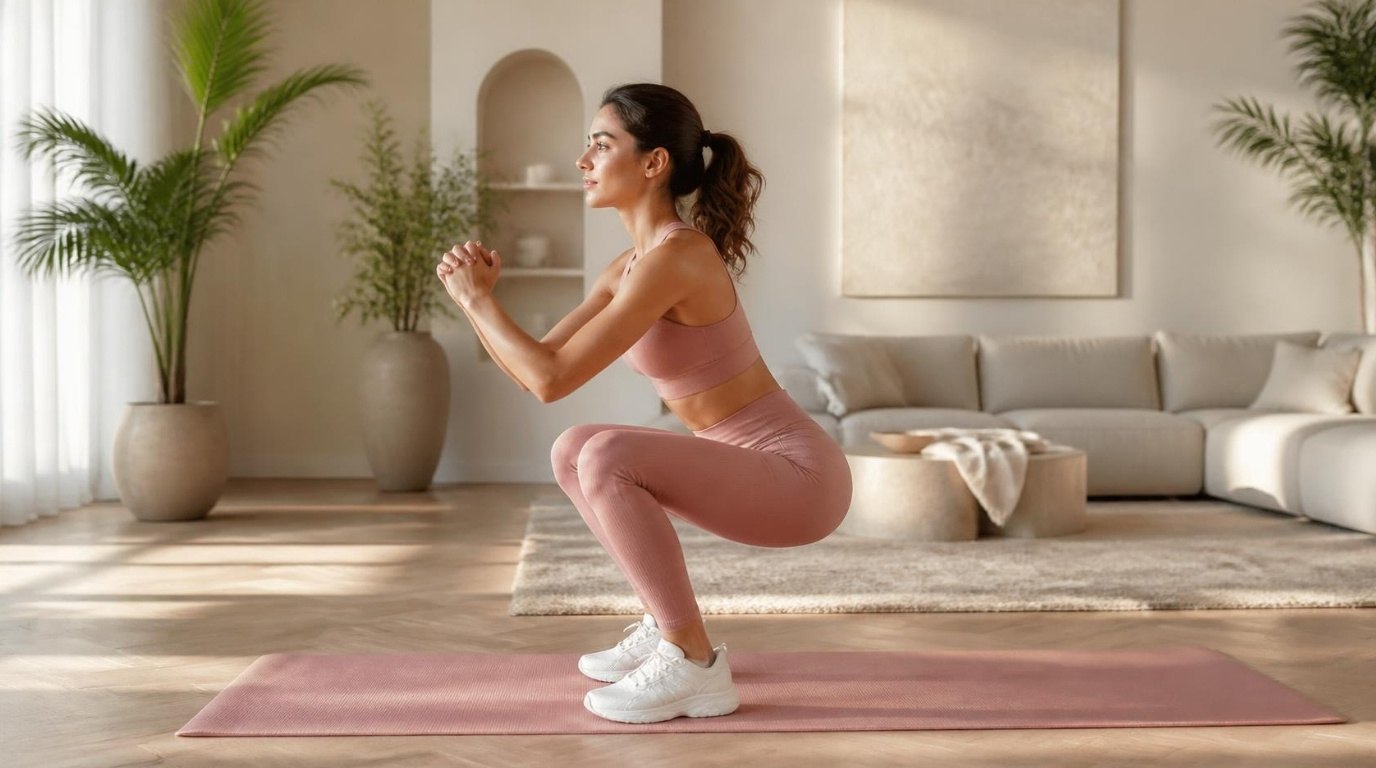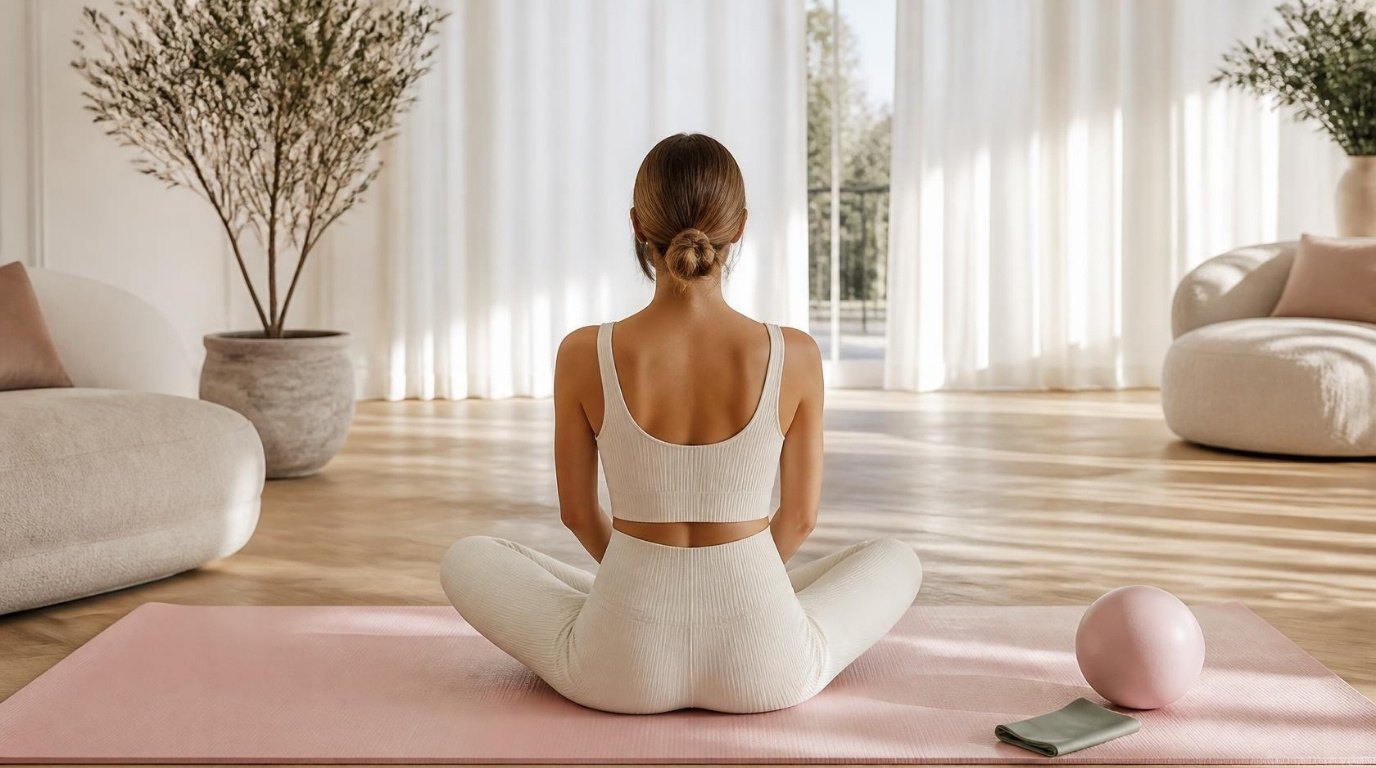
Pilates is one of the kindest ways to start moving at home, because the whole method is built on small, controlled movements. There's no jumping, no complicated choreography and no need for a reformer machine. A mat, a bit of floor space and about twenty minutes are enough to feel your core switch on, your posture lift and your back loosen up.
What makes beginner Pilates work isn't how many moves you do. It's how well you do a few: breathing with the movement, keeping your spine supported and stopping before your form falls apart. Slow is the point here, not a sign that you're doing it wrong.
This guide to Pilates at home for beginners gives you a complete 20-minute mat routine with ten moves, the reps for each, the form cues that matter, how to breathe, how often to practice and a four-week progression plan so you always know what to do next. A thick Pilates mat makes a real difference here, since most of the routine happens on your back and knees.
Roll out your mat, open a window if you can, and let's begin.
Why Mat Pilates Works So Well at Home
Mat Pilates was designed to be done with nothing but your own body weight, which makes it ideal for a living room or bedroom. It focuses on the deep core muscles that support your spine, along with your glutes, hips and the small muscles around your shoulder blades.
Here's what a regular beginner practice can help with:
- Core strength that supports everyday movements like lifting, carrying and bending.
- Posture, especially if you sit at a desk for long hours.
- Body awareness, so you notice when you're slouching or holding tension.
- Gentle mobility in the spine and hips.
- A calmer mind, because breathing and focusing on each movement is quietly grounding.
It's also low impact, so it pairs well with walking or other gentle movement. If you like the idea of training on softer days, my low-impact workout is a lovely companion to this routine.
Before You Start: The Pilates Basics
Three ideas show up in every Pilates move. Spend two minutes on them before your first session, and every exercise below will make more sense.
Breathing
Pilates uses lateral breathing: you breathe into the sides and back of your ribs instead of letting your belly balloon out. Place your hands on your lower ribs, inhale through your nose and feel your ribs widen into your hands, then exhale through slightly parted lips and feel them draw back in.
As a general rule, exhale on the effort (the lift, the curl, the reach) and inhale to prepare or return. If you lose track, just keep breathing. Holding your breath is the only real mistake.
Neutral Spine
Lie on your back with knees bent and feet flat. Your lower back should have a small natural curve, just enough to slide your fingertips under, but not so much that your ribs pop up. That's neutral. Most moves start here.
Core Engagement
Instead of sucking in your stomach, imagine gently zipping up a pair of high-waisted jeans from your pubic bone to your belly button. It's about 30 percent effort, not 100. You should still be able to breathe and talk.
What You Need
Very little. Here's the simple setup:
- A thick mat, at least 8–10 mm, so your spine and knees are cushioned.
- Clothes that let you see your body, like fitted leggings and a top that doesn't slide over your face when you lie down.
- Bare feet or grip socks. A pair of grip socks for women keeps your feet from sliding and warms them up on cold floors.
- A small towel or cushion for under your head if your neck feels strained.
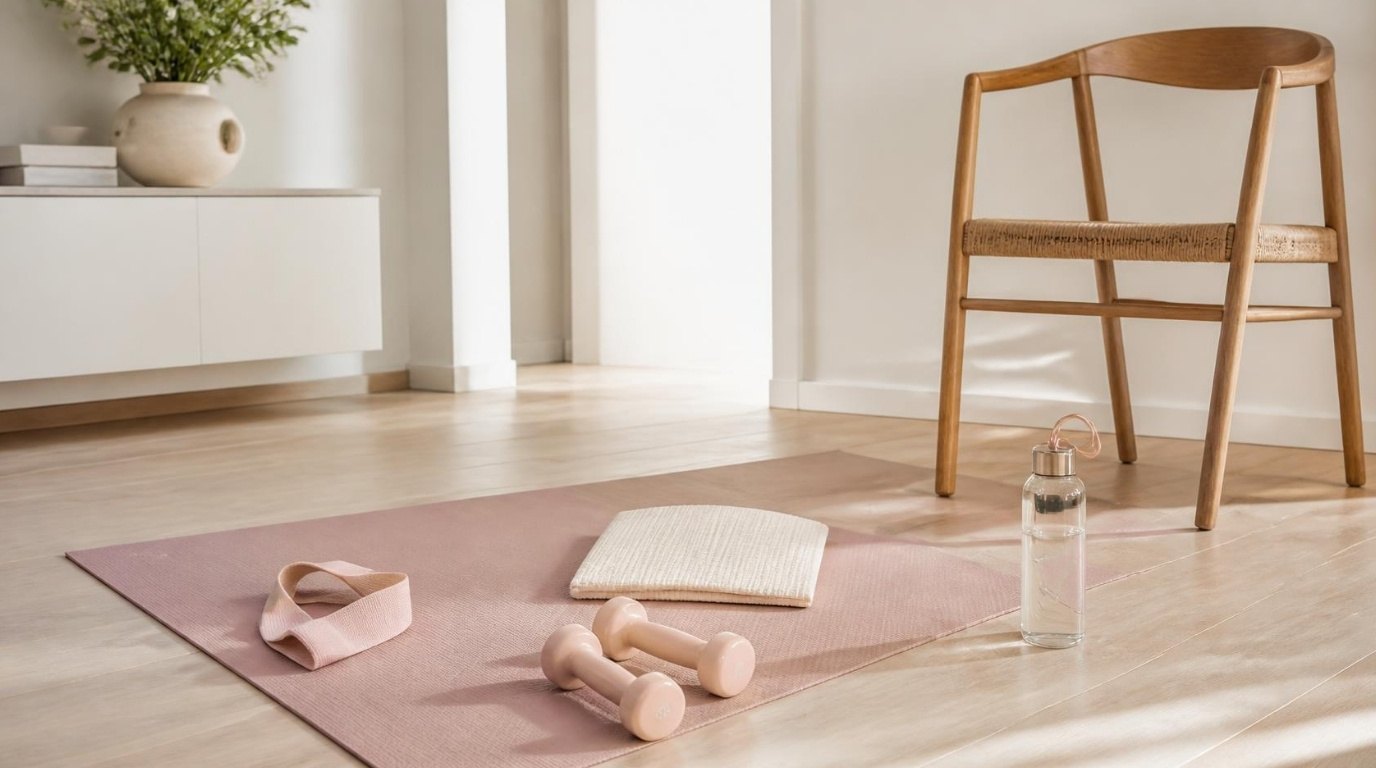
- Optional extras for later: a mini ball, a resistance band and light ankle weights (more on those in the progression plan).
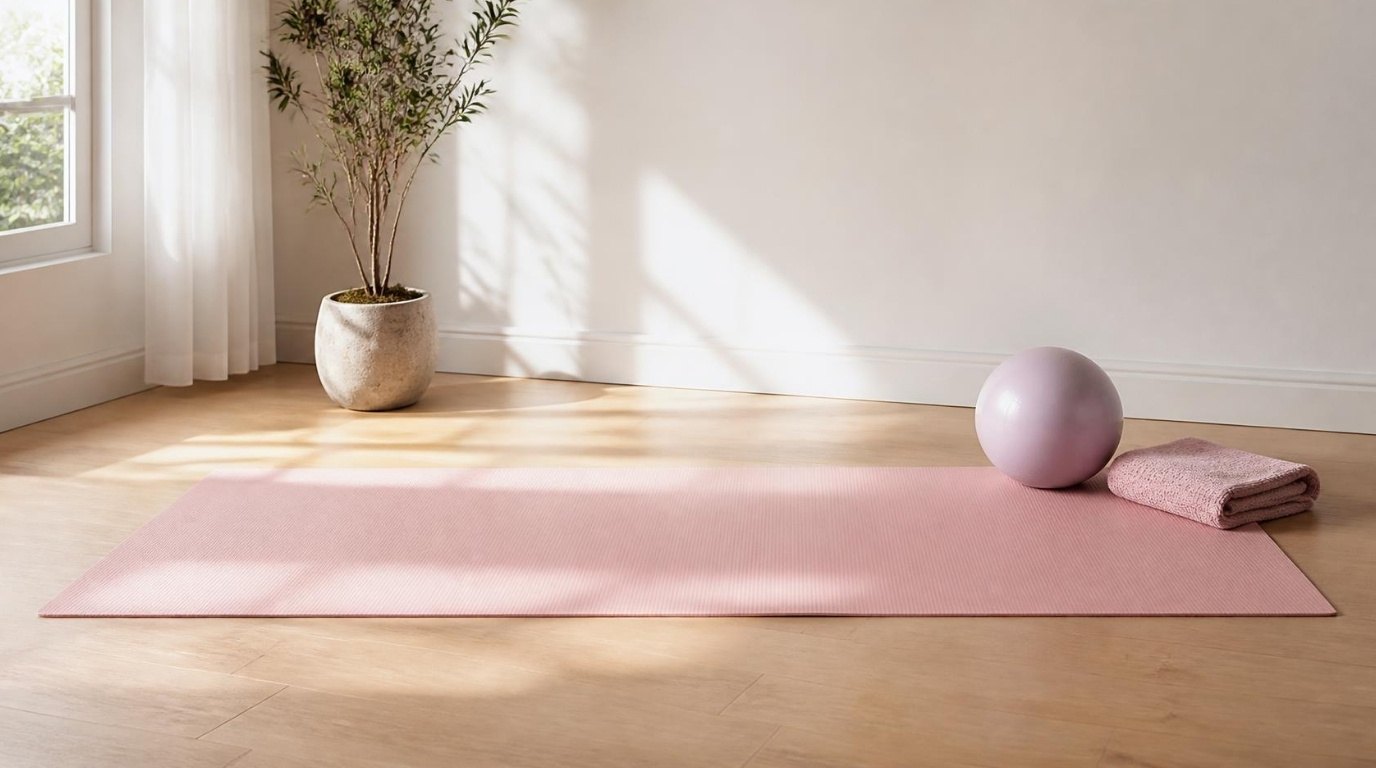
Choose a spot where you can stretch your arms overhead and out to the sides without hitting furniture. A bright corner with a window is perfect.
The 20-Minute Beginner Pilates Routine
Here's the full routine card. Read it once, then use it as your guide while you practice. Start with a two-minute warm-up of lateral breathing on your back, then move through the ten exercises in order. The routine flows from lying on your back, to your side, to your stomach, to hands and knees, and finally sitting, so you never have to jump up and down.
| Move | Reps | About |
|---|---|---|
| –. Warm-up: lateral breathing | 10 breaths | 2 min |
| 1. Pelvic curl | 8–10 | 2 min |
| 2. Modified hundred | 50–100 pumps | 1.5 min |
| 3. Single leg stretch | 8 each side | 1.5 min |
| 4. Bent-knee leg circles | 5 each direction, each leg | 2 min |
| 5. Side-lying leg lifts | 10 each side | 2 min |
| 6. Clamshell | 10 each side | 2 min |
| 7. Swimming | 8 each side | 1.5 min |
| 8. Swan prep | 6 | 1.5 min |
| 9. Bird dog | 6 each side | 2 min |
| 10. Spine stretch forward | 5 | 1.5 min |
With short pauses between moves, the whole session takes about twenty minutes. Screenshot the card and keep it next to your mat.
10 Beginner Pilates Moves, Step by Step
Take your time with each one. If a move feels too much, use the easier option and come back to the full version in a week or two.
1. Pelvic Curl
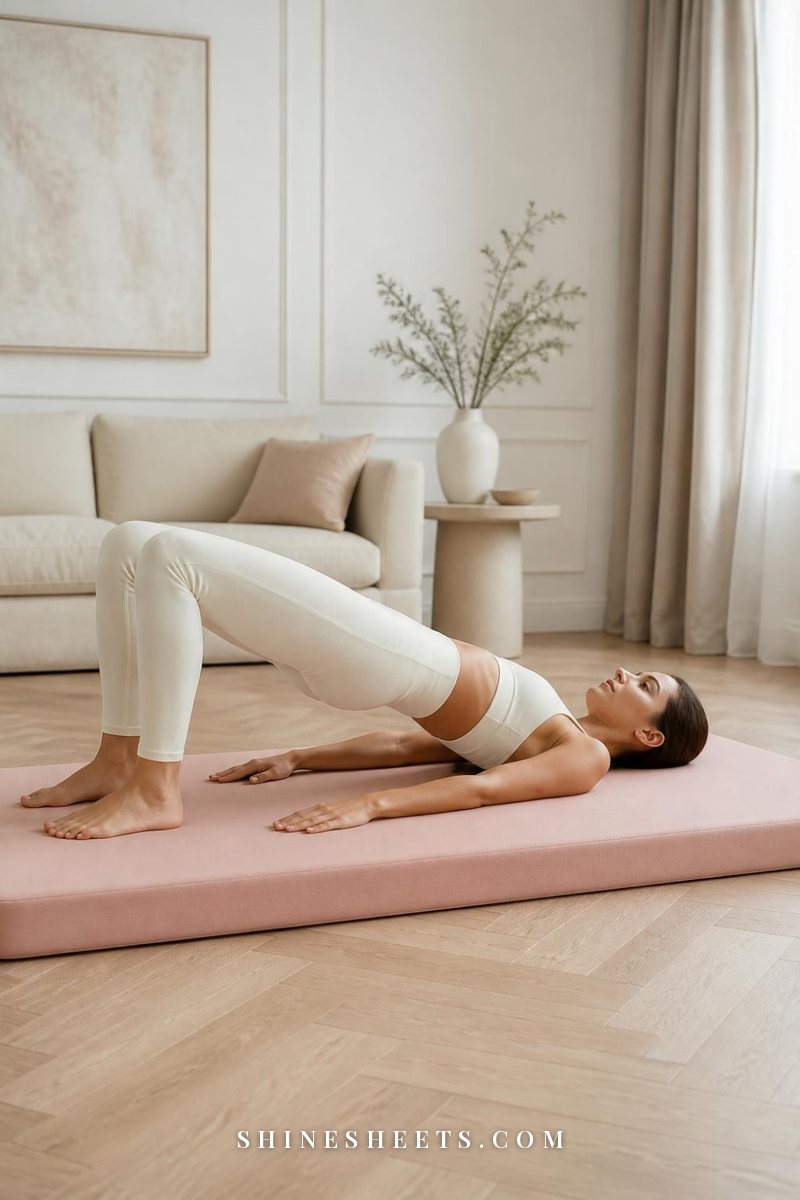
How: Lie on your back, knees bent, feet flat and hip-width apart, arms long by your sides. Inhale to prepare. Exhale and tilt your pelvis so your lower back presses gently into the mat, then peel your spine up one vertebra at a time until your body forms a straight line from knees to shoulders. Inhale at the top. Exhale and roll down slowly, placing each vertebra back on the mat.
Reps: 8–10.
Form cue: Keep your weight in your feet and shoulders, not your neck. Your ribs stay soft, not flared up toward the ceiling.
2. Modified Hundred
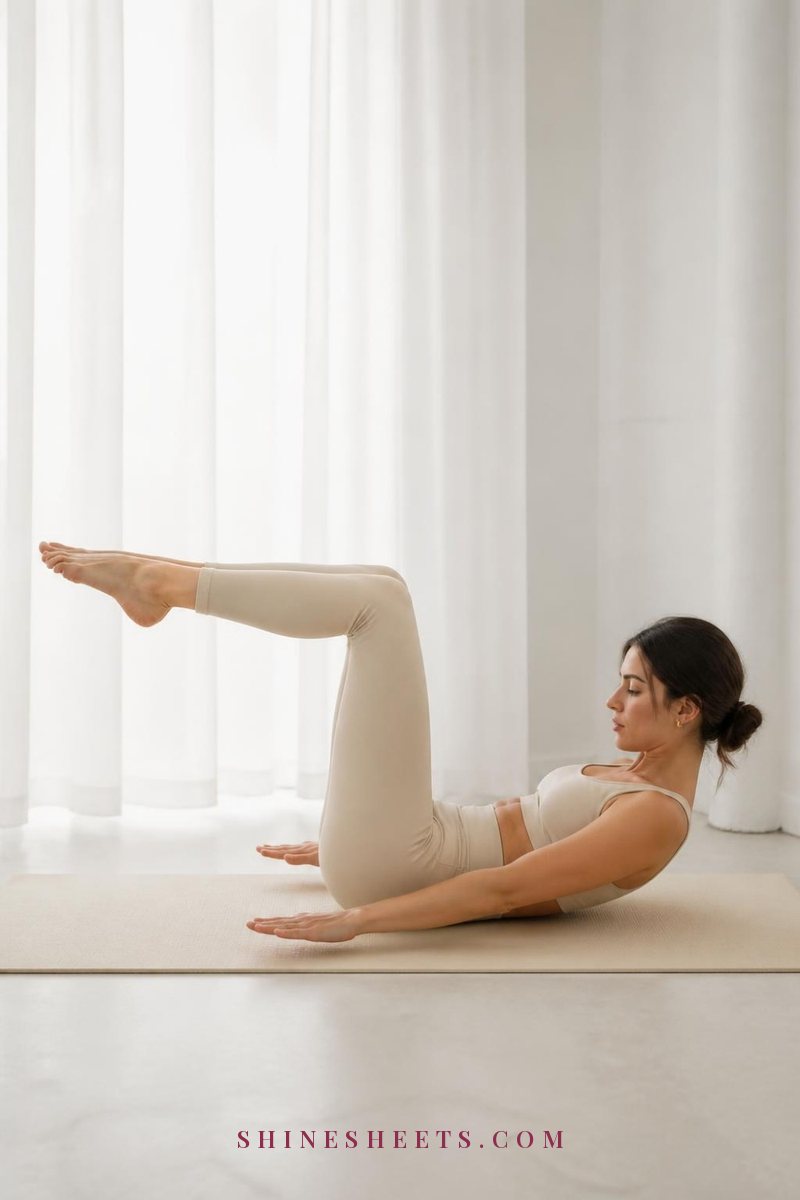
How: Bring your knees into tabletop (knees over hips, shins parallel to the floor). Exhale and curl your head and shoulders off the mat, reaching your arms long just above your hips. Pump your arms up and down a few inches, inhaling for five pumps and exhaling for five pumps.
Reps: Start with 50 pumps (five full breaths in and out) and build to 100.
Easier option: Keep your feet on the mat and your head down. You'll still feel your core working from the breathing and arm pumps.
3. Single Leg Stretch
How: From tabletop, curl your head and shoulders up. Hold your right shin with both hands and extend your left leg out at about 45 degrees. Switch legs, drawing the left knee in and extending the right. Keep switching with control.
Reps: 8 each side.
Form cue: The higher the extended leg, the easier it is. If your lower back lifts off the mat, raise the leg toward the ceiling.
4. Bent-Knee Leg Circles
How: Lower your head to the mat. Keep your left foot flat and bring your right knee into tabletop. Draw small circles with your knee, about the size of a dinner plate, keeping your pelvis completely still.
Reps: 5 circles in each direction, then switch legs.
Form cue: Small and steady beats big and wobbly. Place your hands on your hip bones to check they stay level.
5. Side-Lying Leg Lifts
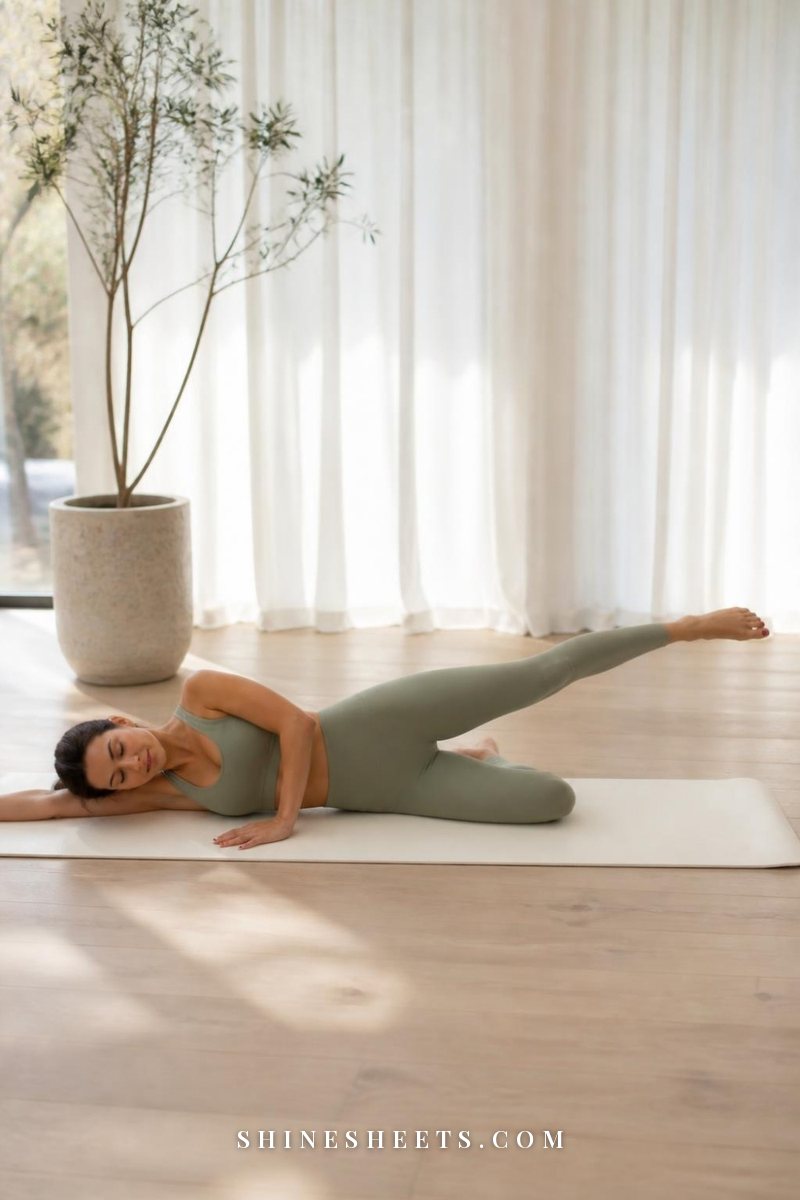
How: Roll onto your right side and stack your hips and shoulders. Rest your head on your extended right arm and place your left hand on the mat in front of you. Bend your bottom leg slightly for balance. Lift your top leg to hip height, flex your foot, and lower it with control without letting it rest.
Reps: 10, then repeat on the other side after the clamshell.
Form cue: Keep the leg slightly in front of your hip, not behind it, and avoid rolling back onto your bottom.
6. Clamshell
How: Stay on your side and bend both knees to about 90 degrees, heels in line with your spine. Keeping your feet together, exhale and open your top knee like a clamshell, then close it slowly.
Reps: 10, then roll over and do moves 5 and 6 on the other side.
Make it harder later: A loop from a resistance band loops set just above your knees adds a lovely burn in your glutes.
7. Swimming
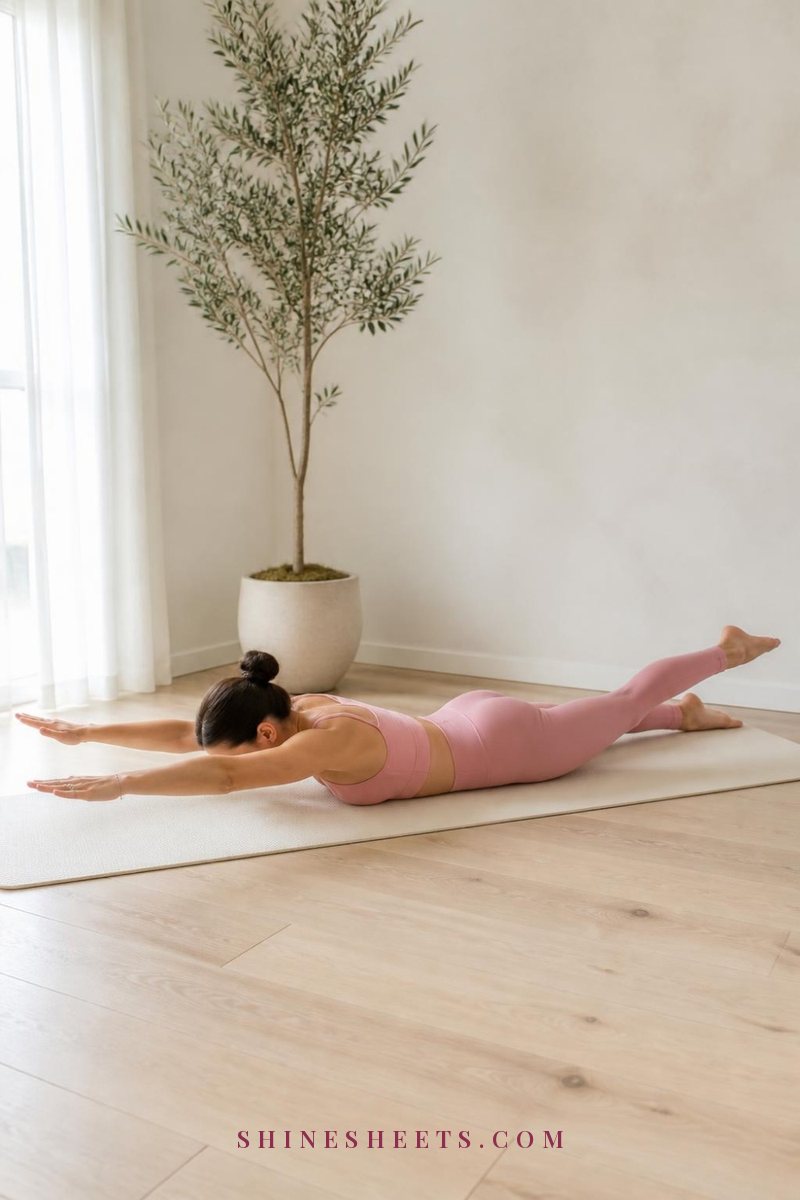
How: Lie on your stomach, arms reaching long overhead, legs long and hip-width apart. Gently lift your belly button away from the mat. Exhale and lift your right arm and left leg a few inches, then lower and switch sides. Move slowly, as if you're reaching for the walls in front of and behind you.
Reps: 8 each side.
Easier option: Lift only the arms or only the legs at first.
8. Swan Prep
How: Still on your stomach, bend your elbows and place your hands under your shoulders. Exhale and lift your head and chest a few inches, using your upper back more than your arms. Keep your lower ribs on or near the mat. Inhale and lower slowly.
Reps: 6.
Form cue: Look slightly ahead at the mat so your neck stays long. This one is wonderful for anyone who spends the day hunched over a laptop.
9. Bird Dog
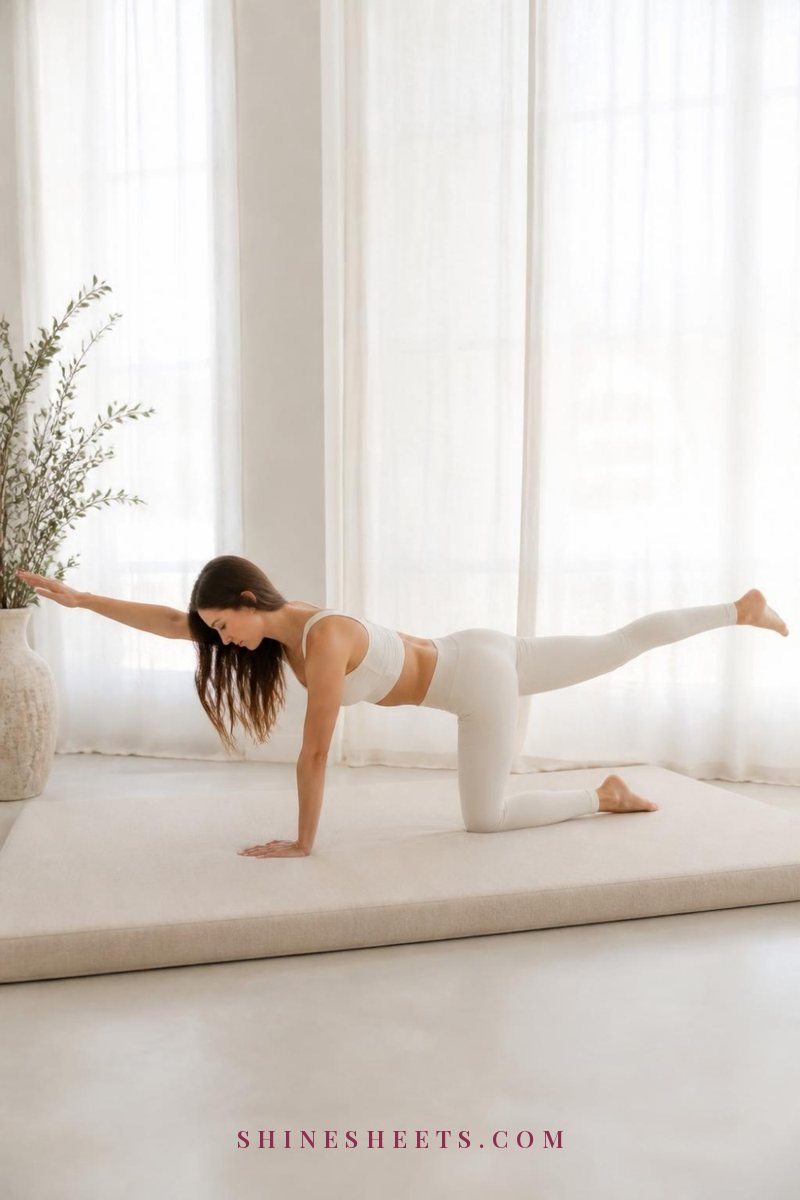
How: Come onto hands and knees, wrists under shoulders, knees under hips, back flat. Exhale and reach your right arm forward and your left leg back at the same time, both at about hip and shoulder height. Hold for one breath, then return and switch.
Reps: 6 each side.
Form cue: Imagine balancing a cup of tea on your lower back. If it would spill, lift the leg a little lower.
10. Spine Stretch Forward
How: Sit tall with your legs extended in front of you, a little wider than hip-width, feet flexed. Reach your arms forward at shoulder height. Exhale and round forward from the top of your head, as if rolling over a big beach ball, reaching toward your feet. Inhale and stack your spine back up to sitting tall.
Reps: 5.
Easier option: Bend your knees or sit on a folded towel if your hamstrings are tight.
Finish with a minute in child's pose or simply lying on your back with your knees bent, breathing slowly. Notice how your back and belly feel compared to when you started.
Your 4-Week Pilates Progression Plan
The biggest beginner question is "what do I do once this feels easy?" This plan answers it. Each week builds a little on the one before, and you can always stay on a week longer if you need to.
| Week | Sessions | Focus | How to progress |
|---|---|---|---|
| Week 1 | 2–3 | Learning the moves and breathing | Easier options for every move, lowest reps, head down for the hundred |
| Week 2 | 3 | Control and form | Full reps, add the head curl in the hundred and single leg stretch |
| Week 3 | 3 | Endurance | Hundred to 100 pumps, slower tempo (3 counts up, 3 counts down), add a mini ball under the pelvic curl knees |
| Week 4 | 3–4 | Gentle challenge | Add a resistance band to the clamshell and light ankle weights to side-lying leg lifts |
For week three, a mini Pilates ball squeezed between your knees during the pelvic curl wakes up your inner thighs and makes the move feel brand new. In week four, a pair of pastel ankle weights (1–2 pounds is plenty) adds challenge to the leg work.
After four weeks, you can keep cycling through weeks three and four, swap in new moves or try wall Pilates for beginners for variety. The wall adds support and a whole new set of shapes.
How Often Should You Do Pilates at Home?
For beginners, two to three times a week is the sweet spot. That's enough to feel stronger within a few weeks and leaves time for your body to adapt. Pilates is gentle enough that many people do it more often, but in the beginning, rest days help your form stay sharp.
A simple weekly rhythm could look like this:
- Monday: 20-minute routine.
- Wednesday: a walk or gentle stretching.
- Thursday: 20-minute routine.
- Saturday: 20-minute routine or a shorter 10-minute version (moves 1, 2, 5, 7 and 9).
On tired days, the 10-minute version still counts. Honestly, consistency matters far more than intensity. If you need ideas for those low-energy days, my lazy girl workouts are made exactly for them.
How To Make Pilates a Habit
The routine only works if you actually come back to it, and that's usually the hardest part for beginners. A few small tricks make it much easier:
- Leave the mat out. A rolled mat in the corner of the room is a gentle daily reminder. One tucked in a closet is easy to forget.
- Attach it to something you already do. Right after your morning coffee, or before your evening tea, works better than "sometime today."
- Put it in your calendar like an appointment. Twenty minutes, three times a week, written down.
- Lower the bar on busy days. Promise yourself just the pelvic curl and the hundred. Most days, once you're on the mat, you'll keep going.
- Notice one change each week. Maybe your back feels looser in the mornings, or you sit up straighter at your desk. Write it down. Those small wins are what keep you showing up.
On rest days, gentle stretching keeps your body feeling good without adding effort. My morning stretches take about ten minutes, and if you'd like a slower practice to alternate with Pilates, my gentle yoga for beginners flow fits beautifully between sessions.
7 Common Beginner Mistakes
- Rushing. Pilates gets harder, not easier, when you slow down. If a move feels easy, do it slower before you do it more.
- Holding your breath. Count your breaths out loud for a session if you notice yourself freezing.
- Pulling on your neck. In curl-ups, your head is heavy but your neck shouldn't do the lifting. Look toward your knees and lift from your upper abs.
- Arching the lower back. If your back lifts off the mat during leg moves, bring your legs higher or bend your knees.
- Gripping too hard. Core engagement is about 30 percent effort. Clenching everything makes it harder to move well.
- Skipping the side and back work. The side-lying and stomach moves balance out all the front-body work and are great for posture.
- Comparing your practice to videos. Professional instructors have years of practice. Your version is the right version for today.
If posture is one of your main reasons for starting, these posture exercises pair beautifully with the swan prep and swimming moves above.
A Gentle Safety Note
Pilates is gentle, but every body is different. If you're pregnant or recently postpartum, recovering from an injury or surgery, or living with back pain, osteoporosis or another health condition, check with your doctor or a physical therapist before starting a new routine. Stop any move that causes sharp pain, dizziness or numbness. Mild muscle effort is normal. Pain is not.
Final Thoughts
Pilates at home doesn't need to be perfect to be worth it. Twenty minutes, a mat and slow, steady breathing are enough to start feeling stronger and more at home in your body.
Begin with week one, use the easier options without guilt and let the progression plan carry you forward. Your future self, standing a little taller, will be so glad you started.