Your body often knows you're stressed long before your mind admits it. Shoulders creep up, your jaw sets, your hands stay half-clenched on the steering wheel or the keyboard. The tricky part is that tension held for hours starts to feel normal, so you can't simply "relax" on command. You first have to feel the difference again.
That's exactly what progressive muscle relaxation teaches. You tense one muscle group on purpose, hold it for a few seconds, then let it go and notice how the release feels. Group by group, from your feet up to your face, your body relearns what loose and heavy actually feels like.
In this guide you'll find what PMR is (and how it differs from a body scan), what it can gently help with, how to prepare, a full 12-step script, a quick tense-and-release table to screenshot, a 5-minute version for busy days and a bedtime version for easier sleep. I'm prone to anxiety that I mostly manage, and this is one of the few techniques that works for me even on nights when my thoughts refuse to slow down.
What Is Progressive Muscle Relaxation?
Progressive muscle relaxation (often shortened to PMR) is a relaxation technique developed by the American physician Edmund Jacobson in the early twentieth century. His idea was simple: a muscle that has just been tensed tends to relax more deeply than one you only ask to relax. Tension followed by release gives your body a clear contrast to learn from.
In practice, you work through your body in a set order. For each muscle group you:
- Breathe in and tense the muscles gently, at about half of your full strength.
- Hold the tension for 5 to 10 seconds while noticing how it feels.
- Breathe out and release all at once, as if you were dropping a heavy bag.
- Rest for 15 to 20 seconds and notice the warmth, heaviness or tingling that follows.
That's it. No special equipment, no flexibility, no "clearing your mind." The word progressive just means you move step by step through the body instead of trying to relax everything at once.
How PMR Is Different From a Body Scan
People often mix these two up, and they really are cousins. A body scan is a mindfulness practice: you move your attention slowly through your body and simply notice what's there, without changing anything. If you'd like that quieter approach, my body scan meditation guide for beginners walks you through it.
PMR is more active. Instead of only noticing, you create tension on purpose and then release it. That makes it a lovely choice if:
- your mind wanders too much for a body scan,
- you can't tell whether you're tense or not (very common),
- you like having something concrete to do with your body,
- you want a technique that works even when you feel restless.
You don't have to choose forever. Many women use PMR on stressed, wired days and a body scan on calmer evenings.
What Progressive Muscle Relaxation Can Help With
PMR is not a cure for anything, and I'd never promise that. But it's a well-studied, gentle tool, and many people find it helps with:
- Body tension. Tight shoulders, a clenched jaw, a stiff neck after a long day at a desk.
- Everyday stress. It gives your nervous system a clear "you can stand down now" signal.
- Falling asleep. Releasing physical tension often makes it easier for racing thoughts to follow.
- Noticing stress earlier. With practice, you start catching tension at a level 3 instead of a level 8.
- Feeling more in control. When anxiety makes your body feel like it's running the show, PMR is a small way to take the steering wheel back.
It also pairs beautifully with breathing. If you like having a breath pattern to lean on, take a look at these breathing exercises for calm and try one before you begin.
Before You Start: How To Prepare

A little preparation makes the practice feel calmer and more natural. Here's what helps:
- Pick a quiet spot. Your bed, the sofa, an armchair or the floor all work. Close the door if you can and put your phone face down or in another room.
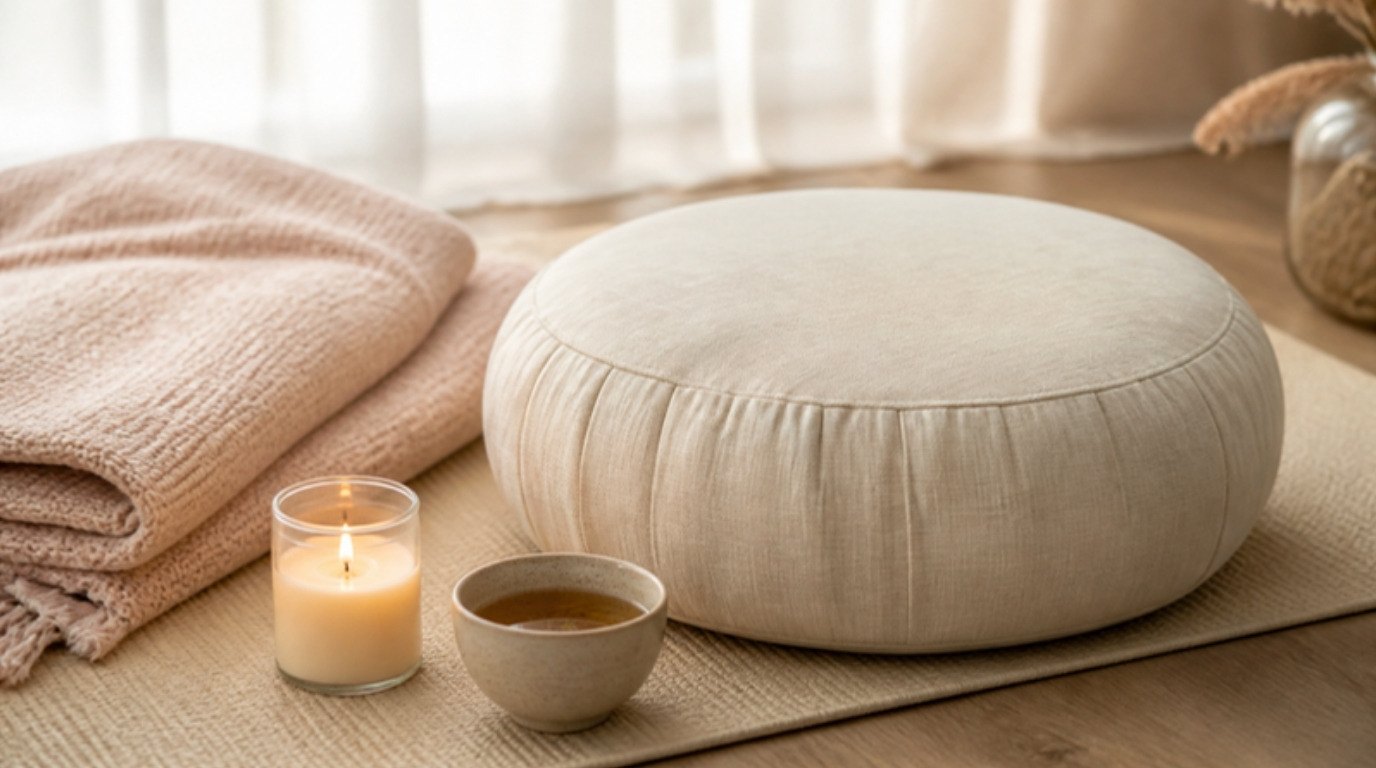
- Choose lying or sitting. Lying down is the most relaxing; sitting upright is better if you tend to fall asleep and want to stay awake. A thick, cushioned yoga mat in a soft cream shade makes the floor much more comfortable.
- Plan 10 to 20 minutes. The full version takes about 15 minutes. The short version below takes 5.
- Wear something soft. Nothing tight at the waist or neck. A loose, breathable cotton lounge set is ideal, because you'll feel each muscle without fabric pulling.
- Dim the lights. Soft lamp light or a candle is plenty. Bright overhead light keeps the body in "daytime" mode.
- Eat lightly beforehand. A very full stomach makes tensing your belly uncomfortable, so try to wait a little after a big meal.
One honest note: the first two or three times may feel a bit awkward. You'll forget the order, you'll wonder if you're doing it right. That's normal, and it gets easier quickly.
The Full 12-Step Progressive Muscle Relaxation Script
Read this through once, then try it slowly. You can also record yourself reading it in a calm voice and play it back. Before you start, settle in and take three slow breaths, letting each exhale be a little longer than the inhale.
For every group: breathe in as you tense (5 to 10 seconds, about half strength), breathe out as you release, then rest for 15 to 20 seconds before moving on.
1. Feet
Curl your toes downward, as if you were gripping sand. Feel the tension along the soles and arches. Hold... and release. Let your toes spread and soften. Notice the warmth in your feet.
2. Calves
Point your toes up toward your face so your calves stretch and tighten. Keep it gentle, especially if you're prone to cramps. Hold... and release. Let your feet flop to the sides.
3. Thighs
Press your knees together and tighten the muscles at the front of your thighs, as if you were straightening your legs firmly. Hold... and release. Feel your legs grow heavy against the floor or bed.
4. Glutes
Squeeze your seat muscles together. You might feel yourself lift very slightly. Hold... and release. Let your hips sink and widen.
5. Belly
Draw your belly in and tighten it, as if bracing for a gentle poke. Hold... and release. Let your belly soften completely and rise freely with your next breath. Many of us hold more here than we realize.
6. Hands
Make two fists, not too tight. Feel the tension across your knuckles and fingers. Hold... and release. Let your fingers uncurl and rest open, palms up if that feels nice.
7. Forearms
Bend your wrists back so your fingers point toward the ceiling, feeling the pull along your forearms. Hold... and release. Let your hands drop and go limp.
8. Upper Arms
Bend your elbows and tighten your biceps, bringing your hands toward your shoulders. Hold... and release. Let your arms fall heavily by your sides.
9. Shoulders
Lift your shoulders up toward your ears, the classic stress posture. Hold... and release. Let them drop down and back, away from your ears. Take a moment here; this is often the release people feel most.
10. Neck
Gently press the back of your head into the pillow or mat, or, if sitting, tuck your chin slightly toward your chest. Keep this one extra soft. Hold... and release. Let your head feel fully supported.
11. Jaw
Clench your teeth lightly and feel the muscles at the hinge of your jaw tighten. Hold... and release. Let your lips part a little and your tongue rest loosely in your mouth.
12. Face
Scrunch your whole face: squeeze your eyes shut, wrinkle your nose, raise your eyebrows or pull them together. Hold... and release. Let your forehead go smooth and your eyes rest heavy behind your lids.
When you've finished all twelve, lie still for a minute or two. Do a quick mental sweep from your face back down to your feet. If any spot still feels tight, you can repeat that one group. Then wiggle your fingers and toes, take a deeper breath and open your eyes slowly. If you're getting up, roll onto your side first.
Tense and Release Table: PMR at a Glance
Here's the whole sequence on one screen. Screenshot it and keep it on your phone until the order feels automatic.
| Muscle group | How to tense | Hold time | Release cue |
|---|---|---|---|
| 1. Feet | Curl toes down | 5–10 seconds | "Toes spread and soften" |
| 2. Calves | Point toes toward your face | 5–10 seconds | "Feet flop to the sides" |
| 3. Thighs | Press knees together, tighten fronts of thighs | 5–10 seconds | "Legs grow heavy" |
| 4. Glutes | Squeeze seat muscles | 5–10 seconds | "Hips sink and widen" |
| 5. Belly | Draw belly in and brace | 5–10 seconds | "Belly soft, breath free" |
| 6. Hands | Make gentle fists | 5–10 seconds | "Fingers uncurl" |
| 7. Forearms | Bend wrists back | 5–10 seconds | "Hands go limp" |
| 8. Upper arms | Bend elbows, tighten biceps | 5–10 seconds | "Arms fall heavy" |
| 9. Shoulders | Lift shoulders to ears | 5–10 seconds | "Shoulders drop away from ears" |
| 10. Neck | Press head back softly or tuck chin | 5 seconds, very gentle | "Head fully supported" |
| 11. Jaw | Clench teeth lightly | 5–10 seconds | "Lips part, tongue loose" |
| 12. Face | Scrunch eyes, nose and forehead | 5–10 seconds | "Forehead smooth" |
Rest for 15 to 20 seconds after every release. Those quiet seconds are where the real relaxing happens, so try not to rush them.
A 5-Minute Short Version for Busy Days
Once you know the full sequence, you can combine groups into four bigger ones. This works sitting at your desk, in a parked car or on the edge of your bed.
- Legs and feet (about 1 minute). Curl your toes, point them up, tighten your thighs and glutes all together. Hold 5 to 10 seconds, release, rest 15 to 20 seconds.
- Belly and back (about 1 minute). Draw your belly in and gently squeeze your shoulder blades toward each other. Hold, release, rest.
- Arms, hands and shoulders (about 1 minute). Make fists, bend your elbows and lift your shoulders to your ears. Hold, release, rest.
- Neck, jaw and face (about 1 minute). Tuck your chin slightly, clench your jaw lightly and scrunch your face. Hold, release, rest.
Use the last minute for three slow breaths and a quick check-in: where do you feel softer now? This version is especially helpful in the middle of a tough workday. If work is a regular source of tension for you, these calm ways to get through a stressful workday pair well with it.
A Bedtime Version for Easier Sleep

At night, the goal shifts slightly. You're not just releasing tension; you're telling your whole body that the day is over. A few changes make PMR feel more like a lullaby:
- Do it in bed, lights off or very low. Get completely comfortable first so you don't need to move afterward.
- Use softer tension. About a third of your strength is plenty at bedtime. You want sleepy, not energized.
- Lengthen the rests. Stay at the long end, around 20 seconds, and let each exhale be slow.
- Add a "heavy" word. As you release each group, silently say "heavy" or "soft." Over time that word becomes a cue on its own.
- Don't finish with a wake-up. Skip the wiggling and eye-opening step. Just let yourself drift.
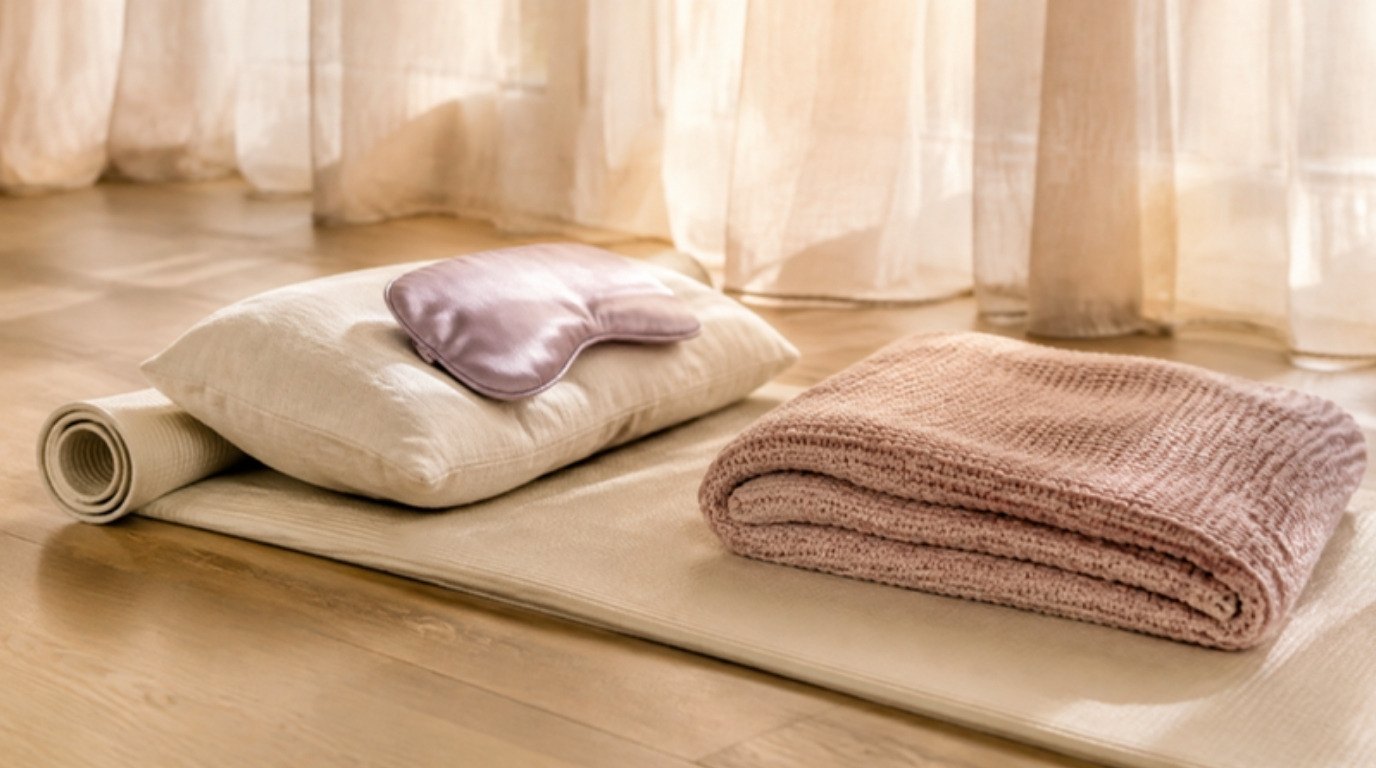
A soft lavender eye pillow resting over your eyes after the face step feels lovely, and if you like gentle pressure, a cream weighted blanket can add to that settled, held feeling (choose one that's comfortable for your body and never heavier than feels good). If outside noise keeps pulling you back, a small white noise machine on the nightstand can soften it.
PMR is one piece of a sleep routine, not the whole thing. For more ideas, my guide to things that help you fall asleep faster covers the rest of the evening, and a few minutes of gentle bedtime yoga before PMR is a beautiful combination.
Tips To Make Progressive Muscle Relaxation Work Better
These small adjustments make a real difference, especially in the first few weeks:
- Tension, not strain. Half strength is the sweet spot. If something shakes, cramps or hurts, you're squeezing too hard.
- Make the release sudden. Let go all at once rather than slowly easing off. The contrast is the whole point.
- Practice when you're already calm-ish. It's tempting to save PMR for big stress moments, but it works best as a skill you've rehearsed. Once a day for two weeks is a lovely start.
- Keep the same order. Repetition turns it into a routine your body recognizes.
- Pair it with something you already do. After brushing your teeth, after your evening tea, or right after you close your laptop.
- Don't chase a feeling. Some days you'll feel melted, other days just slightly better. Both count.
- Let thoughts come and go. If your mind wanders to tomorrow's to-do list, simply return to the next muscle group. No scolding.
Honestly, the biggest shift for me was the rest time. In the beginning I rushed from one group to the next, and it felt like a workout. Once I let myself linger in those 15 to 20 seconds, it started to feel like rest.
Safety Notes and When To Get Support
PMR is gentle and suitable for most people, but a few precautions matter:
- Skip injured or painful areas. If your back, neck, knee or any joint hurts, leave that group out entirely and simply notice it instead.
- Talk to your doctor first if you have ongoing pain, a recent injury or surgery, high blood pressure, or a condition that affects your muscles or heart. They can tell you whether tensing is right for you or whether a body scan is a better fit.
- Go easy on your feet and calves if you get cramps. Light tension is enough.
- Stop if you feel dizzy, panicky or uncomfortable. Open your eyes, look around the room and breathe normally. Relaxation techniques occasionally feel strange at first, especially for anxious minds, and that's okay.
- Keep your breath natural. Never hold your breath for the whole tension phase; breathe in as you tense and out as you release.
And please hear this kindly: if stress, anxiety or sleep problems are sticking around for weeks or affecting your daily life, a therapist or doctor can really help. PMR is a wonderful tool, and it works even better alongside proper support.
Track How You Feel

Tracking sounds clinical, but it's really just a way to see your progress. Before you start, rate your tension from 0 (completely loose) to 10 (as tight as a drum). Rate it again when you finish. After a week or two, you'll usually notice two things: the "after" numbers get lower, and you start catching tension earlier in the day.
A few lines in your journal after each practice are enough:
- Tension before and after (0 to 10)
- Which version you did: full, 5-minute or bedtime
- Where you held the most tension
- One word for how you felt afterward
I like writing this in my journal after my evening tea, when the house is quiet. Patterns show up quickly. You might find your jaw is always the tightest spot on workdays, or that the bedtime version helps most on Sundays.
Final Thoughts
Progressive muscle relaxation asks very little of you: a quiet spot, fifteen minutes and a willingness to tense, release and notice. Over time, that small practice teaches your body something you can carry everywhere, the feeling of letting go.
Be patient with yourself while you learn it. Some evenings it will feel like melting into the mattress, and some days it will simply take the edge off. Both are a body learning to rest, one muscle group at a time.