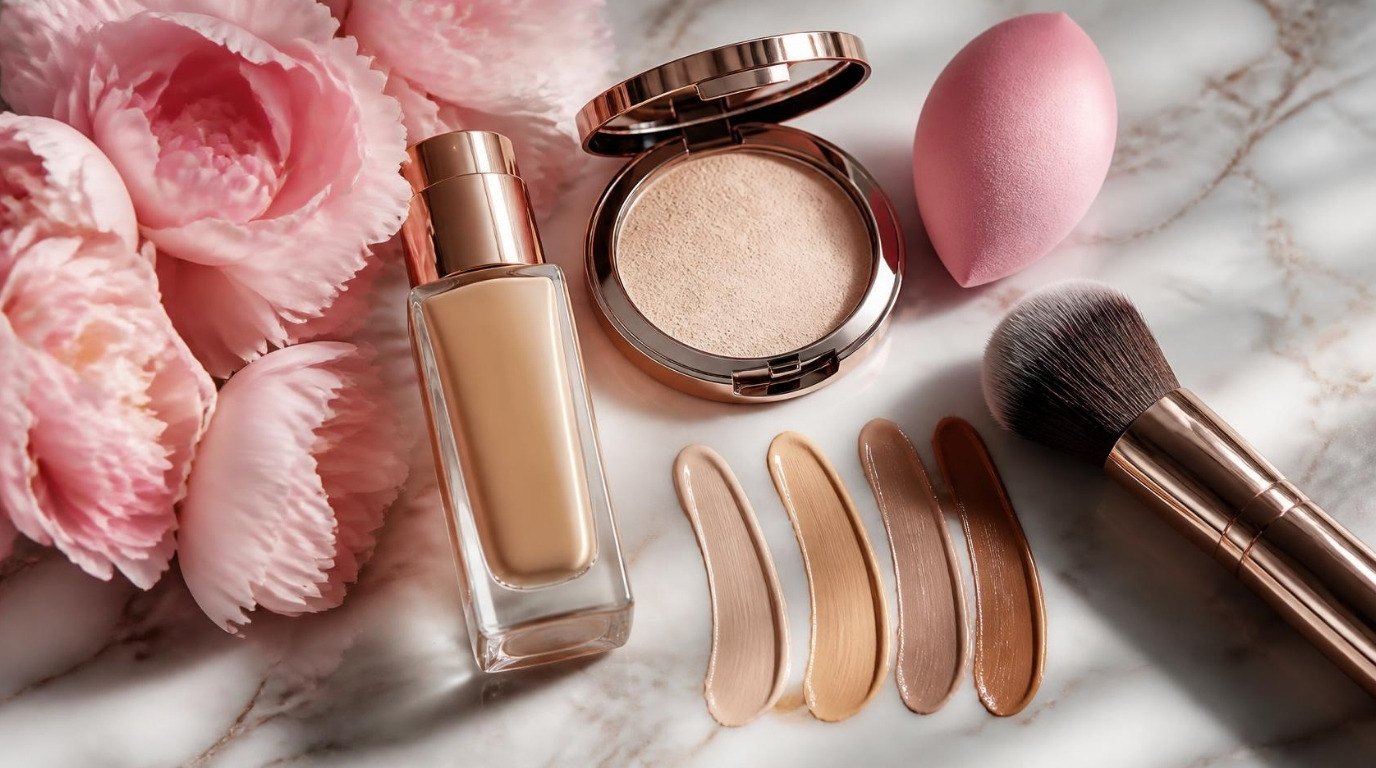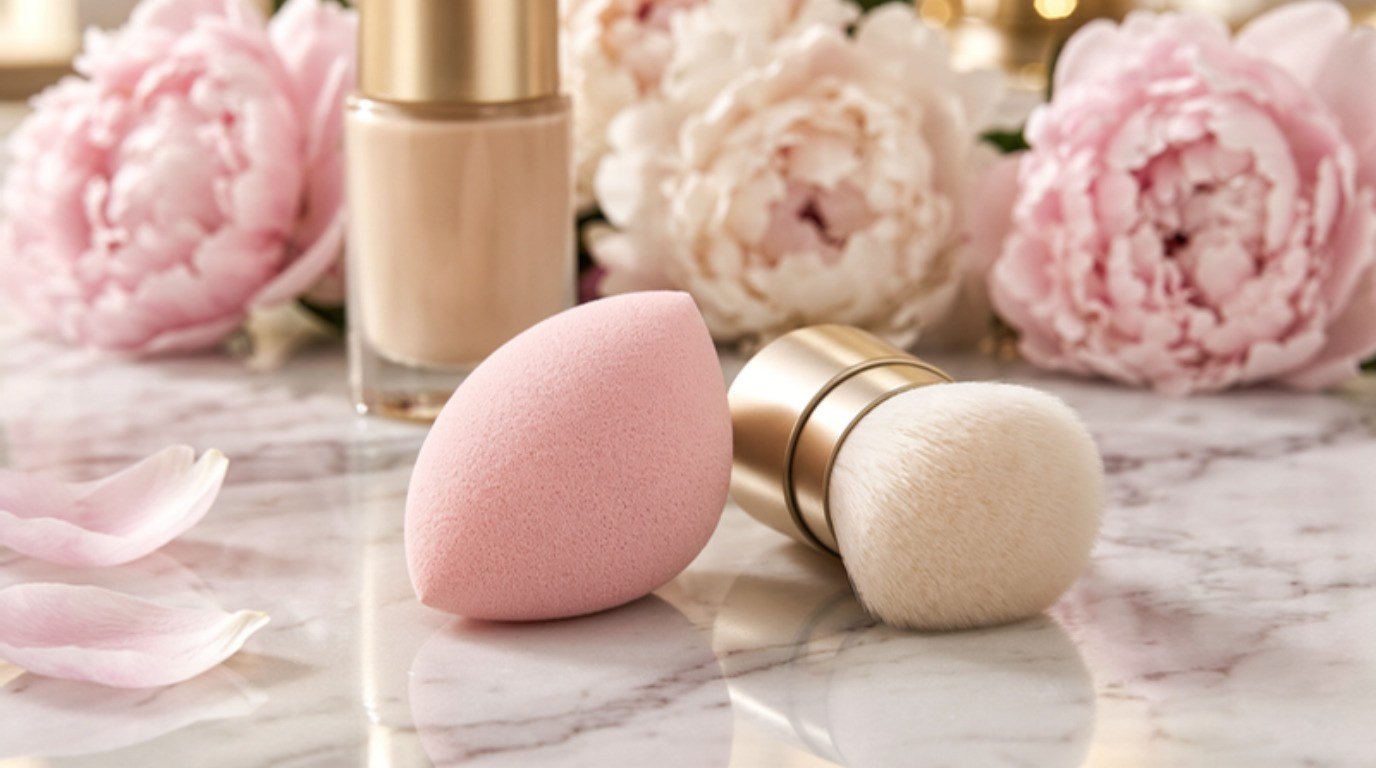
There is no single winner in the makeup sponge vs brush debate, and that's actually good news. The best foundation finish comes from matching the tool to three things: your formula, your skin and the look you want that day. Get that match right, and even an inexpensive foundation looks like skin.
A damp sponge tends to give a sheer, soft, skin-like finish. A dense brush gives more coverage, works faster and wastes less product. And your fingers, which nobody talks about enough, are lovely for cream and balm formulas because they warm the product as you go.
This guide breaks down makeup sponge vs brush in plain terms: what each tool does best, the exact technique for each, a side-by-side table, the best tool for six common skin and makeup situations, and how to keep both clean so they don't cause breakouts. No rankings and no brand wars, just technique.
Sponge vs Brush: The Short Answer
If you only read one part, read this:
- Choose a sponge for a natural, dewy, second-skin finish, for dry or dehydrated skin, and for blending concealer around the eyes and nose.
- Choose a brush for medium to full coverage, for speed, for liquid foundations you want to stretch further, and for oily skin where you want a smooth matte base.
- Use fingers for creams, balms, skin tints and quick mornings when you just want to even things out.
My skin is combination and sensitive, with a T-zone that gets shiny by lunch. I've learned that switching tools depending on the day is completely normal, and it's often the smallest change that makes foundation look better.
What a Makeup Sponge Does Best
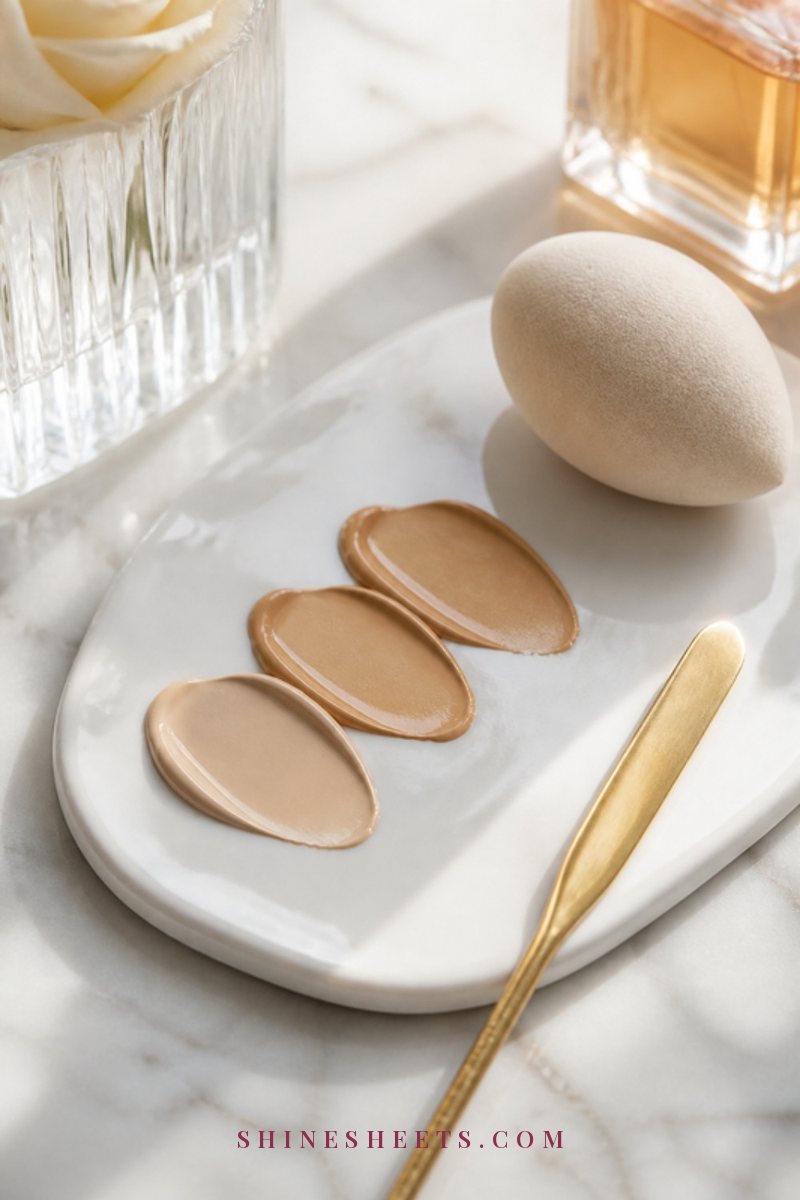
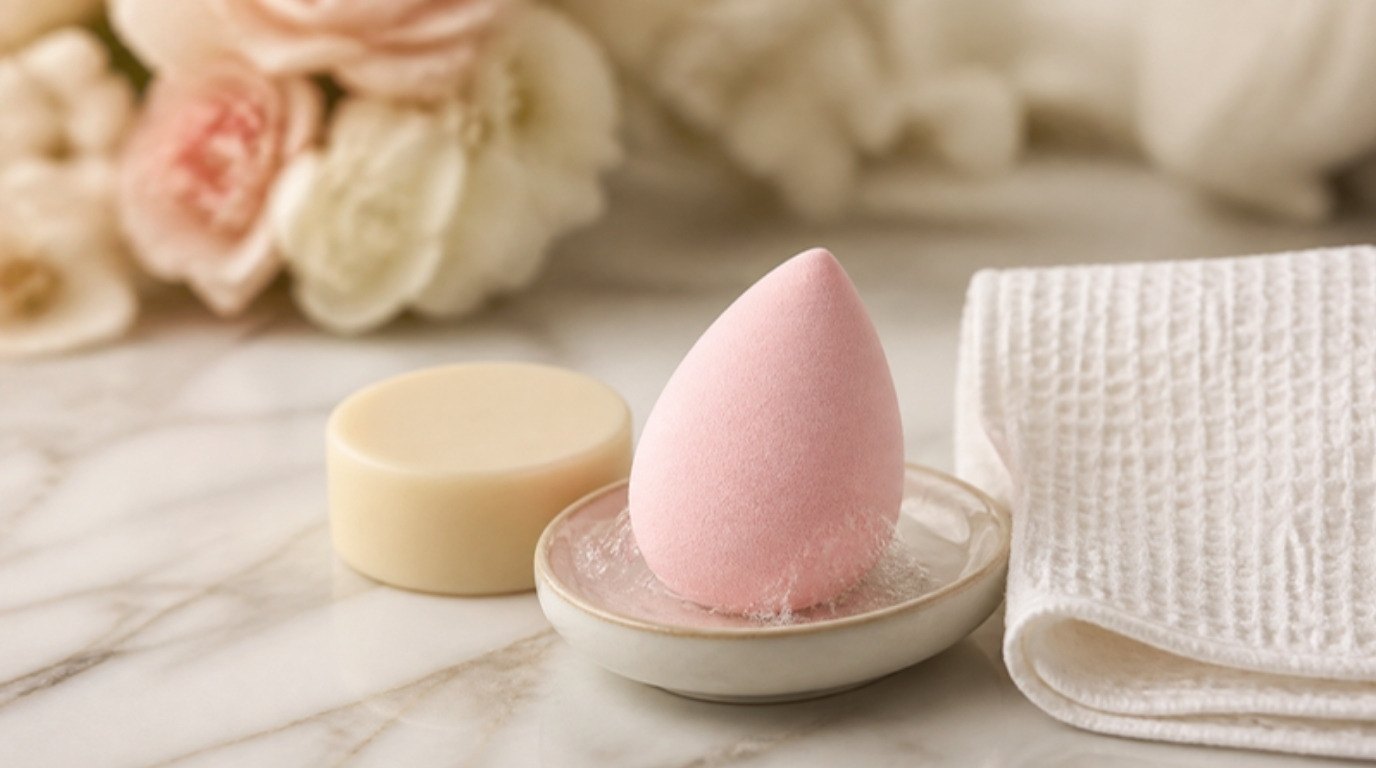
A sponge presses product into the skin rather than spreading it on top. Because a damp sponge absorbs a little of the foundation as you work, the layer it leaves is thinner and more even. That's why sponge-applied foundation often looks softer and more like real skin.
Sponges are especially good at:
- Sheer to medium coverage that looks natural up close
- Blending the edges of concealer so there's no visible line
- Melting powder into the skin if you've applied too much
- Getting into the corners around the nose and under the eyes
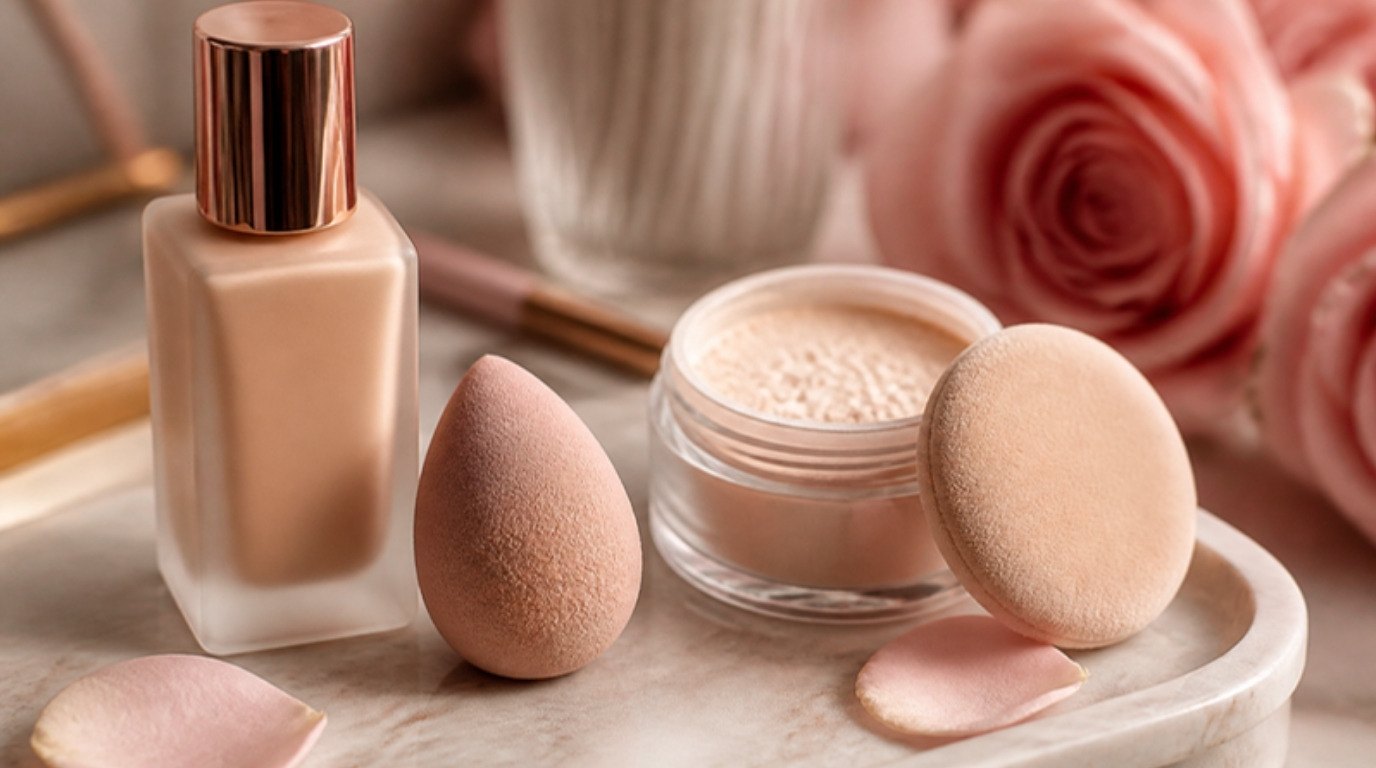
The trade-off: a sponge soaks up some product, so you'll use a bit more foundation, and full coverage takes longer to build. A blending sponge set is worth it here, because having two or three means you always have a clean, fully dry one ready while the others are being washed.
How To Dampen and Bounce a Sponge
Technique matters more with a sponge than with almost any other tool. Here's the routine:
- Soak it. Run the sponge under clean, lukewarm water until it swells to its full size.
- Squeeze it hard. Squeeze it inside a clean towel until no water drips out. It should feel damp, not wet. A dripping sponge makes foundation streaky and thin.
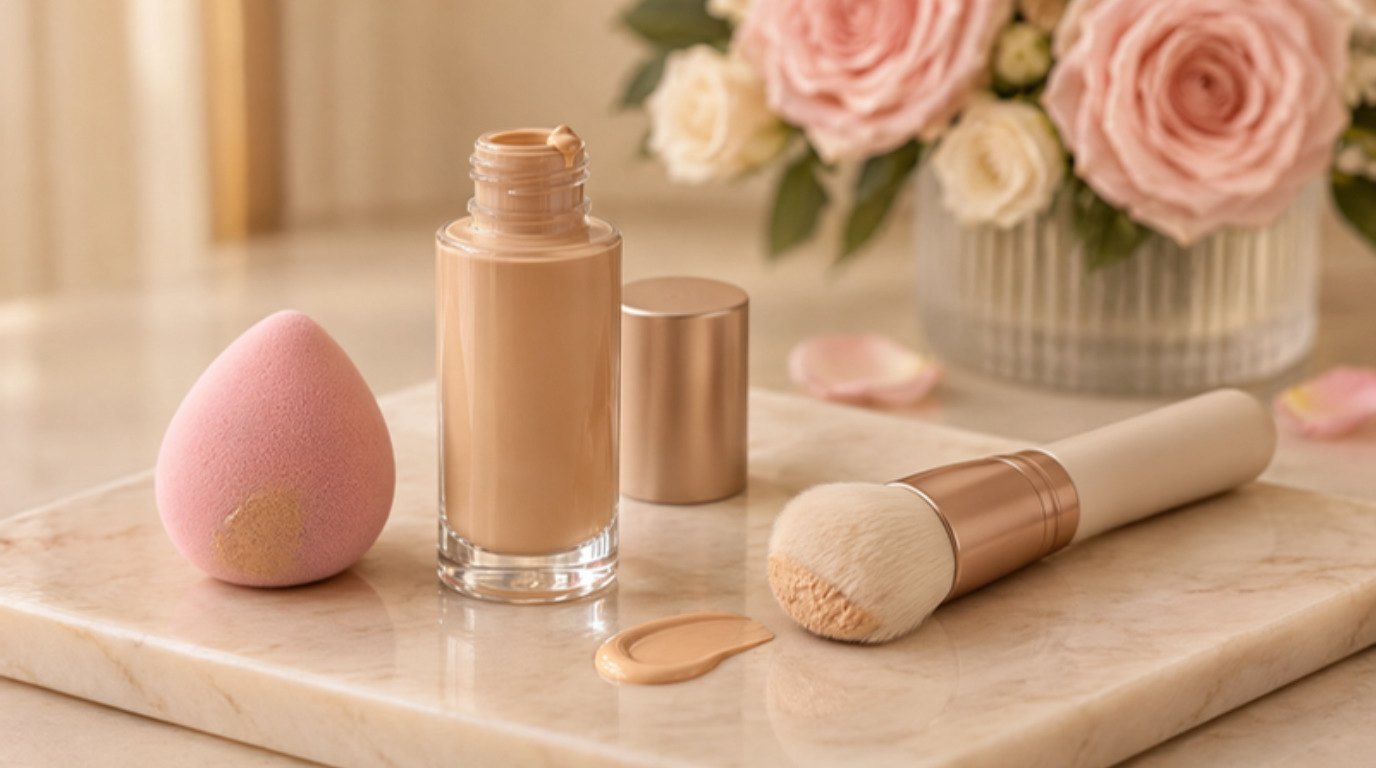
- Put foundation on the back of your hand, not directly on the sponge. This lets you pick up a little at a time.
- Bounce, don't drag. Dab the round end onto your skin with quick, light taps, starting in the center of your face and moving out. Dragging moves product around and leaves streaks.
- Use the pointed tip for the corners of the nose, under the eyes and around the lips.
- Use the flat side (if your sponge has one) for the forehead and cheeks.
Keep bouncing for a few seconds longer than you think you need to. That extra minute of pressing is what gives the blurred, skin-like finish.
What a Foundation Brush Does Best
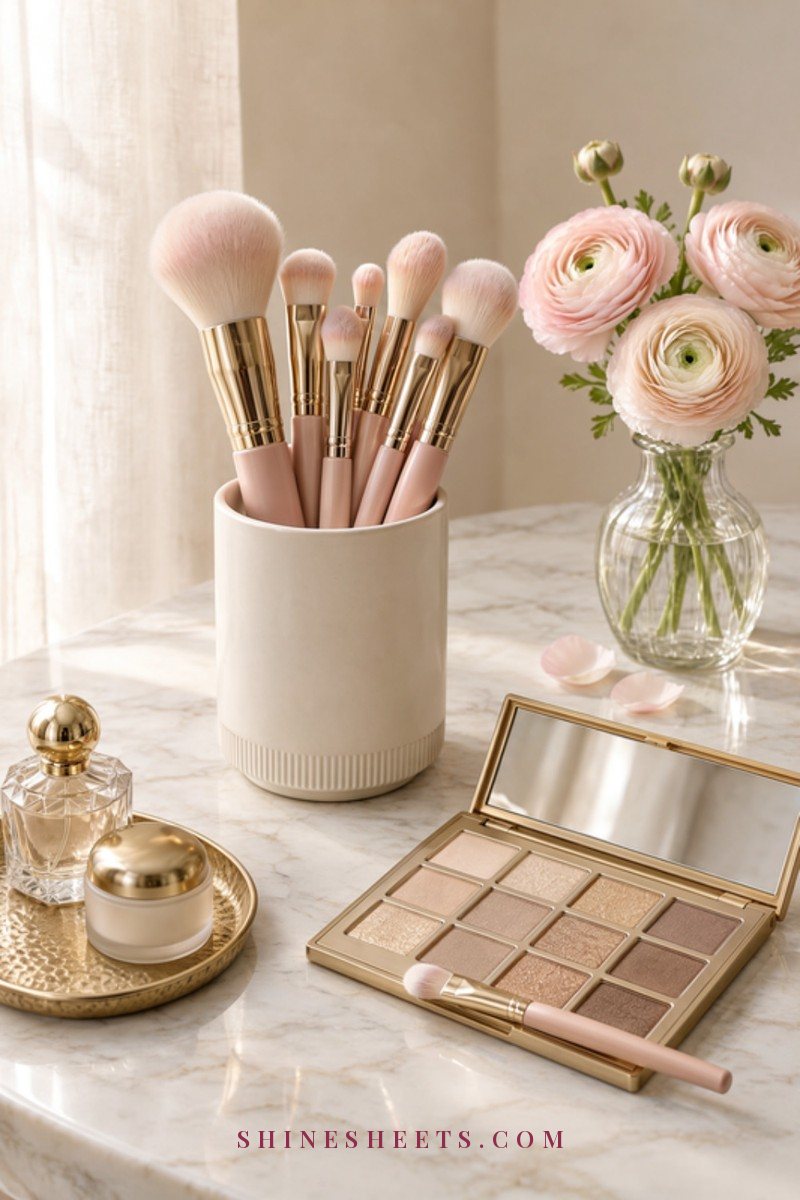
A brush moves product across the skin and lays it down in a smooth, even layer. Very little foundation gets trapped in the bristles, so you need less of it, and a dense brush can build coverage quickly.
Brushes are especially good at:
- Medium to full coverage in one or two thin layers
- A smooth, polished, slightly more "done" finish
- Speed, which matters on busy mornings
- Using less product, so a bottle lasts longer
The trade-off: a brush can leave faint streaks if you use the wrong motion, and on very dry or flaky skin it can catch dry patches. For most people, a dense kabuki foundation brush is the easiest place to start. Look for tightly packed synthetic bristles (they don't soak up liquid like natural hair) and a flat or slightly domed top.
Buffing vs Stippling
There are two main brush techniques, and they give different results:
- Buffing: small, light circles with a dense brush. This blends foundation into the skin and gives a smooth, airbrushed look with good coverage. It works well with liquid and cream foundations on normal and oily skin.
- Stippling: gentle tapping with the tips of the bristles, without moving the brush across the skin. This builds coverage in specific spots and avoids disturbing texture or dry patches. A brush with longer, slightly looser bristles makes stippling easier.
A combination often works best: buff over the larger areas of your face, then stipple over spots you want to cover more (redness around the nose, a blemish, the chin). Avoid long sweeping strokes, which leave streaks.
When Fingers Are the Best Tool
Fingers are free, always with you and surprisingly effective. The warmth of your skin melts cream, balm and stick foundations, so they blend in like a moisturizer. Fingers are also great for skin tints and tinted moisturizers, which are meant to look sheer anyway.
To use fingers well:
- Wash your hands first, every time.
- Warm a small amount between two fingertips.
- Press and pat it in rather than rubbing, especially over blemishes.
- Finish with a few bounces of a damp sponge if you want to soften any edges.
Fingers are less ideal for full coverage or very thin, runny liquids, which can look patchy.
Makeup Sponge vs Brush at a Glance
Here's the whole comparison in one table. Screenshot it for the next time you're standing at your vanity wondering which tool to grab.
| Tool | Finish | Coverage | Best formula | Cleaning frequency |
|---|---|---|---|---|
| Damp makeup sponge | Soft, dewy, skin-like | Sheer to medium, buildable | Liquid, serum and cream foundations, concealer | After each use, or at least weekly; let it dry fully |
| Dense foundation brush (buffing) | Smooth, polished, airbrushed | Medium to full | Liquid and cream foundations | Weekly (more often if you're prone to breakouts) |
| Stippling brush | Natural with targeted coverage | Sheer to medium, spot coverage | Thin liquids, skin tints | Weekly |
| Fingers | Natural, skin-like | Sheer to light | Creams, balms, sticks, tinted moisturizers | Wash hands before and after |
If you're still not sure your shade is right, no tool will fix that. My guide on how to choose foundation shade by undertone is a good first step before you worry about technique.
The Best Tool for 6 Common Cases
Here's what I'd reach for in the six situations people ask about most.
1. Dry Skin
Best tool: a damp sponge. The moisture in the sponge adds a little hydration and helps foundation sit smoothly over dry patches instead of clinging to them. Brushes, especially dense ones, can lift flakes and make them more visible.
Moisturize well first and give it two or three minutes to sink in. Then bounce foundation on in thin layers. If a patch still looks dry, press a tiny bit of moisturizer over it with a clean fingertip and bounce again.
2. Oily Skin
Best tool: a dense brush. Buffing with a brush gives a thin, even layer that holds up better through the day, and you avoid adding extra moisture from a damp sponge. Use a light hand on the T-zone (this is where my combination skin always needs less product).
After foundation, press a little powder only where you get shiny. For more ways to help your base stay put, my tips to make foundation last all day cover primer, setting and blotting.
3. Textured Skin
Best tool: a damp sponge, or a brush used for stippling only. Texture like enlarged pores, bumps or old acne marks shows more when foundation is buffed or dragged across it. Pressing and tapping lays product over texture without settling into it.
Keep the layer thin. More foundation almost always makes texture more visible, not less.
4. Full Coverage
Best tool: a dense brush, finished with a sponge. Buff two thin layers with a brush, waiting about a minute between them. Then go over the whole face with a damp sponge, bouncing lightly. The brush builds coverage and the sponge takes away any streaks and that "mask" look.
Spot-conceal after foundation, not before, so you only add coverage where you actually need it.
5. Sheer Everyday Makeup
Best tool: fingers or a damp sponge. For a skin tint or a light layer of foundation mixed with a drop of moisturizer, fingers are fastest. Warm it, press it in and you're done in under a minute. A damp sponge gives an even softer result if you have an extra two minutes.
Focus product only where you want it (around the nose, chin, any redness) and let the rest of your skin show through. That's what makes everyday makeup look fresh.
6. Quick Touch-Ups
Best tool: a clean mini sponge. During the day, foundation can wear away around the nose or break up on the chin. Blot excess oil first with a tissue or blotting paper, then press a tiny bit of foundation or concealer over the area with a sponge. Bouncing blends the new layer into the old one without disturbing it.
Carry the sponge in a small case so it stays clean. A sponge holder with air holes is best, because a damp sponge sealed in a closed bag is exactly where bacteria like to grow.
Can You Use Both?
Yes, and many makeup artists do. A simple combination routine that works for most skin types:
- Apply foundation with a dense brush using light buffing circles.
- Bounce a damp sponge over the whole face to sheer out edges and remove streaks.
- Use the sponge tip to blend concealer under the eyes and around the nose.
This gives you the coverage and speed of a brush with the soft finish of a sponge. Once you find a rhythm, it takes about the same time as using one tool alone.
One more trick for combination skin: once your foundation is on, press a small amount of loose powder onto the T-zone with a clean, dry corner of the sponge. Pressing (rather than sweeping with a big brush) sets only the shiny areas and leaves the rest of your face soft and fresh. It is one of the easiest ways to keep a natural finish and still stay matte where you need it.
How To Choose a Good Sponge or Brush
You don't need an expensive tool for a beautiful finish. You need the right shape and material. Here's what to look for:
- Sponge material: latex-free, soft and bouncy. A good sponge should swell noticeably when wet and spring back when you press it. If it feels hard or rubbery when damp, it will drag instead of press.
- Sponge shape: a teardrop or egg shape with a pointed tip and a rounded base covers most needs. A flat edge is a nice extra for the forehead and cheeks.
- Brush bristles: synthetic, densely packed and soft at the tips. Synthetic bristles hold less liquid and are easier to clean than natural hair.
- Brush shape: a flat-top or slightly domed kabuki for buffing; a brush with two lengths of bristles (often called duo-fiber) for stippling.
- Brush handle: a shorter, chunkier handle gives more control when buffing; a longer handle is lighter for stippling.
Before you use a new tool, wash it once. Sponges especially can have a little manufacturing residue, and a first wash makes them softer.
Common Mistakes With Sponges and Brushes
Most foundation problems come from small technique slips rather than the tool itself. These are the ones I see most often:
- Using a dry sponge. A dry sponge soaks up far more foundation and leaves a patchy, heavier layer. Always dampen and squeeze first.
- Using a dripping sponge. The opposite problem: too much water thins foundation and makes it slide. Damp, not wet.
- Dragging the sponge. Wiping it across your face like a cloth moves product around and leaves streaks. Bounce.
- Pressing a brush too hard. Heavy pressure splays the bristles and leaves lines. Let the brush do the work with light circles.
- Applying too much at once. With any tool, two thin layers look better than one thick one. Start with half a pump.
- Skipping the edges. Blend foundation slightly under the jaw and toward the hairline so there's no visible line.
Fix one of these at a time. Often the very first change, like squeezing your sponge properly, makes the biggest difference.
How To Keep Sponges and Brushes Clean
This is the part nobody loves, but it matters more than which tool you choose. Sponges and brushes collect oil, old makeup and bacteria, and dirty tools can lead to breakouts and irritation, especially on sensitive skin like mine. They also apply foundation less smoothly when they're dirty.
- Sponges: wash after each use if you can, and at least once a week. Rinse, massage in a gentle cleanser, squeeze, repeat until the water runs clear. My guide on how to clean a makeup sponge has the full step-by-step.
- Foundation brushes: wash at least weekly. Wet only the bristles, not the base where they're glued, swirl them in a gentle brush cleanser or a mild soap, rinse with the bristles pointing down and gently squeeze out the water.
- Dry them properly. Let sponges air-dry fully in an open, ventilated spot. Lay brushes flat or hang them bristles down so water doesn't run into the handle and loosen the glue. A brush drying rack makes this easy and keeps the shape of the bristles.
- Never store a damp sponge in a closed bag or container.
If your brushes are badly caked with old foundation, this method to deep clean even the dirtiest makeup brushes will bring them back.
When To Replace Your Tools
- Sponges: replace about every three months, or sooner if they tear, crumble, stay stained after washing or start to smell.
- Brushes: a good brush that's washed regularly can last for years. Replace it when bristles shed constantly, splay out or lose their shape.
A kind safety note: if you notice redness, itching or new breakouts after using a tool, wash it, give your skin a break and talk to a dermatologist if it doesn't settle. For a bigger picture of when beauty products and tools should go, see my guide on how often to replace your makeup and makeup tools.
Final Thoughts
The makeup sponge vs brush question doesn't need a forever answer. A sponge gives softness, a brush gives coverage and speed, and fingers are perfect for creams and easy mornings. Pick the tool that fits your skin and your day, keep it clean, and your foundation will look more like you every time.
Start with the tool you already have, try the technique for it this week, and notice how much difference the motion makes.