At-home IPL isn't a magic wand, and it isn't a gimmick either. It sits somewhere in the middle: a slow, steady way to make hair grow back finer, lighter and less often, as long as your skin tone and hair color are a good match for it and you stay patient for a few months.
That last part is where most people lose heart. The first few sessions feel like nothing is happening, so the device ends up in a drawer next to the old hair straightener. The good news is that once you understand what the light is actually doing (and what it can't do), the routine gets much easier to stick with.
This guide covers at-home IPL hair removal from the ground up: how it works, how it compares to a professional laser, who it suits and who should skip it, the prep that matters, how to use a device in six steps, a week-by-week timeline table, safety rules, the real cost math and the most common mistakes. Get comfortable, and let's make it make sense.
What At-Home IPL Actually Does
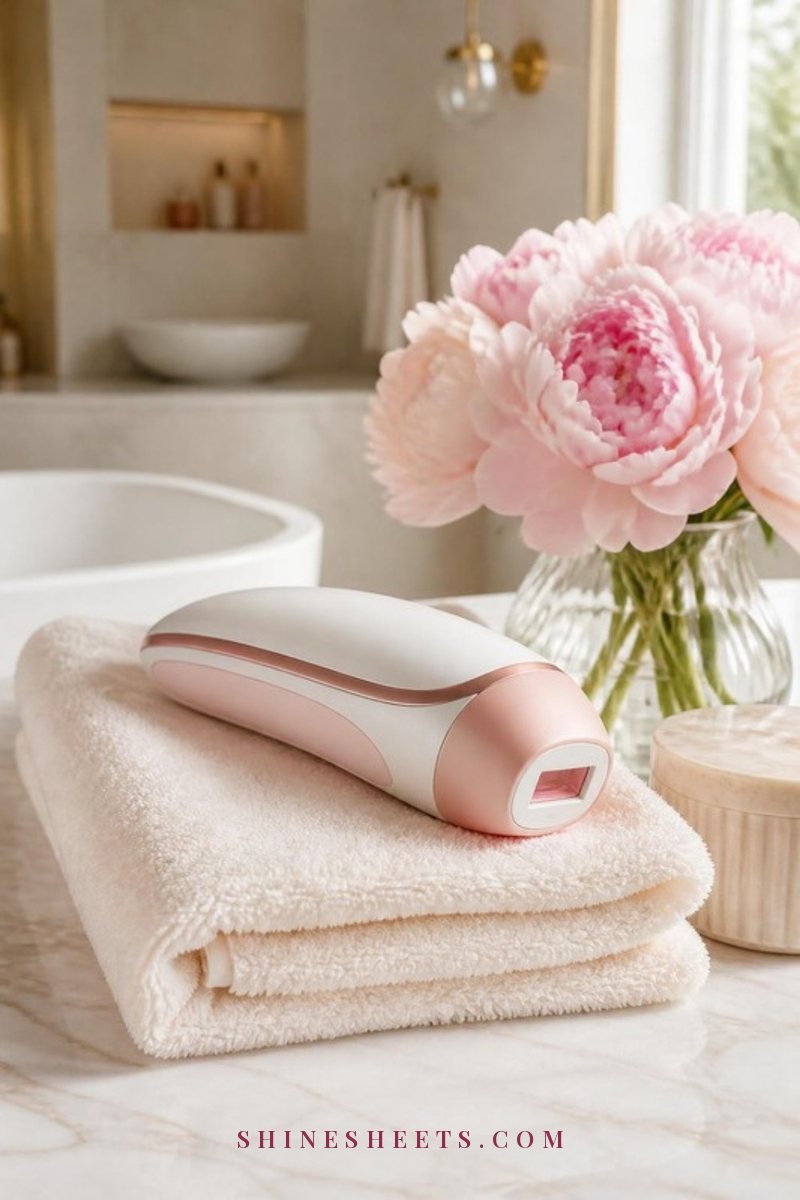
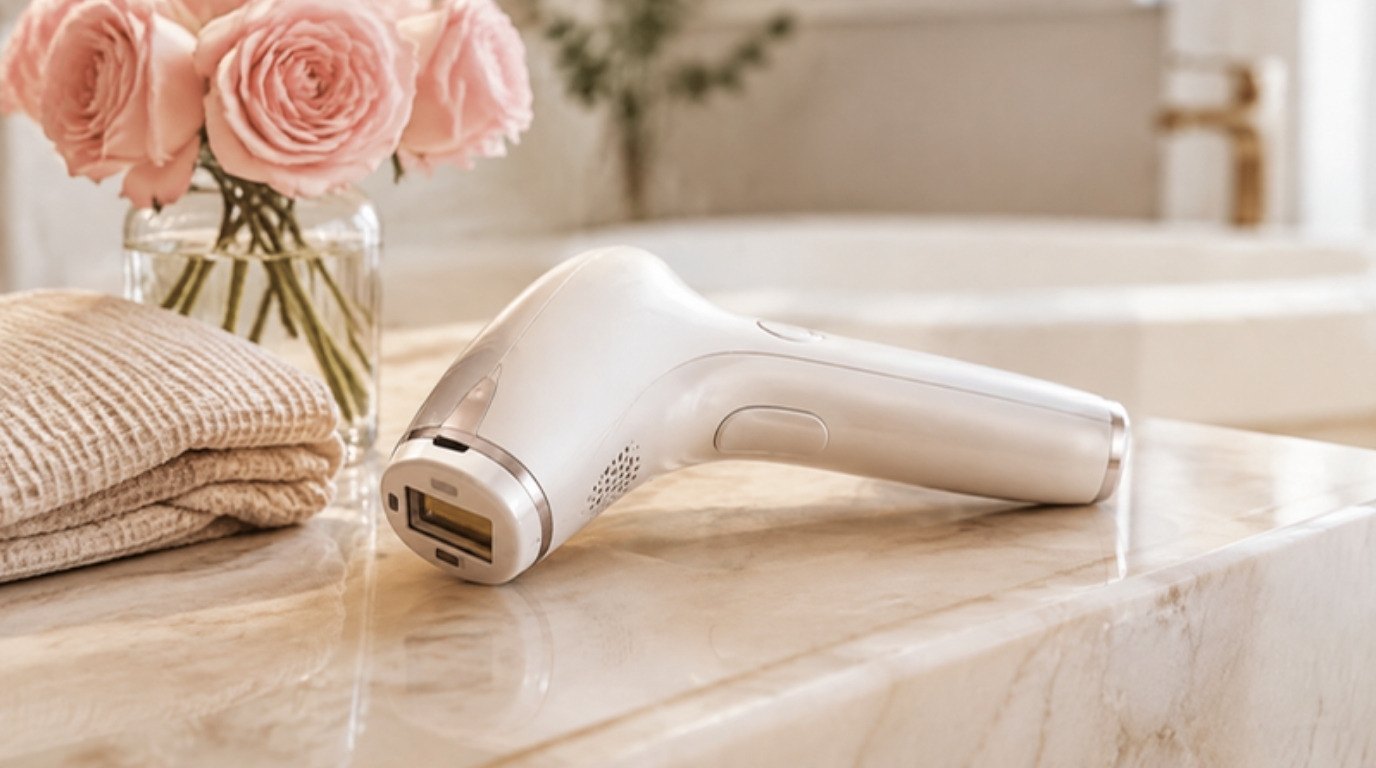
IPL stands for intense pulsed light. Instead of a single, focused laser beam, the device sends out a quick flash of broad-spectrum light. That light is drawn to pigment, and the darkest pigment on your leg or underarm is (ideally) the hair itself. The pigment turns the light into heat, and that heat travels down the hair into the follicle and weakens its ability to grow a new hair.
Here's the part that explains the whole schedule: hair grows in cycles, and the light only really affects hairs that are in their active growing phase. At any moment, only a portion of your hairs are in that phase. That's why one session never does the job. You keep treating every week or so, catching each batch of hair as it moves into the growing phase.
And one honest note before we go further. IPL is hair reduction, not permanent removal. Many people end up with far less hair that is finer and slower to return, but some regrowth over time is normal, especially with hormonal shifts. That's why maintenance sessions exist, and why I'd never call it a one-and-done fix.
IPL vs Professional Laser: The Honest Difference
People often use "IPL" and "laser" as if they're the same thing. They're cousins, not twins:
- Light type. A laser uses one focused wavelength. IPL uses a broad spread of light, which is less precise but gentler and safer for home use.
- Power. Professional lasers are much stronger, so they usually need fewer sessions. Home IPL devices are deliberately lower in energy, which is exactly why they're sold for home use.
- Skin tone range. Some professional lasers (often Nd:YAG types) are designed for deeper skin tones. Most home IPL devices have a narrower safe range.
- Cost. A course of salon laser sessions for one area can cost several times the price of a home device, and you pay for each area separately.
- Convenience. Home IPL fits around your evenings, in your own bathroom, in your robe. No appointments, no travel.
If you want the fastest, strongest result and your budget allows it, a qualified professional is the way to go. If you'd rather go slow, save money and do it on your own schedule, home IPL is a lovely middle ground. For a bigger picture of every method side by side, my guide to body hair removal options compared walks through shaving, waxing, epilating and more.
Who IPL Suits (and Who It Doesn't)
This is the most important section in the whole guide, because IPL depends on contrast. The light needs dark pigment in the hair and less pigment in the skin around it, so it heats the hair and not your skin.
Skin Tone
Home IPL works best on light to medium skin tones. On deeper skin tones, the skin itself holds more pigment and can absorb the light, which raises the risk of burns, blisters or dark marks. Some devices are rated for a wider range of skin tones, and many have a built-in skin tone sensor that won't flash (or lowers the setting) if your skin reads too dark. If your skin is deeper, look for a device that clearly states it's suitable for your tone, or book a consultation with a professional who offers lasers designed for deeper skin.
Hair Color
Dark brown and black hair responds best. Blonde, red, grey and white hair has too little of the right pigment for the light to grab onto, so IPL usually won't do much at all. That isn't your fault and it isn't a setting problem. It's simply not the right tool for that hair, and shaving, waxing or sugaring will serve you far better.
A Quick Gut Check
If your hair is clearly darker than your skin, you're likely a good candidate. If they're close in shade, or your hair is light, save your money. And a small kind aside: if you notice sudden new hair growth on your face, chin or chest that wasn't there before, please see a doctor or dermatologist before reaching for any device. It's worth checking what's behind it first, and my guide to facial hair removal for women covers the gentle options for the face.
Before You Start: The Prep That Matters
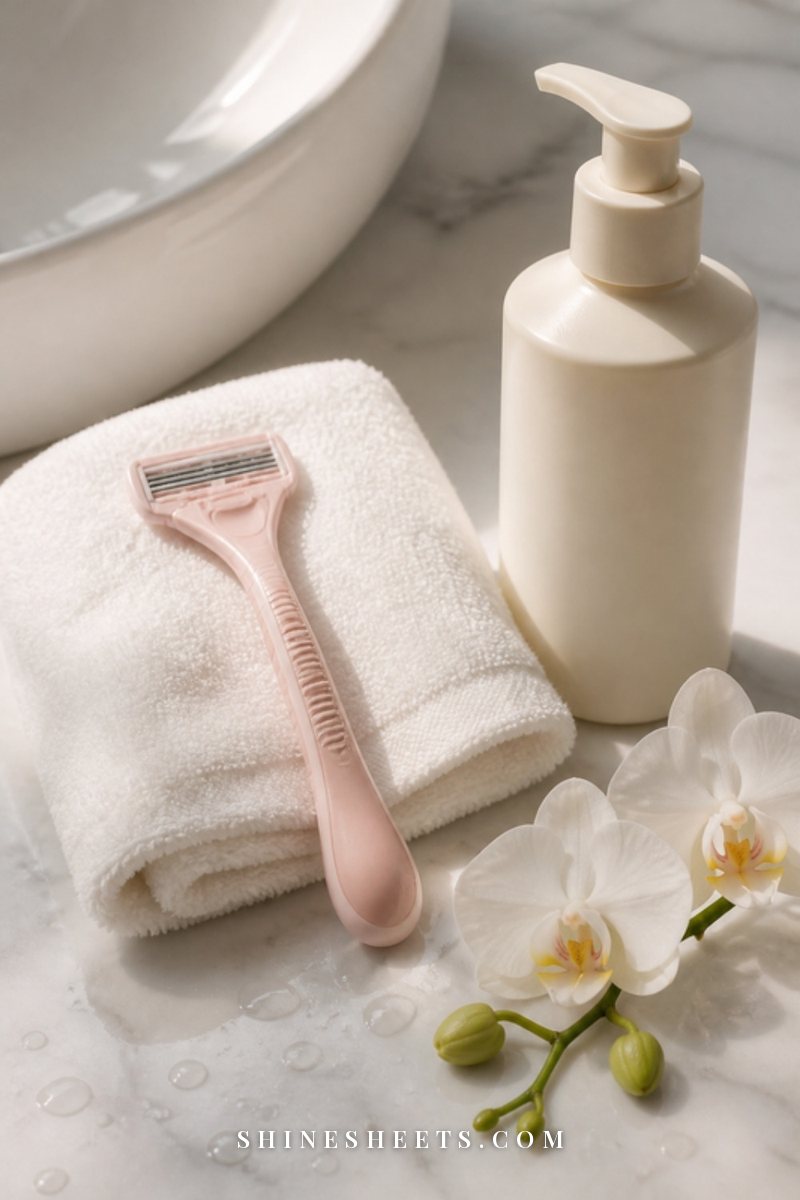
Good prep makes IPL more comfortable and more effective. Give yourself a calm evening for the first session, not a rushed ten minutes before bed.
- Read the manual first. Every device is a little different: settings, flash modes, which body areas are allowed and how often to treat. The manual wins over any general advice, including mine.
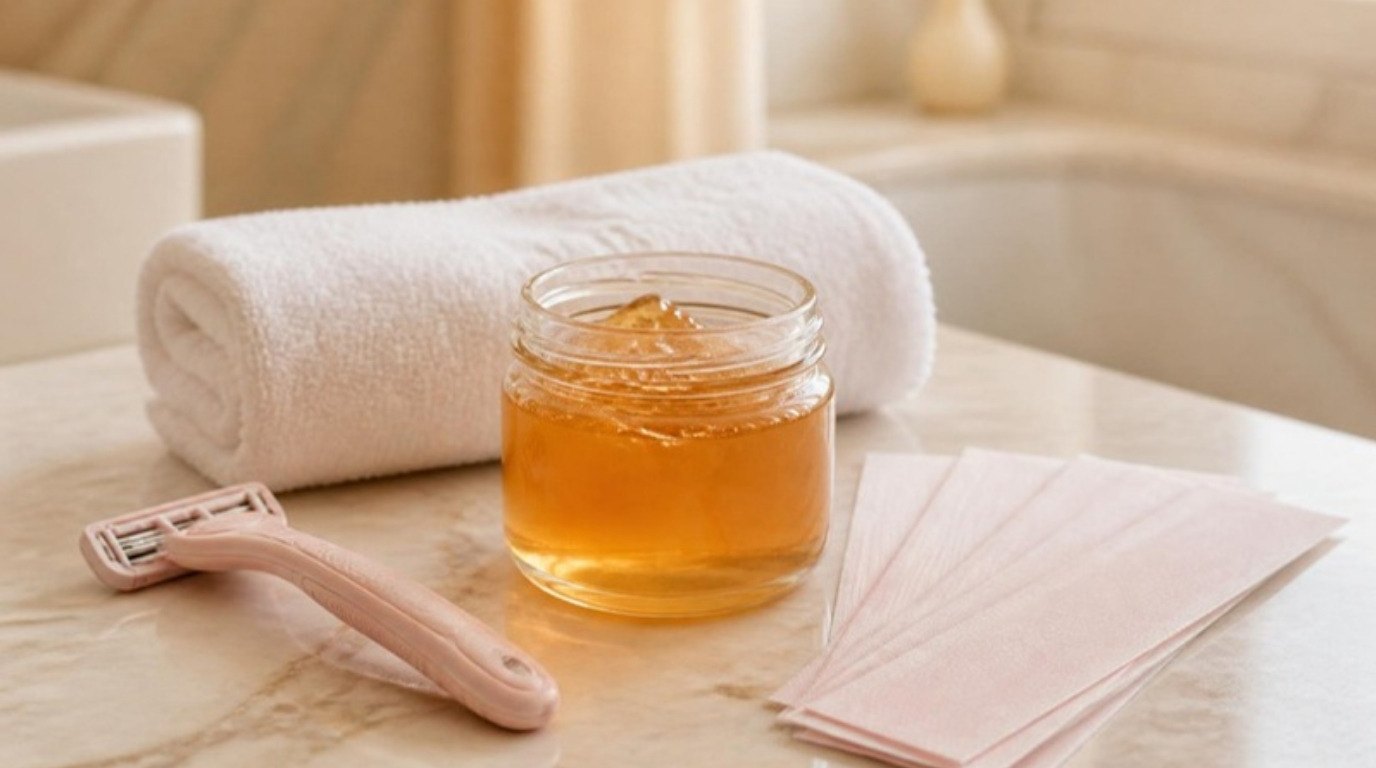
- Shave, don't wax. The hair needs to stay in the follicle, because that's the path the light follows down to the root. Waxing, sugaring, epilating or plucking pulls that path out, so stop those about four weeks before you begin. Shaving keeps the root in place and removes the hair above the skin, so the light doesn't burn surface hair.
- Use a gentle razor. A soft, sharp blade helps you avoid nicks you'd then have to skip. A gentle women's razor made for sensitive skin with a moisture strip is a nice pick for prep shaving.
- Clean, dry, bare skin. No lotion, oil, deodorant, self-tanner or perfume on the area. Product left on the skin can affect how the light is absorbed.
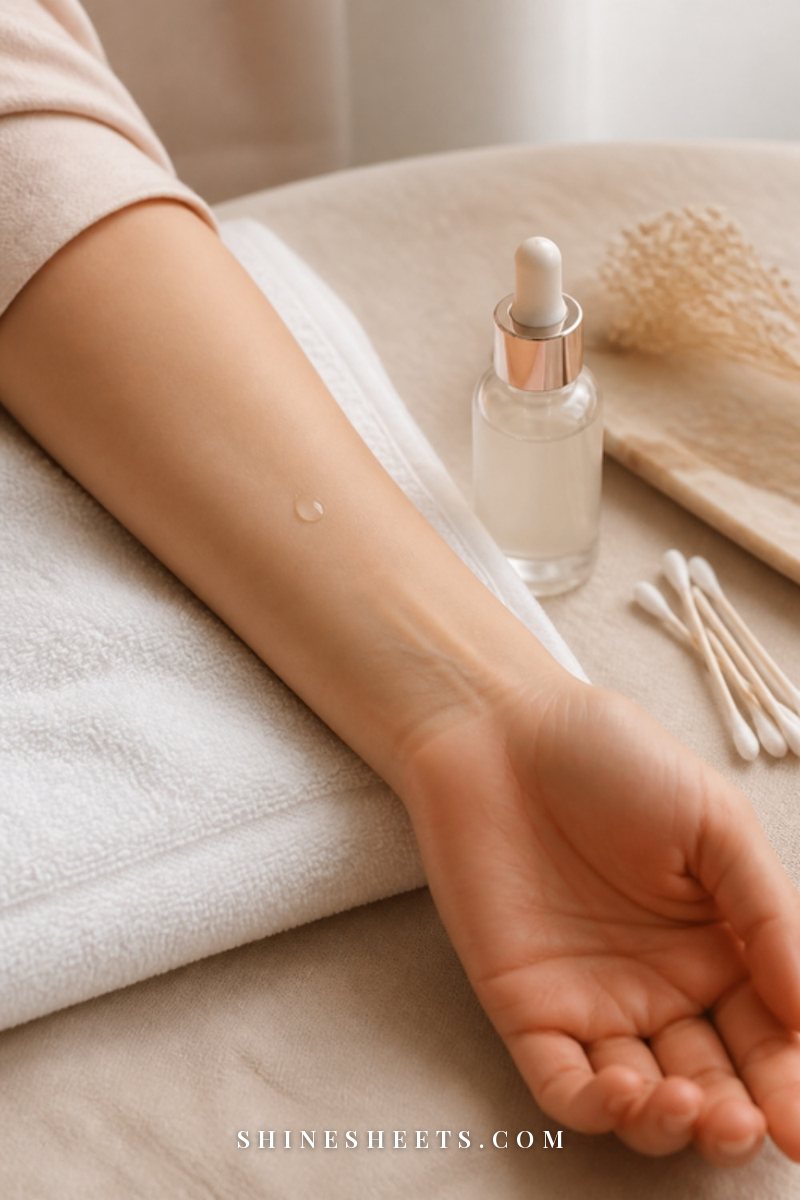
- Do a patch test. Flash one small spot on the area you want to treat and wait 24 hours. If you see anything beyond mild warmth or slight pinkness, stop. My guide on how to patch test skincare explains the patience part, and the same logic applies here.
- Check your sun exposure. If you've been in strong sun, used a tanning bed or self-tanner recently, wait until that color fades fully.
How To Use an At-Home IPL Device in 6 Steps
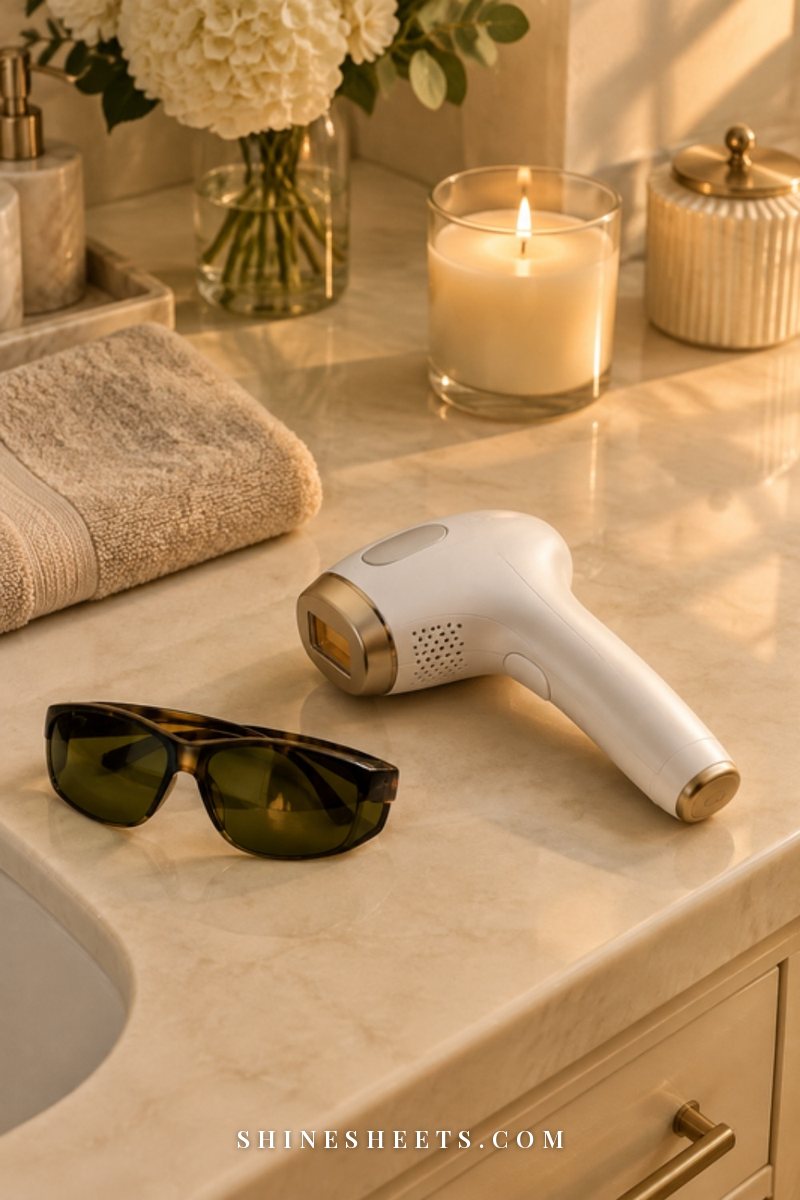
Once your skin is prepped and your patch test looked calm, here's the routine. It feels fiddly the first time and becomes second nature by the third.
1. Shave the Area the Night Before
Shaving the evening before gives any tiny razor irritation time to settle. Shave with the grain using a light hand, rinse, pat dry and skip heavy creams on that area. If you have a lot of small bumps after shaving, my smooth legs routine has gentle ways to keep shaving calm.
2. Choose Your Setting
Start on the lowest or a low-medium setting for each new area, even if your skin is a perfect match. If that felt comfortable after a few sessions, you can move up one level at a time. Comfortable warmth, like a rubber band snap or a quick pinch of heat, is normal. Sharp pain is not, and it means the setting is too high or the device isn't right for your skin.
3. Protect Your Eyes and Set Up
The flash is bright. Many devices come with tinted safety glasses, and you should wear them if yours does. Even without glasses, never look directly at the flash and never use the device on or near the eye area (no eyebrows, no eyelids). Work in a well-lit room, sit comfortably and keep the device cord out of the way.
4. Flash in a Neat Pattern
Press the window flat against your skin so the sensor makes full contact, then flash. Move to the spot right next to it, slightly overlapping the edge but never flashing the same spot twice in one session. Many devices offer a "glide" mode for big areas like legs and a "stamp" mode for small areas like the underarms. Work in rows, like mowing a lawn, so you don't lose track. One lower leg usually takes somewhere between 8 and 15 minutes, depending on the device.
5. Calm Your Skin Afterward
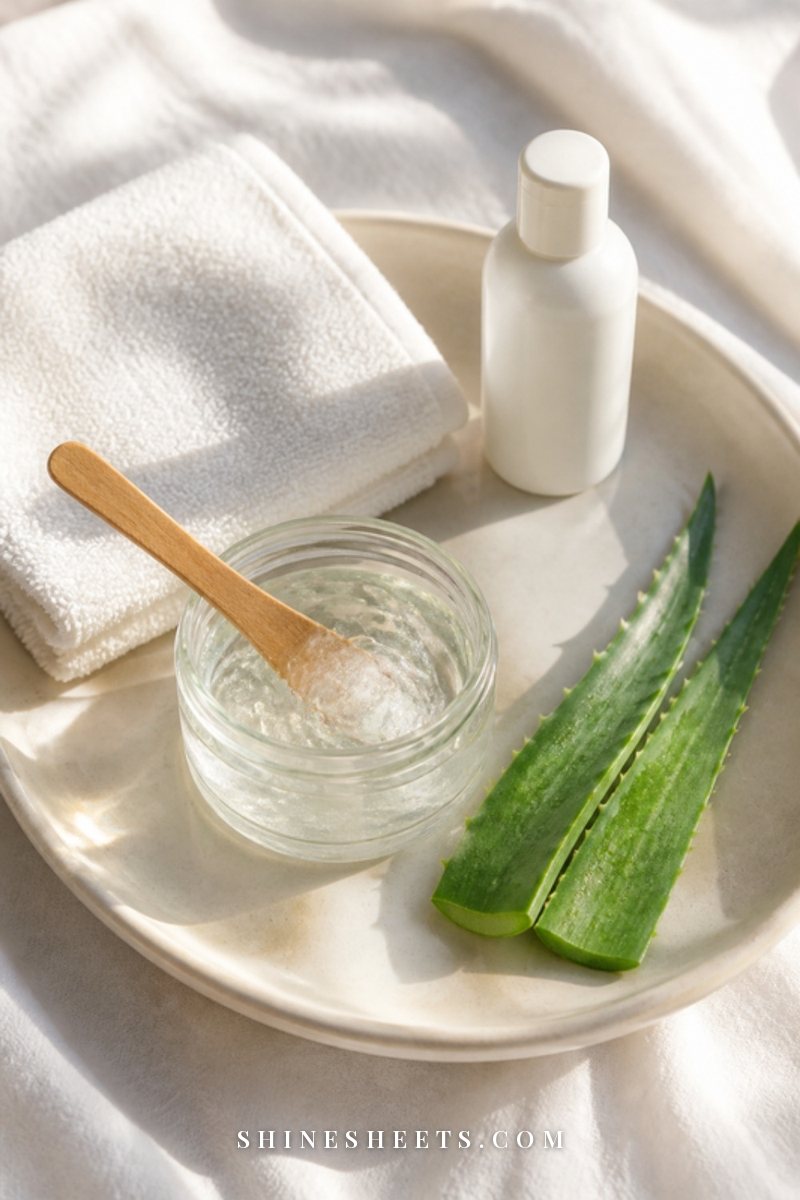
Slight pinkness or warmth for a few hours is common. Apply a thin layer of fragrance-free aloe gel to cool it down, and keep the area away from hot showers, saunas and workouts that make you sweat a lot for the rest of the day. Slip into something soft instead: a soft cream bath robe and an evening tea is my kind of IPL night. The next morning, a plain, fragrance-free body lotion keeps the skin comfortable.
6. Follow the Treatment Schedule
Consistency is where the results come from. Most devices recommend a session about once a week (some say every two weeks) for the first 8 to 12 weeks, so you can catch each hair as it enters its growing phase. After that, you switch to maintenance: one touch-up every four to eight weeks, or whenever you notice a few hairs coming back. Put the sessions in your planner on the same evening each week so it becomes a ritual instead of a chore.
Your First 12 Weeks: The IPL Timeline Table

Here's what a realistic first stretch tends to look like for a good candidate. Everyone's hair cycle is a little different, so treat this as a gentle guide, not a promise. Screenshot it and keep it next to your device.
| Week | What to do | What you might notice | Tip |
|---|---|---|---|
| Before week 1 | Stop waxing and epilating for 4 weeks, read the manual, patch test one small spot | Nothing yet, and that's fine | Wait the full 24 hours after the patch test before a full session |
| Week 1 | Shave the night before, first full session on the lowest setting | Mild warmth or slight pinkness for a few hours | Start with an easy area like the lower legs |
| Weeks 2–3 | Weekly session (or as your manual says), same evening each week | Hair still grows back; some may slide out instead of being shaved | Don't judge results yet, this is the "trust the process" stage |
| Weeks 4–6 | Keep the weekly rhythm; raise the setting one level only if comfortable | Many people notice slower, patchier regrowth | Take a photo in the same light every two weeks to compare |
| Weeks 7–9 | Weekly sessions, keep skin out of strong sun | Hairs tend to look finer and lighter; fewer shaves needed | Mineral SPF on any treated area that sees daylight |
| Weeks 10–12 | Last weekly sessions of the starting phase | Noticeably less hair for many good candidates | Note which areas still need extra attention |
| Month 4 onward | Maintenance session every 4–8 weeks | Occasional stray hairs, especially with hormonal changes | Treat as soon as you see regrowth instead of waiting months |
If you've followed the schedule carefully for about three months and see no change at all, it's likely a contrast issue (hair too light or skin too close in tone). That's a sign to switch methods, not to push the setting higher.
Safety Rules Worth Following Every Time

Home IPL is designed to be safe when it's used as directed, and the rules below are what keep it that way. They're short, so I'd keep them in mind every single session:
- Protect your eyes. Wear the glasses if your device includes them and never point the flash toward your eyes. No treatment around the eyes or on the eyebrows.
- Never flash over tattoos, permanent makeup, moles, freckles, birthmarks or dark spots. Dark ink and dark pigment absorb the light and can burn. Many people cover a mole with a small piece of white tape or simply work around it.
- Skip broken, sunburned or irritated skin. That includes cuts, active breakouts, eczema flares, cold sores and fresh razor nicks. Wait until it's fully healed.
- Avoid sun and tanning before and after. Tanned skin holds more pigment, which raises the risk of burns and dark marks. Skip sunbeds and self-tanner, and wear a broad-spectrum mineral sunscreen with SPF 50 on treated areas that see daylight. If you're curious about the filters, my guide to mineral vs chemical sunscreen explains the difference.
- Check special situations. Follow the manufacturer's advice and ask your doctor or pharmacist if you're pregnant or breastfeeding, or if you take medication or use skincare that makes skin sensitive to light (some antibiotics, acne medications and retinoids among them).
- Stay on approved areas. Use the device only on the body areas your manual lists. Many devices aren't meant for the face above the cheekbones, the nipples or intimate areas.
- Stop if something feels wrong. Blistering, crusting, swelling or color changes that last more than a day or two are a reason to pause and check in with a doctor.
None of this is meant to scare you. It's simply the difference between a calm routine and a sore lesson.
Is At-Home IPL Worth It?

For the right person, I'd say yes. Here's the simple math I'd do before buying. Write down what you spend in a year on razors and shaving cream, or on salon waxing appointments (and the time you spend getting there). Then compare it with the price of a good home device, which you buy once and can use on several areas.
Most people who wax regularly find a device pays for itself within a year or two. Most people who only shave cheaply take longer, and for them the bigger win is time and fewer razor bumps rather than money. If you're shopping, look for an at-home IPL device with a built-in skin tone sensor, several intensity levels, a corded or long-lasting battery option and clear guidance on which body areas it's approved for. A larger treatment window makes legs faster; a smaller attachment makes underarms and bikini line easier.
It's probably not worth it if your hair is blonde, red, grey or white, if your skin tone is outside the device's safe range, or if you know you won't keep up with weekly sessions for the first few months. In those cases, a good razor routine or a different method will make you happier.
7 Common IPL Mistakes To Avoid
Most disappointing IPL experiences come down to a handful of small, fixable habits:
- Waxing between sessions. It pulls the root out, so the light has nothing to follow. Shave only.
- Skipping weeks in the first phase. Missed sessions mean missed growth cycles. Set a weekly reminder and treat it like an appointment.
- Jumping to the highest setting. More power isn't always better and raises the risk of irritation. Go up one level at a time.
- Flashing the same spot twice. Double flashing doesn't speed things up, it only stresses the skin. Work in neat rows.
- Treating tanned skin. A fresh tan or self-tanner changes how your skin absorbs the light. Wait until it fades.
- Expecting results after two sessions. The real change usually shows after several weeks. Comparison photos help you see progress you'd otherwise miss.
- Forgetting aftercare. Hot showers, sweaty workouts and fragranced lotions right after a session can leave skin unhappy. Keep the evening cool and calm.
Gentle Aftercare Between Sessions
Between sessions, your skin just needs simple kindness. Moisturize daily with a plain lotion, keep shaving gentle and exfoliate lightly once or twice a week (never on the same day as a session) to help prevent hairs from getting trapped. If you tend to get bumps, my guide on how to get rid of ingrown hairs has gentle prevention tips, and many people find their ingrown hairs calm down as IPL thins the hair over time.
Wear loose, soft clothes over freshly treated areas for the first day, keep up your sunscreen and save retinoids and acid exfoliants on treated areas for a day or two after each session (or follow your manual's advice). That's really it. No elaborate routine, just calm skin waiting for the next flash.
Final Thoughts
At-home IPL hair removal rewards the quiet, steady kind of commitment. When your hair and skin are a good match, the routine is simple: shave, protect your eyes, flash in neat rows, soothe, repeat every week for a few months and then just top it up.
Go slowly, follow your manual, skip anything that feels wrong and give yourself the full three months before you decide. Whatever you choose, smooth skin is a preference, never a requirement, and you get to do it on your own terms.