Lipstick on your teeth almost never comes from the wrong lipstick. It comes from where the color sits. Most of the transfer happens on the inner edge of your lips, the soft part that touches your teeth every time you talk, smile or sip. Keep that part clean and the problem mostly disappears, whatever shade you love.
That's good news, because it means you don't have to give up a bold red or a creamy rose. You just need a few small changes in how you prep, apply and set your color, plus a couple of quick habits for when you're out.
This guide is all about how to stop lipstick on teeth for good: why it happens, seven simple fixes (including the classic finger trick), a formula table that shows which textures transfer most, and easy touch-ups for the middle of the day. It's the little routine I wish I'd learned years earlier, and it takes about five minutes.
Why Lipstick Ends Up on Your Teeth
Before the fixes, it helps to know what's actually going on. There are usually one or more of these four reasons behind it:
- Too much product on the inner lip. When you swipe the bullet straight across and press your lips together, color gets pushed inward to the wet, inner part of the lip, which slides right onto your teeth.
- Color applied past the inside edge. Lots of us apply lipstick with our mouths slightly open and end up painting the part of the lip you only see when you smile wide. That inner line is exactly what touches your teeth.
- Creamy, slippery textures. Glossy, balmy and very creamy formulas never fully set, so they move whenever your lips do.
- Lip shape. Fuller lips, a slight overbite or lips that rest a little apart naturally have more contact with the teeth, so they need a bit more care with placement.
None of these means you're doing it "wrong." They're just the reasons the fixes below work.
7 Ways To Stop Lipstick Getting on Your Teeth
You don't need all seven every single day. For a sheer balm or tinted gloss, two or three steps are plenty. For a strong red or a deep berry at an event, do the full routine: it takes about five minutes, and you won't have to think about your teeth again all evening.
1. Prep With a Thin Layer of Lip Balm, Then Blot
Smooth lips hold color evenly; dry, flaky lips grab extra product in patches, and you end up adding more and more. Apply a thin layer of balm at least five minutes before your lipstick (or as the first step of your makeup) so it has time to sink in.
Right before your color, blot gently with a tissue to remove any slippery layer left on top. Too much balm under lipstick is one of the biggest causes of slipping and transfer.
A rich overnight lip sleeping mask the night before does the deep softening, so your morning balm can stay light. If your lips are chapped right now, my winter lip care routine will get them smooth again first.
2. Line and Fill With a Lip Pencil
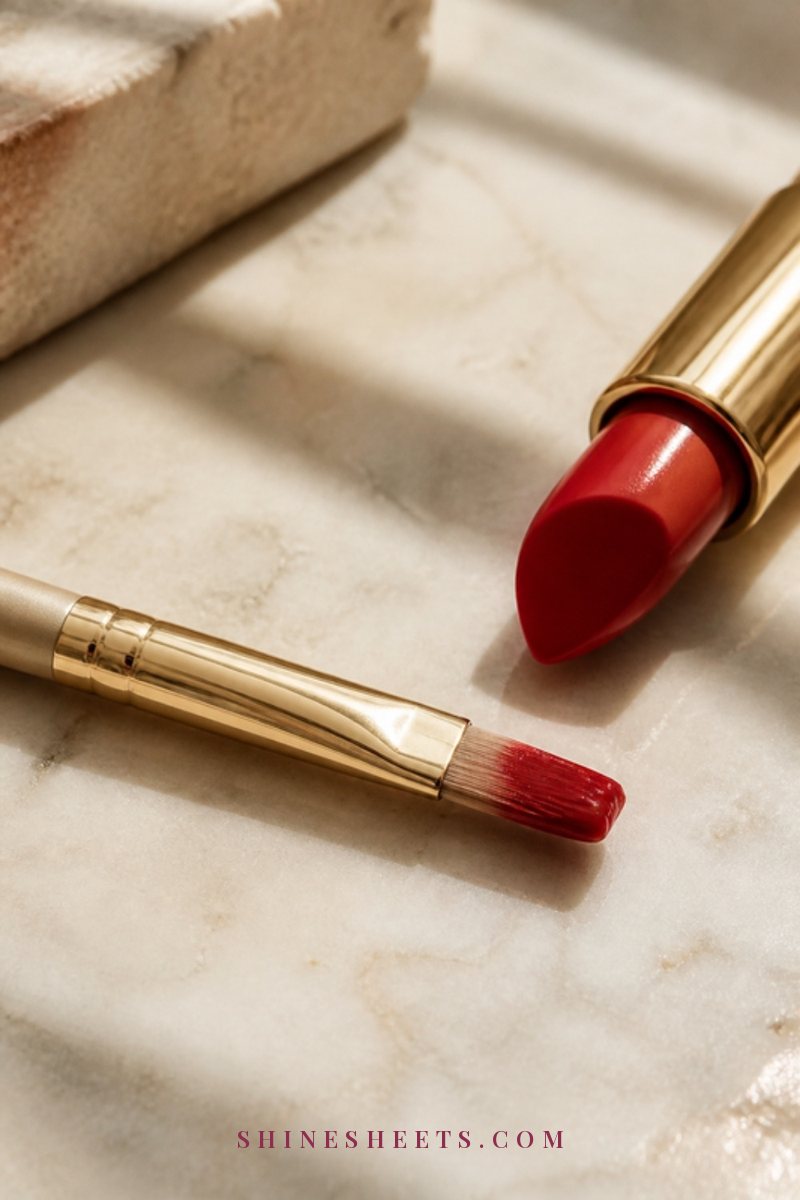
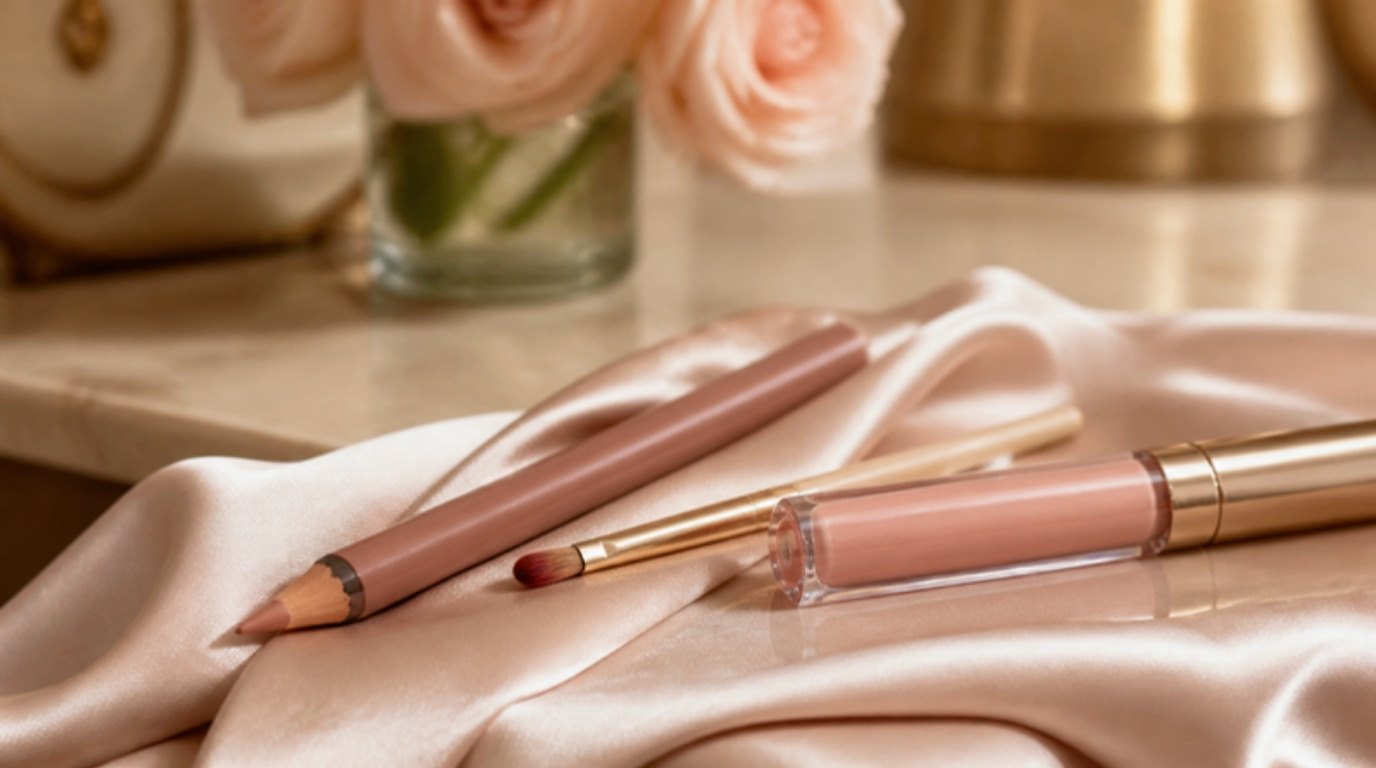
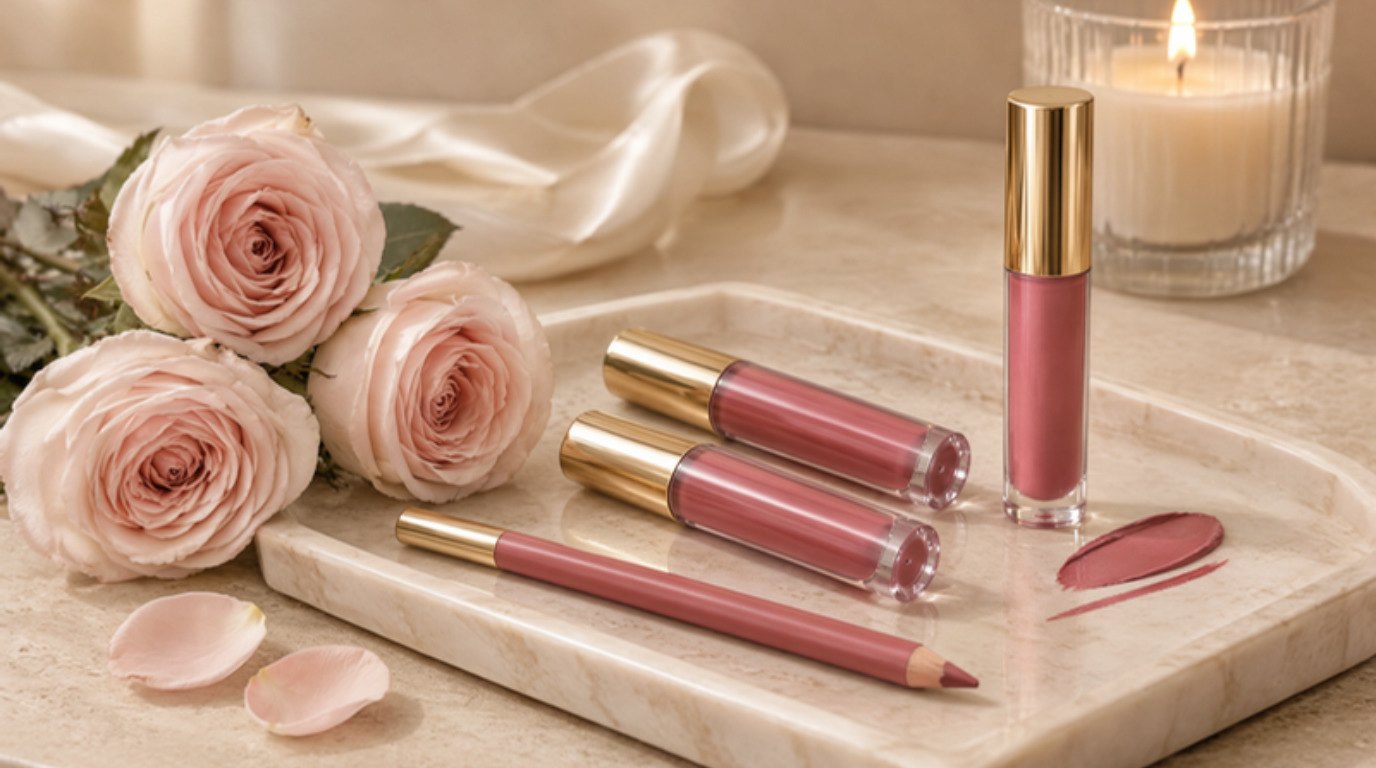
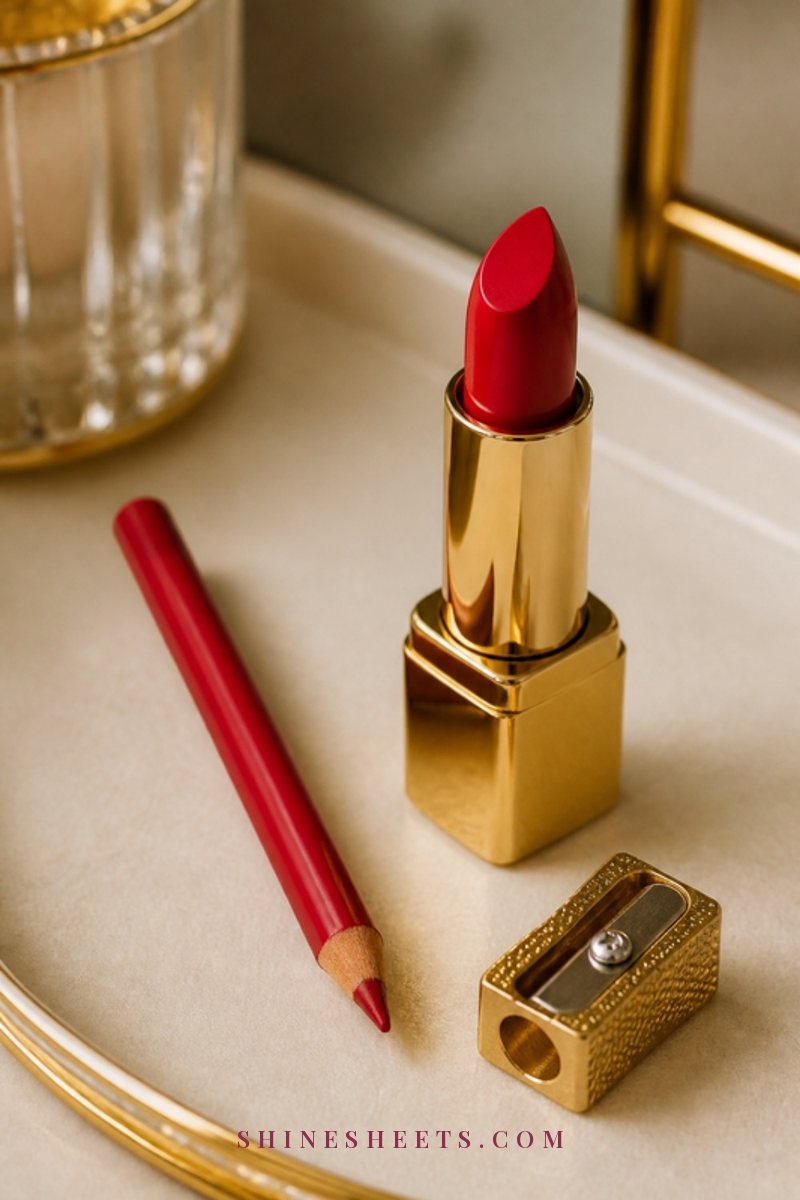
A lip liner does two jobs here. It creates a slightly drier, grippy base that lipstick sticks to, and it marks a clear border so you know exactly where your color stops.
Use a soft pink lip liner or a shade close to your lipstick. Trace the outer edge first, then lightly fill in the whole lip with the pencil, staying on the outer two-thirds. Don't line the inside of your mouth. Stop where your lip naturally meets the wet inner part.
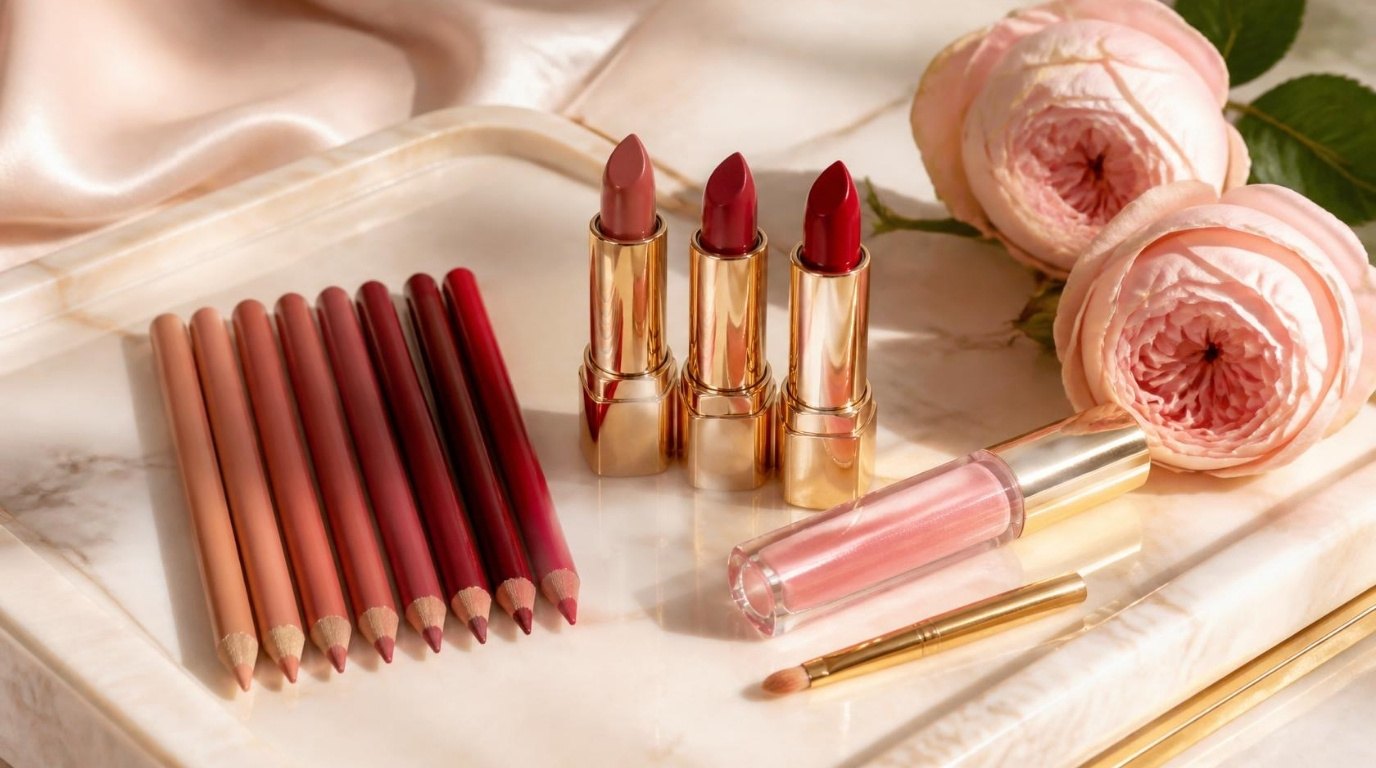
Want help choosing pairs? My guide to liner and lipstick combos that always work has easy matches. And if you like to slightly enhance your shape, keep any natural overlining to the outer border only, never the inner one.
3. Apply Mostly to the Outer Lip
This is the single most useful change. Instead of covering every millimeter of your lips, focus the color on the outer, visible part, and let it fade softly as it moves inward.
How to do it: keep your lips relaxed and gently closed (not stretched open). Apply color from the center outward to the corners, top lip first, then bottom. Then stop. Don't press your lips together hard or rub them back and forth, because that drags color inward.
A lip brush gives you far more control than the bullet, especially with deep shades. Load it with a little product, press it on in thin layers and keep it away from the inner edge.
4. Blot With a Tissue
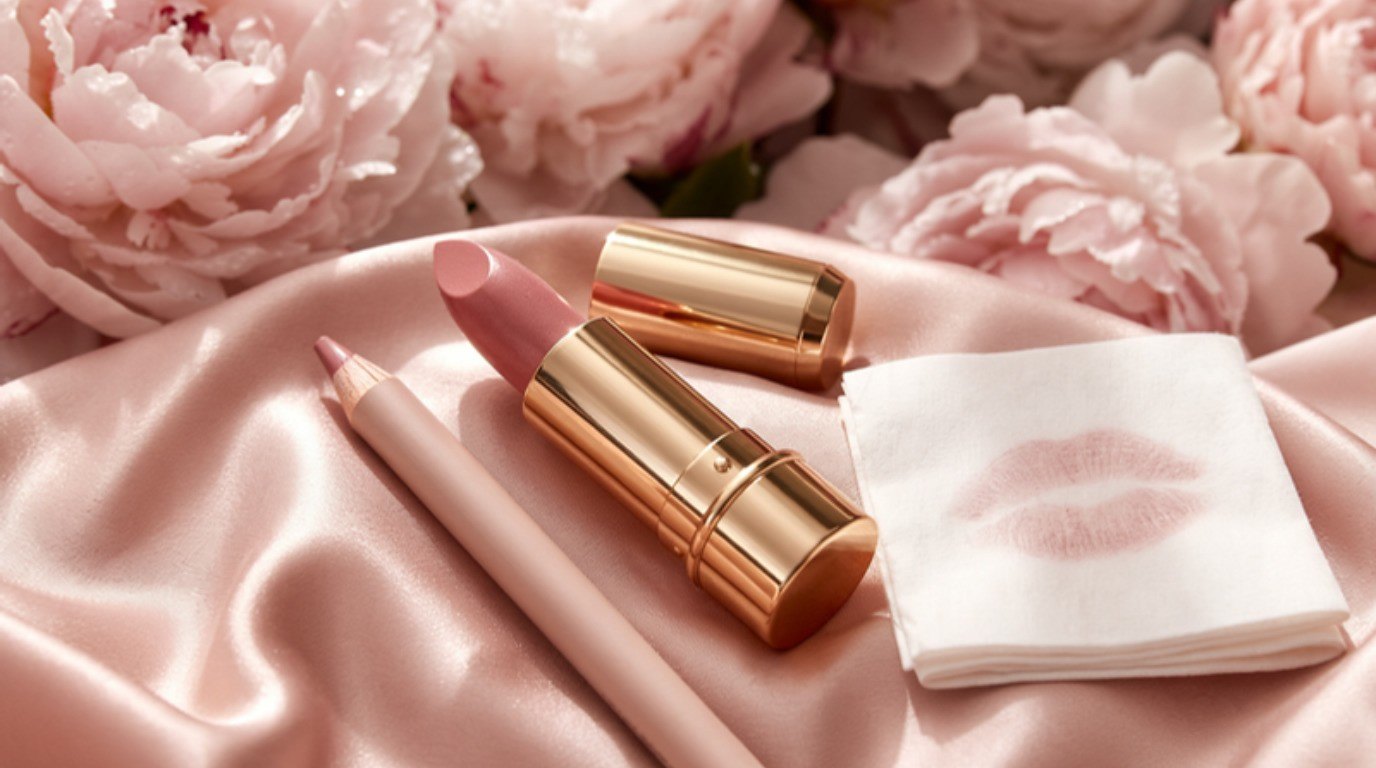
Once your color is on, open a single-ply tissue (or split a two-ply one), place it between your lips and press gently. Don't rub. Blotting lifts the excess oils and loose pigment that would otherwise end up on your teeth.
For a longer-lasting result, blot, apply a second thin layer and blot again. Two thin layers stay put much better than one thick one.
5. Use the Finger Trick
This is the classic makeup-artist move, and it really works. Make sure your hands are clean, then put your index finger in your mouth, close your lips softly around it and slowly pull it straight out.
Any color on the inner rim of your lips comes off on your finger instead of on your teeth later. Wipe your finger on a tissue. That's it: three seconds, very unglamorous, very effective. If you only add one fix from this list, make it this one.
6. Set With a Light Dusting of Powder
For important days, setting your color makes it drier and much less likely to move. Place a single layer of tissue over your lips, then gently dust a little powder over the tissue with a fluffy brush. The tissue lets just a fine veil through, so your lipstick doesn't look chalky.
A translucent setting powder is ideal because it won't change your shade. Follow with one more thin layer of lipstick on the outer lip only if you want to restore some shine. This step is especially handy for creamy formulas you love but that tend to wander.
7. Do a Quick Check Before You Go
Finish with a ten-second check. Smile wide in a mirror, then run your tongue lightly over your front teeth and look again. If there's a trace of color, wipe it with a corner of a tissue and repeat the finger trick.
A small blush compact mirror in your bag lets you do the same check after coffee or a meal without having to find a restroom.
Lipstick Formula Guide: Teeth-Transfer Risk at a Glance
Use this table to choose what to wear (and how much prep to do) depending on where you're going. Screenshot it if it helps.
| Formula type | Teeth-transfer risk | Best prep | Best set method |
|---|---|---|---|
| Liquid matte | Low once dry | Light balm, fully blotted; liner optional | Let it dry 1–2 minutes with lips apart, then the finger trick |
| Classic matte bullet | Low | Thin balm, blot, liner filled in | Blot once, finger trick |
| Satin | Low to medium | Balm, blot, liner filled in | Blot, second thin layer, blot again, finger trick |
| Cream | Medium | Balm, blot, full liner base | Blot, powder through tissue, finger trick |
| Sheer or tinted balm | Medium (shows less) | None needed | Blot once, finger trick |
| Lip gloss | High | Liner as base, gloss on the center of the lips only | No setting; keep gloss away from the inner edge |
| Lip oil | High | Liner or stain underneath | Apply sparingly, blot lightly, check often |
One extra rule of thumb: the deeper the shade, the more prep it deserves, simply because a hint of red shows far more than a hint of nude.
Which Lipstick Formulas Stay Off Your Teeth
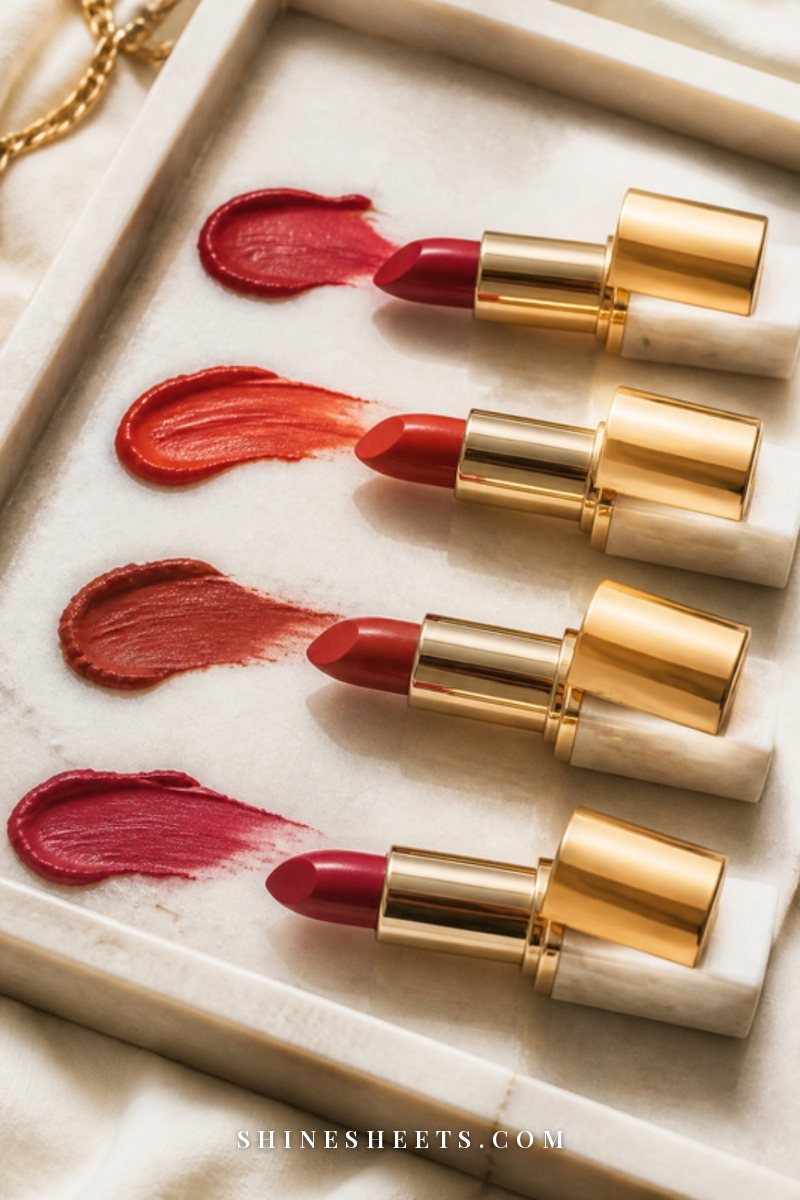
If teeth transfer is a constant battle, the formula matters as much as the technique.
Matte and satin formulas are your safest choice. They contain less oil and set closer to the lip, so there's simply less loose product to travel. A satin nude lipstick is a lovely everyday option: comfortable, softly shiny and much better behaved than a cream.
Glossy, creamy and balmy formulas transfer more. They're comfortable and pretty, but they stay slippery all day. You can still wear them; just keep them on the center and outer lip, skip the inner edge entirely and do the finger trick twice.
Long-wear liquids are the most stay-put, but they can feel drying. A thin balm the night before and a light balm (blotted) in the morning keeps them comfortable.
Not sure which shades suit you in the first place? My guide on picking the best lipstick shades for your skin tone walks through undertones step by step. And if your bigger worry is color lasting through dinner and kisses, the kiss-proof lipstick guide covers that side of things.
Quick Fixes When You're Out
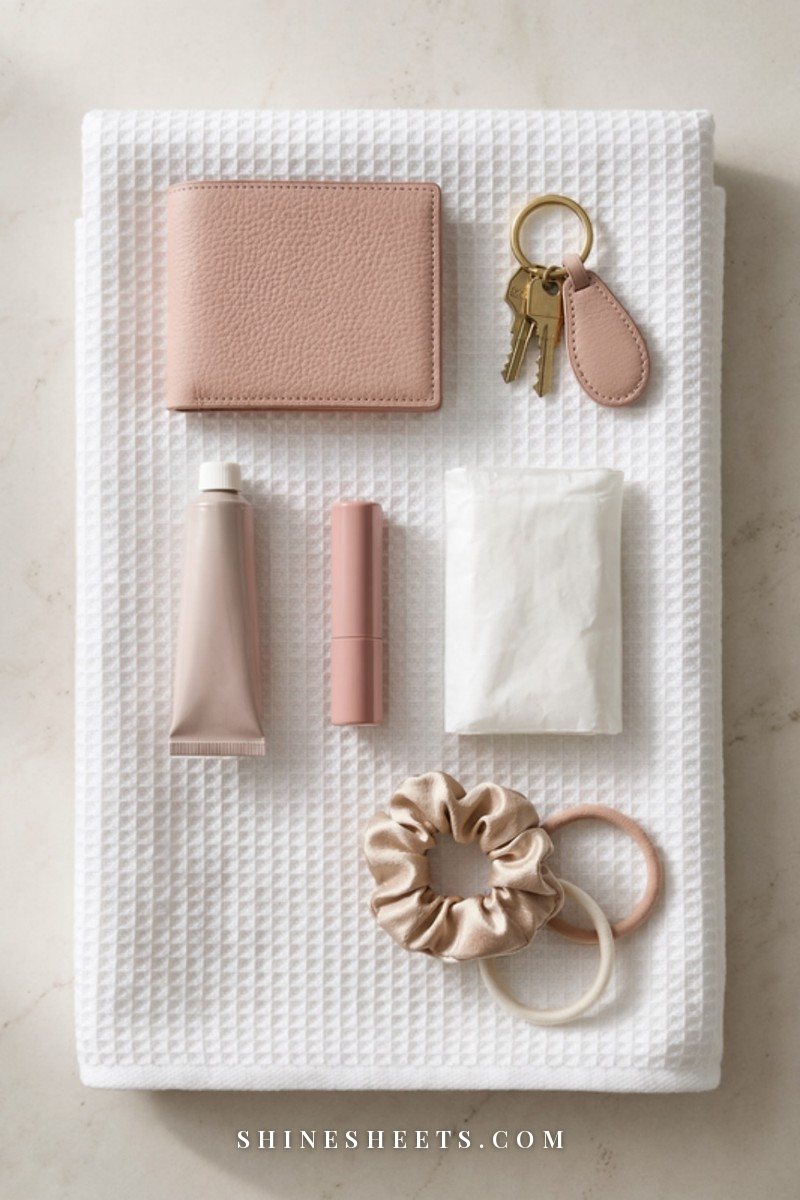
Even with perfect prep, a long lunch or a big laugh can move a little color. These on-the-go fixes take under a minute:
- Repeat the finger trick. After eating or drinking, do it once more. It's the fastest reset there is.
- Wipe with a tissue corner. Fold a tissue into a point and gently wipe the front of your teeth, then the inner edge of your lips.
- Run your tongue over your teeth. Before you smile for a photo, a quick swipe removes faint traces you can't see.
- Re-blot instead of re-applying. If your lipstick feels slippery after a warm drink, blot first. Often you'll find you don't need more color at all.
- Touch up only the outer lip. When you do re-apply, use the liner or a lip brush on the outer border and center, never straight across the inner line.
- Use a straw for cold drinks when you're wearing a deep shade, so less color is disturbed.
Keep a tiny kit in a small pouch: your liner, your lipstick, a few tissues and a compact. That's all you need.
How To Adjust for Your Lip Shape
The seven fixes work for everyone, but a few small tweaks make them even better depending on your natural lip shape. Find the one that sounds like you.
Fuller Lips
Fuller lips have more surface on the inner rim, so there's more color in contact with your teeth. Keep your liner fill to the outer half of each lip, and let the lipstick fade toward the center with a light dab of your fingertip. The finger trick is non-negotiable for you, ideally twice: once after applying and once after your first drink.
Thinner Lips
With thinner lips, it's tempting to cover every bit of the lip to make the color show, and that's how it ends up on the inner edge. Instead, build the shape with your liner along the outer border and choose a satin or softly shiny shade on the outer lip. Light reflects from the outer lip and makes it look fuller without any color near your teeth.
Lips That Rest Slightly Apart or a Slight Overbite
If your top lip naturally rests on or near your front teeth, the inside of the top lip is the danger zone. Apply the top lip with your mouth gently closed, keep color to the visible part only and set the top lip with powder through a tissue even on everyday days. A matte or satin formula will be your most reliable friend.
Uneven or Very Defined Cupid's Bows
A sharp cupid's bow often gets lots of attention with liner while the corners get piled with lipstick to balance it. Keep the corners thin. Color that collects in the corners easily moves onto your side teeth when you smile.
Shade-by-Shade Tips
Different colors need slightly different amounts of care. Here's how I'd think about it:
- Nudes and soft pinks: the most forgiving. Prep, apply to the outer lip and blot. Transfer shows very little, so a quick check is enough.
- Rosy mauves and everyday berries: medium care. Add liner and the finger trick, especially with cream textures.
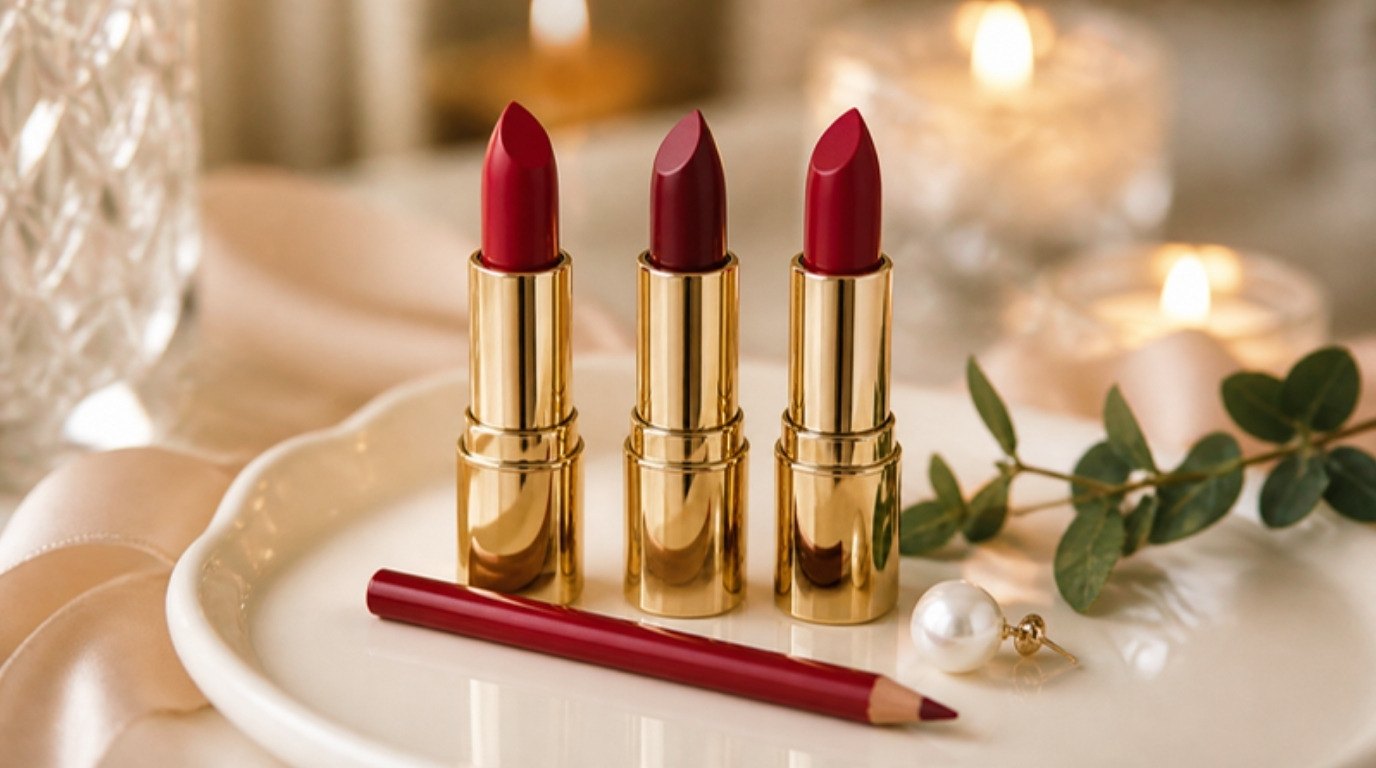
- Classic reds and corals: the full routine. Liner in a matching red, thin layers with a brush, blot, powder through a tissue and the finger trick. A red that's a touch blue-based also makes teeth look brighter, which is a lovely bonus.
- Deep plums and browns: the full routine plus extra checks during the day, because even a faint trace shows on teeth.
When in doubt, the deeper and creamier the lipstick, the more of the routine it gets.
Your 5-Minute Teeth-Proof Lipstick Routine
Here's everything in order, for days when you want to wear color without a single worry:
- Thin layer of lip balm at the start of your makeup; blot right before color.
- Line the outer edge and lightly fill in your lips with a pencil.
- Apply lipstick in thin layers to the outer two-thirds of your lips, with a brush for deep shades.
- Blot with a tissue, add a second thin layer, blot again.
- For creamy formulas, dust powder through a tissue.
- Do the finger trick.
- Smile wide and check your teeth before you leave.
It sounds like a lot written out, but once your hands learn it, the whole routine flows in about five minutes.
Keeping Lips Comfortable While Color Stays Put
The formulas that transfer least (mattes and long-wear liquids) are also the ones that can leave lips feeling tight by evening. That doesn't mean you have to choose between comfort and clean teeth. It just means lip care moves to the hours when you're not wearing color.
- Remove color gently at night. Hold a cotton pad soaked in an oil-based makeup remover on your lips for 20–30 seconds, then wipe softly instead of scrubbing.
- Use a richer balm or mask overnight. This is when your lips can recover, so the morning balm stays thin.
- Exfoliate lightly, not often. Once a week is plenty; a soft, damp washcloth in small circles is enough to lift flakes.
- Alternate textures. On quieter days, wear a tinted balm and give your lips a break from long-wear color.
Comfortable, smooth lips need less product to look good, and less product is exactly what keeps your teeth clean.
Common Mistakes To Skip
- Rubbing your lips together hard. A gentle press is fine; vigorous rubbing pushes color inward.
- Applying with your mouth wide open. It makes it easy to paint the inner lip by accident. Keep your lips relaxed and only slightly parted.
- Piling on one thick layer. Thick lipstick has nowhere to go but onto your teeth. Thin layers win every time.
- Skipping the blot after balm. A slick base makes even a matte formula slide.
- Using a heavy gloss topcoat on a strong color. If you want shine, add a touch of gloss only to the center of the bottom lip.
Final Thoughts
Stopping lipstick on teeth is less about finding a magic formula and more about a few small habits: thin layers, color on the outer lip, a blot and the humble finger trick. Once they're second nature, you can wear any shade you love, from a soft nude to an Old Hollywood red, and laugh as widely as you want.
Your smile deserves to be shown off, not hidden. With this little routine, it can be.