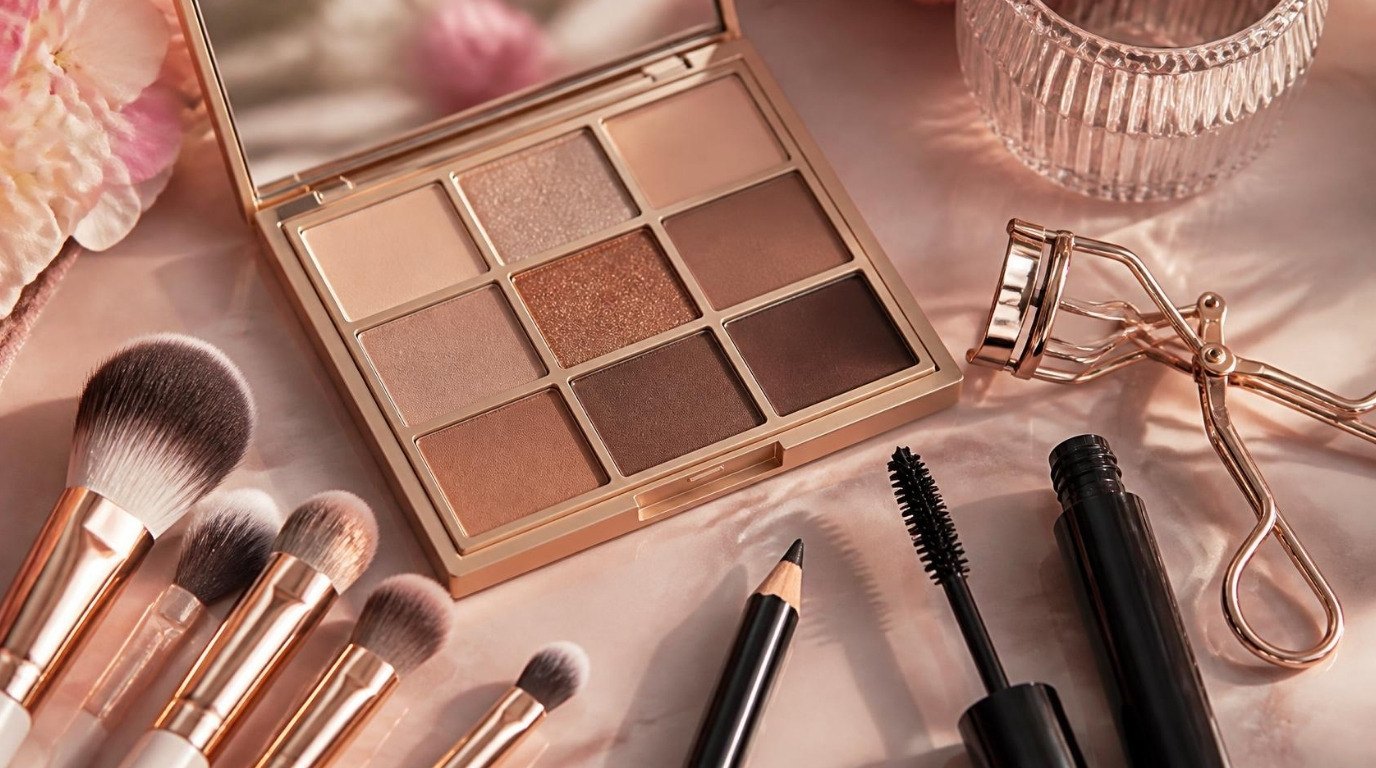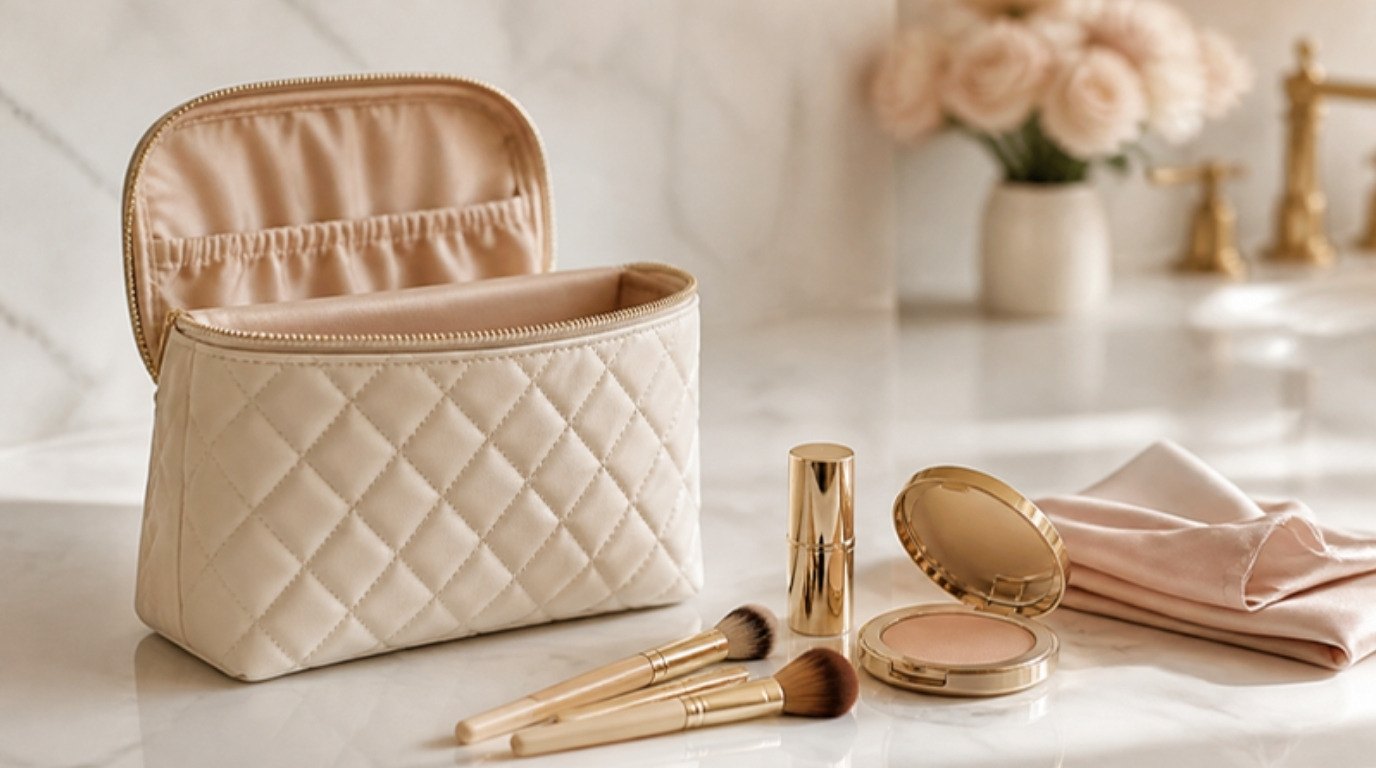
Your makeup bag goes everywhere with you: the bathroom counter, your work tote, the gym locker, the bottom of a suitcase. It collects spilled powder, a leaking foundation cap, a lipstick that lost its lid and a sponge that went in still damp. And every morning, the products inside it touch your face.
The good news is that a clean makeup bag doesn't take a deep-clean weekend. One proper reset every month or two, plus a five-minute tidy each week, keeps it fresh, organized and kinder to your skin. It's also one of those jobs that feels so satisfying afterward that you'll wonder why you put it off.
In this guide, I'll show you how to clean your makeup bag step by step: how to declutter and check what's expired, how to wash the bag itself by material, how to wipe packaging, clean tools and dry everything properly, plus a product table that tells you how long each item lasts once opened and how to clean it.
Why Your Makeup Bag Needs Regular Cleaning
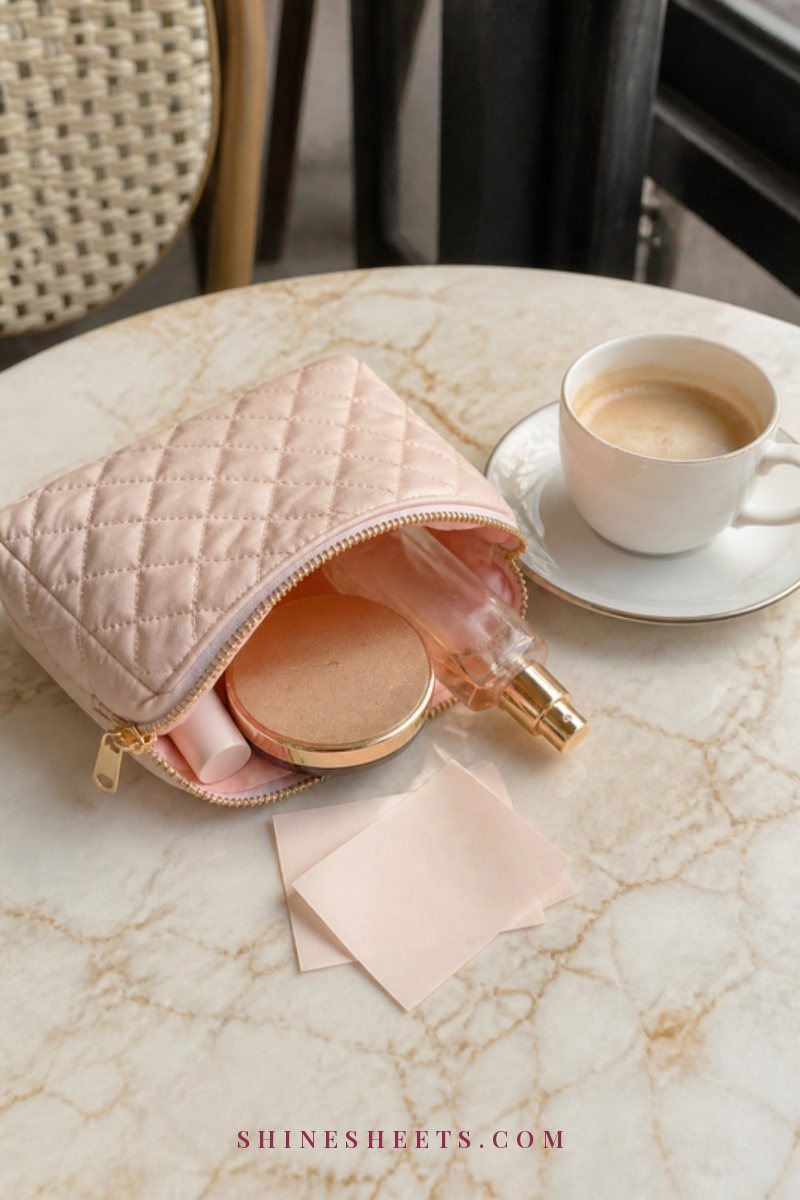
A makeup bag is a small, closed, often warm space full of products that touch your skin, eyes and lips. That's a perfect recipe for build-up. Over time it gathers:
- Powder, pigment and broken bits of eyeshadow or blush.
- Leaked foundation, concealer or skincare.
- Oil and skin cells transferred from brushes, sponges and fingers.
- Moisture from damp sponges or a bag stored in a steamy bathroom.
- Dust, lint and crumbs from the bottom of your handbag.
When products sit in that mix, bacteria and mold have more chances to grow, especially on damp sponges and creamy formulas. That can mean breakouts, irritated eyes or products that go off faster than they should. If you have sensitive or breakout-prone skin (my combination skin always tells on me), a clean bag is part of keeping your face calm.
How often: give your makeup bag a full clean every 4–8 weeks, and right away after any spill, after you've had an eye infection or cold sore, or if it ever smells musty.
Not sure if yours is due? These are the signs it needs attention now, not next month:
- You can see a film of powder or glitter coating the lining.
- Something feels sticky when you reach inside.
- Caps and lids look dusty or smudged with product.
- The bag smells musty, sour or like old foundation.
- Your brushes come out with lint or crumbs stuck to the bristles.
- You've been breaking out more than usual and can't pin down why.
If two or more of these sound familiar, set aside about 30 minutes of active time, plus drying time overnight. Here's exactly how to do it.
Step 1: Empty and Declutter
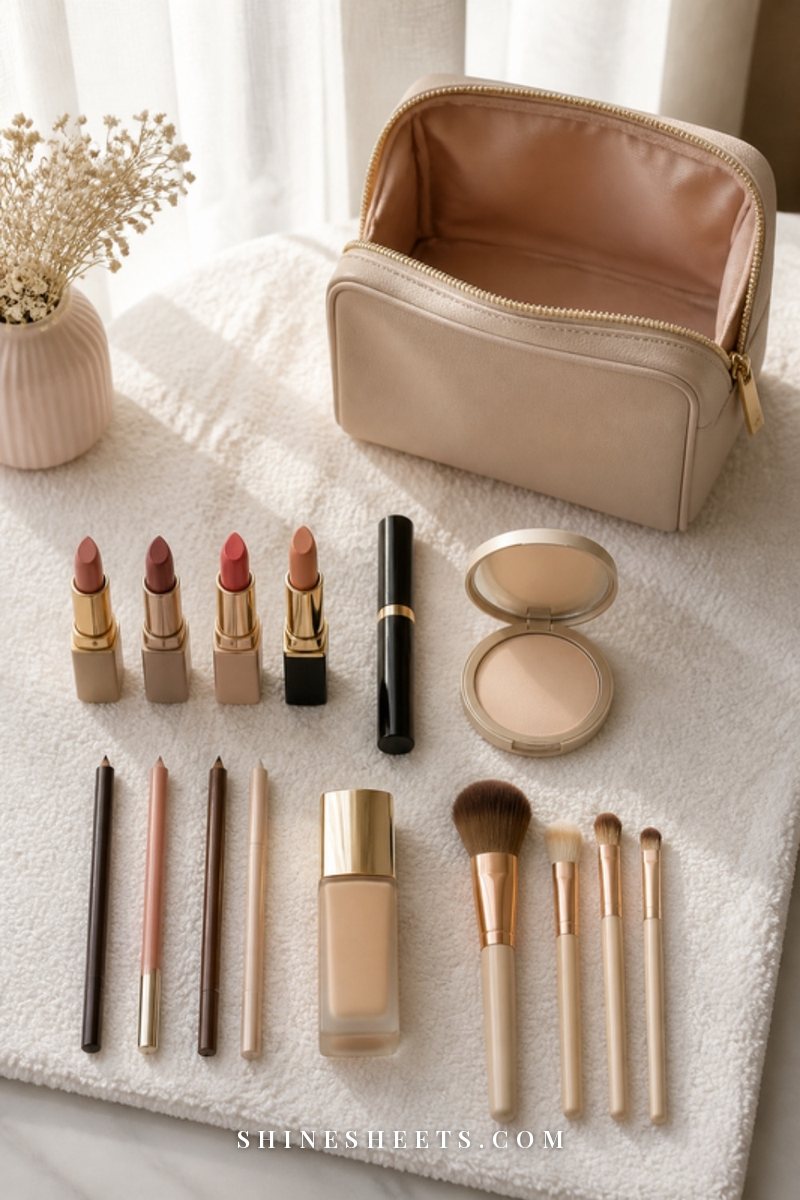
Lay a clean towel on a table or counter and tip everything out. Seeing every item at once makes it much easier to be honest about what you actually use.
Sort products into three small piles:
- Keep: things you use regularly that look, smell and feel normal.
- Toss: anything expired, dried out, separated, smelling odd, changed in color or texture, or used during an eye infection.
- Move: things you rarely use that don't need to travel with you daily. These can live in a drawer at home.
To check expiry, look for the small open-jar symbol on the packaging, usually with a number like "6M" or "12M." That's how many months the product is meant to last after you open it. If you can't remember when you opened something, it's usually safest to let it go, especially for anything used near the eyes.
How Long Makeup Lasts Once Opened
Here is the unique tool for this guide: a quick reference for common products, how long they typically last after opening and how to clean them during your reset. These are general guidelines only; always follow the open-jar symbol and the product's own instructions.
| Product | Lasts once opened (approx.) | How to clean it |
|---|---|---|
| Mascara | About 3 months | Don't clean the wand; replace the whole tube. Never pump the wand. |
| Liquid eyeliner | About 3–6 months | Wipe the cap and tube; replace if it dries or smells odd. |
| Liquid foundation and concealer | About 6–12 months | Wipe the pump or cap opening with a clean tissue; wipe the outside. |
| Cream blush, cream shadow, stick products | About 6–12 months | Scrape a thin top layer with a clean spatula if it looks dirty; wipe the case. |
| Lipstick | About 12–18 months | Wipe the bullet surface gently with a tissue; wipe the case and cap. |
| Lip gloss | About 6–12 months | Wipe the tube and wand neck; replace if sticky or smells off. |
| Pencils (lip, brow, eye) | About 12–24 months | Sharpen to remove the top layer; wipe the sharpener. |
| Powders (blush, bronzer, shadow, setting) | About 18–24 months | Wipe the compact; gently remove a hard top layer with a clean tissue. |
| Makeup sponge | About 1–3 months | Wash after each use or at least weekly; replace when torn or stained. |
| Brushes | Years with good care | Wash weekly (face) and every 1–2 weeks (eyes). |
For your skincare products, my guide on how long skincare lasts after opening uses the same open-jar logic and covers serums, moisturizers and sunscreen.
Step 2: Wash the Bag by Material
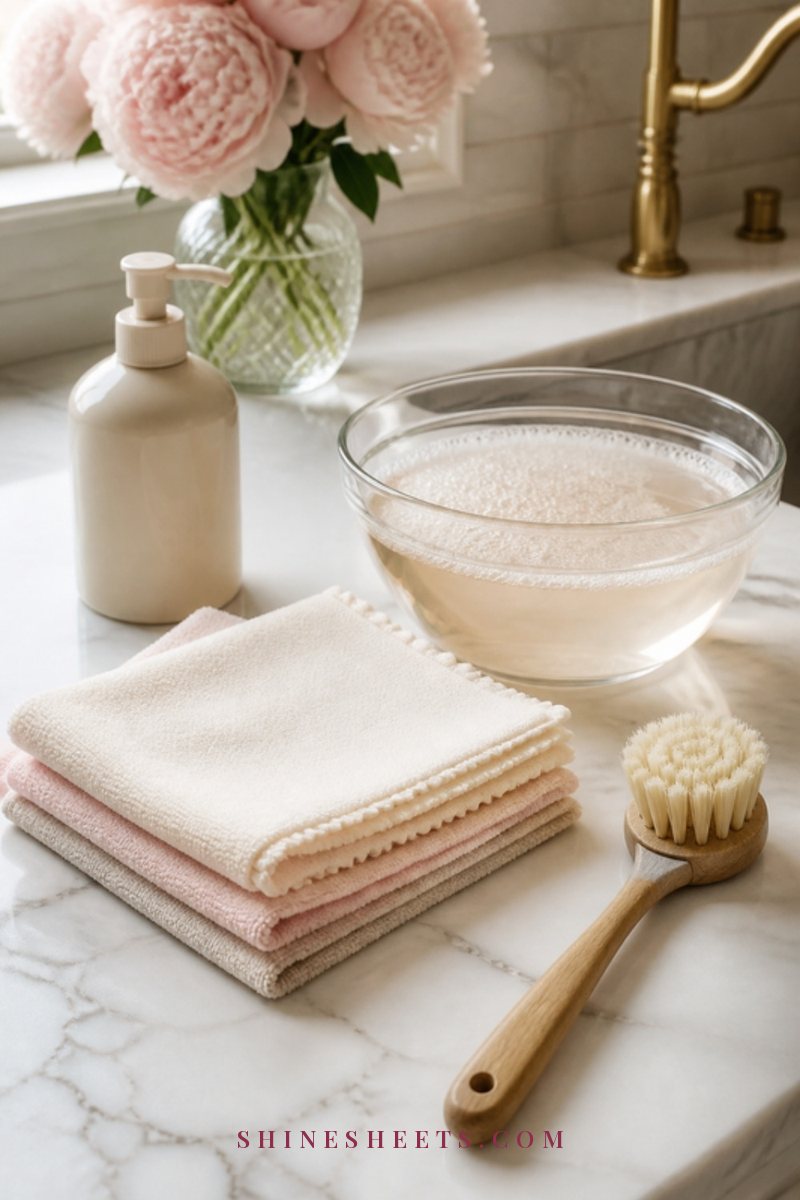
Before you wash anything, check the care label inside the bag. It always wins over general advice. Shake the empty bag out over a trash can, then use a lint roller or a small dry brush to lift loose powder and crumbs from the seams and corners. If there's a removable insert, take it out and clean it separately.
Fabric and Canvas Bags
- Spot-treat stains first: dab a drop of gentle dish soap or a little micellar water onto foundation or lipstick marks with a soft toothbrush, and let it sit for 5 minutes.
- Hand wash in a sink of lukewarm water with a small squeeze of mild dish soap. Swish and gently rub for 2–3 minutes, paying attention to the seams.
- Or machine wash if the label allows: turn the bag inside out, zip it closed, put it in a mesh laundry bag and run a gentle cycle in cool or warm water.
- Rinse well until no suds remain, then press out water with a towel. Don't wring.
Vinyl, PVC and Clear Bags
- Fill a bowl with warm water and a few drops of dish soap.
- Wipe the inside and outside with a soft cloth, using a cotton swab for seams and zipper edges.
- For sticky residue, a cloth dampened with a little isopropyl alcohol usually lifts it. Test on a hidden spot first, since alcohol can cloud some plastics.
- Wipe again with a clean damp cloth and dry with a towel.
Leather and Faux Leather Bags
- Never soak or machine wash leather.
- Wipe the outside with a barely damp cloth, then dry immediately.
- Clean the lining with a lightly damp cloth and a tiny drop of mild soap, then wipe with a clean damp cloth.
- For real leather, follow up with a leather conditioner on the outside once it's dry, following its instructions. Test anything new on a hidden spot.
Step 3: Wipe Down Product Packaging
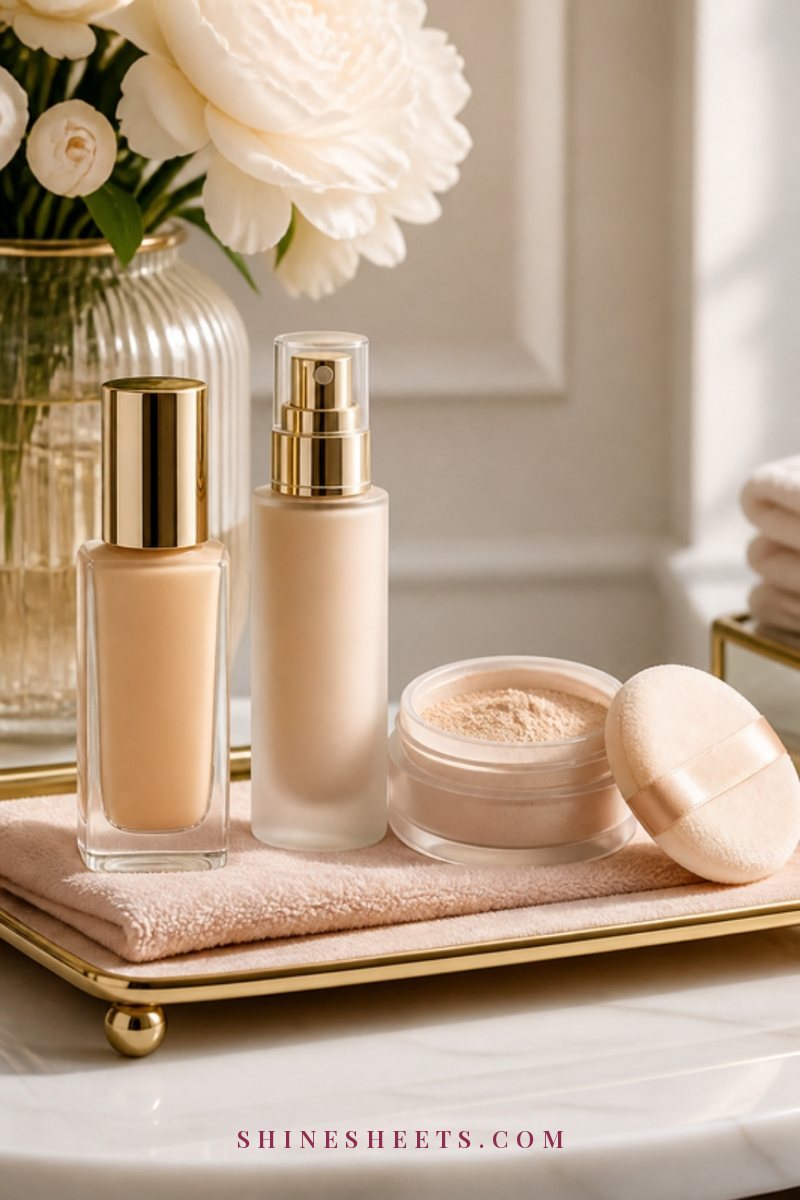
Your products touched the dirty bag, so give them a quick wipe before they go back in. A pack of isopropyl alcohol wipes makes this fast. Use them on packaging only, never on your skin or lips, and never on the makeup itself, except for a lipstick bullet as described below.
- Wipe compacts, tubes, bottles and caps, especially around lids, pumps and threads where product builds up.
- Open compacts and wipe the edges and inside the lid (avoid wiping the powder itself).
- Gently wipe the surface of a lipstick bullet with a tissue, and if you've been unwell, many makeup artists lightly mist it with alcohol and let it dry fully. When in doubt, replace it.
- Let everything air dry for a few minutes before closing.
For eyeshadow palettes and pressed powders that look dull or have a hard, shiny film on top (that's oil from brushes and fingers), gently rub the surface with a clean, dry tissue or a piece of clear tape until fresh color shows through. Then wipe the outer edges of the palette and the hinge, where powder collects. Cream products in pots can be refreshed by lifting a very thin top layer with a clean spatula.
A small safety note: isopropyl alcohol is flammable, so use it in a ventilated space away from candles and open flames, and keep wipes closed and out of reach of children.
Step 4: Clean Brushes and Sponges
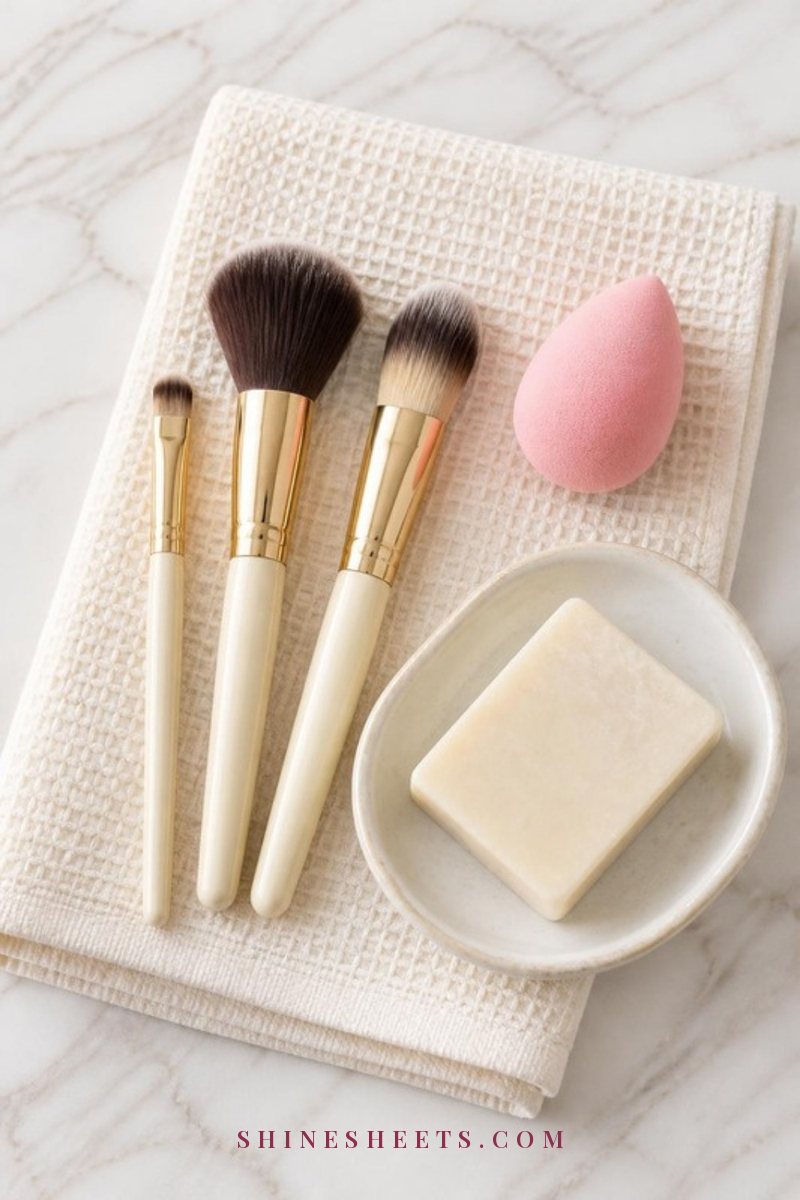
There's no point putting dirty tools into a clean bag. Wash your face brushes and sponges now, while the bag dries.
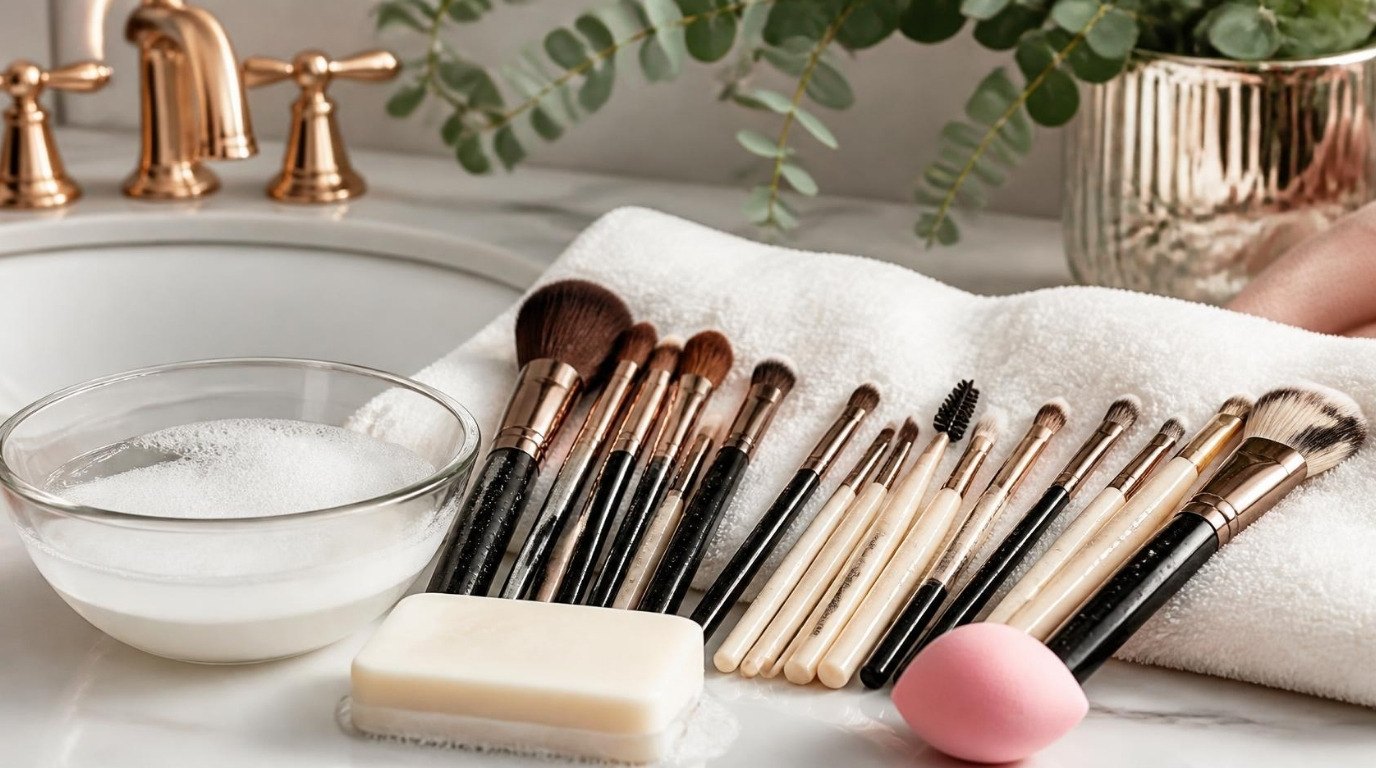
- Wet the bristles only with lukewarm water, pointing them down so water doesn't seep into the handle.
- Add a little cleanser. A gentle brush shampoo or a mild, fragrance-free cleanser works well.
- Swirl on a textured mat. A silicone brush cleaning mat lifts product from deep in the bristles in about 30 seconds per brush.
- Rinse until the water runs clear, then squeeze gently with a towel and reshape.
- Dry flat or bristles down, never upright in a cup while wet.
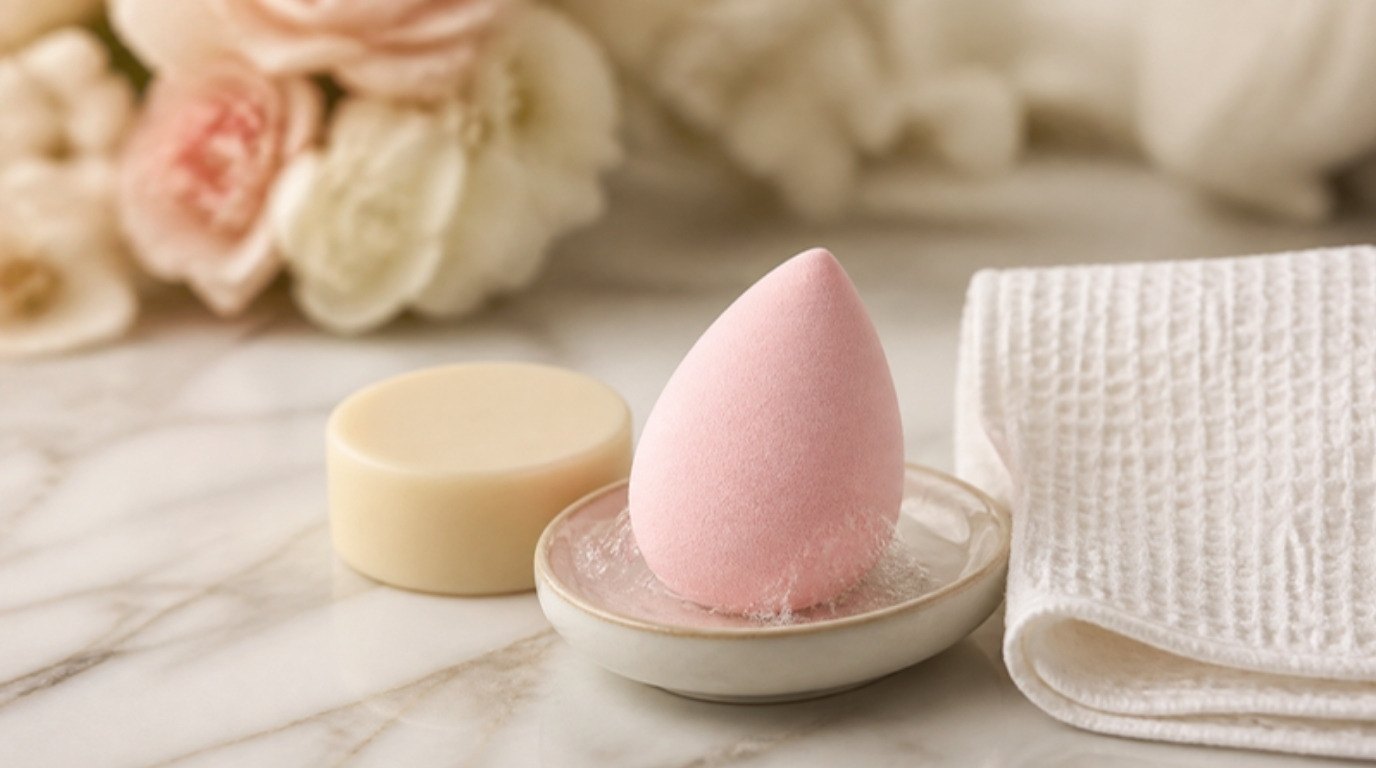
Sponges need more attention since they hold water. Wash them until the water is clear, squeeze out as much as you can and let them dry completely before packing. If a sponge is torn, stained deep inside or smells, replace it with a fresh blending sponge. My full guides on how to deep clean makeup brushes and how to clean a makeup sponge go deeper on each.
Step 5: Sharpen Pencils and Disinfect Tools
Pencils clean themselves in the best way: sharpening removes the top layer that has touched your skin. Give each lip, eye and brow pencil a quick turn in a clean makeup pencil sharpener, then wipe the sharpener blade area with a tissue and tap out the shavings.
For metal tools like tweezers, eyelash curlers and small scissors:
- Wash with warm soapy water and dry with a clean cloth.
- Wipe with an alcohol wipe and let them air dry completely.
- Replace the eyelash curler pad when it's flattened or cracked, usually every few months.
Spatulas, pump tops and small containers can be washed with warm soapy water, rinsed and dried.
Step 6: Dry Everything Fully

This step is where most people rush, and it's the one that matters most. Trapped moisture is exactly what you're trying to avoid.
- Bags: hang or stand them open, zipper open and turned inside out if possible, in a well-ventilated spot out of direct heat. Fabric bags usually need 12–24 hours to dry fully. Vinyl and PVC dry within an hour or two.
- Brushes: 6–12 hours, depending on density.
- Sponges: at least 24 hours, ideally on a ventilated stand.
Avoid hair dryers on high heat, radiators and direct sun for long periods, since they can warp plastic, crack leather and loosen brush glue. Before packing, check every seam with your fingers. If anything feels cool or damp, give it more time.
How To Organize Your Makeup Bag So It Stays Clean

Once everything's clean, set it up so it stays that way longer. A few small habits make a big difference:
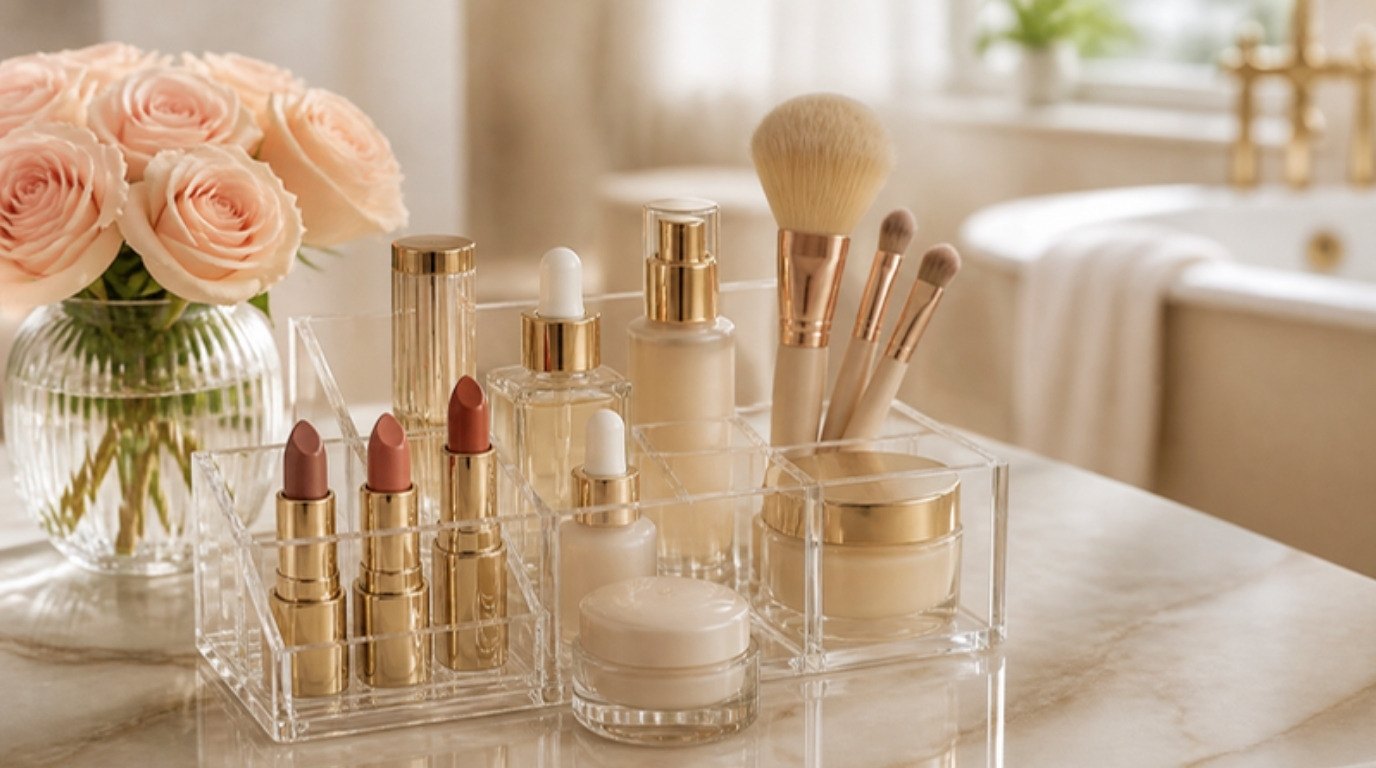
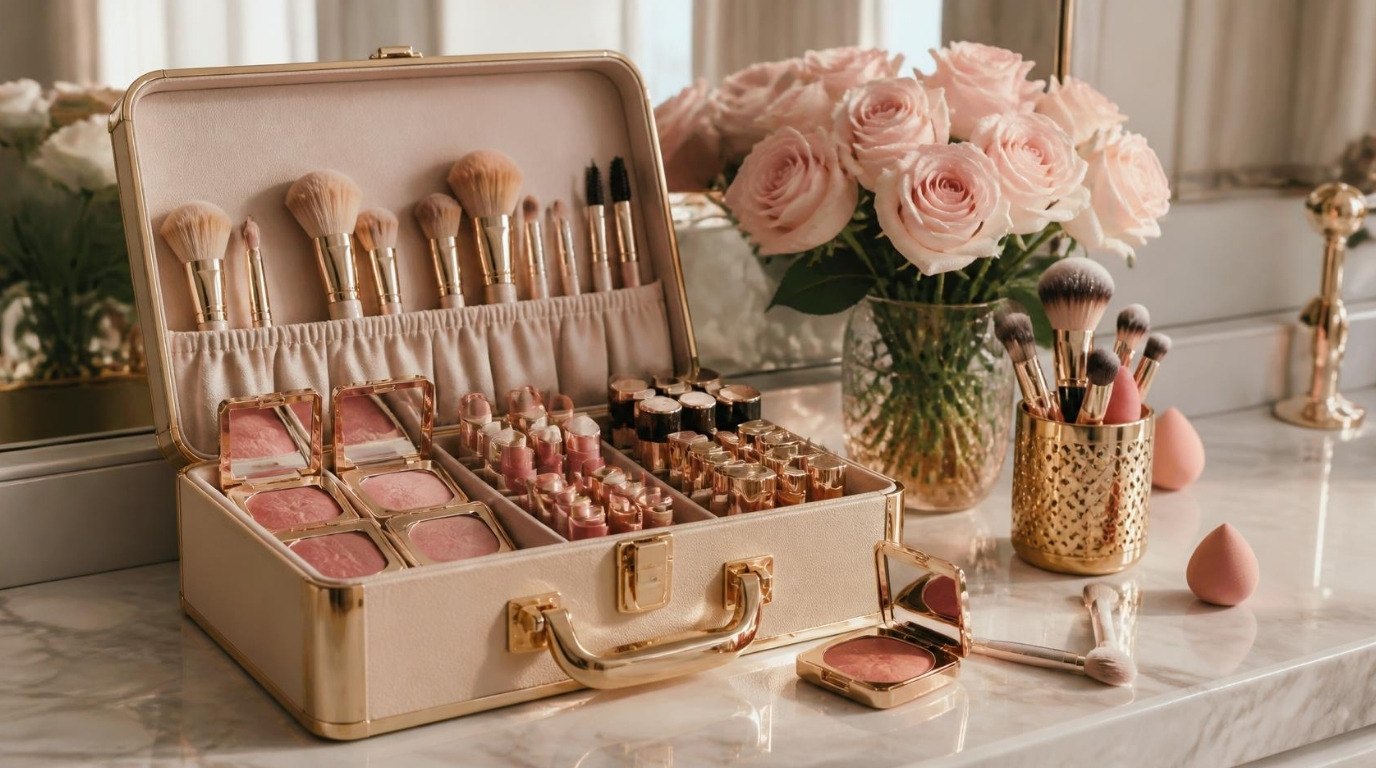
- Use small pouches inside the bag. A set of clear zip pouches keeps liquids separate from powders and tools, and if something leaks, you only wash one small pouch.
- Keep lids and caps on. Replace lost lipstick and pencil caps right away. Uncapped products pick up everything in the bag.
- Never pack a wet sponge. Keep a dry sponge in a ventilated case, or carry a fresh one.
- Store brushes upright or in a roll, so the bristles don't collect powder from the bottom of the bag.
- Stand liquids upright and tighten caps so they don't leak.
- Keep it lean. Carry only what you use daily. The fewer items, the less mess and the easier it is to clean.
- Store the bag away from steam. A shower-steamy bathroom shortens product life. A drawer or vanity shelf is better.
If you need inspiration for what belongs in a daily bag, my everyday makeup routine keeps it to seven simple steps, which also means fewer things to keep clean.
A Weekly 5-Minute Makeup Bag Routine
A quick weekly reset keeps the deep clean easy. Choose a day (I like a calm Sunday evening, with tea) and set a five-minute timer:
- Minute 1: Empty the bag and shake it out over the trash.
- Minute 2: Wipe the inside with a slightly damp cloth or an alcohol wipe (for vinyl and PVC), or brush out powder with a dry brush (for fabric).
- Minute 3: Wipe the caps and lids of anything that looks dusty or sticky.
- Minute 4: Check for anything expired, dried out or nearly empty, and make a note to replace it.
- Minute 5: Put everything back in its pouch, with clean dry tools.
Brushes and sponges get washed weekly on the side, but they don't need to fit into these five minutes.
The magic of this little routine is that it catches problems while they're tiny. A leaking cap gets tightened before it soaks into the lining. A dried-out mascara gets replaced before it ends up near your eyes. And because the bag never gets truly dirty, your full reset every month or two becomes a quick refresh instead of a project. If you like having all your weekly home tasks in one place, add this to your Sunday reset so it happens without a second thought.
Travel Tips for a Clean Makeup Bag
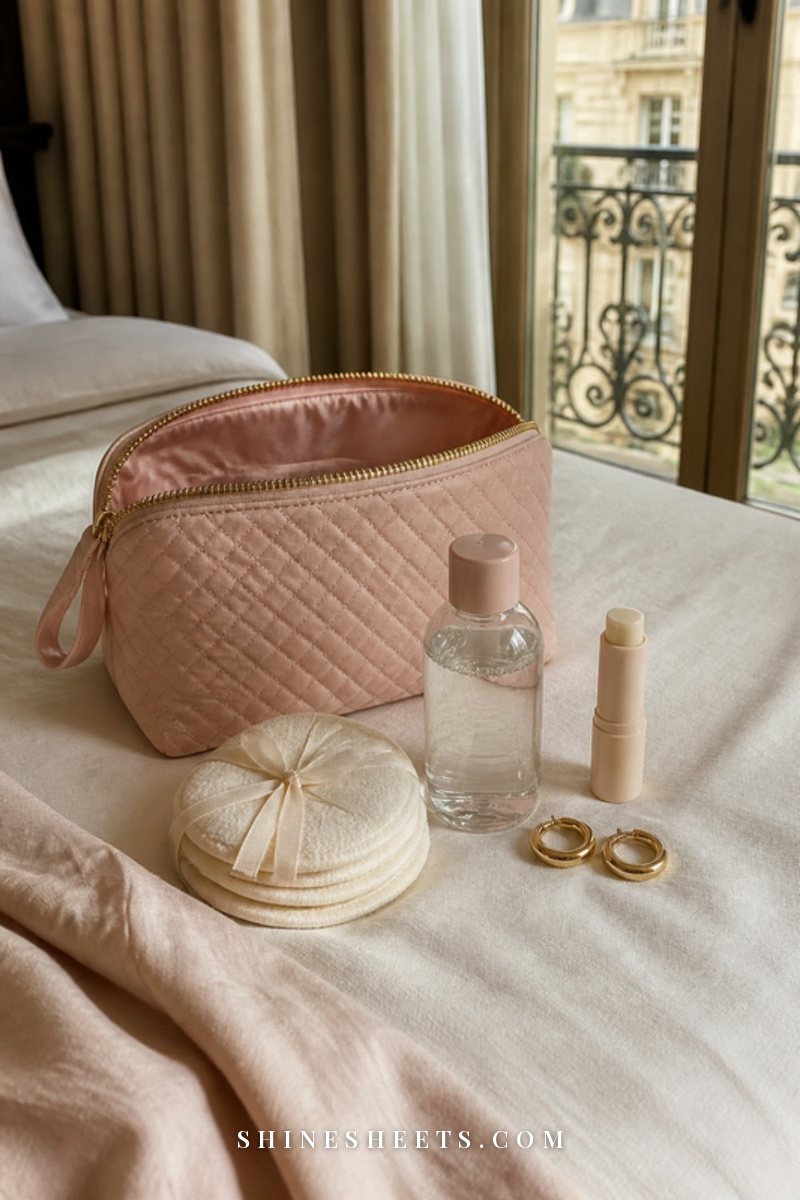
Travel is where makeup bags get the messiest: pressure changes, rushed packing and hotel bathrooms. A few simple habits help:
- Pack a smaller travel bag with only what you'll actually use on the trip.
- Bag your liquids separately in a clear pouch. It's easier at airport security, and leaks stay contained.
- Tape or wrap caps of foundation and liquids that tend to pop open.
- Pack a few alcohol wipes for quick clean-ups on the road.
- Carry a dry sponge or a brush, and let anything you wash in a hotel sink dry fully before repacking.
- Unpack and air the bag as soon as you get home.
For the rest of your packing, my carry-on packing list helps you fit everything in without overstuffing.
When To Toss the Bag (and the Makeup)
Sometimes cleaning isn't enough. Replace your makeup bag if:
- The lining is stained, sticky or cracked and won't come clean.
- It smells musty even after washing and full drying.
- The zipper is broken, so the bag doesn't close properly.
- You've had a product leak that soaked deep into fabric layers.
- You notice any mold spots.
And toss eye makeup, sponges and anything used on the affected area if you've had an eye infection, a stye or a cold sore. If you notice irritation, itching, swelling or a rash after using a product, stop using it. If symptoms don't settle quickly, or if your eyes are red or painful, check in with a doctor or dermatologist.
Final Thoughts
A clean makeup bag is one of those tiny acts of care that makes every morning a little easier. Your products last better, your tools feel fresh, and your skin gets a calmer start to the day.
Do the full reset every month or two, keep a five-minute weekly tidy, and let your bag be a small, lovely place again rather than the most neglected thing in your purse.